Ford Falcon XR6 Turbo Ute – Part 3
In the third instalment of the Nulon / Impossible Fabrications XR6 Turbo Ute, we see the front end converted to a tube frame setup, and a special one-off exhaust fabricated all the way from manifold to side-pipe.
Previous posts: Part 1 – Part 2
All text and images taken with permission from http://www.nulonnationals.com.au/2016/04/07/xr6-turbo-ute-part-3/ with some edits
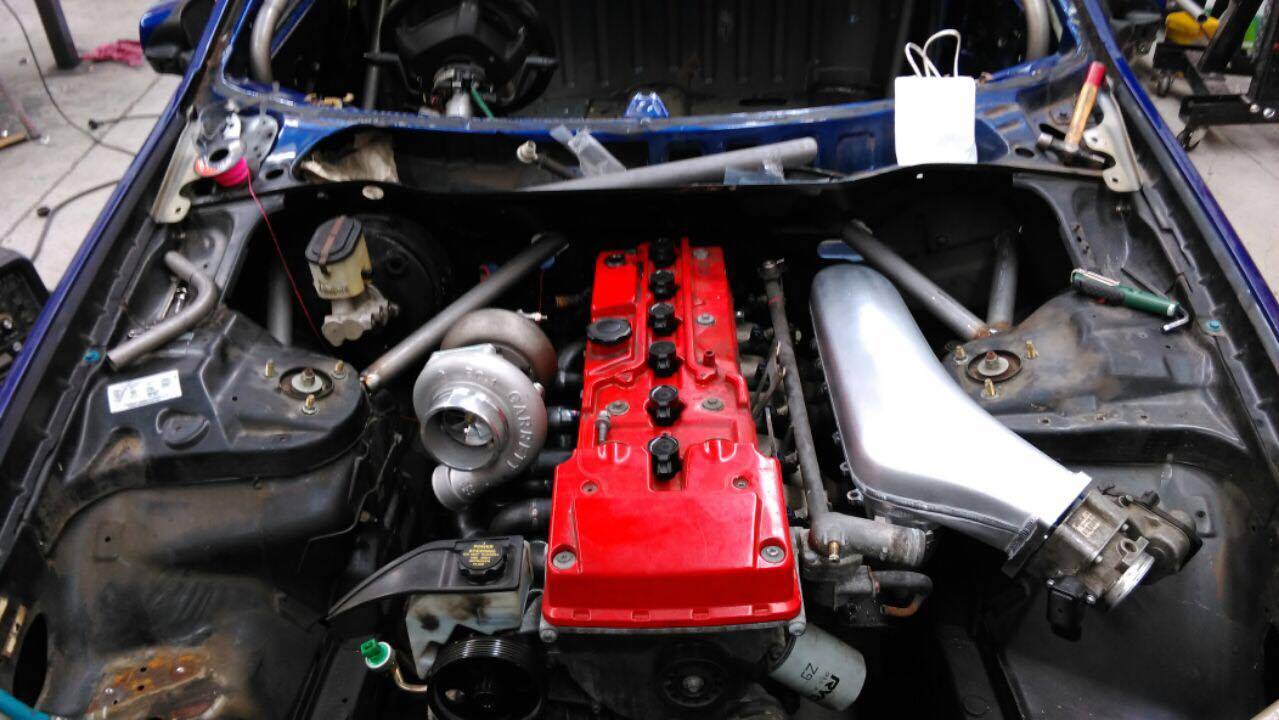
It’s been a very busy couple of weeks in the workshop, with a huge amount of work being done on not only the front end, but the engine bay was starting to get some love as well. This came in the form of some go-fast bits for the hot and cold side of the engine.
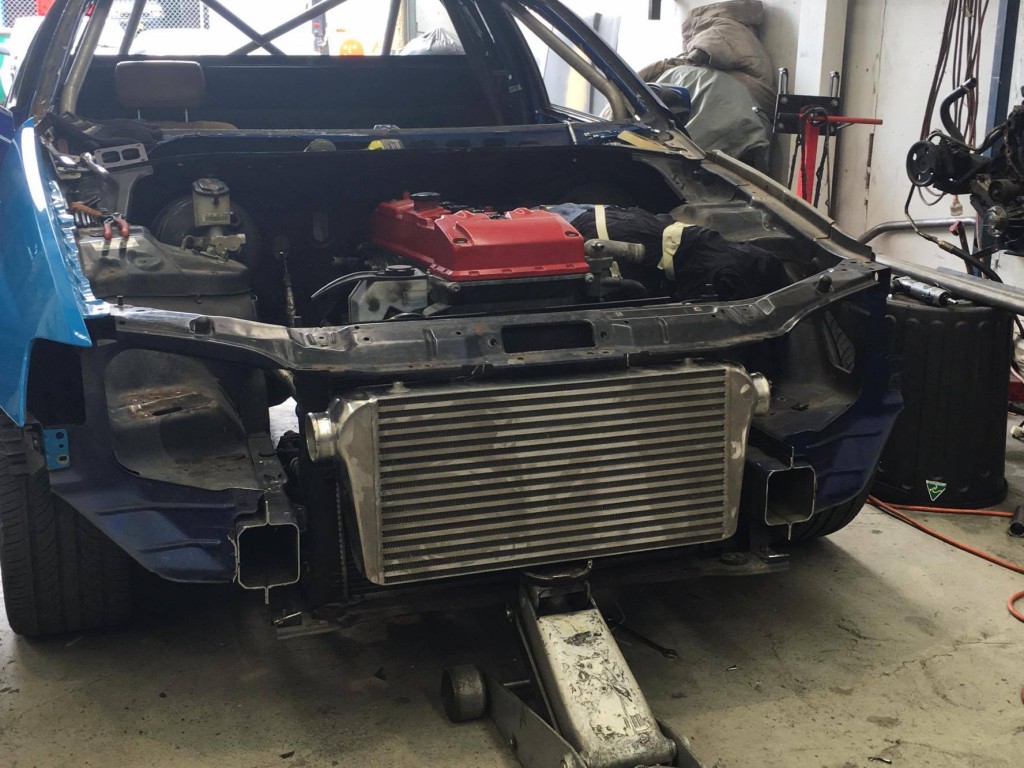
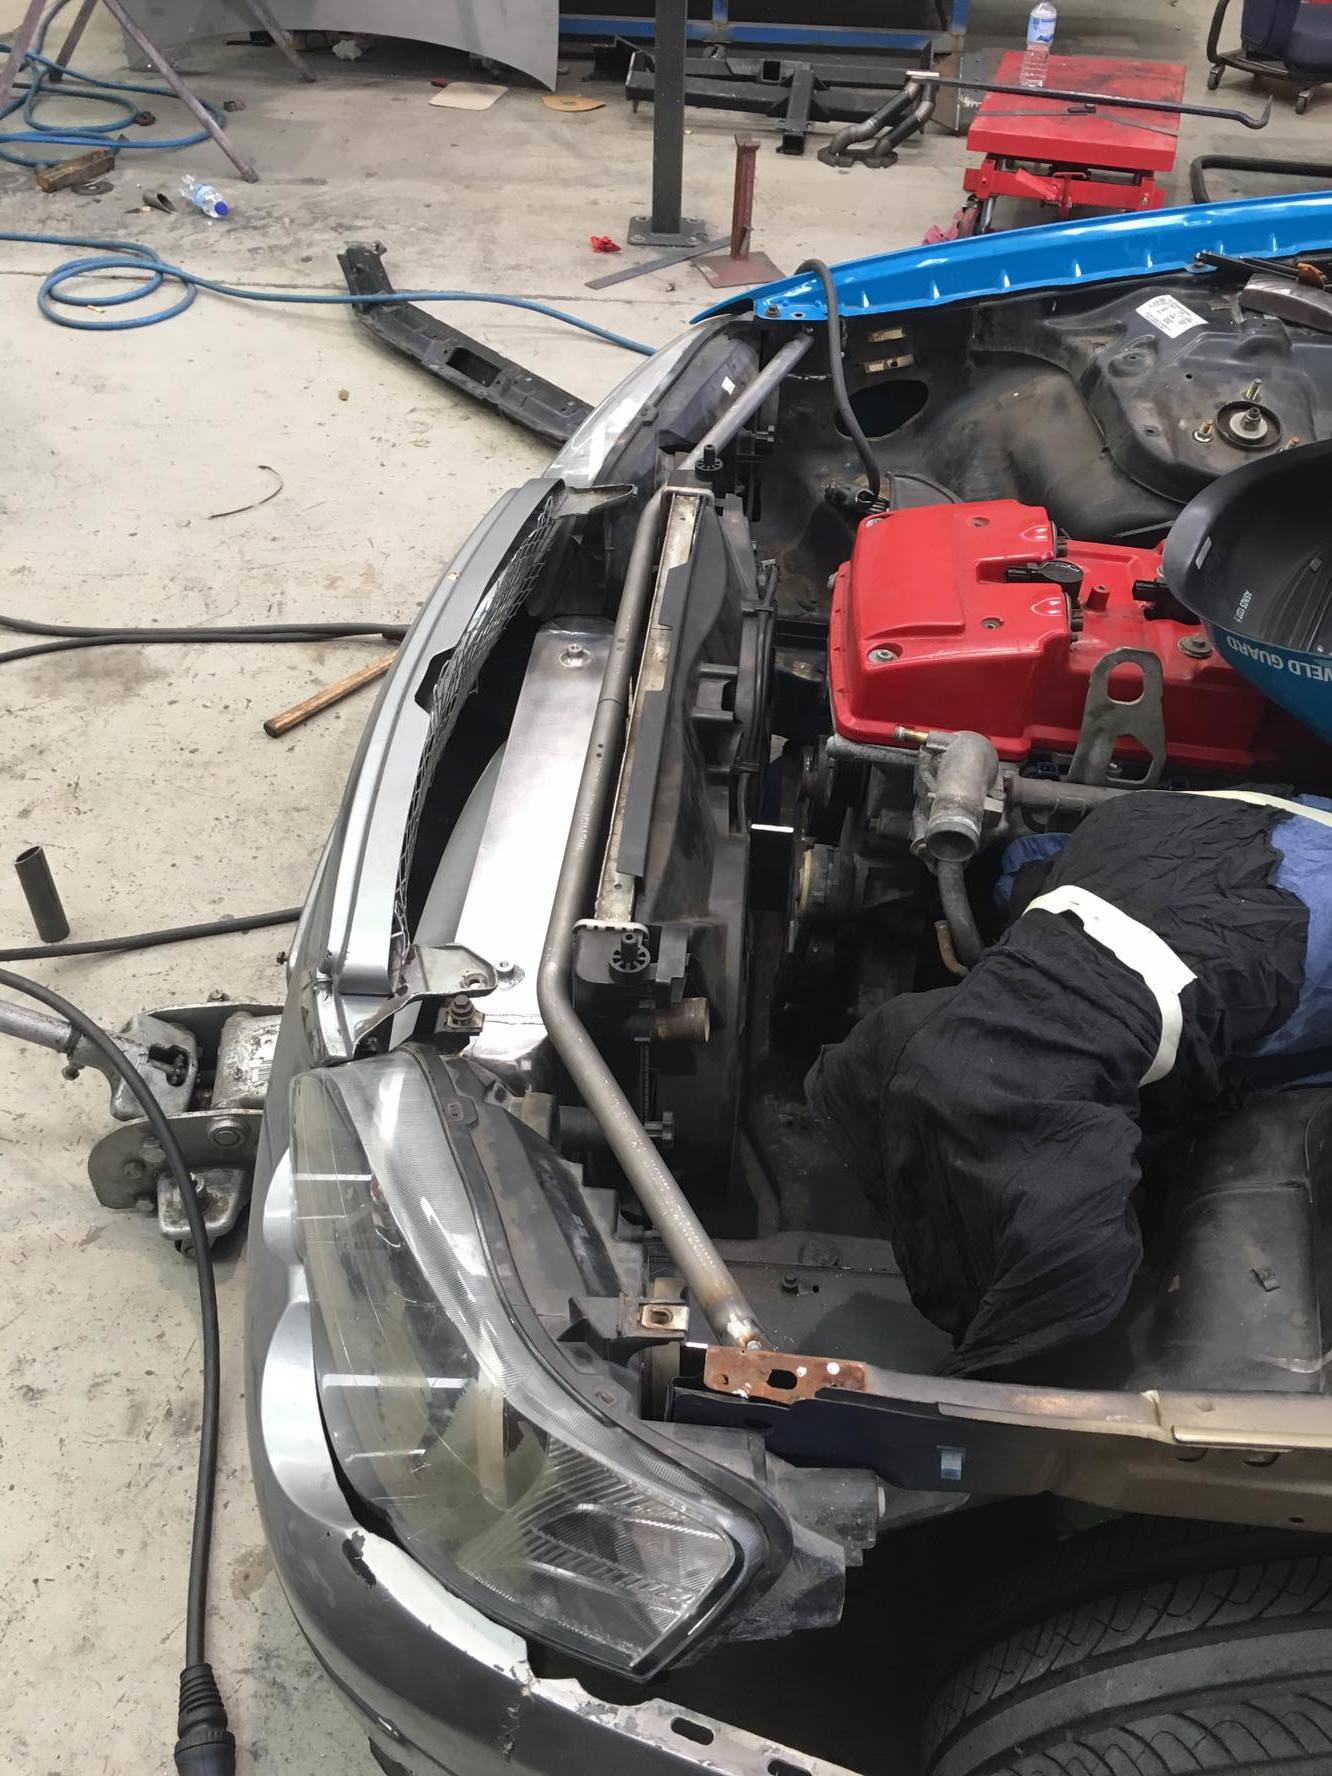
We had a few different ideas on mounting the intercooler, but because we were looking for maximum response, we knew that shorter intercooler piping would help reduce lag from the GTW turbo resulting in more power, sooner.
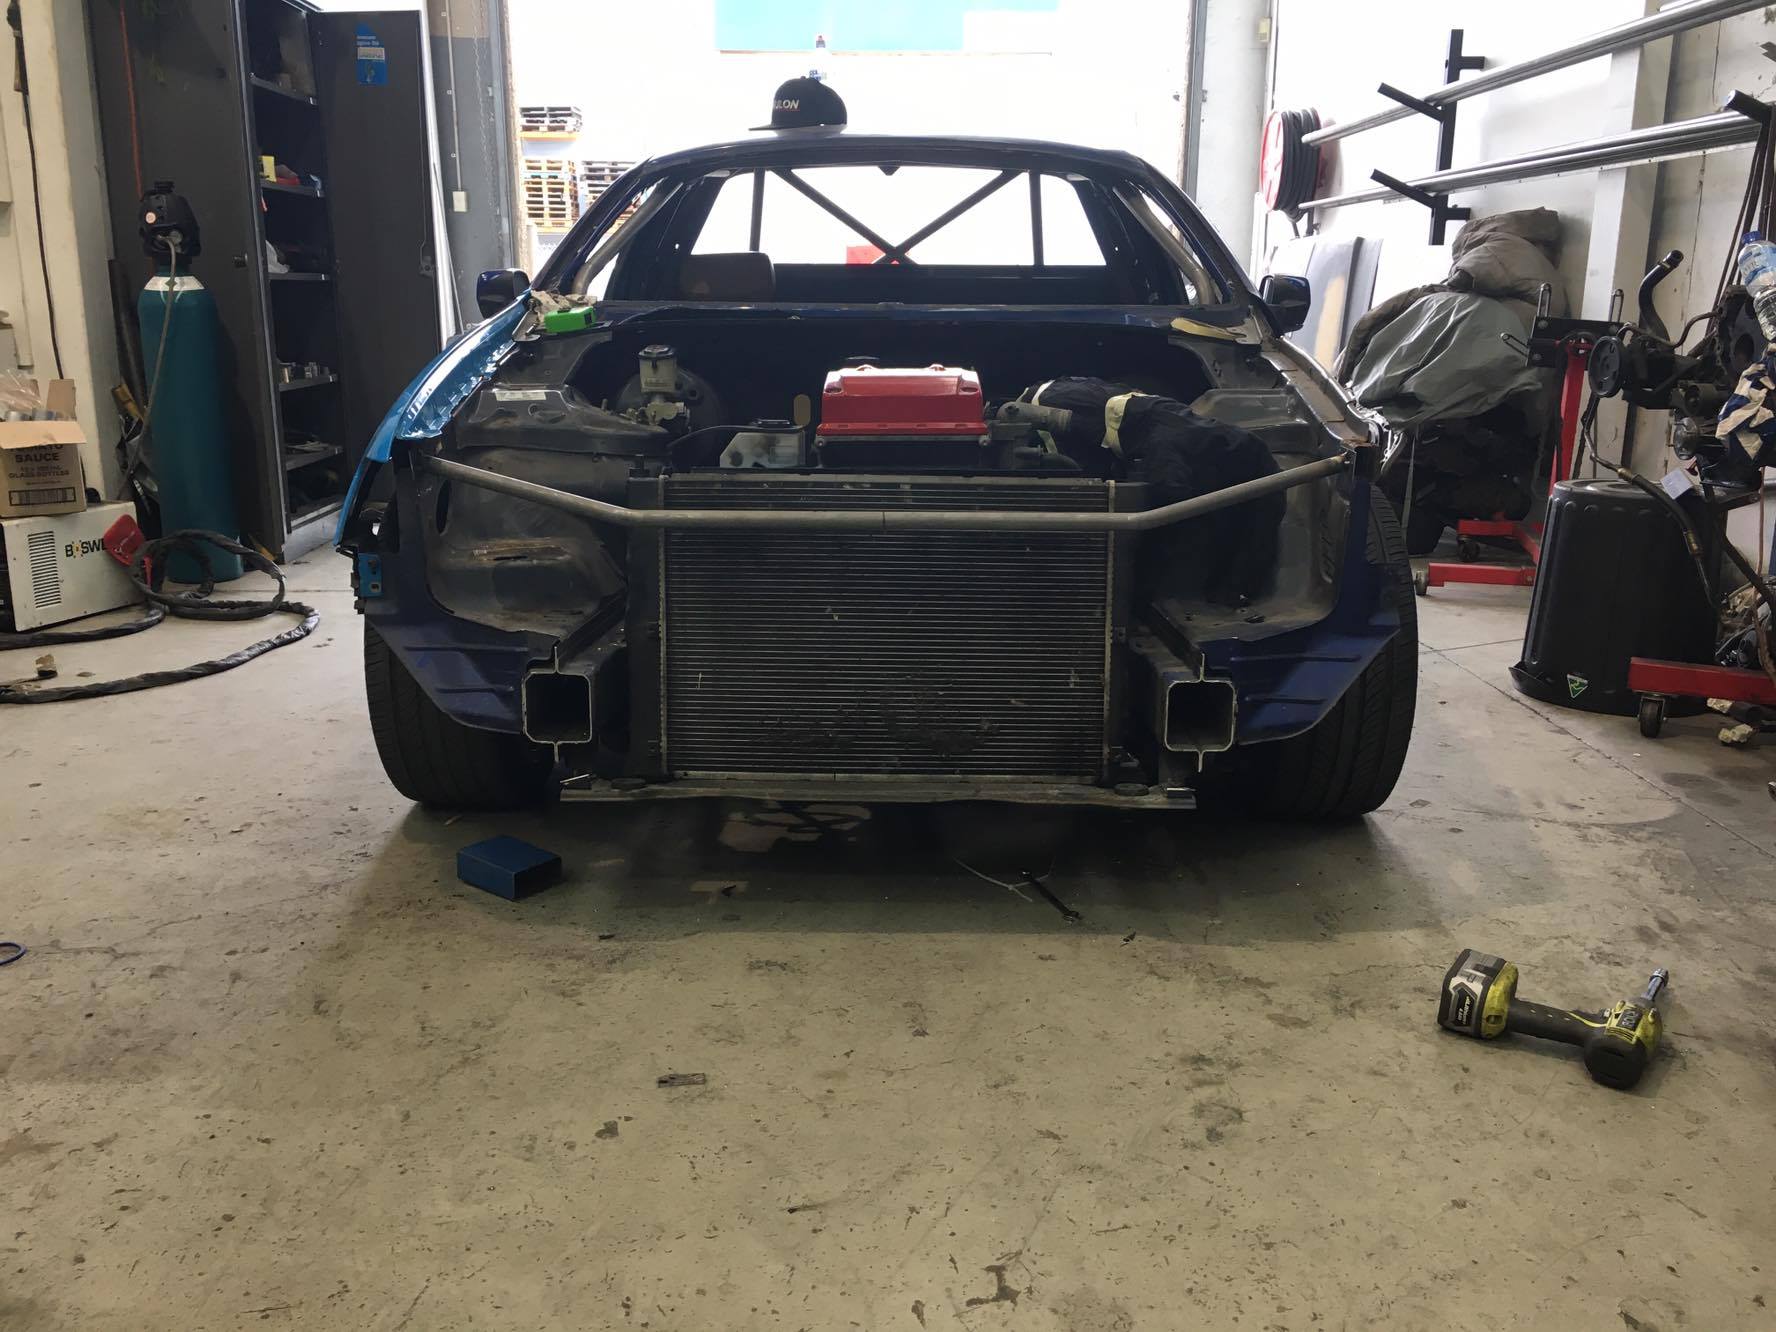
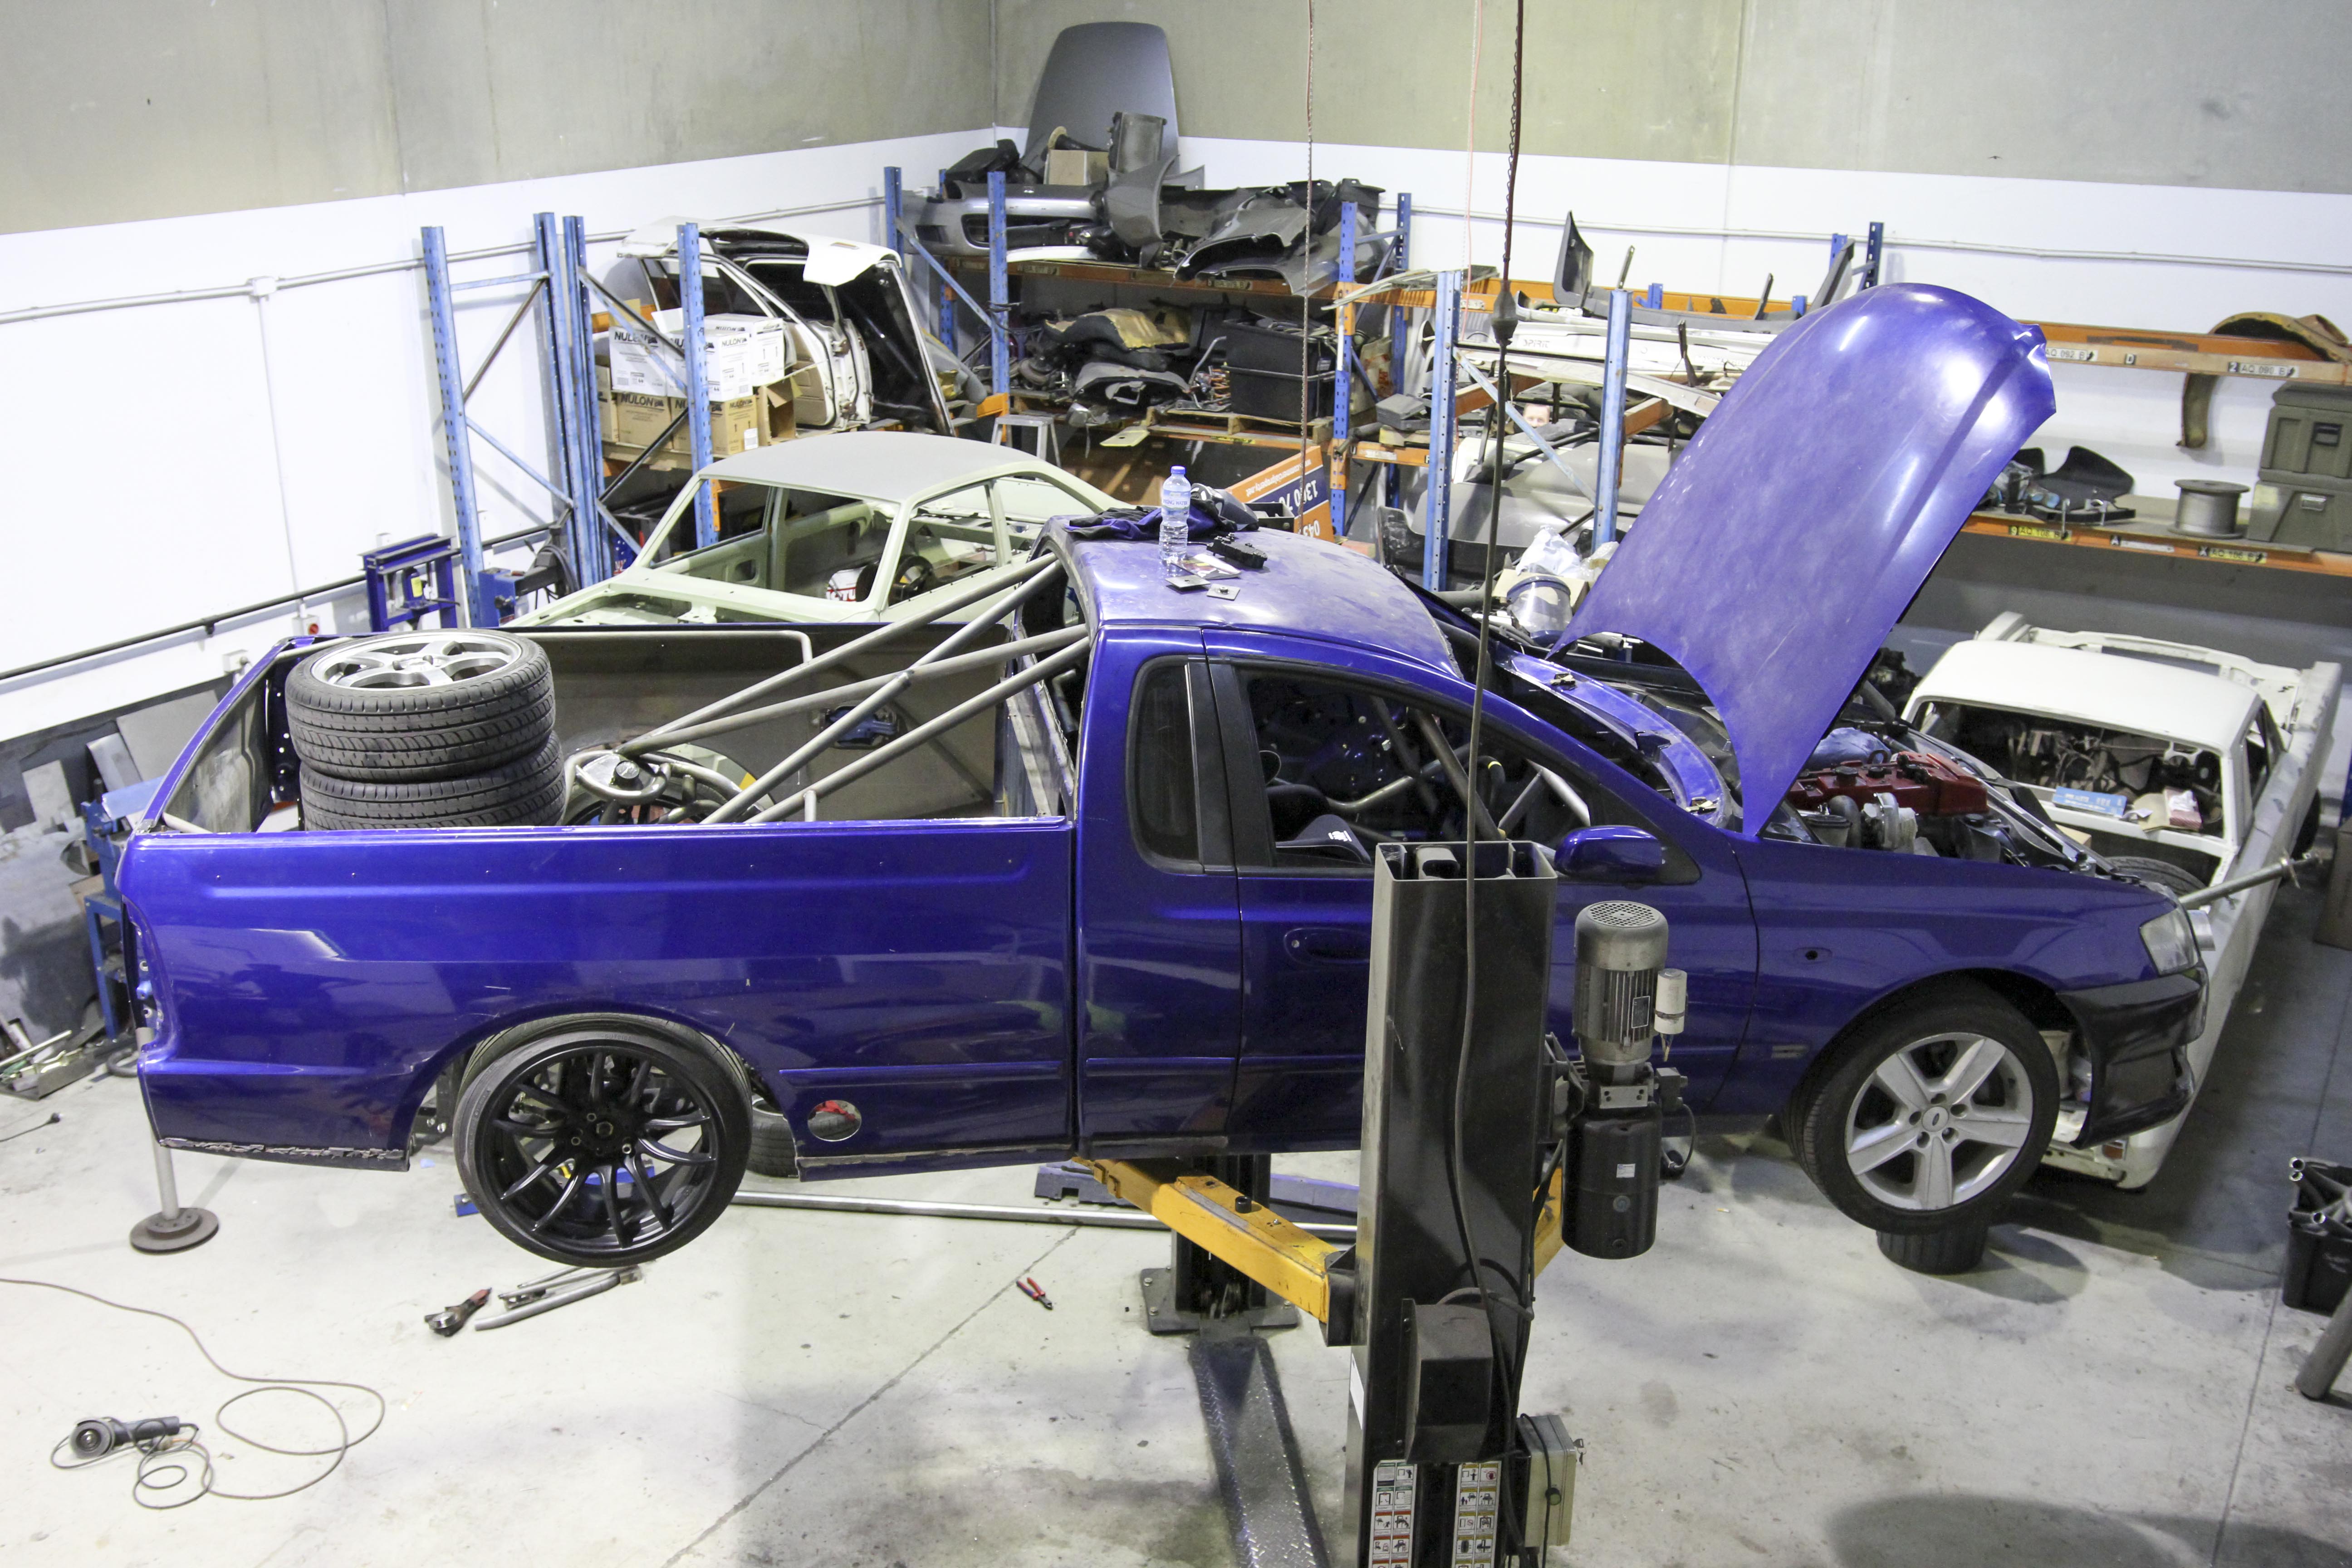
With this in mind, Grubbo got his magic marker out and chopped the entire front nose clip off the car to replace it with custom bar work. This enabled us to position the cooler exactly where we wanted it while retaining the factory radiator, headlight and front bar mounting points.
It is important to make sure that everything is still in the factory position, as you might also notice we have flipped the cooler to decrease the length of cooler piping.
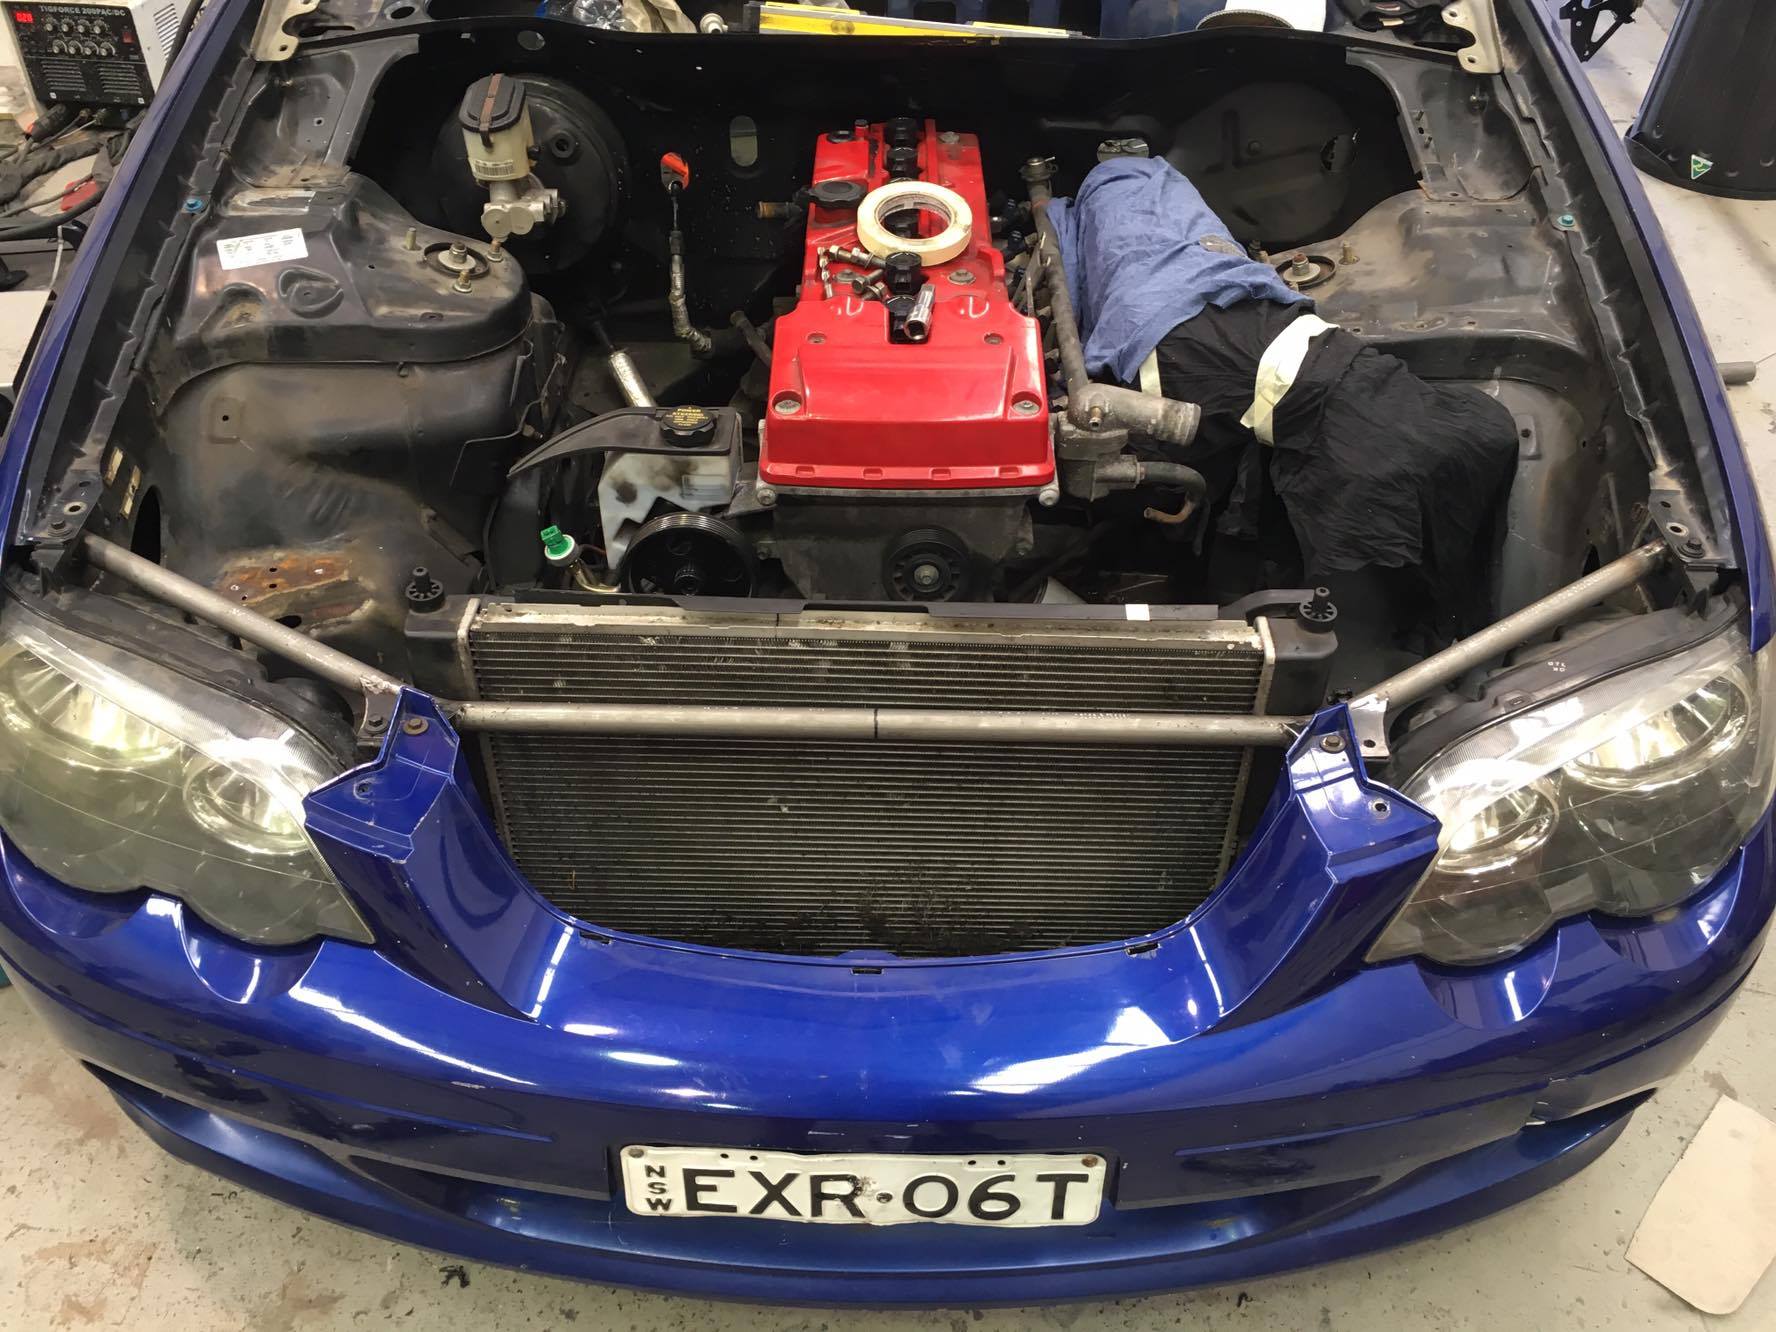
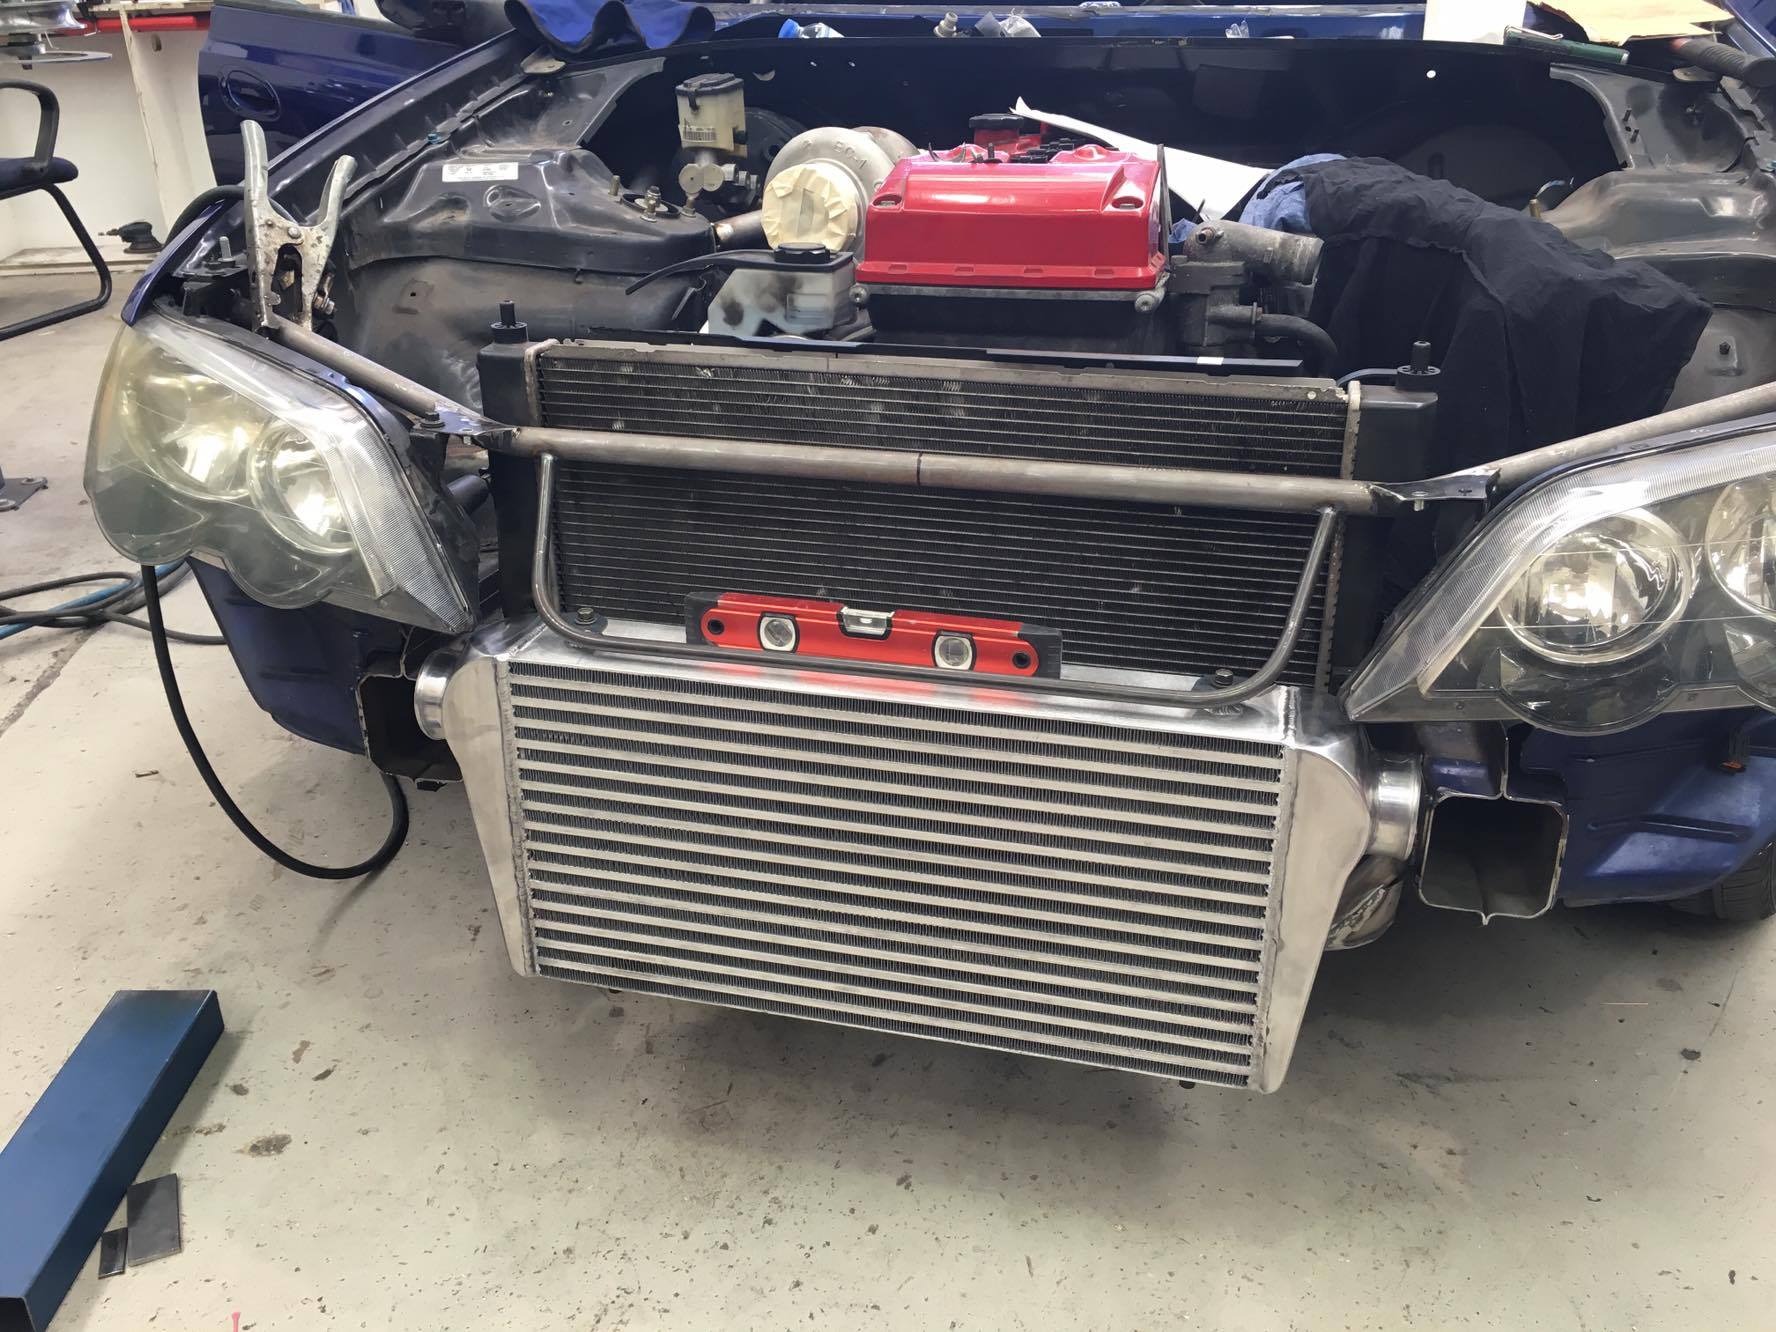
Trail fitting of the bar and headlights is very important during the fabrication process to make sure we get a factory fit in the front end.
Using factory headlights and front bars mean that the aftermarket aero bar and splitter will have a tight and straight fit. With the front end almost complete, it is time to focus on the rear end tube work and the fuel cell mounting.
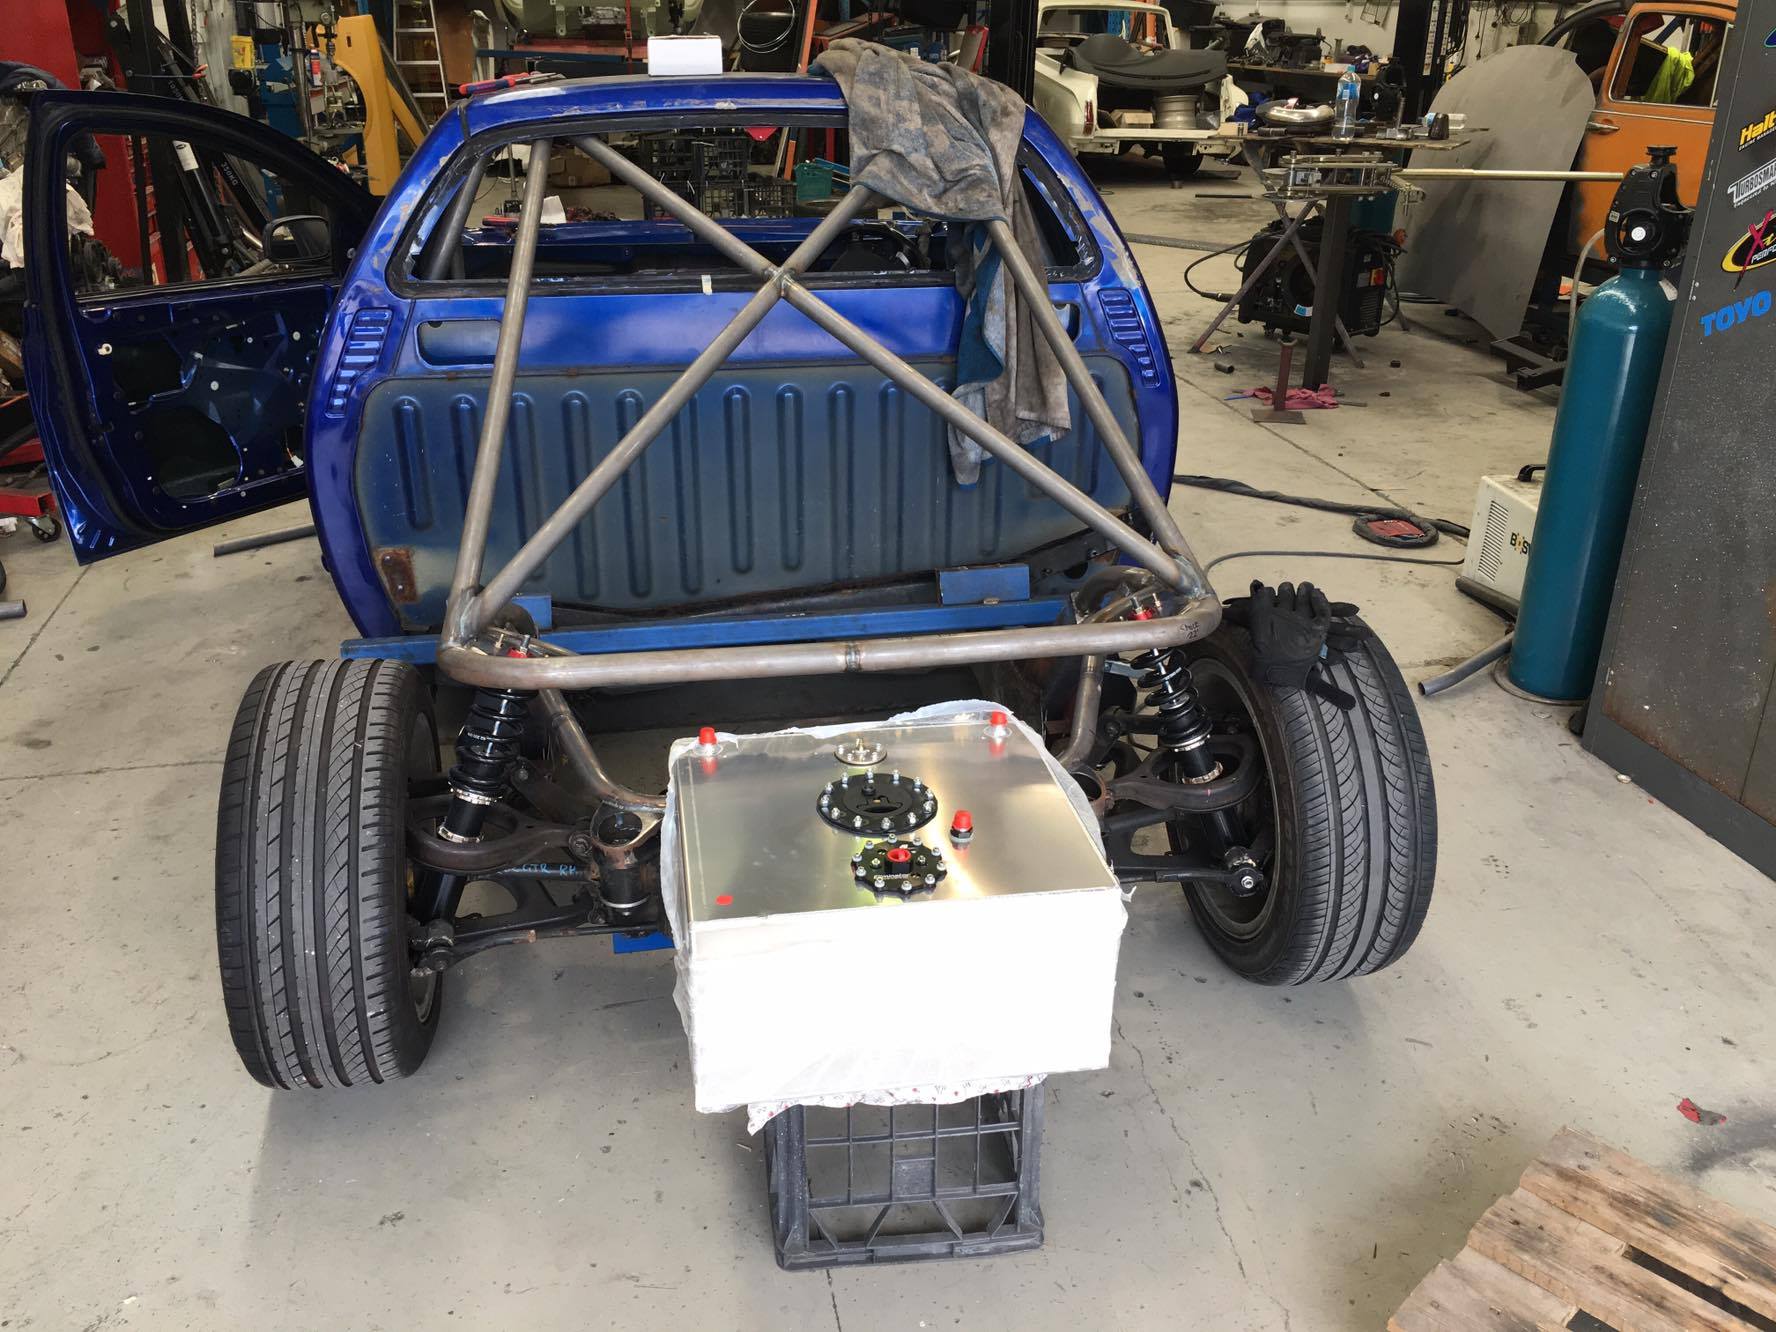
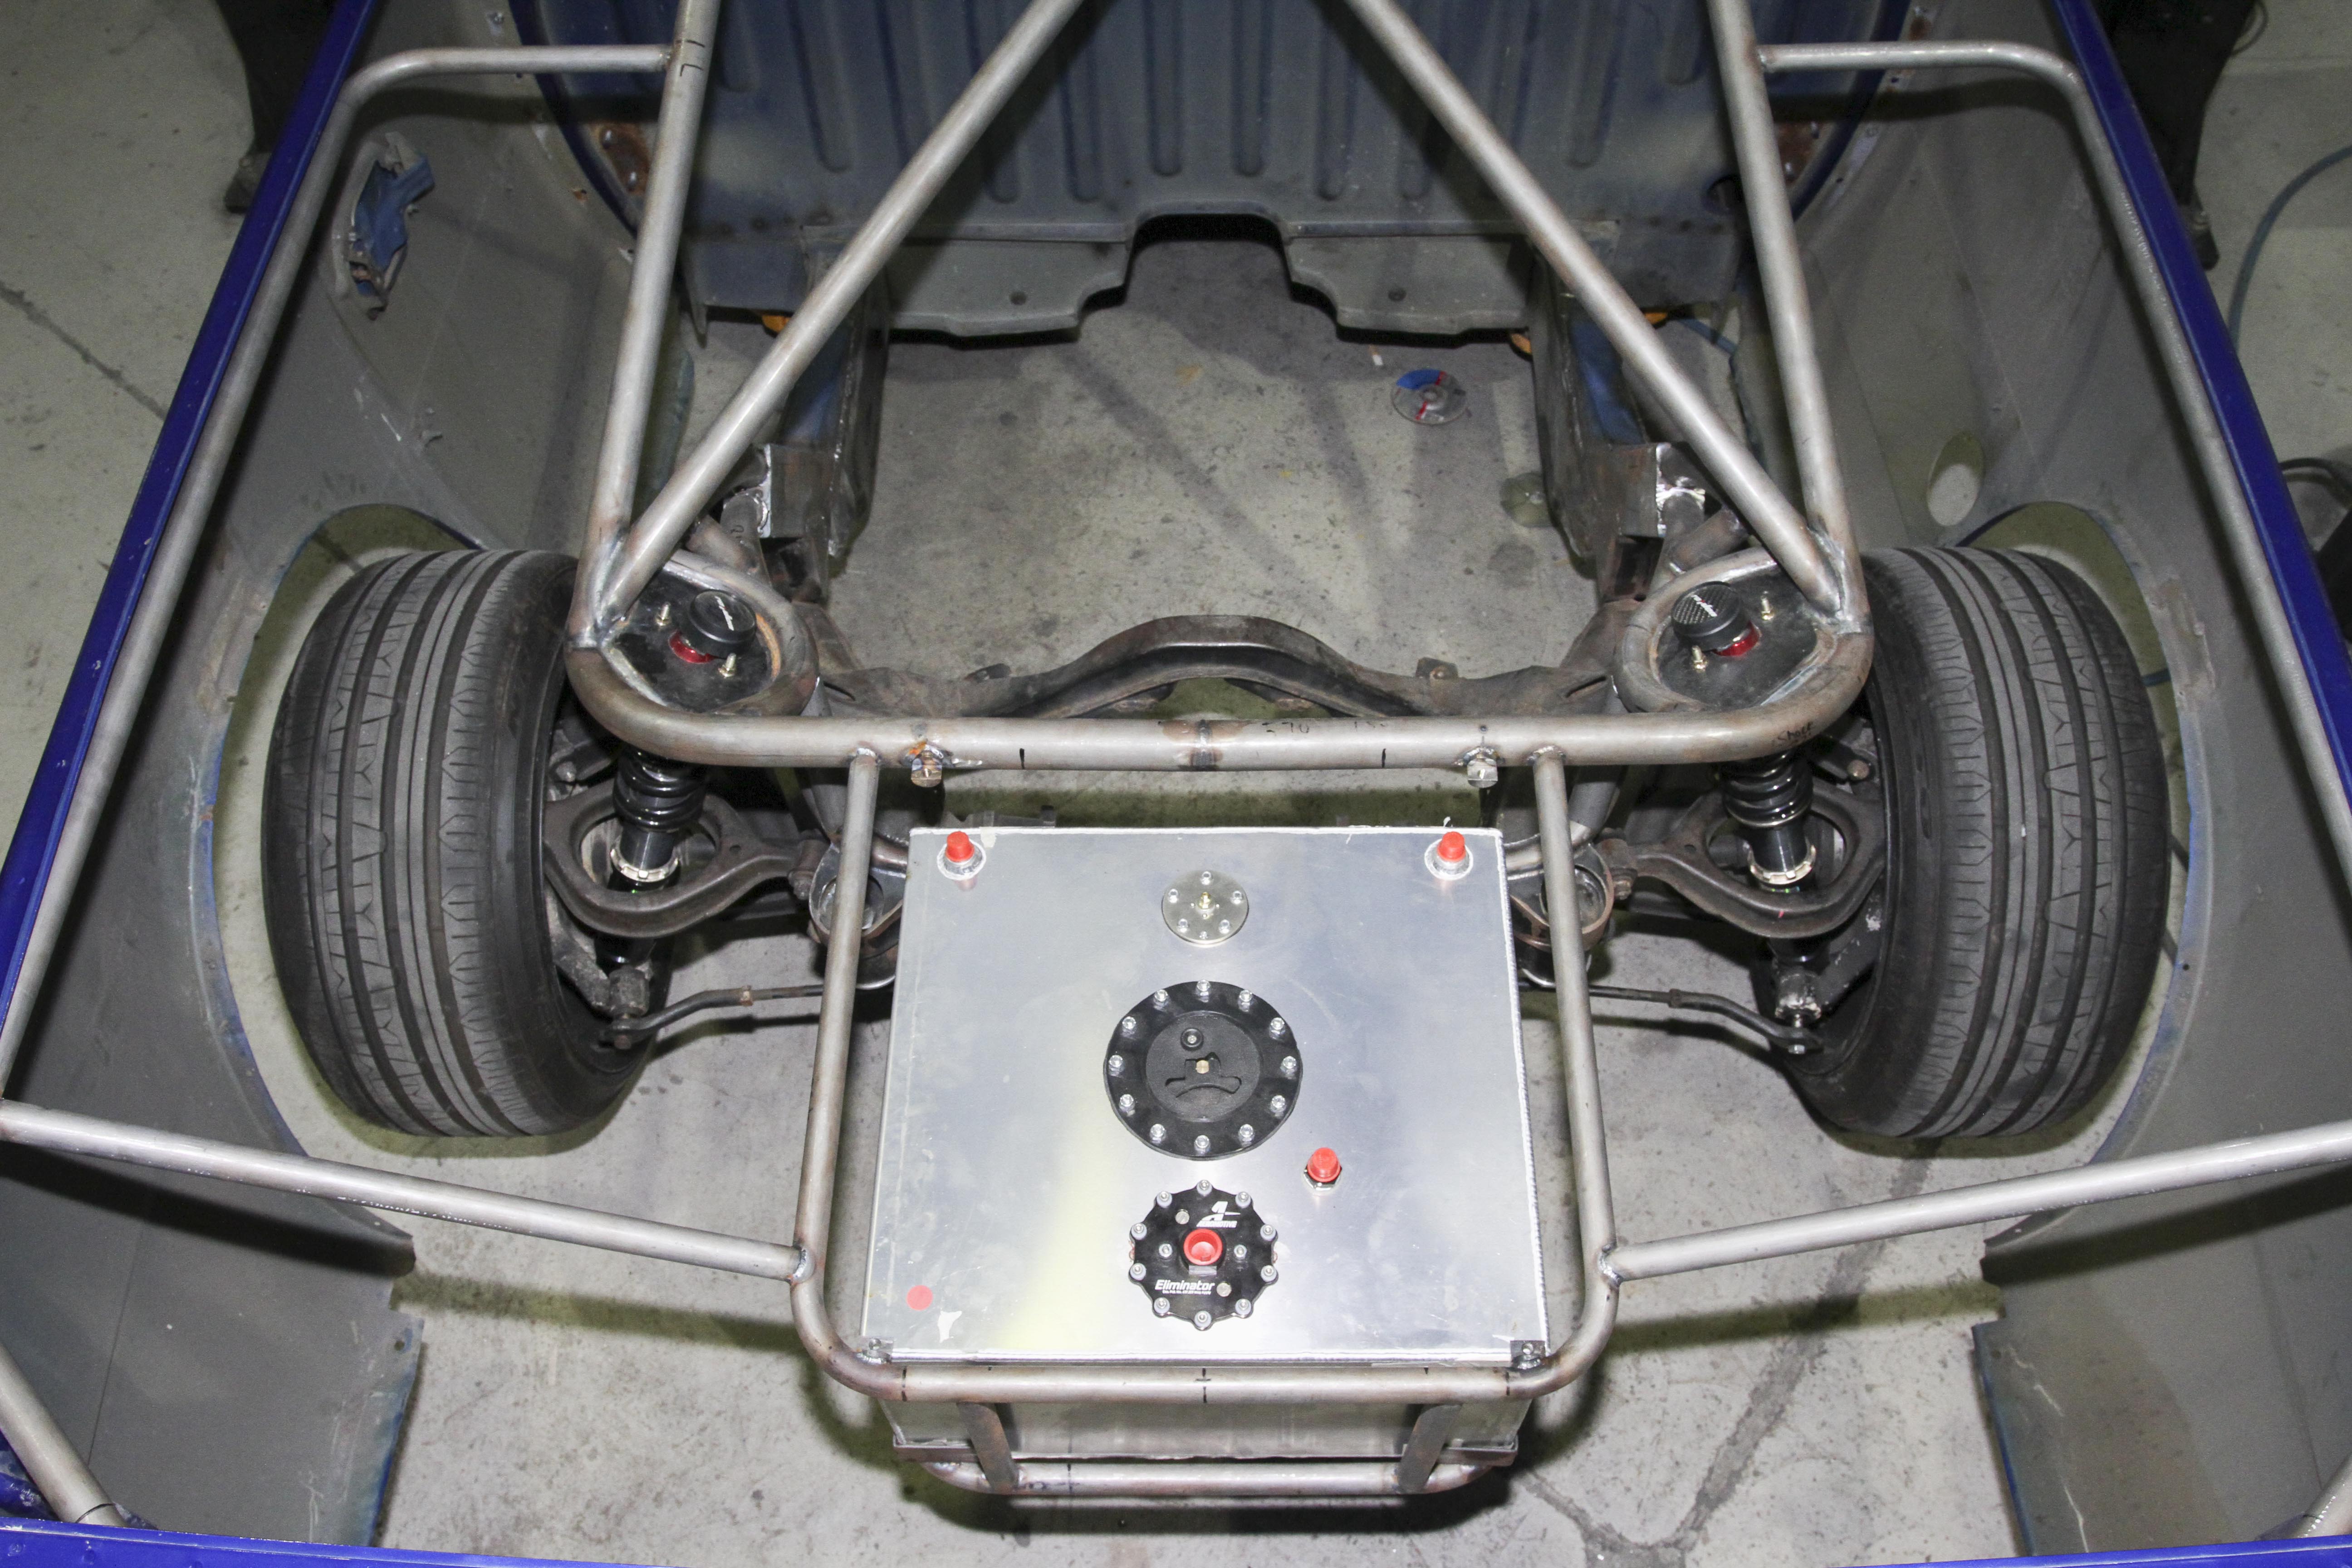
To spread some weight behind the rear wheels, a plan was made to mount the fuel cell as far back on the chassis as possible. This custom made fuel cell is a work of art.
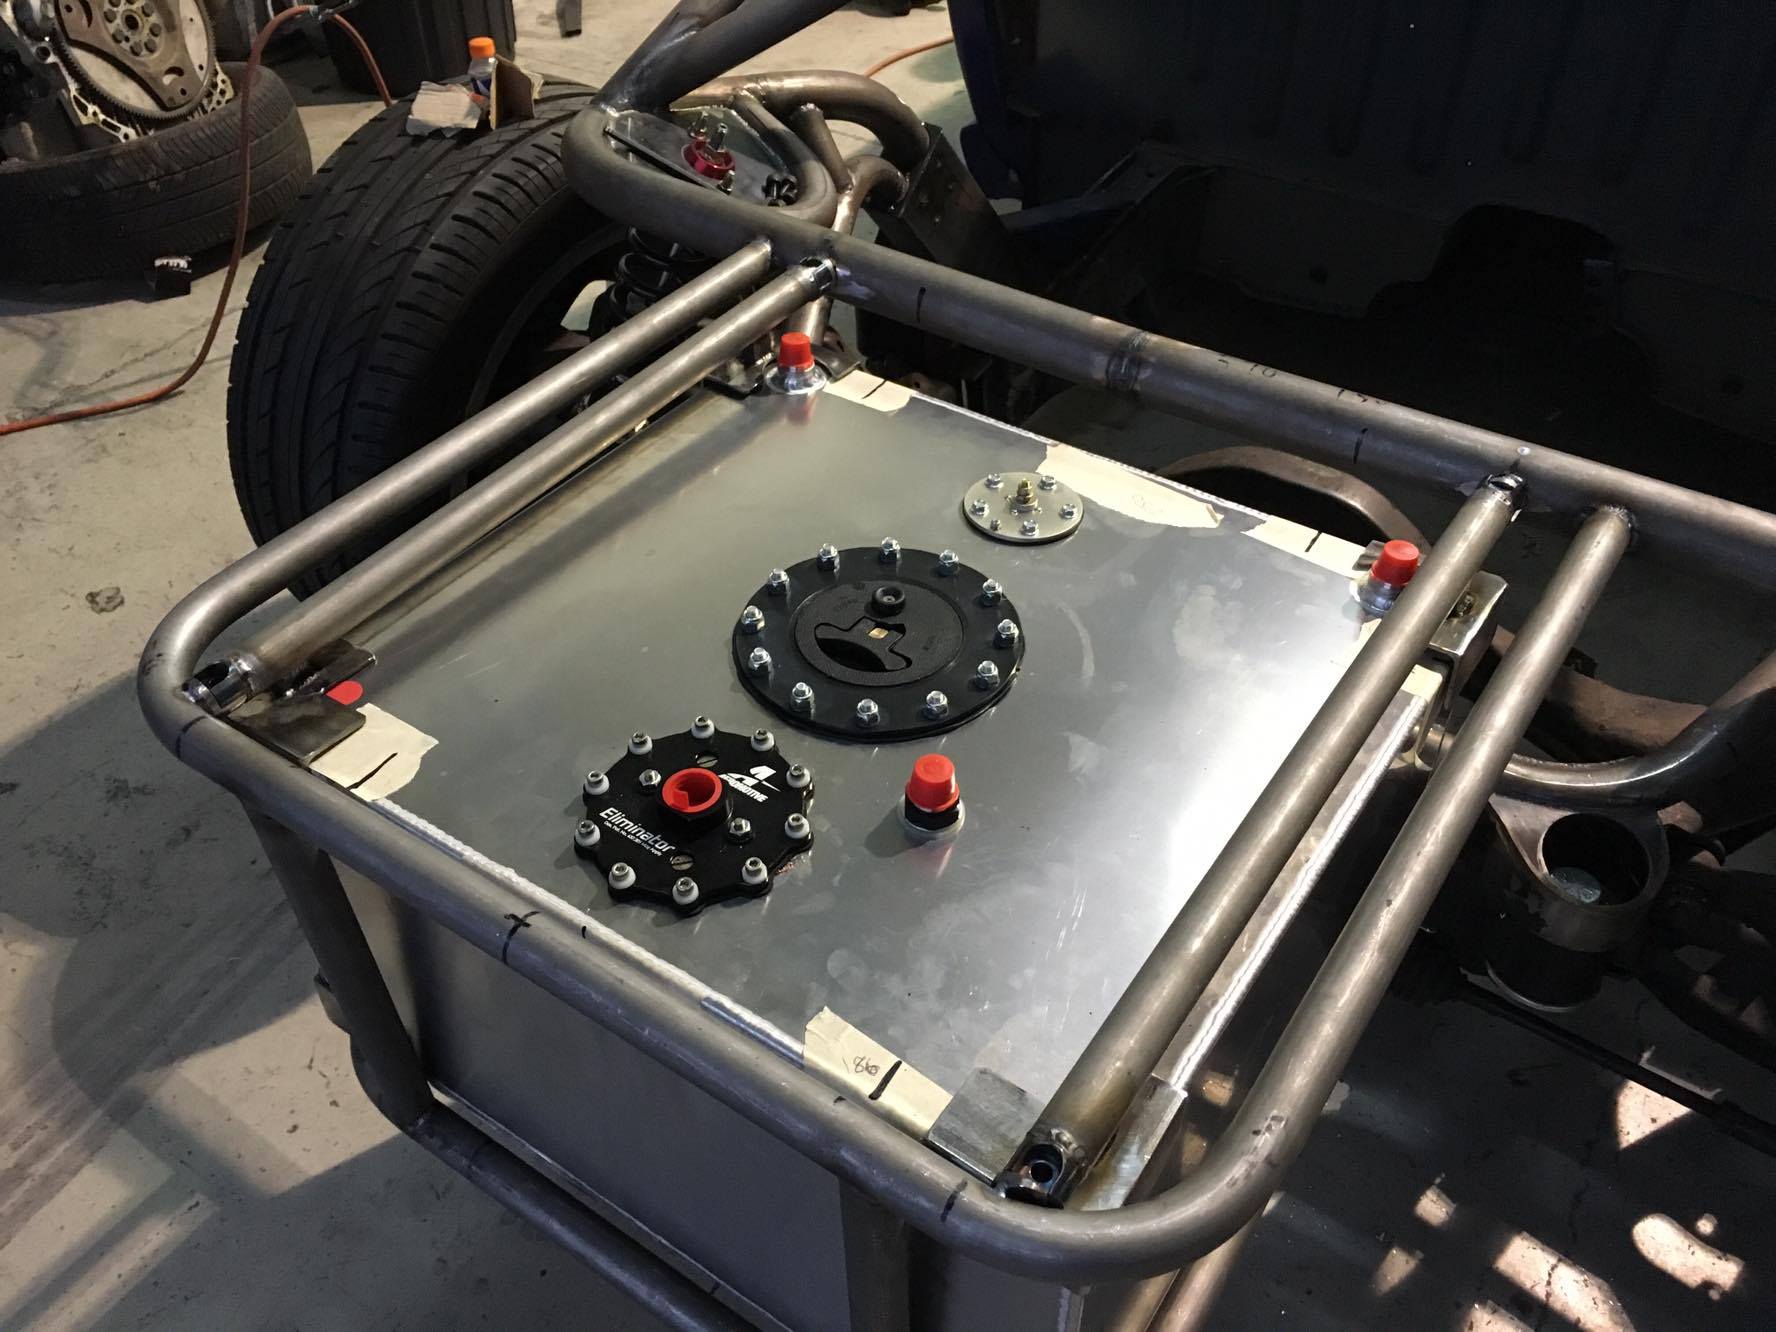
Ease of servicing means that Porter needs easy access to the fuel cell to check or change pumps, change filters or remove the cell completely. This was done by creating a cage around the cell with brackets that unbolt and give clear access to lift the cell out of the chassis.
The cell comes equipped with an Aeromotive Eliminator pump which will handle 1000HP with ease, also fitting a reg in the engine bay to keep pressure under control. A great bit of gear which features dual chambers for increased flow rate.
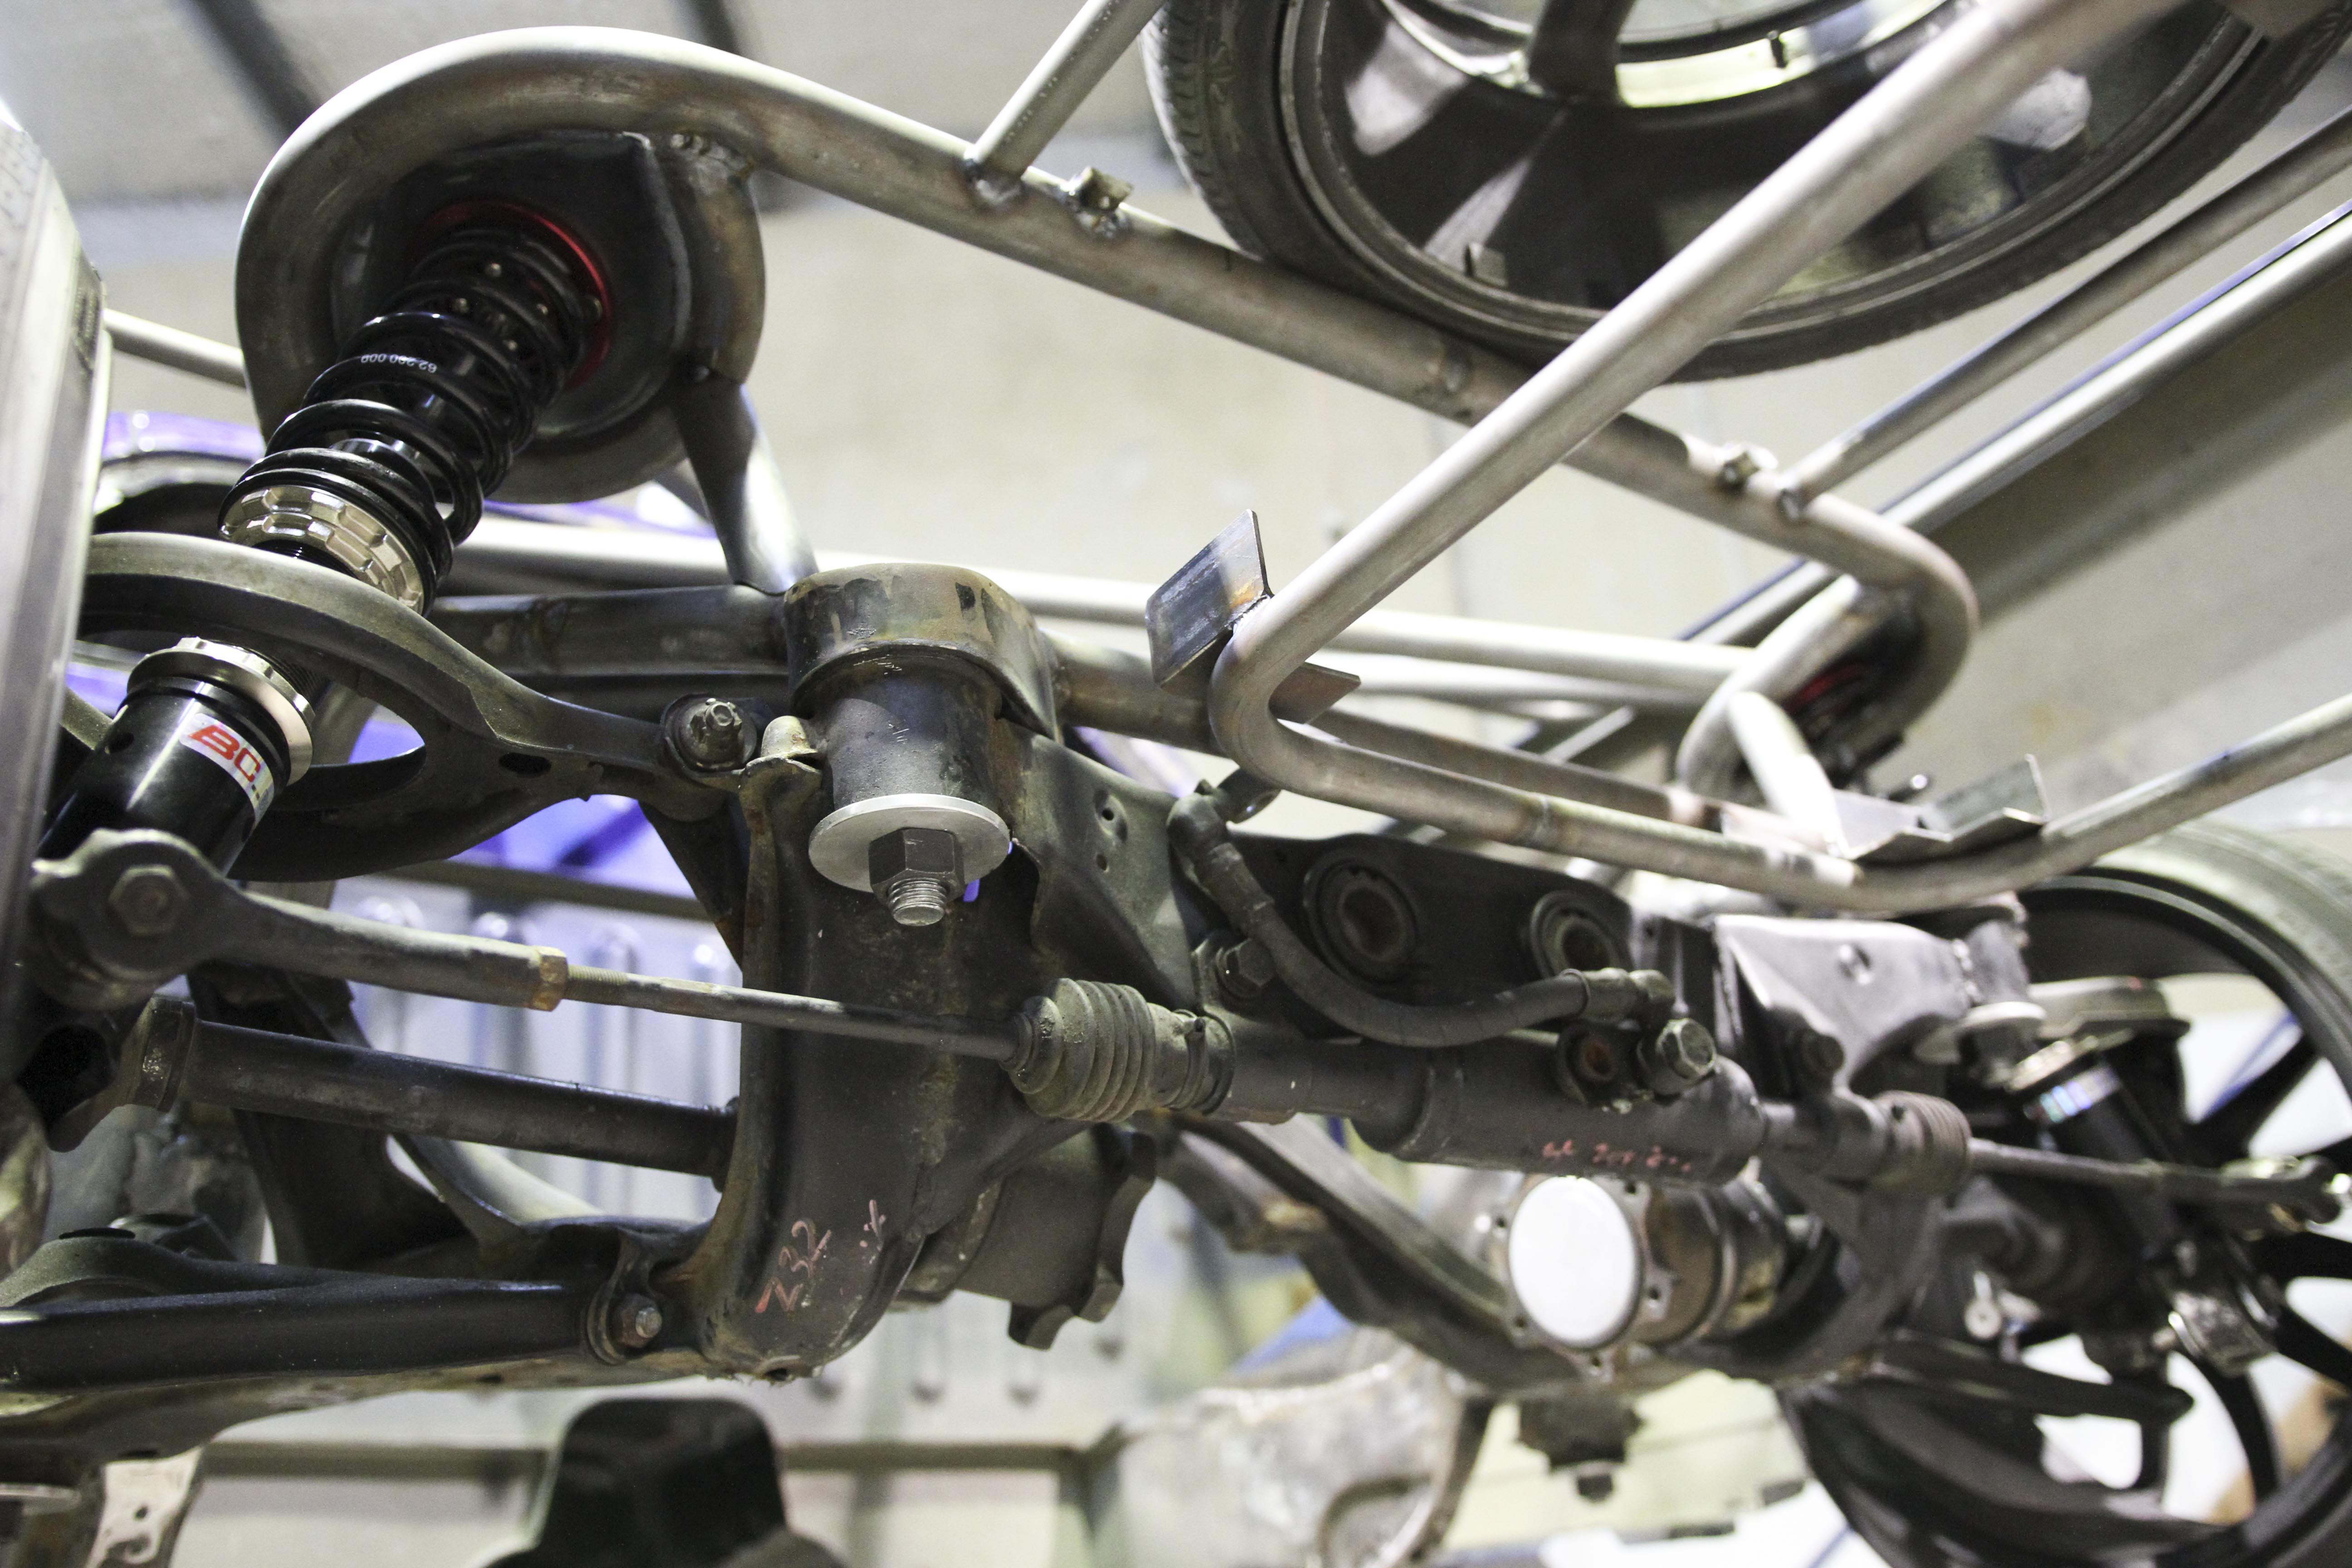
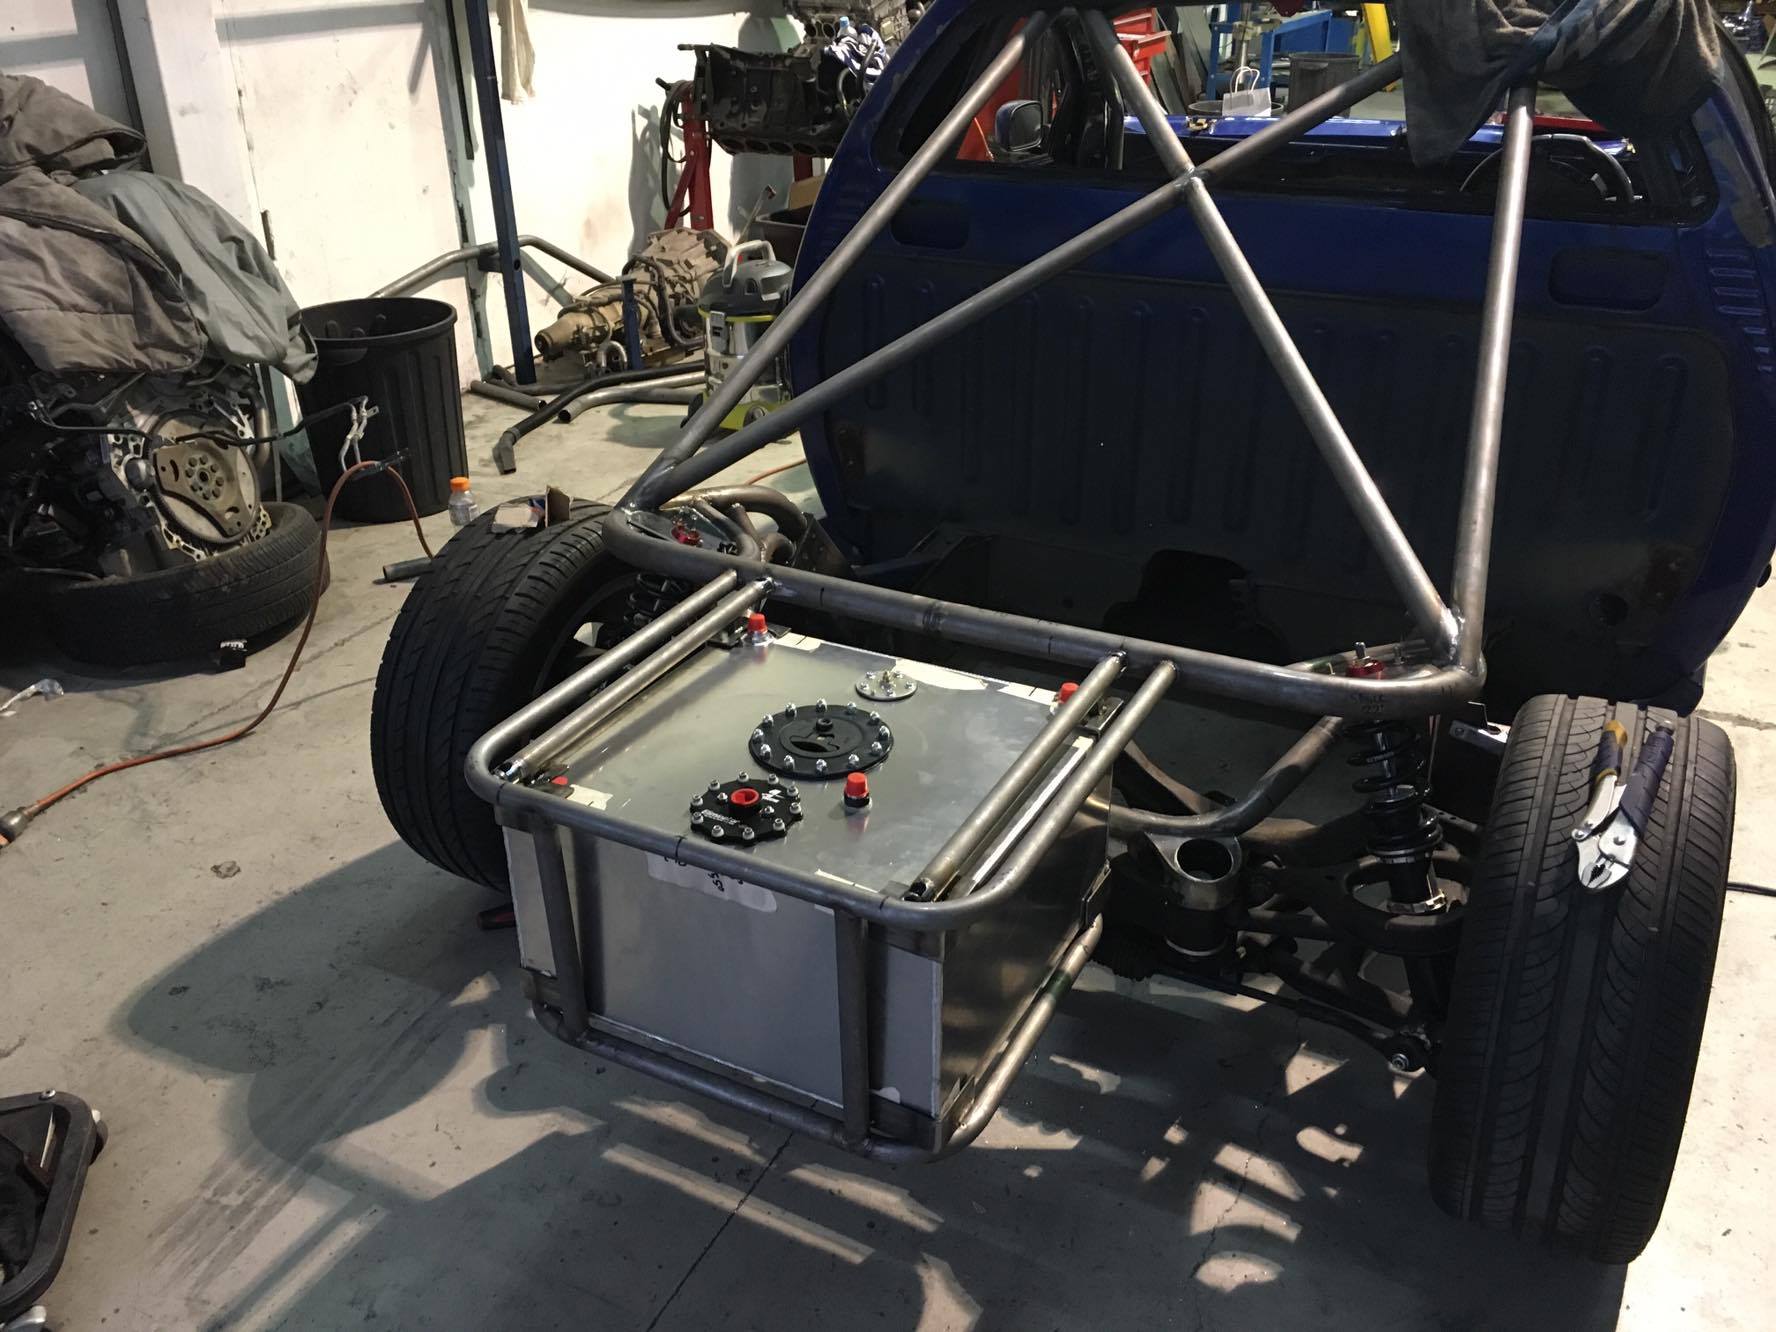
This rear end is really starting to take shape, linking the fuel cell and the rear suspension pickups into the roll cage is going to generate rigidity in the rear end. The next step is to get some bars mounted for the rear tub. Compared to the first and second steps, this should be a lot easier.
The skills of Grub and Porter made this next step look a lot easier than it was. Getting this rear tub section in close to factory position is important as we have big plans for the aero and rear hard lid which will play a big part in the handling of the ute.
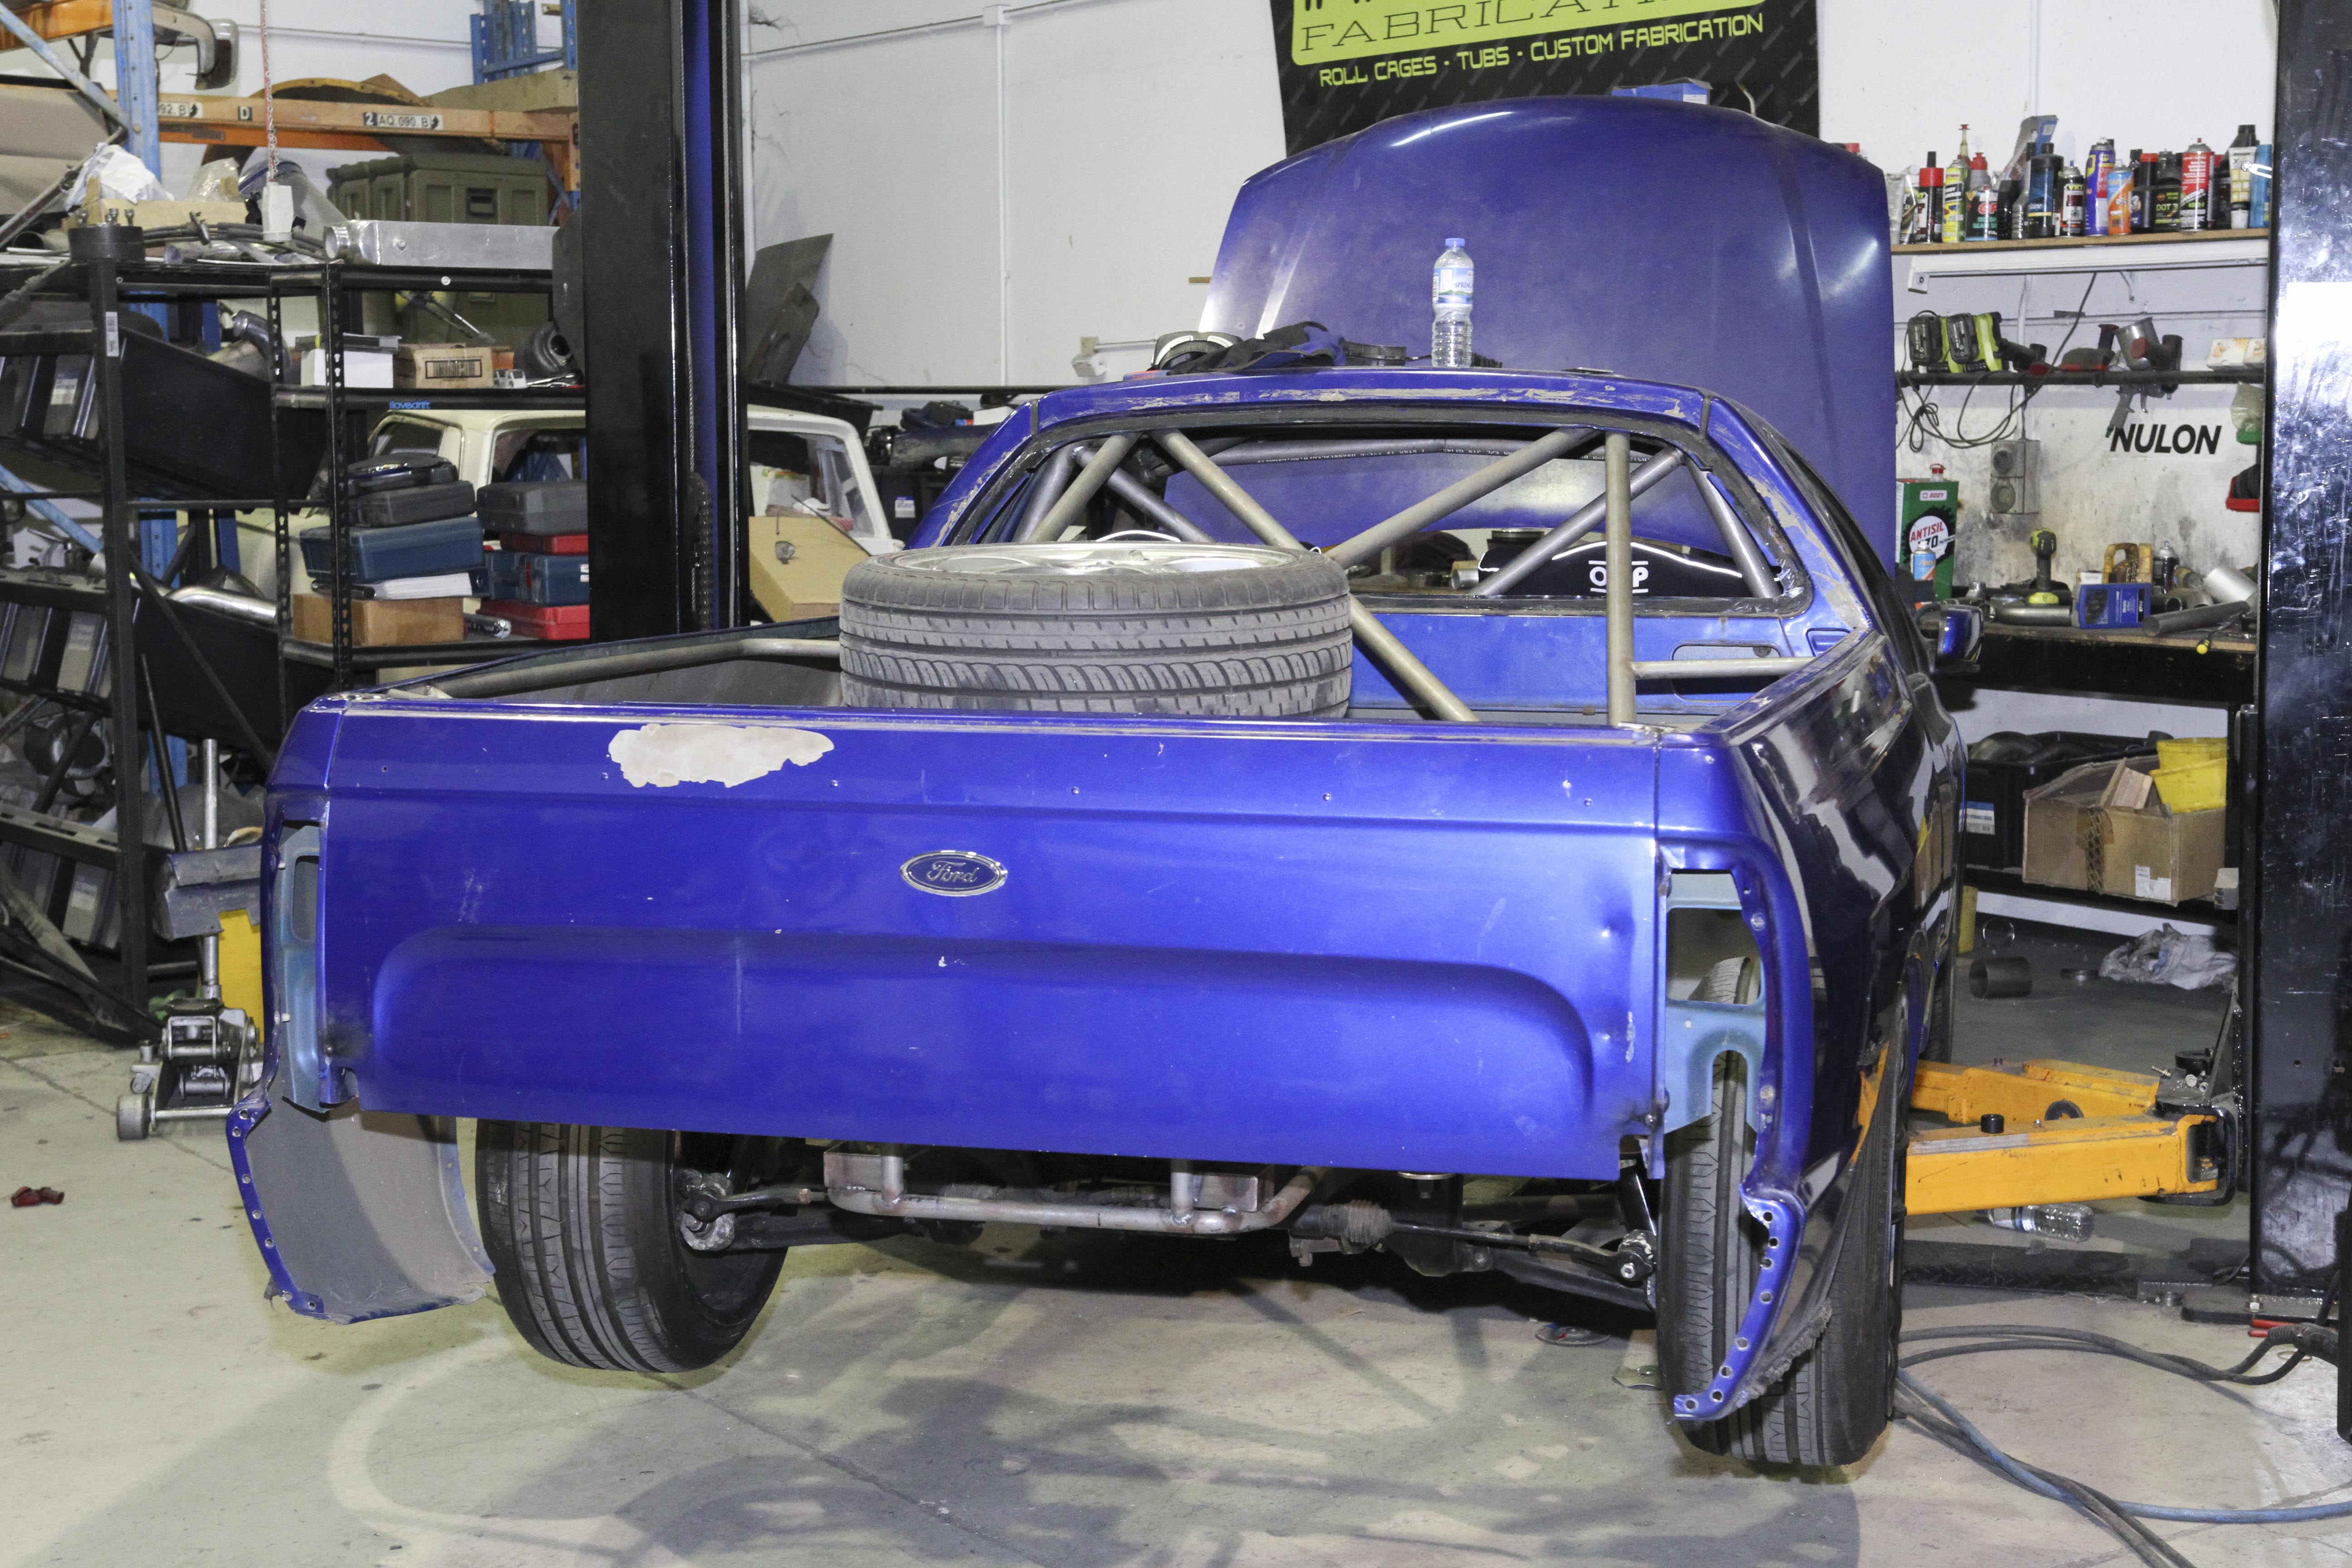
She’s starting to look like a ute again. This rear tub is now removed with some 10mm bolts in one section. Think of it as a rear clip Australian style.

Looking at it from underneath, you can see there is a fair amount of blank space that needs some work. The next step will be to sheet this off and get JSAI Aero to come and start designing a rear diffuser. before this can happen we need to get an exhaust sorted, and before we can start that, we need to mount the turbo.
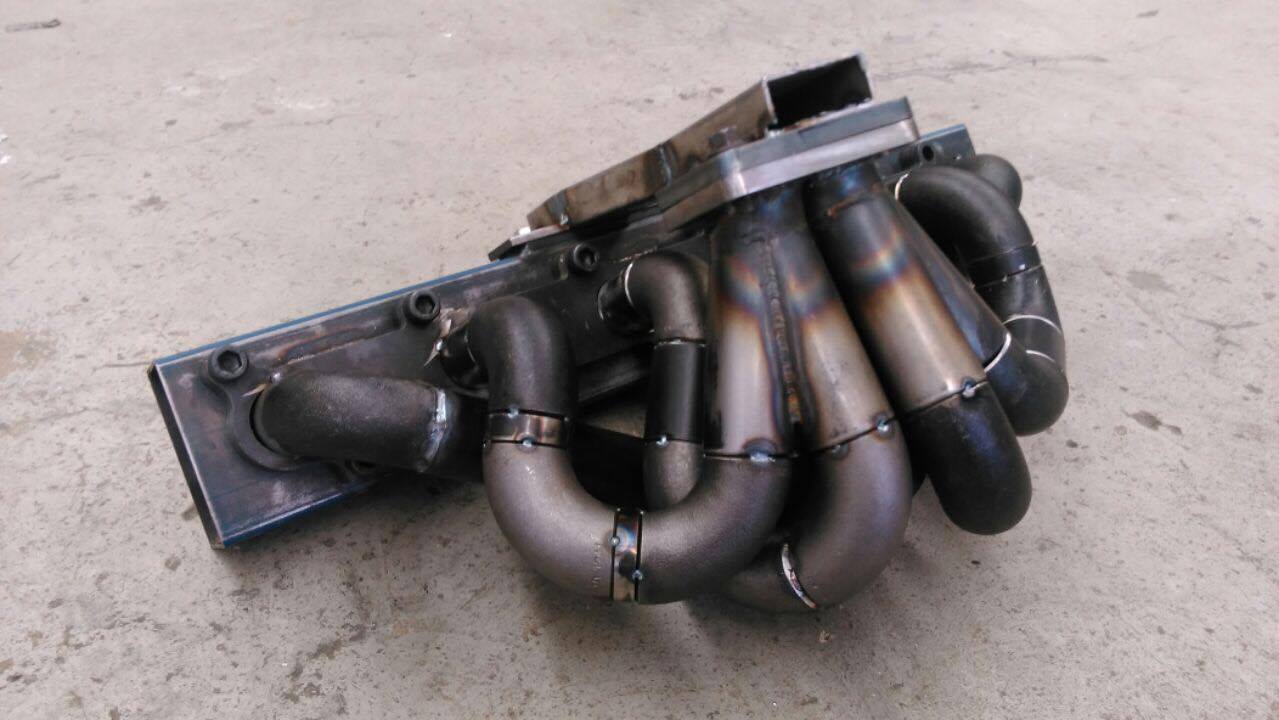
Coming up fast, one Grubbo special in the form of an Impossible Fabrication custom manifold. This sweet piece of gear will flow 1000hp without too many dramas, so should be more than enough for this crazy ute.
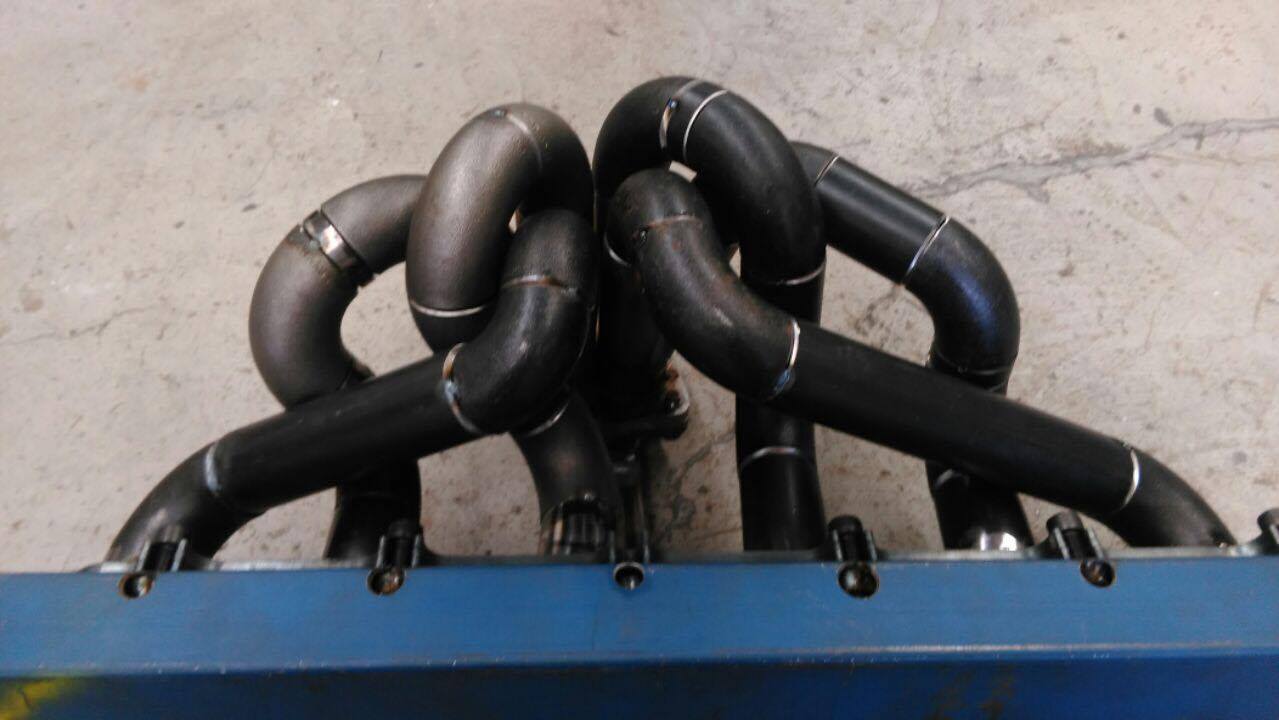
Although it takes about 3 days to produce one of these manifolds, and more than 6 different swear words (try and list them all) the finished product is always something special. Porter’s ute manifold is no different, the fitment is perfect and the position of the turbo is spot on.
A common problem with high mount manifolds on these barra motors is getting them too close to either the head, the bonnet or the strut tower. If you get the position wrong, you will end up with clearance issues when it comes to intercooler piping or worse yet, heat problems in the head.
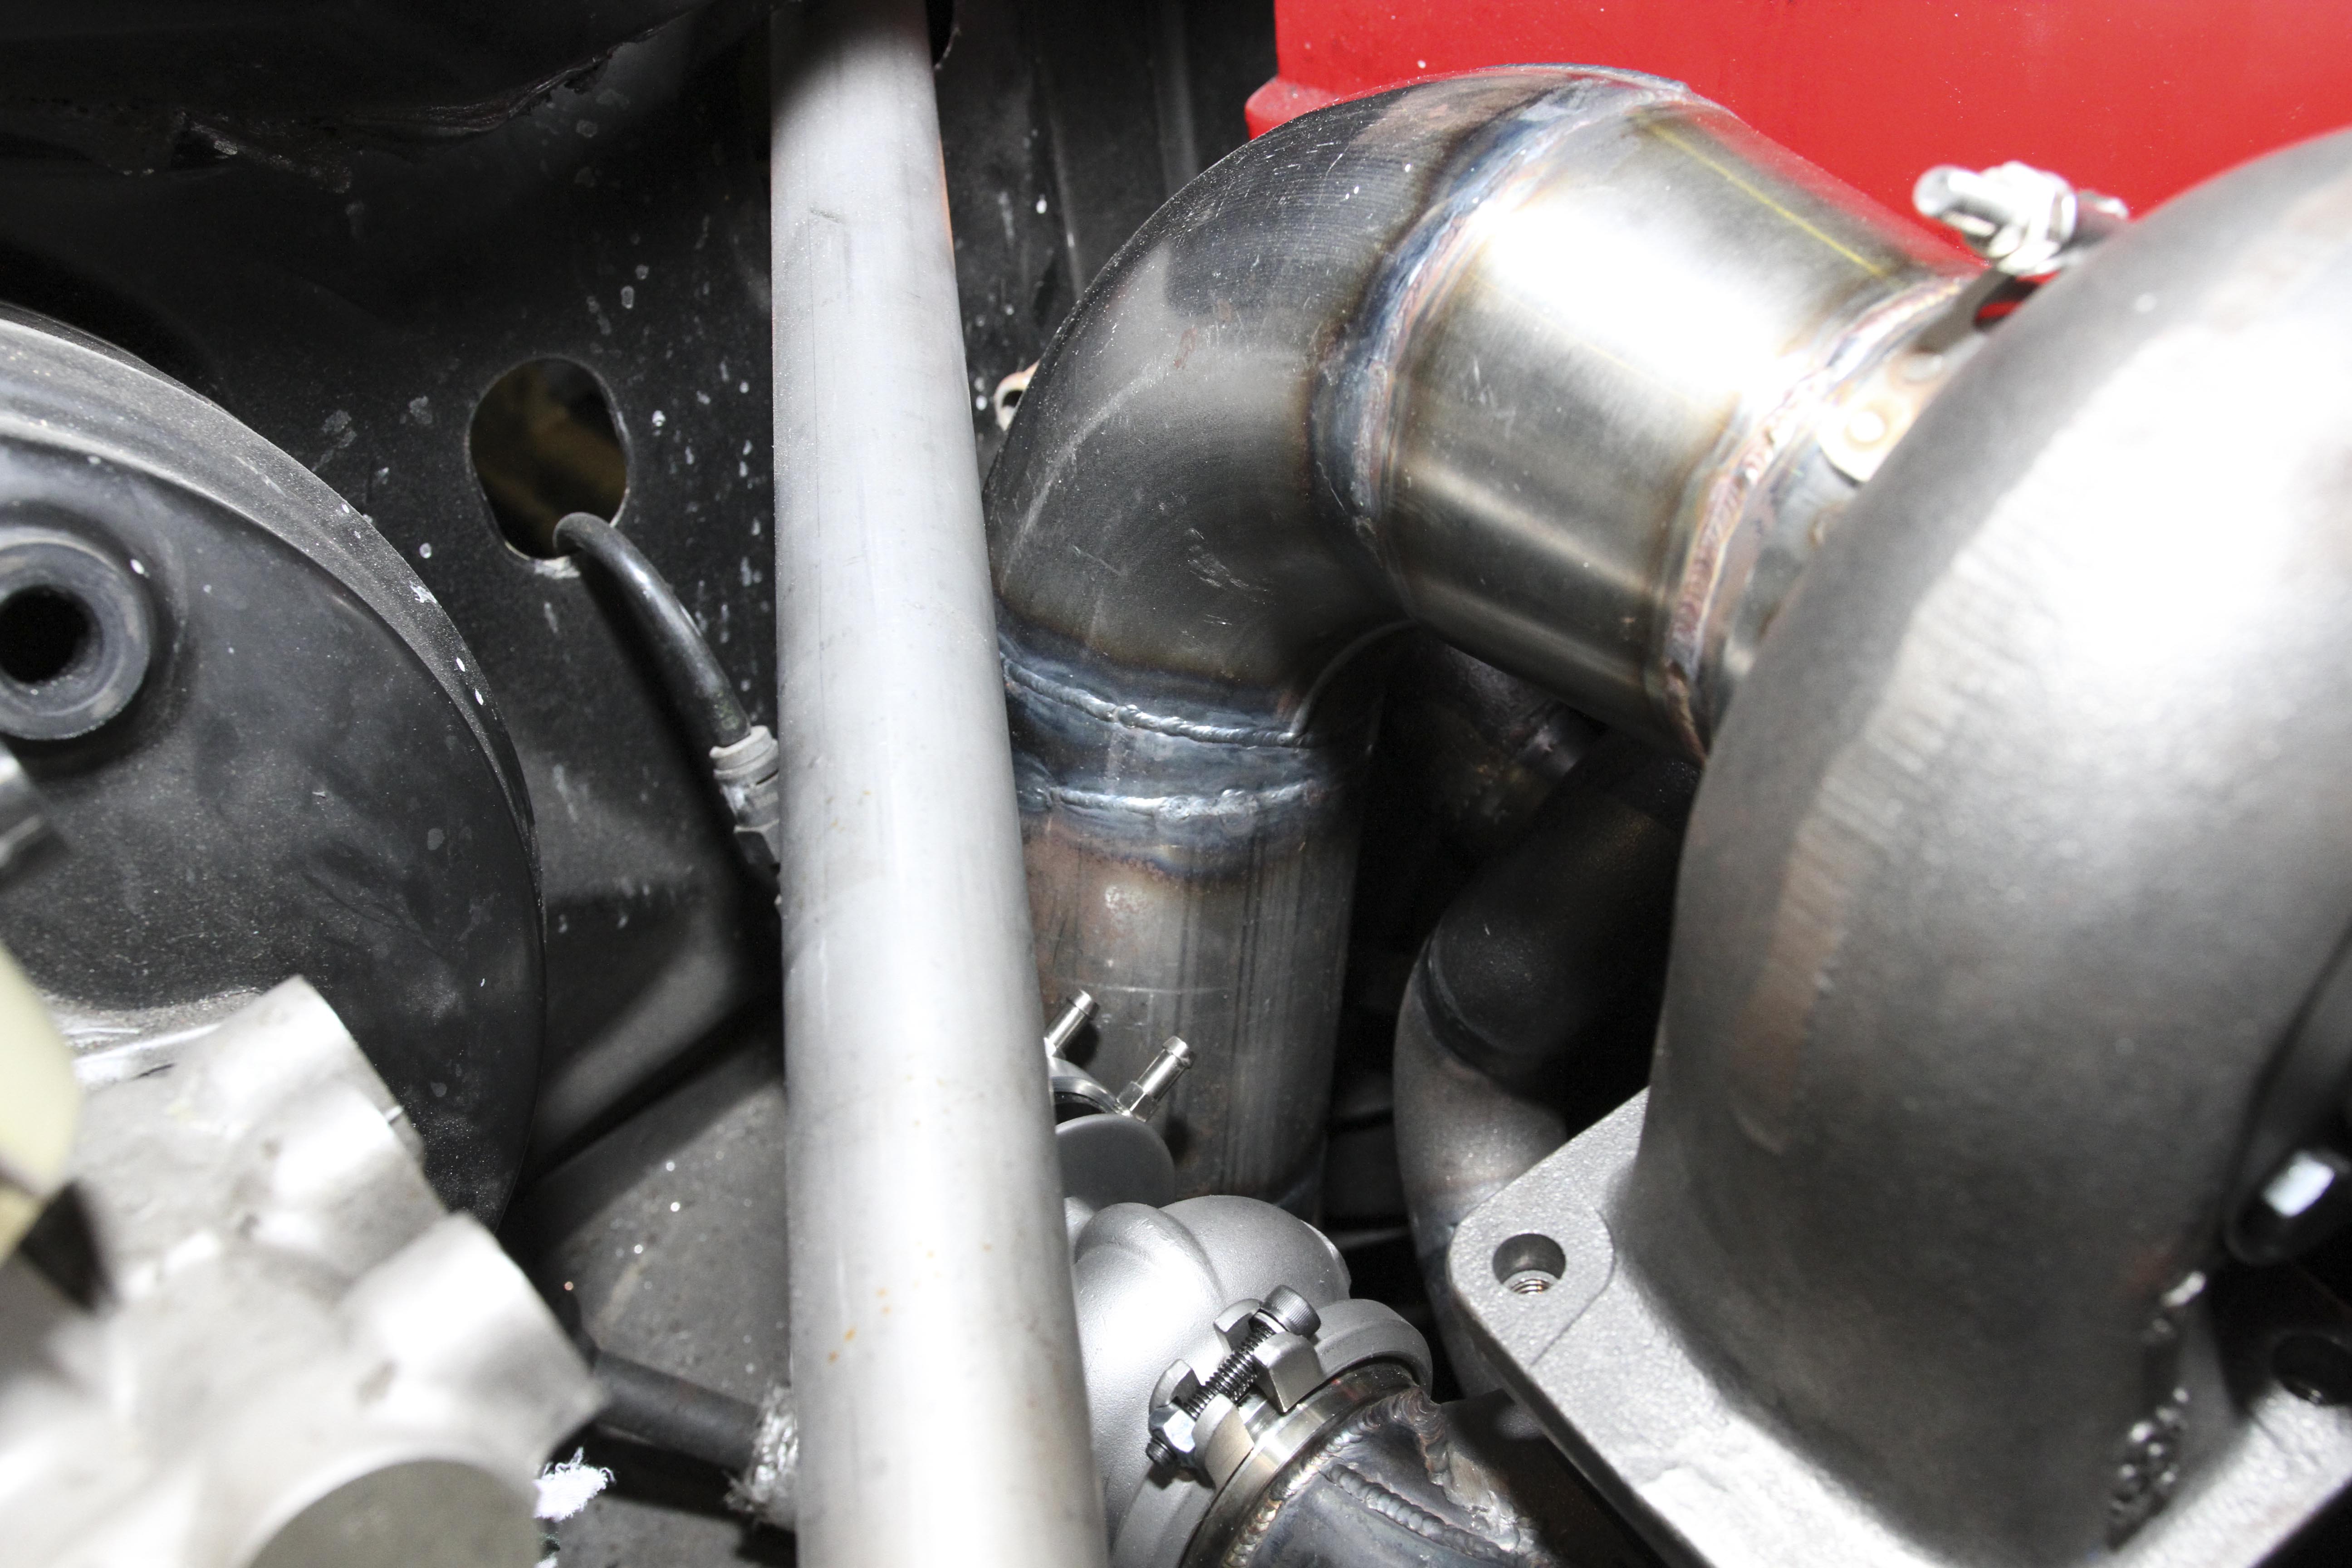
Next up it is the dump pipe. Trying to keep it as large as possible but with limited space, they used a step out from 3 to 4 inch and shot it out the bottom of the engine bay.
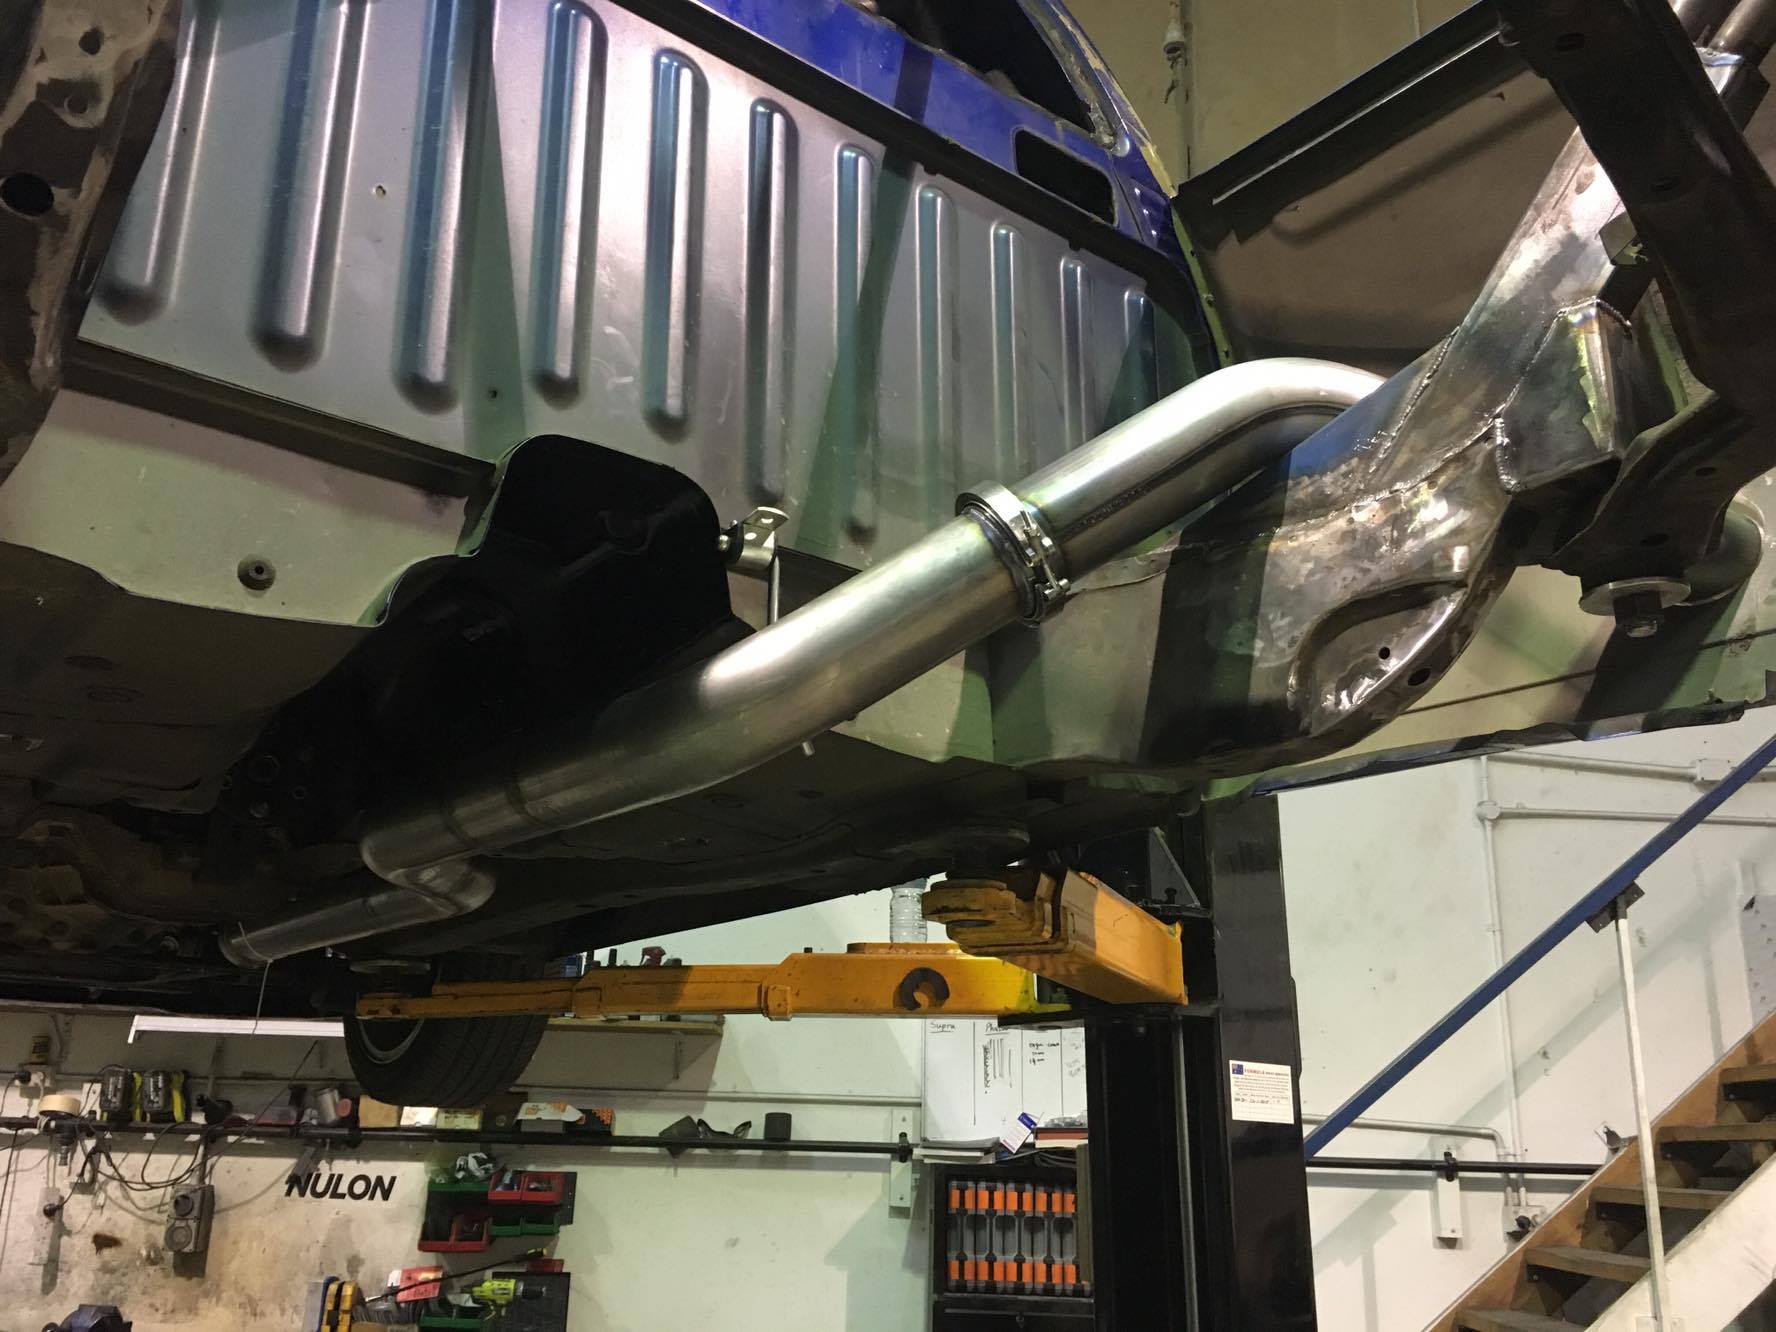
Built in 3 sections, and tucked out above the rear chassis rails, this exhaust has just become our favourite part of this build. Tt takes less than 10 mins to remove, has no mufflers, no cats and very few bends. Can’t wait to see what this beast is going to sound like.
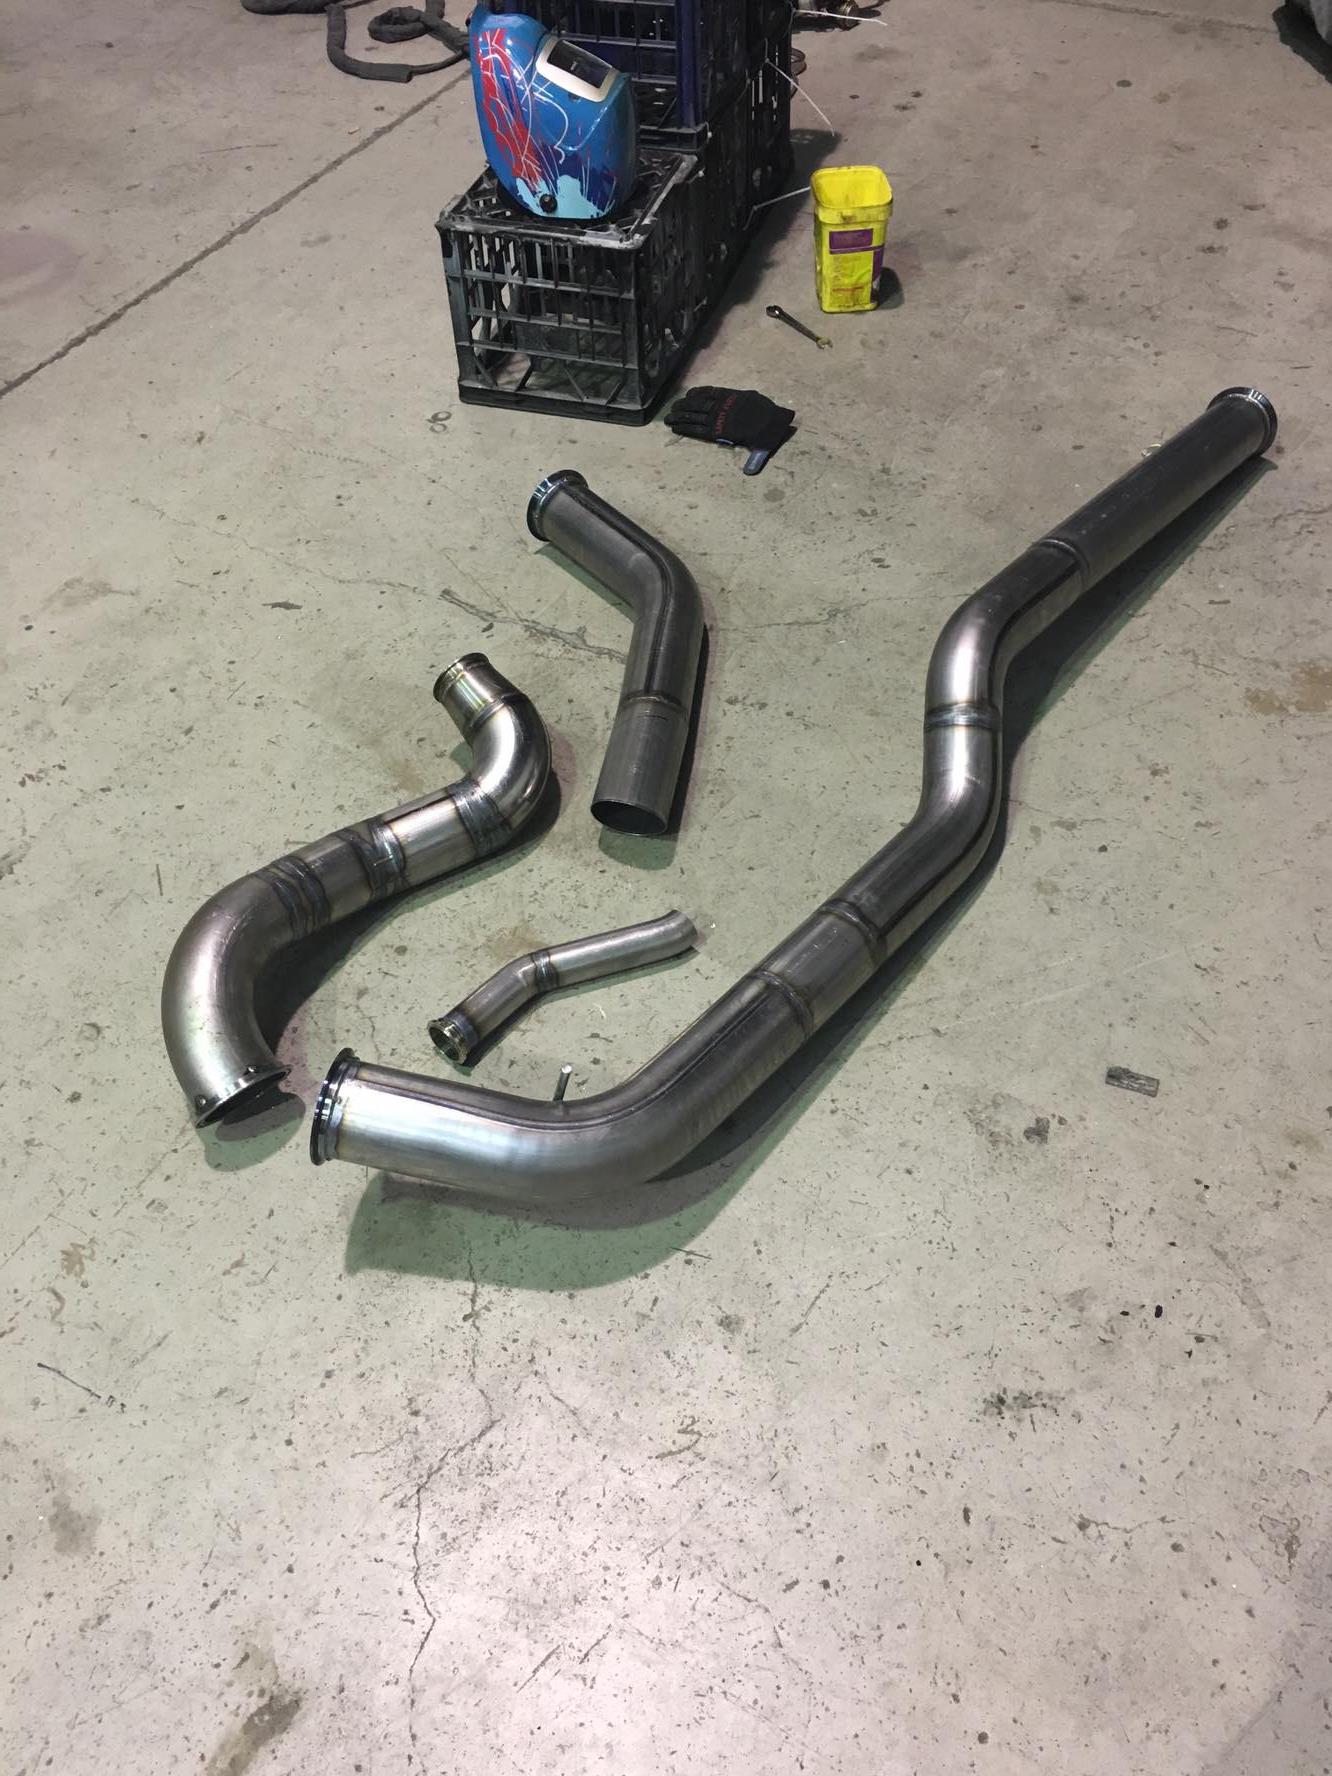
This just shows you how simple this exhaust system is. But wait there is more, check out where the tip comes out…
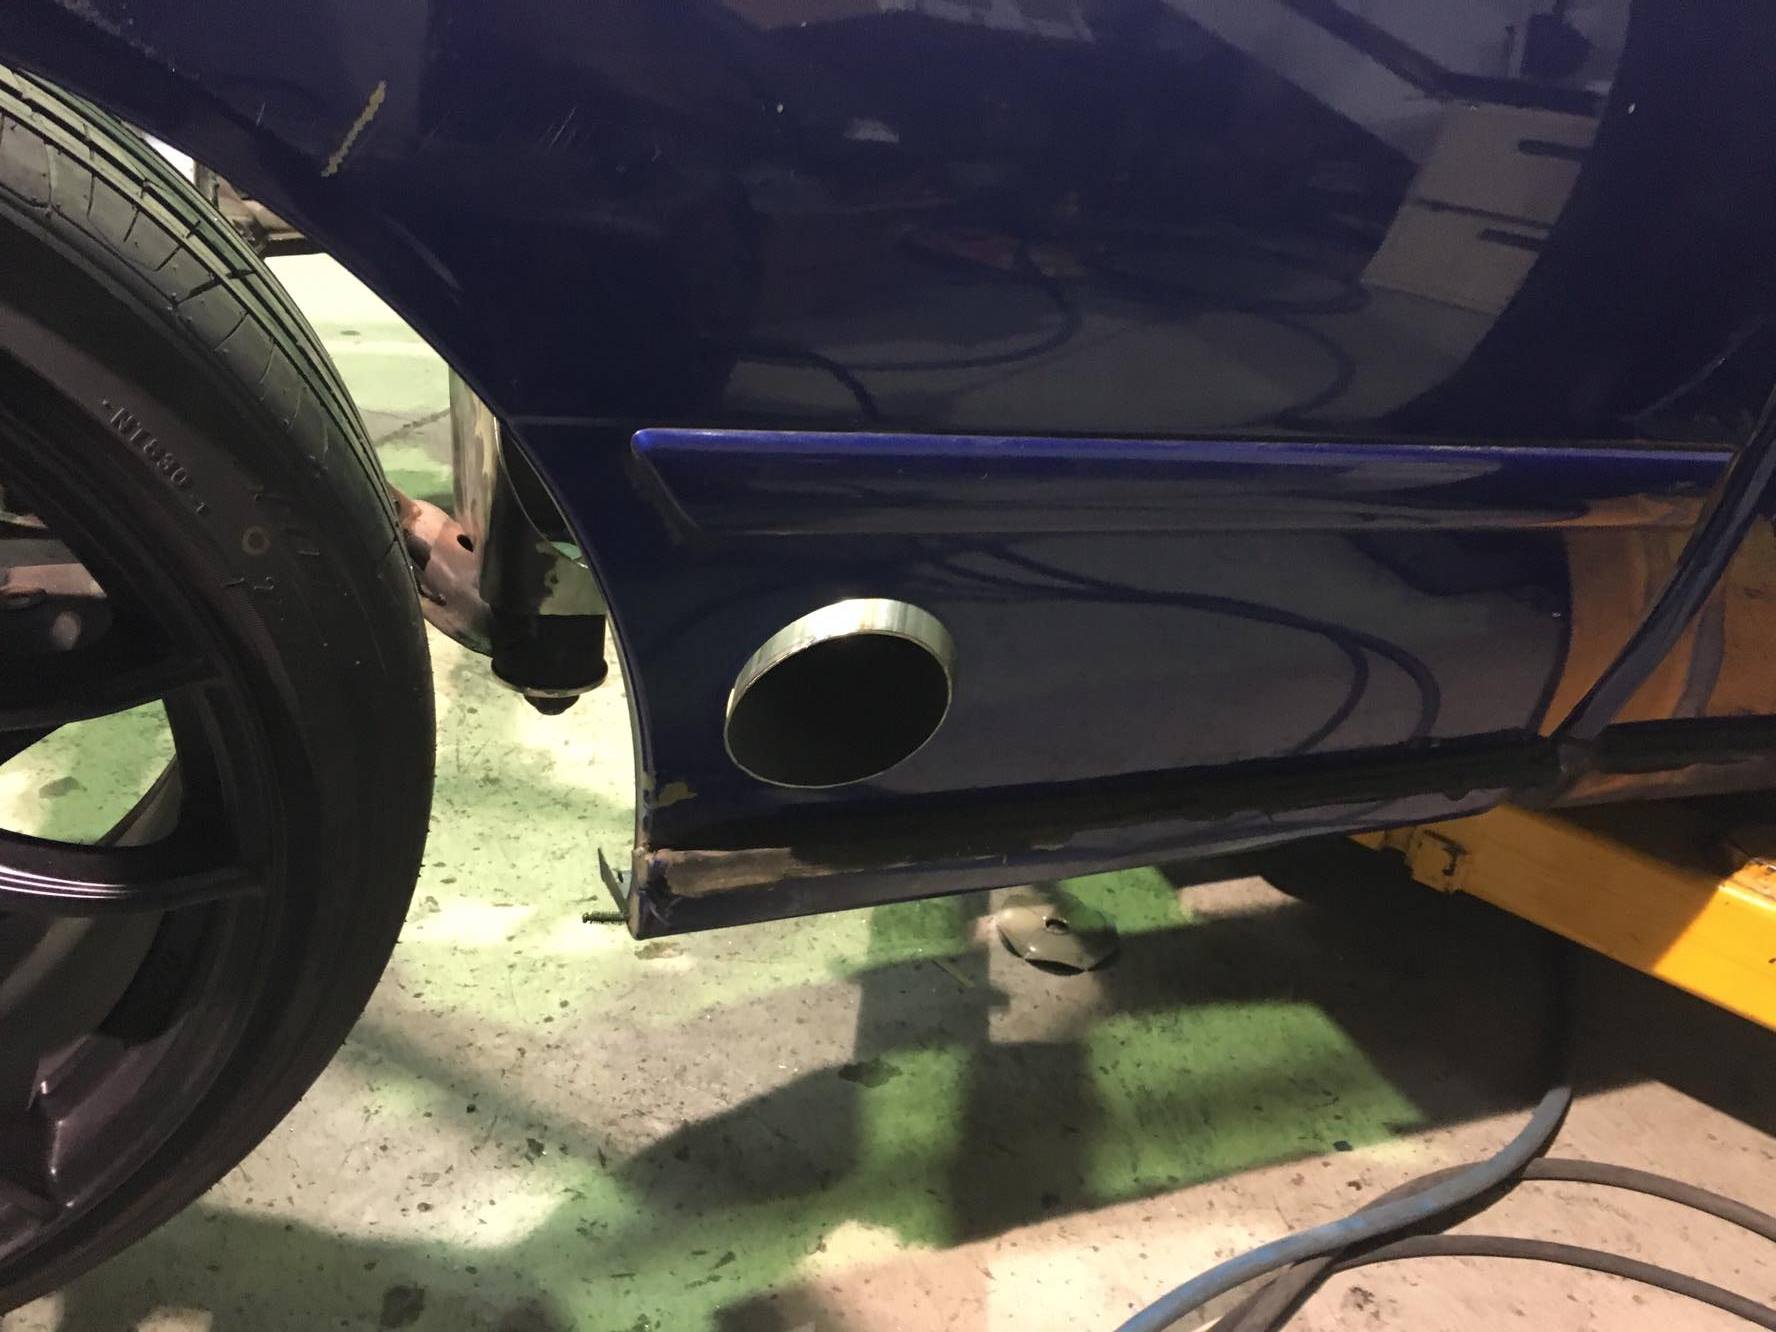
Side Pipe LYF. If you ever have trouble with the ladies, get Grubbo to install a side pipe and all your worries will be blown away.
With the exhaust done, it was time for bed. The next step is going to be intercooler and intake piping, Race seat and boss kit install. Once that is done, the utes holiday and cafe del Grub will be complete.
Stay tuned for the next blog post that will go over the next fabrication steps or for more information check out www.nulonnationals.com.au