The Daily Grind – Mini Spring Cleaning
Part supplies can really dictate ownership experience of classic cars. With my unique old '80s Mitsubishi Montero, I've become painfully familiar with the feeling of dismay when met with the dreaded 'No Longer Available' designation while hunting for the last little part to complete a job. With so few examples still on the road today, and a limited number of enthusiasts still clinging tight to their unique rides, many manufacturers have let their inventories run dry, opting to forego any further production. With time, as parts are snatched from shelves, the three lettered death note, 'NLA', begins to spread through part numbers and it becomes difficult to maintain your beloved classic. Fortunately for us, there remain businesses who step up to the plate to meet our needs and help us to keep these cars on the road for years to come. With millions of classic Minis still putting around on roads all around the world, and a flourishing group of enthusiasts backing BMCs small creation, the demand stays strong thanks to the likes of Mini Spares, a British Mini parts supplier.
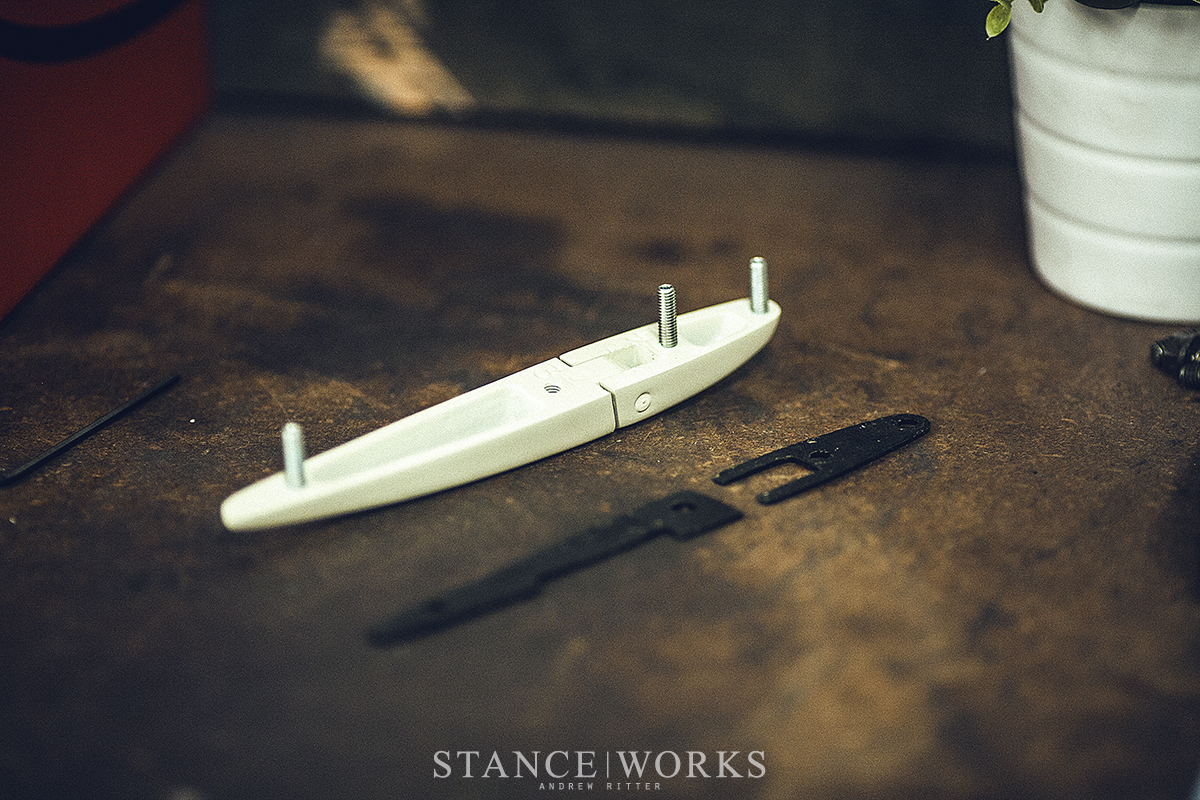
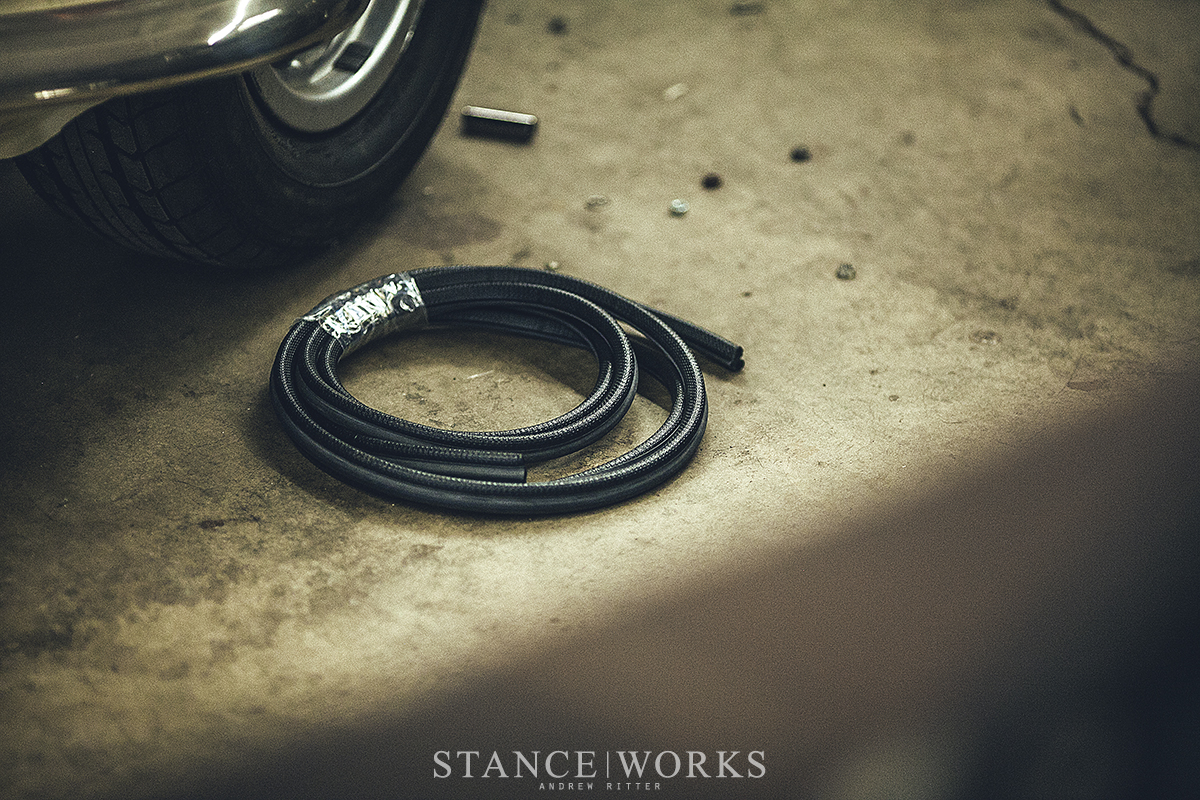
Having purchased my Mini project as a rolling shell, I've spent the past few months piecing together a puzzle that is missing many of the connecting pieces to make sense of the pile of parts. When I picked up the car, the doors sort of shut with a little extra heave and a bit of lift at just the right angle. The old external door hinges had worn out, tired from all of the weight and leverage over the years. The holes had grown oblong and the pins danced around when shaken. Though I received a pile of glass for the windows, there was no sign of hardware or instructions to fit the unique sliding windows of the Mk2 Morris Mini. With a project like this, I've grown quite thankful for the companies that have stepped up to the challenge and present us with the parts to fill in the blanks to such mysteries. A box arrived from the UK, straight from the team at Mini Spares, to address my door needs. I dropped a new set of slack-free alloy door hinges off at RomanceWithRust in Orange, CA to have them color matched while I began pressing in new, updated weather stripping into the jambs. The alloy hinges from Mini Spares replaced the old worn out steel ones and tightened up all of the play. With a few hours of adjusting and then adjusting again, I finally had the doors hanging at a better angle and swinging like new.
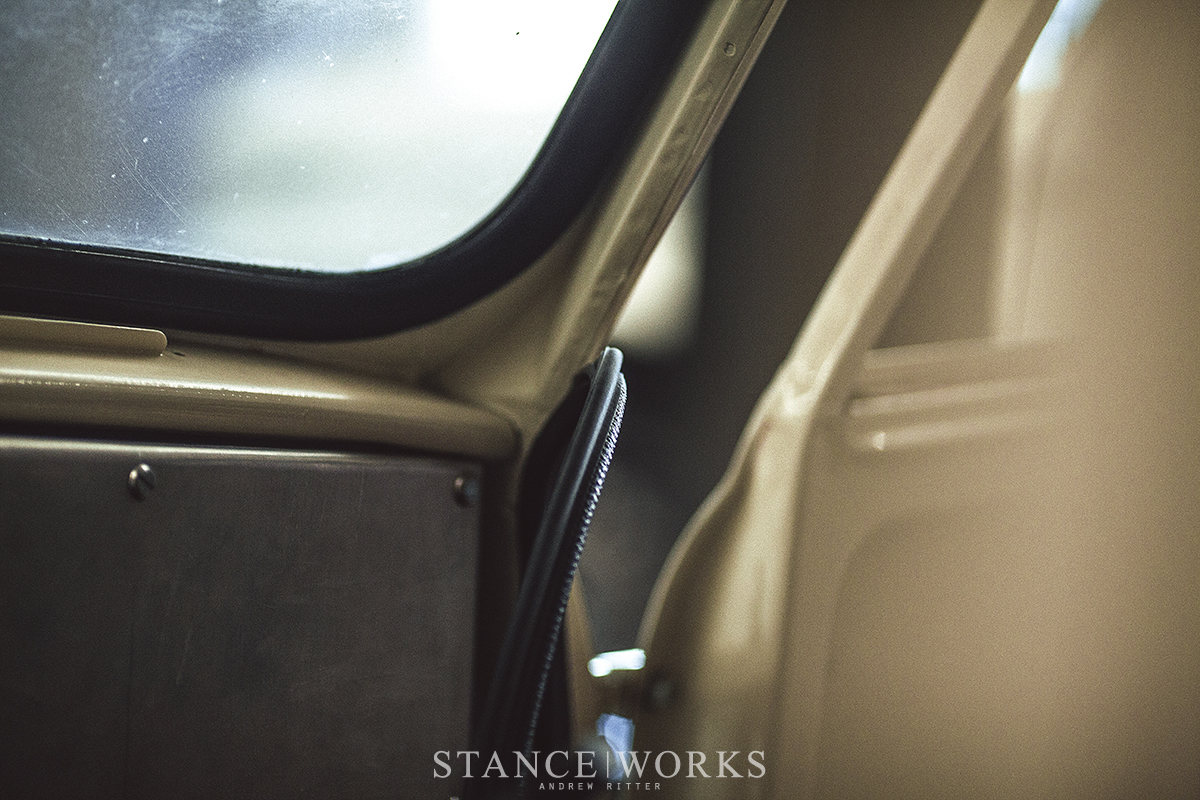
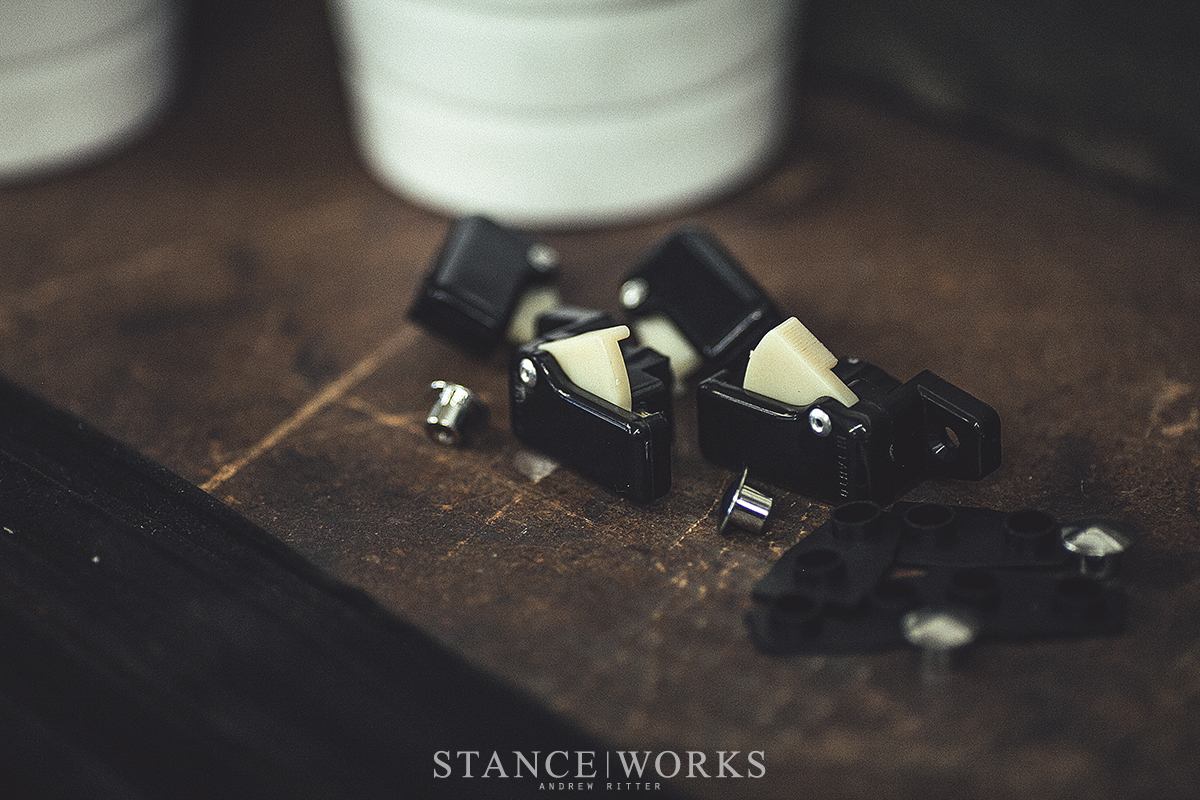
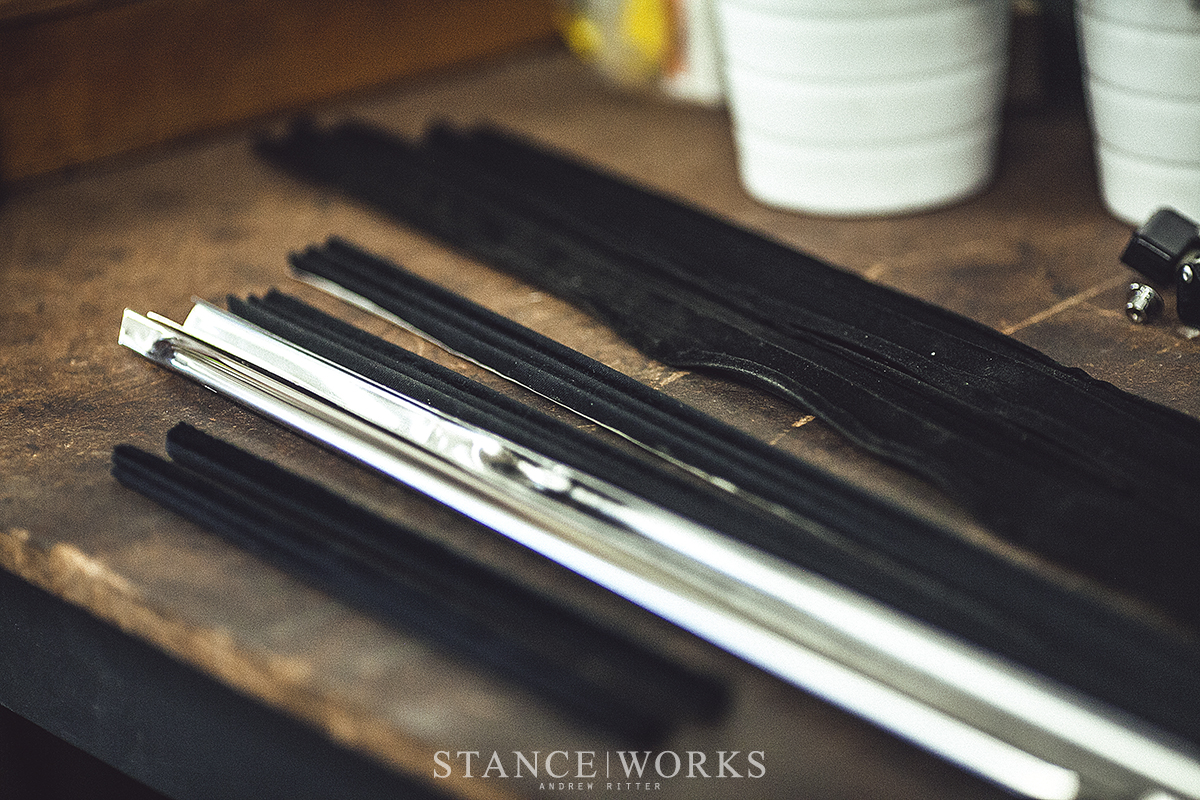
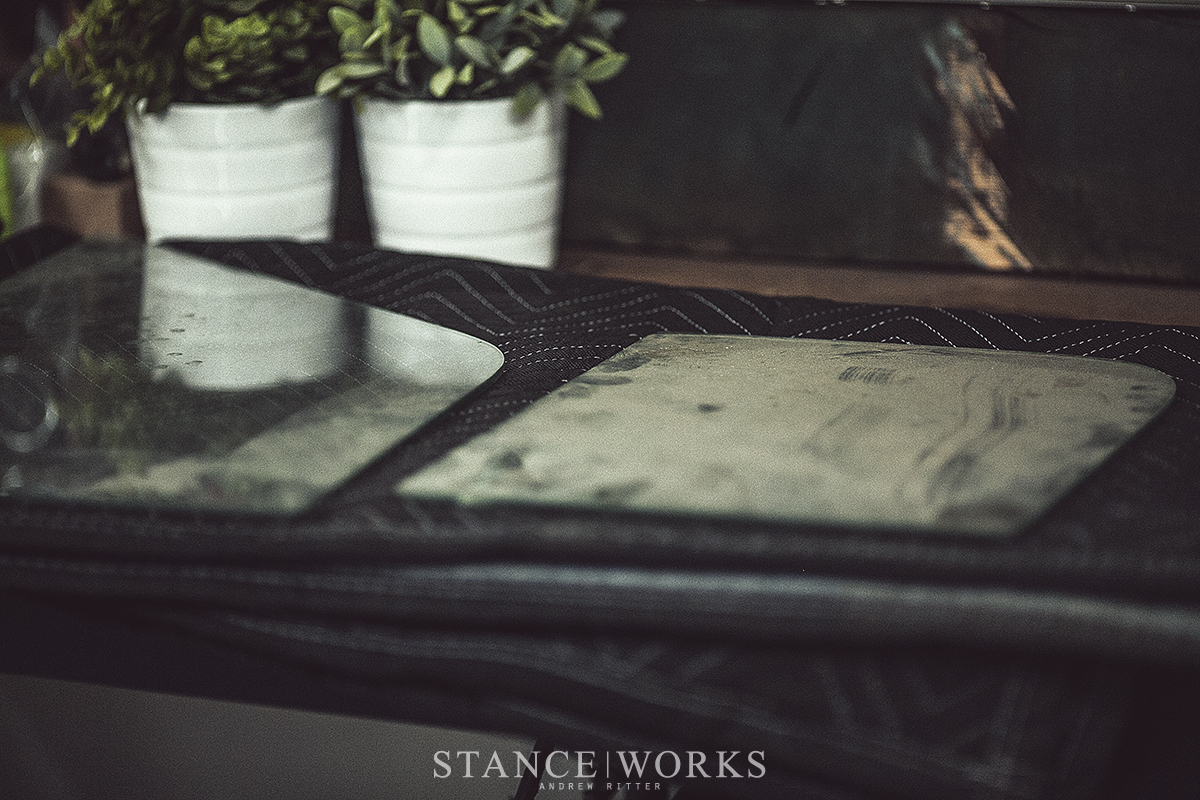
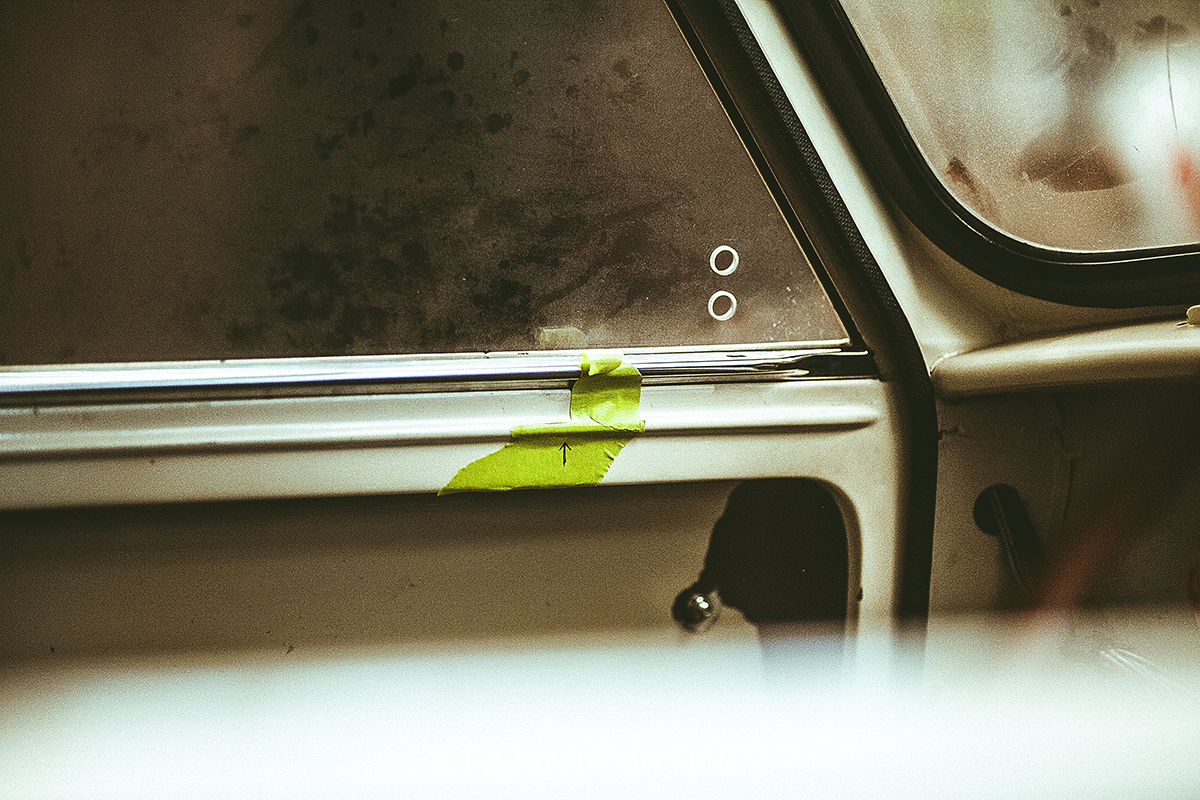
In the 60s, Mk1 and Mk2 Minis had unique sliding windows that left me scratching my head for a while as I stared at the pile of parts. Having not disassembled the windows myself, I found myself in a unique situation, unsure of how it all went together exactly. I've grown so accustom to disassembling and then reassembling by reversing my steps that the Mini presented a new challenge. While poring over part diagrams, I began to piece together the puzzle with new felt guides and the new window latches. It slowly began to make sense and before long, I had the guys helping me hold the two pane window assembly steady as we slotted it into position.
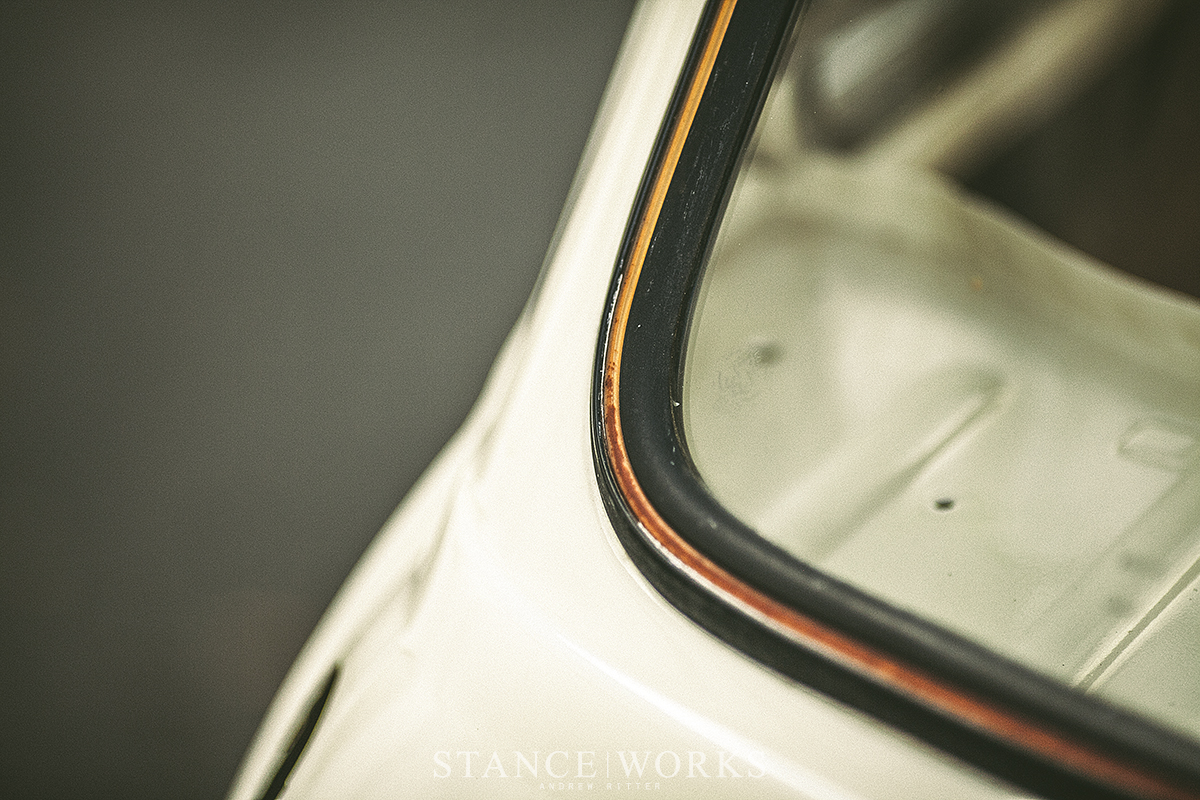
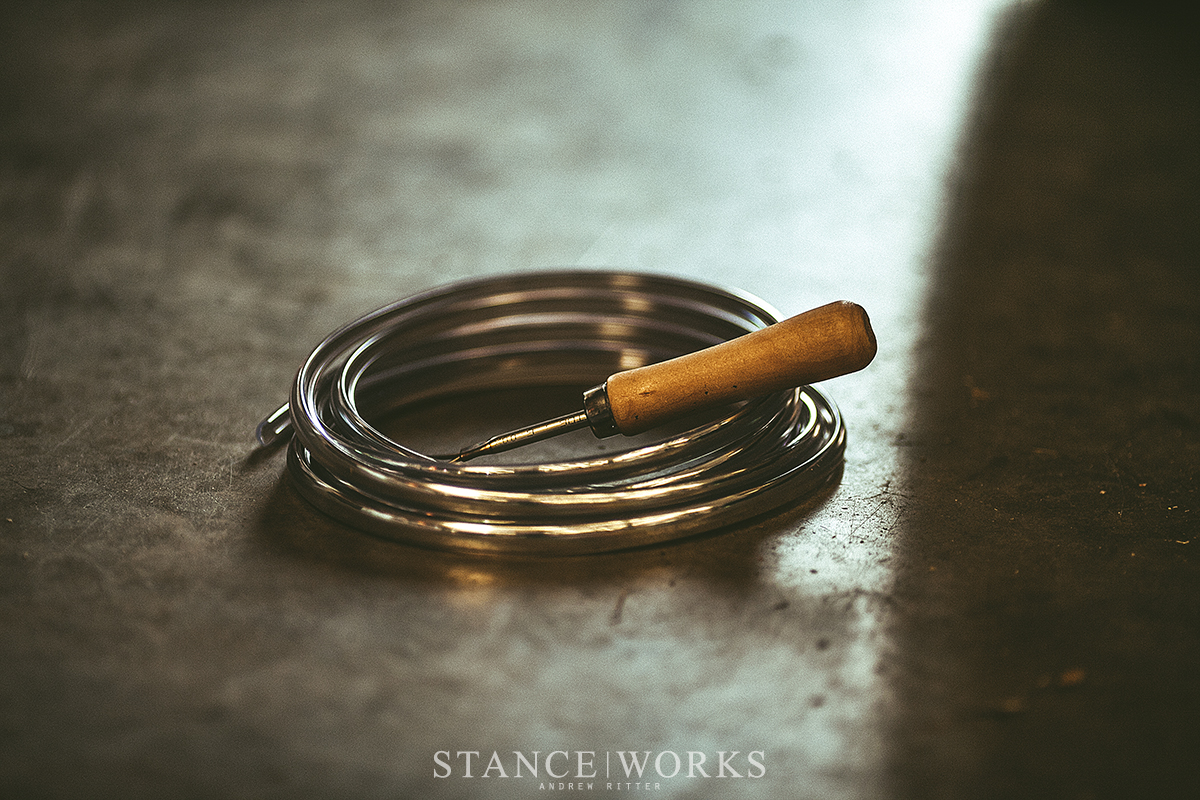
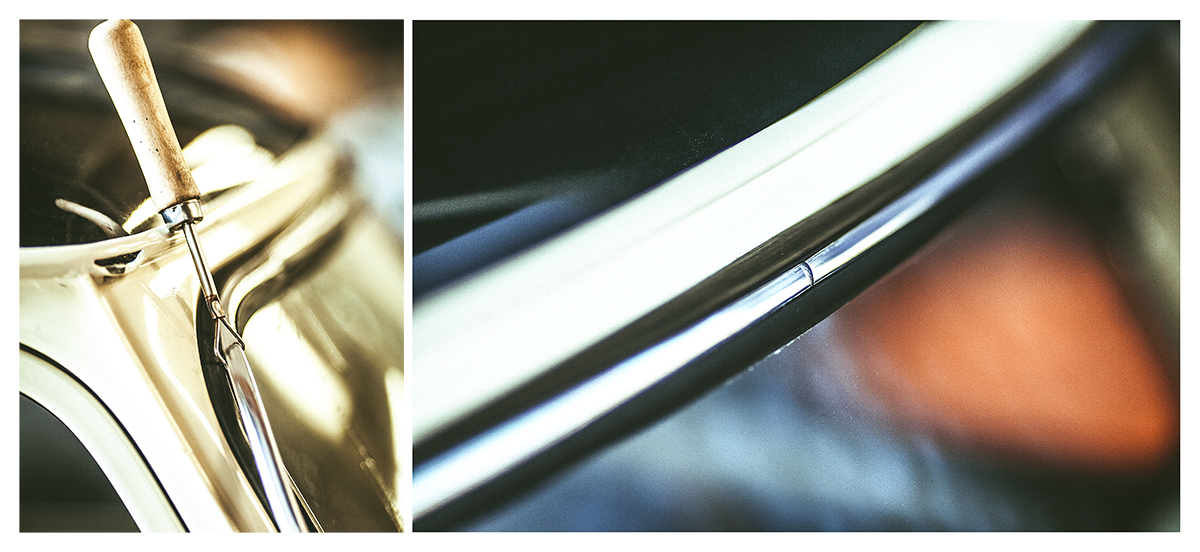
The California sun was cruel to the other window trim around the car, and with new trim added to the doors, I couldn't ignore the red strips that now lined the windshields. With a quick yank, the crusty, roasted trim was out and I began fumbling with the special tool that came with the rest of my replacement parts. Walking back and forth to my computer for internet references, I began to understand the tool's purpose, and I wedged the new chrome in between glass and body. Stepping back, I took pleasure in the fact that the car was beginning to feel a bit more like a "car" than a "project", but it was quite clear that it was in need of some attention.
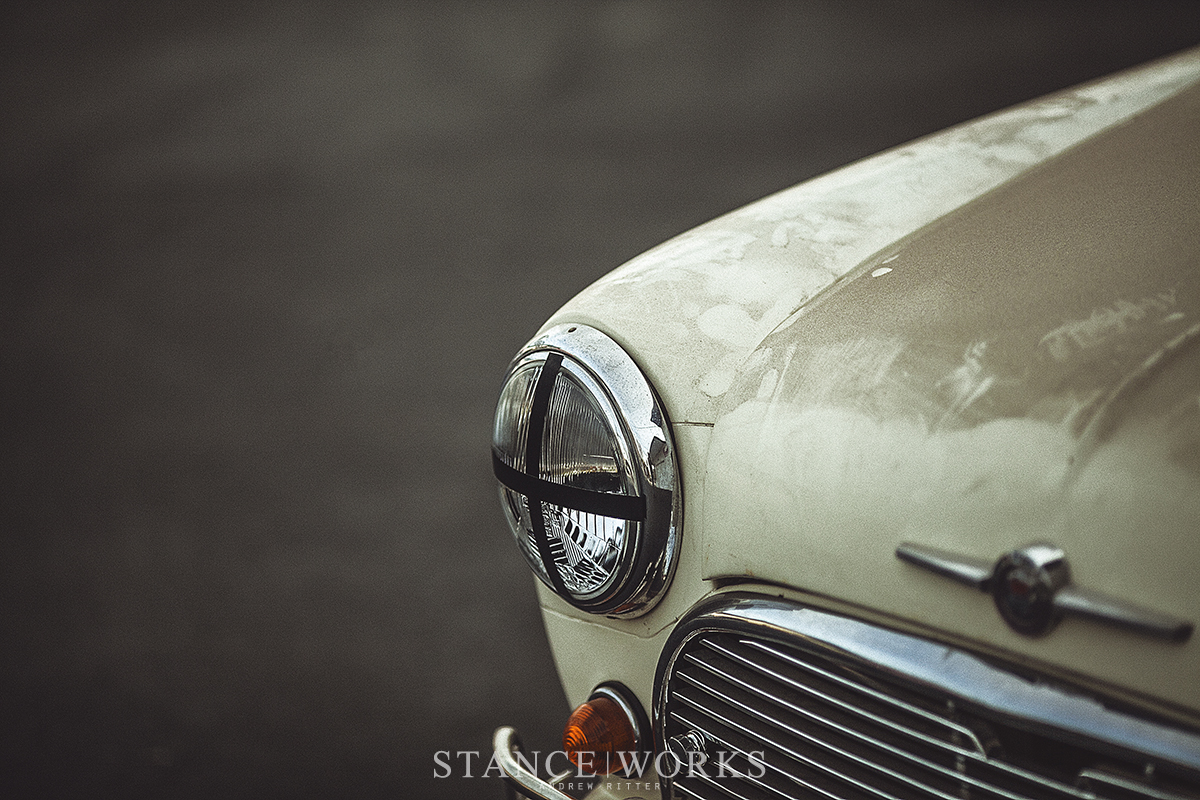
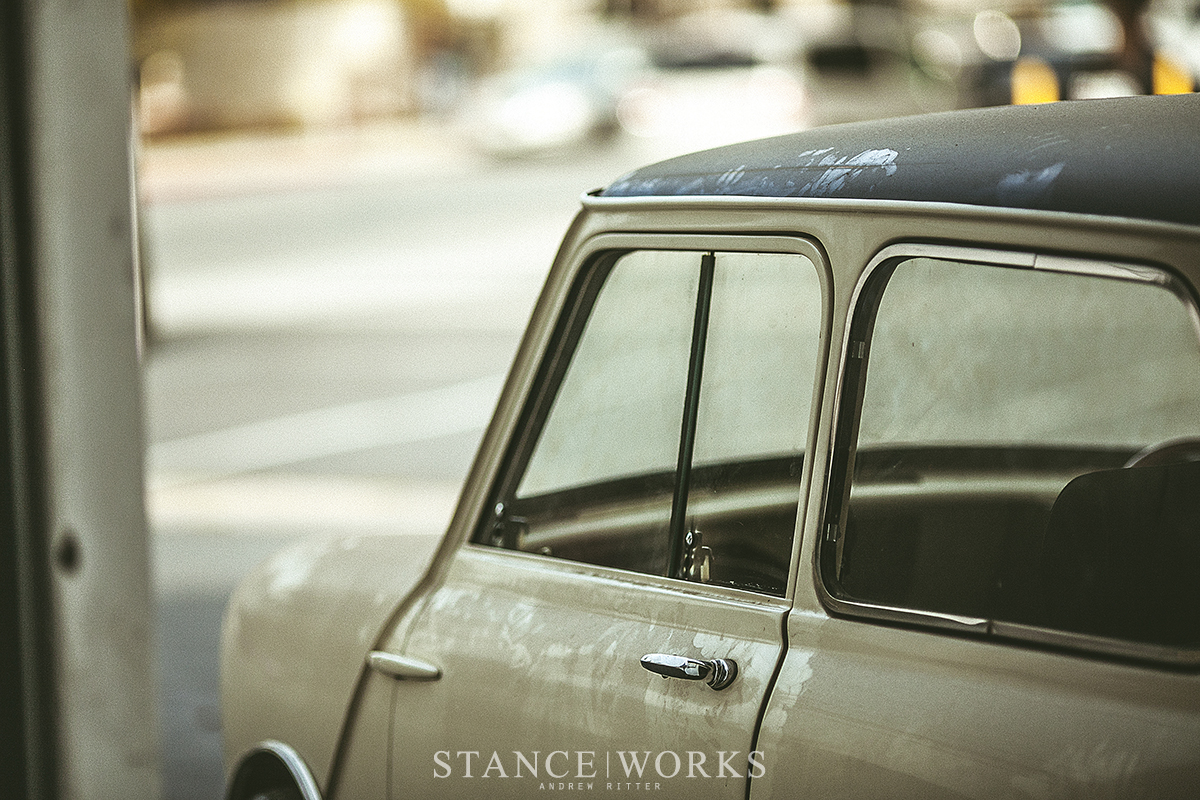
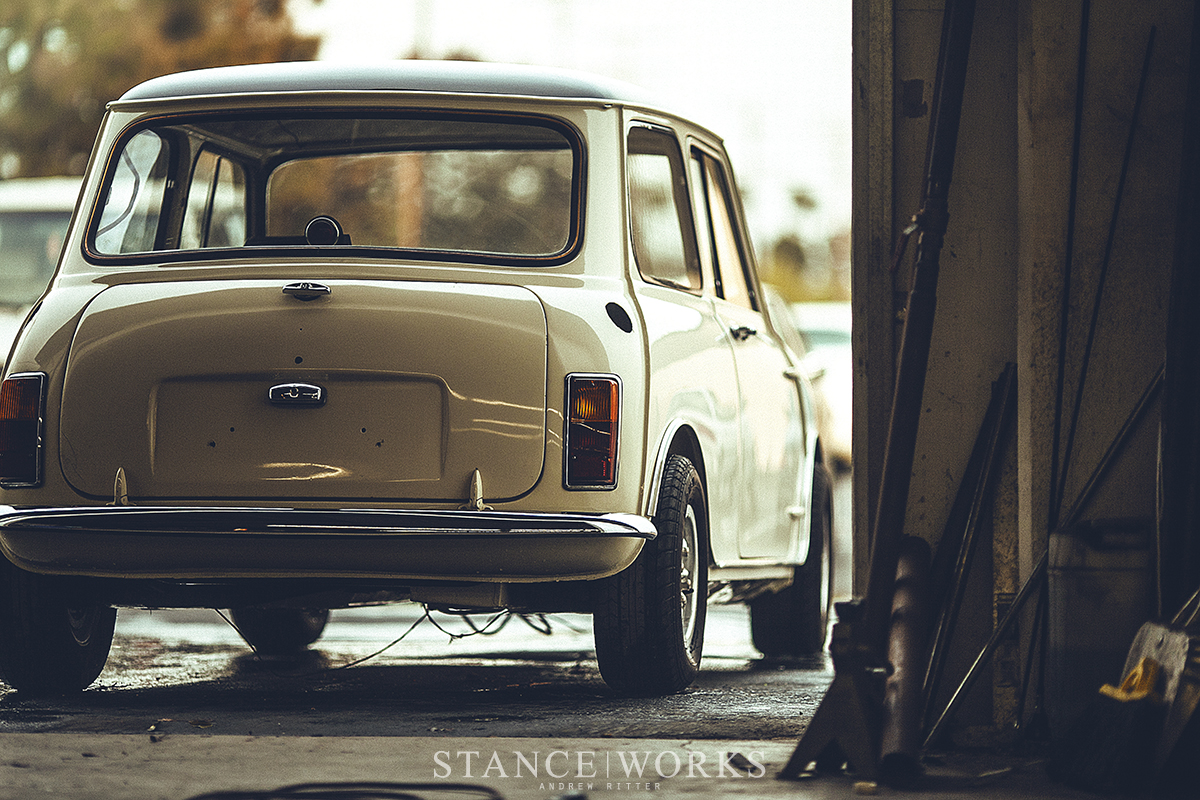
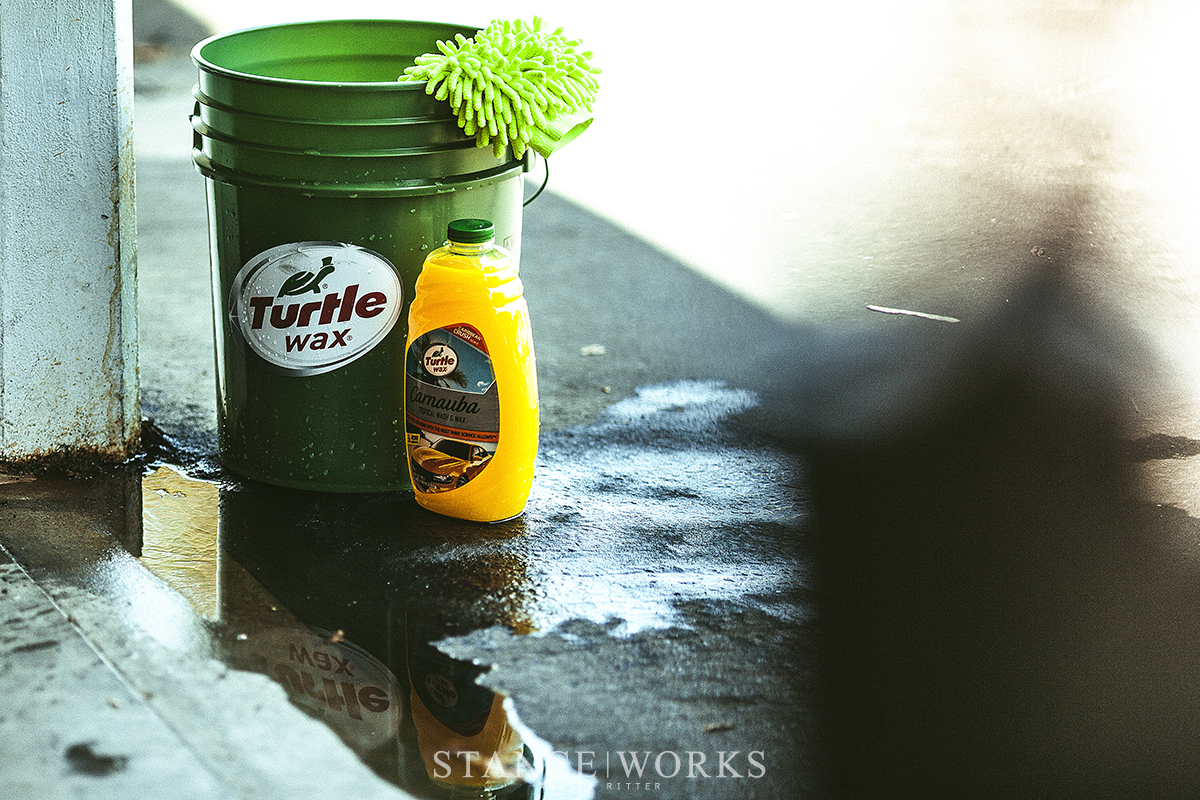
Having not had all of its glass in place in years, it was difficult to attack the dust build up that naturally comes from sitting in barns and warehouses. While I can't quite explain it, the dust build up in SoCal warehouses leaves me in awe with its sheer quantity. It's not hard to quickly lose sight of the paint underneath the dust when a car isn't driven regularly. The Mini has sat in the back of the StanceWorks garage for nearly 2 years now as I've gathered parts and bolted it all back together and unfortunately, the downtime left it looking a bit sad. So, with all of the glass and weather stripping in place, I didn't hesitate a moment to finally give it its first bath under my ownership. I pulled out a pair of buckets to employ the two-bucket method in hopes of preventing scratches the best I could, given the circumstances, and I turned to our shelf of Turtle Wax goods.
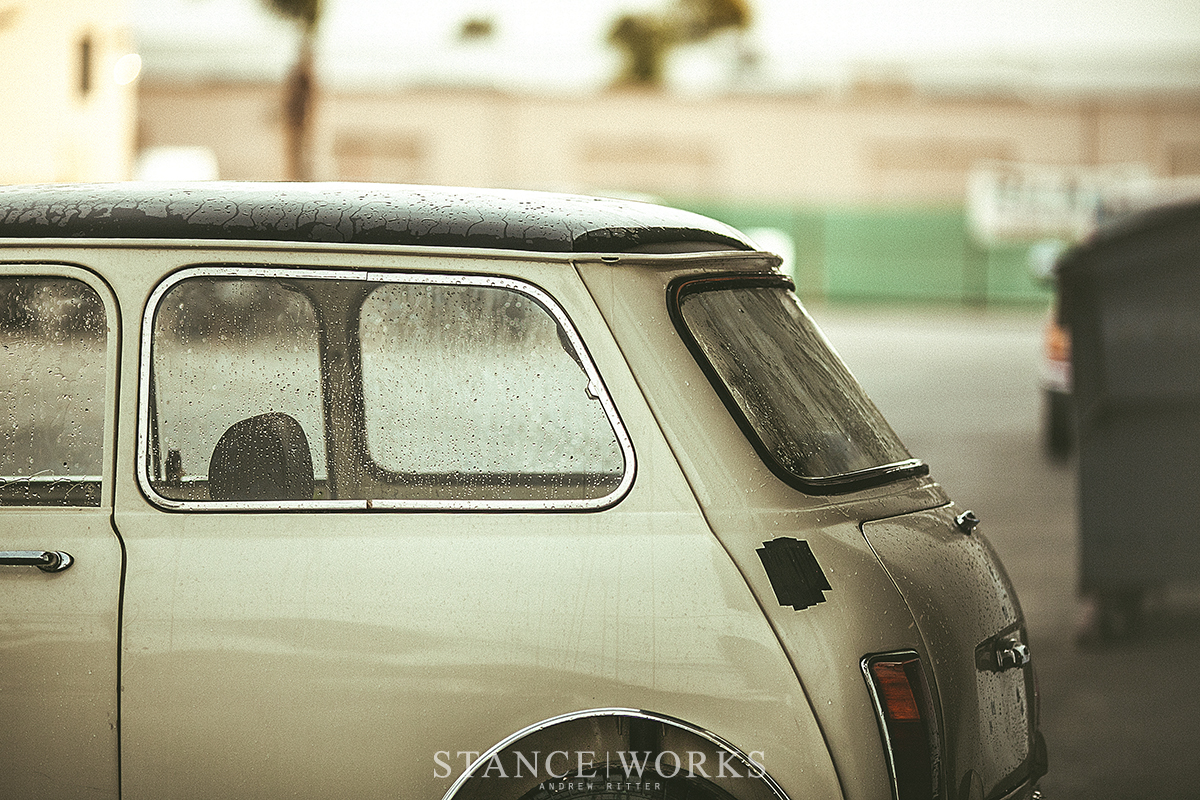
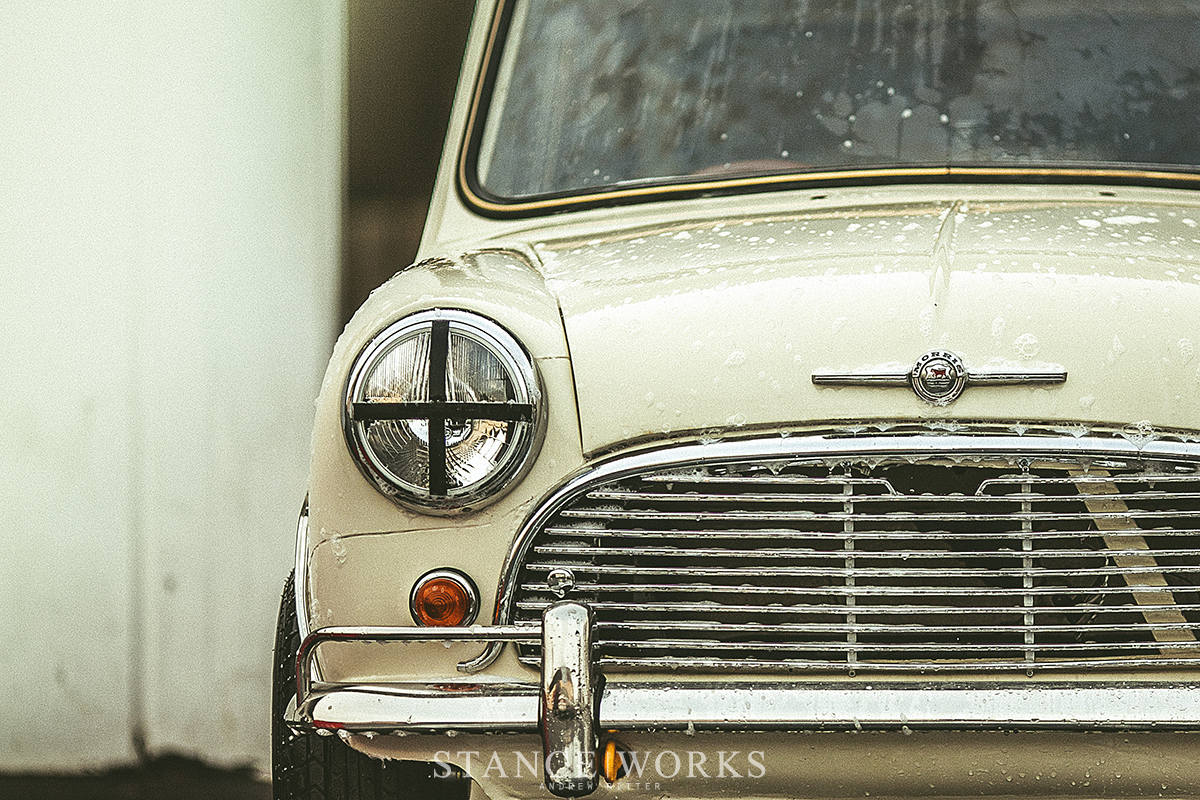
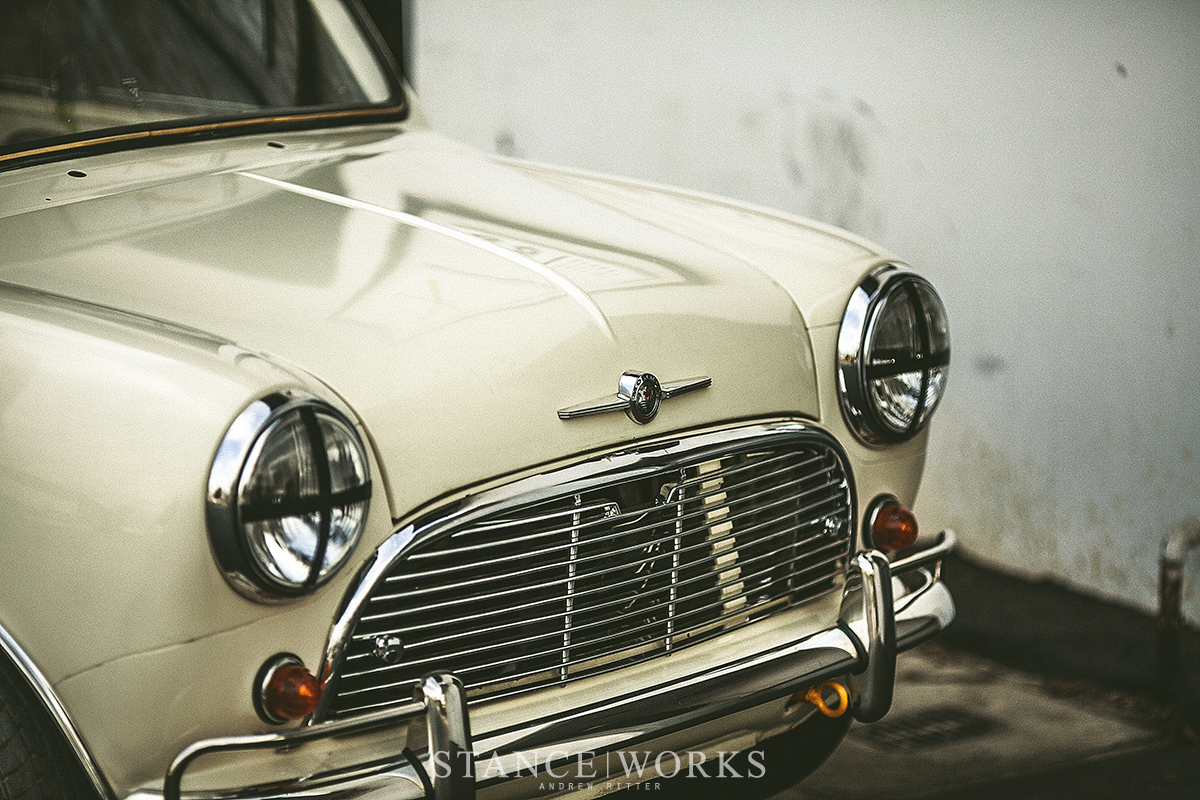
After a thorough hosing to remove the top layers of dust that had accumulated, I began filling a frothing bucket of Turtle Wax Carnauba Wash and Wax. Dipping in and out between the two-bucket system, rinsing before returning to soap the car's panels, the soap allowed the mitt to glide across the paint as I scrubbed away at the mess. The dirt let go and dripped off the car as I began to give it a rinse. Finally the white paint was beginning to look bright again.
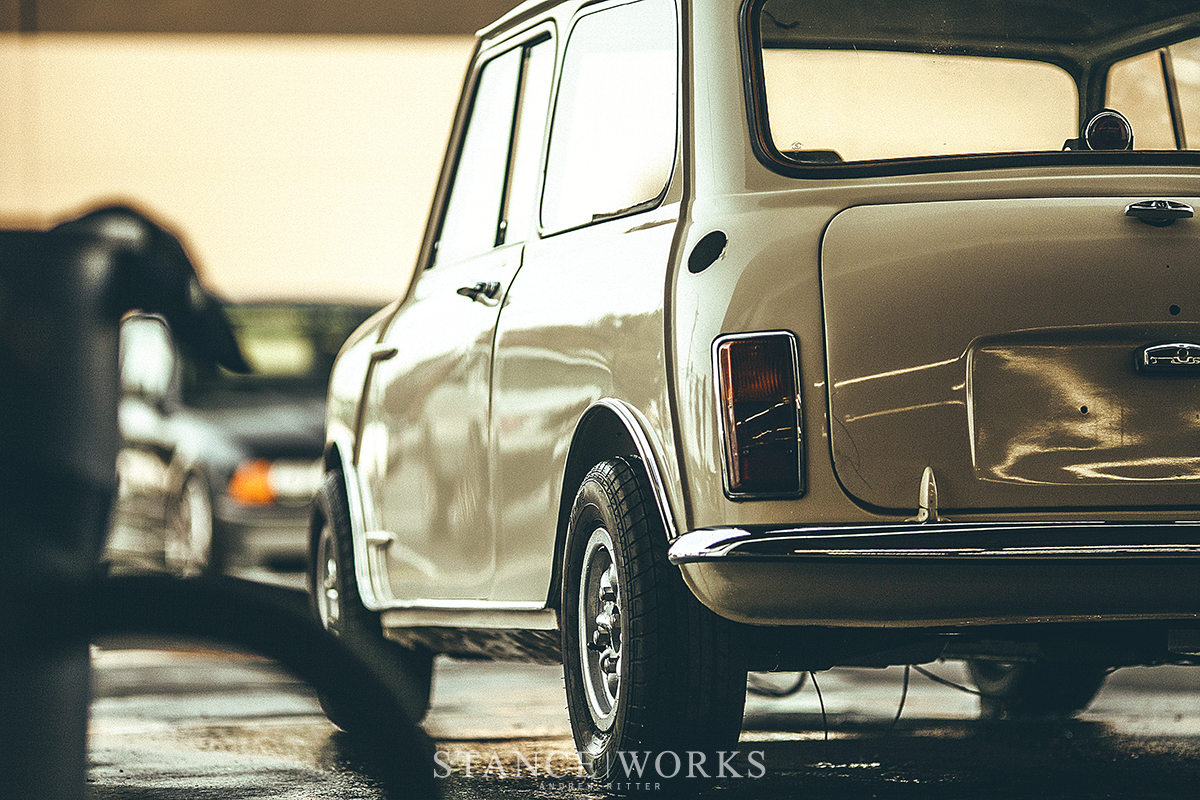
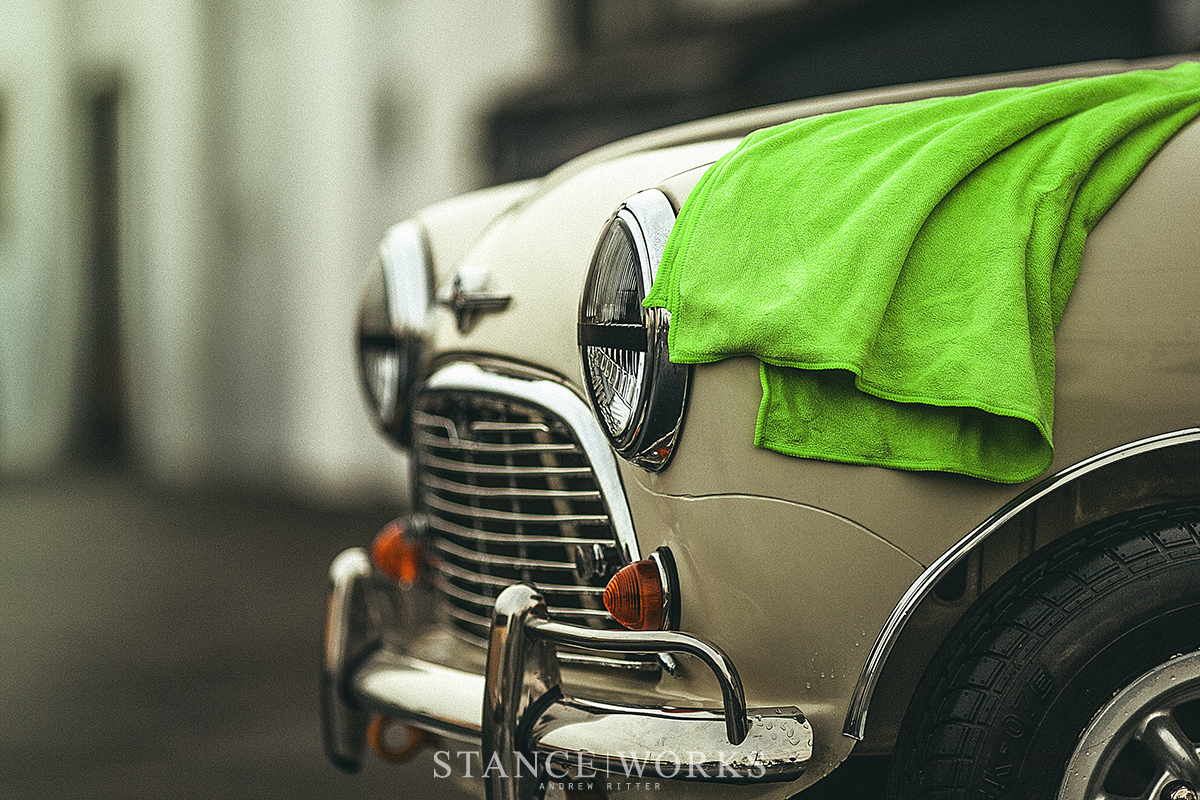
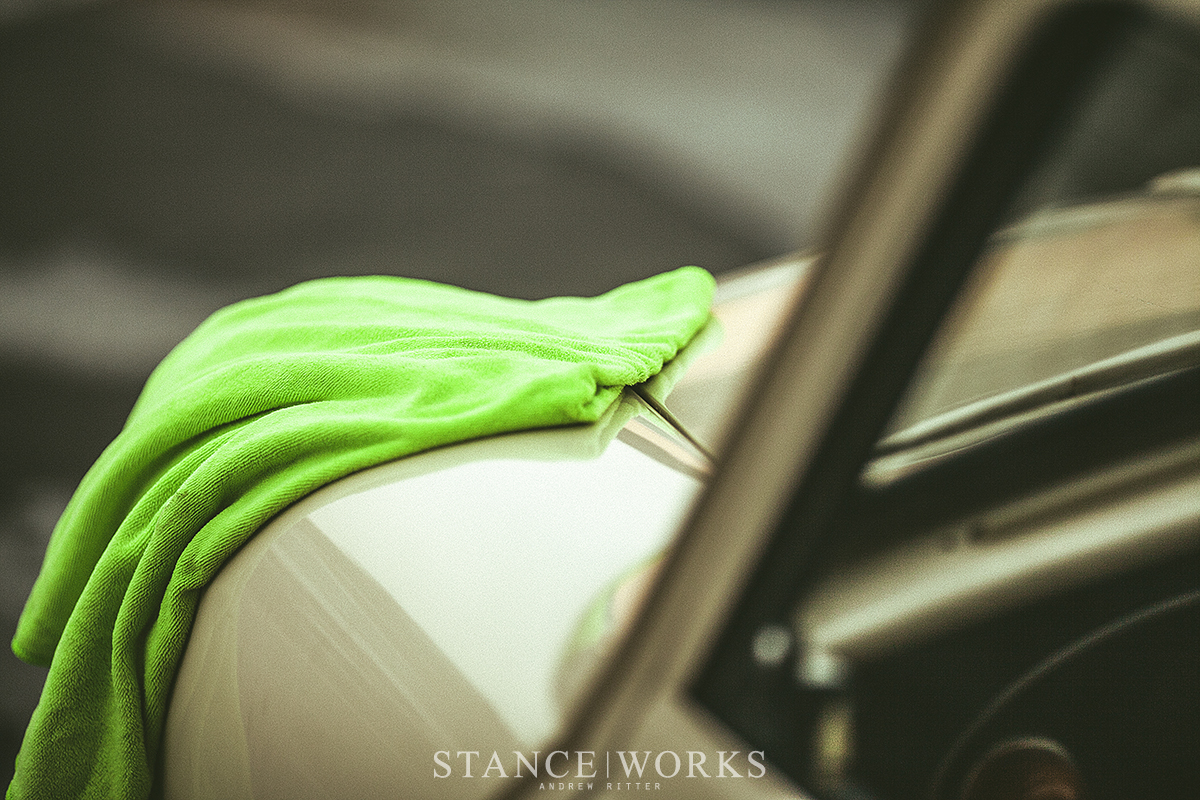
I still haven't grown accustom to the quickness with which California's hard water will speckle your paint with water spots. After all of your hard work, your clean paint is often quickly blemished as drying water leaves behind its residue, but this time I was determined to fight it. I picked up one of Turtle Wax's microfiber drying towels. I've always used chamois in the past, but I was pleasantly surprised by the efficiency of the drying towel. It seemed to soak the droplets up without showing any signs of saturation by the time I wrapped up the final panel on the small statured car.
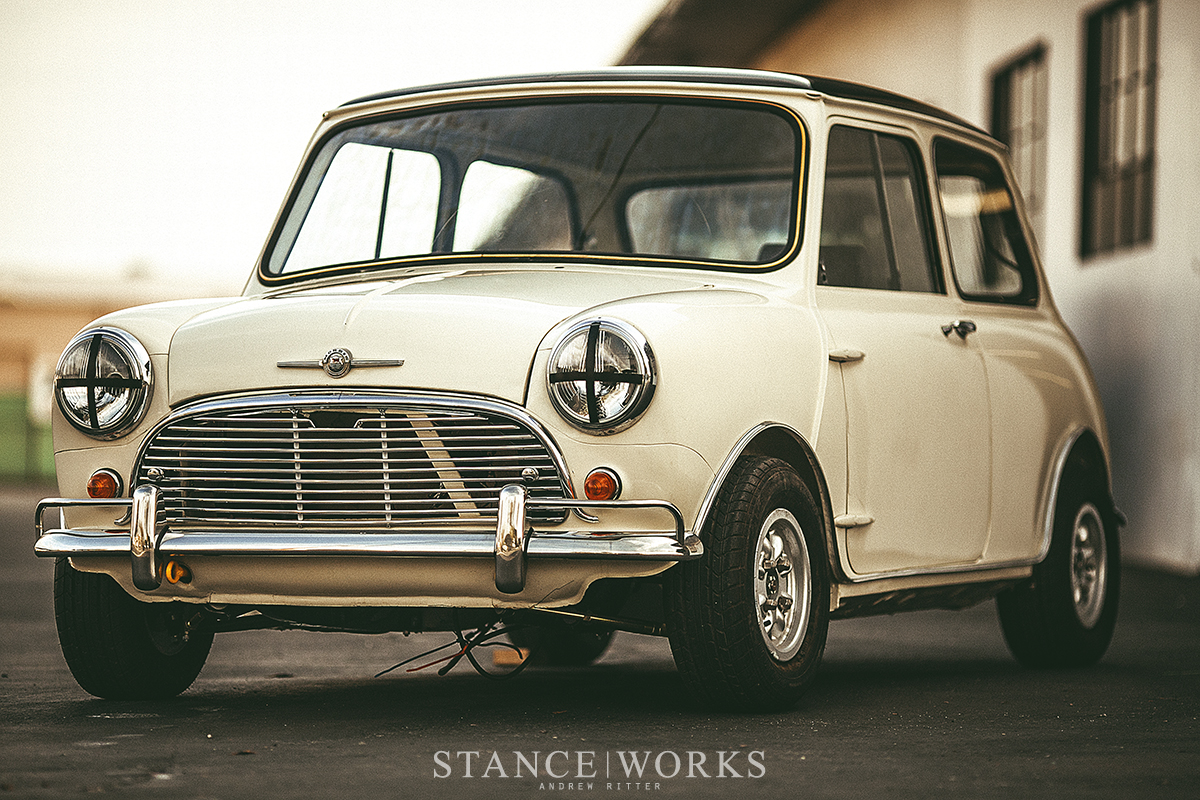
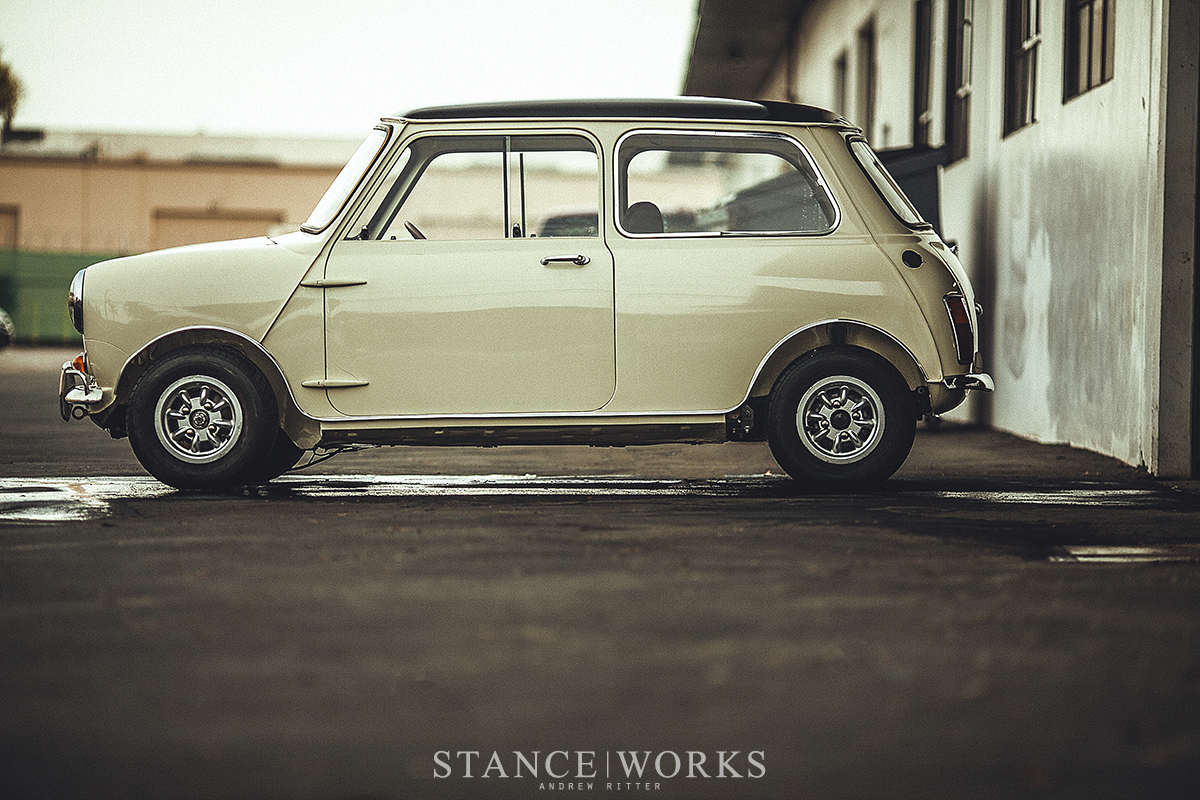

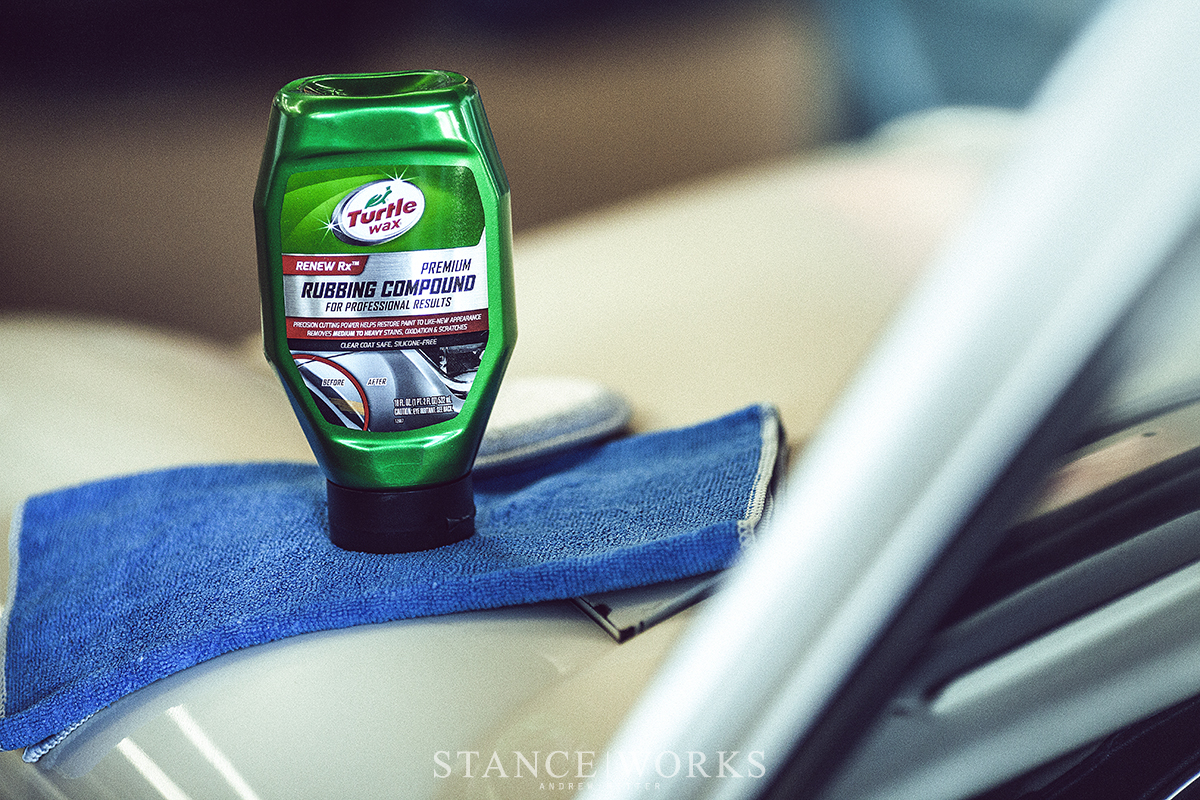
Naturally, despite utilizing the two-bucket method and proper techniques, you're bound to come away with a little swirling when dealing with dust accumulation like that. Fortunately, a quick session with their Rubbing Compound was plenty to remove a few of the stains and the hazy swirling that remained. Going over the paint with the applicator pad followed by a bit of elbow grease and buffing, the paint quickly regained its shine. It was a great opportunity to test a few of the other Turtle Wax products and as I stepped back, I couldn't help but grin at my newly situated car. I'm so excited to see the shell morphing into something that resembles the dreams that I've been conjuring since its arrival. Now that the exterior is nearly complete, it's time to turn inward and address the engine bay and interior. Now I'm going to head back out to the shop to admire my newly refreshed project some more.
