Ferrari F40 LM Restoration Part 4
Part 4 of the drool-enducing F40 LM restoration is here, and we are so, so close to seeing it that sweet twin turbo V8 being brought to life. I’m trying to update this thread more regularly than I used to, so hopefully I can get part 5 done in the not too distant future.
Click here for the build index to access all of the posts in the series so far.
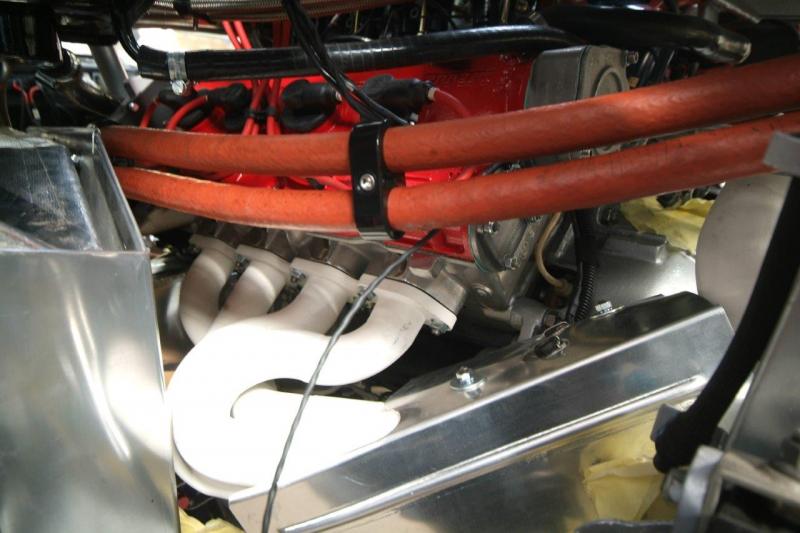
Manifolds now with Zircotec for finishing so that is delaying us a bit, meanwhile not very photographable work goes on hooking up the electrics etc.
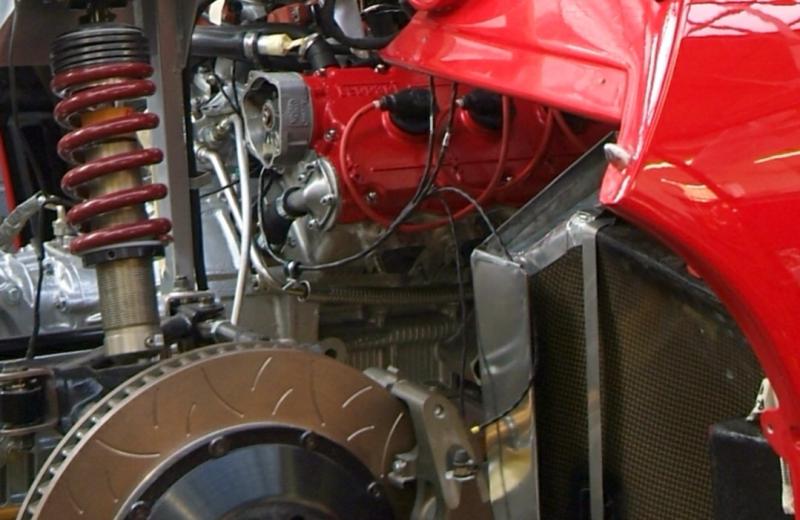
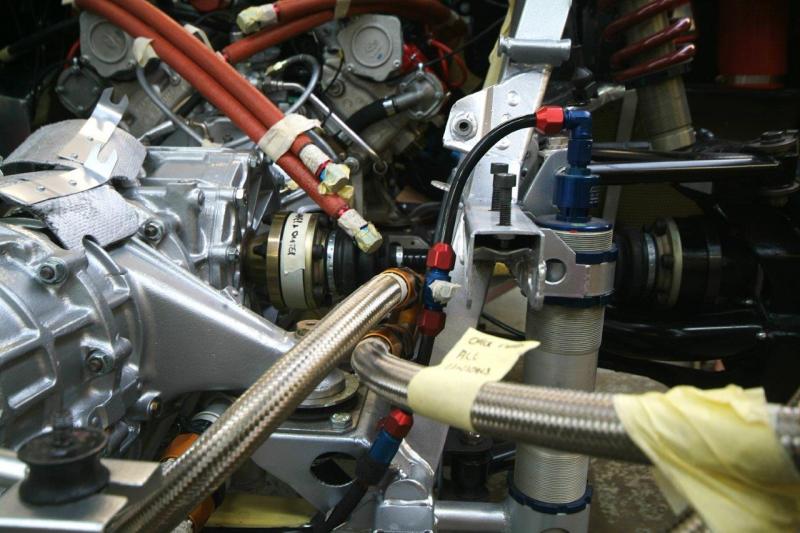
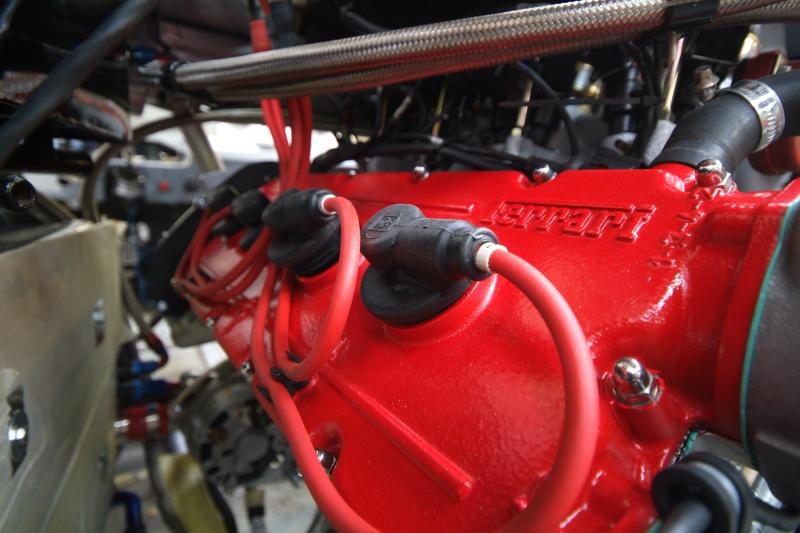
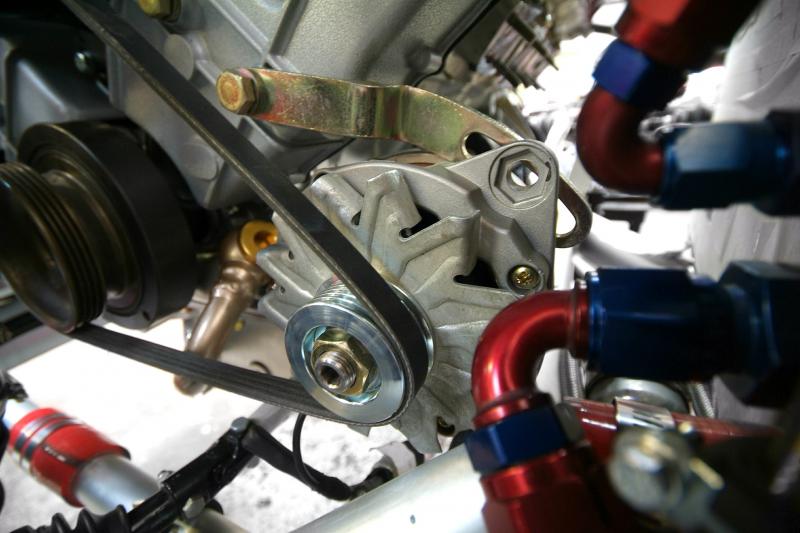
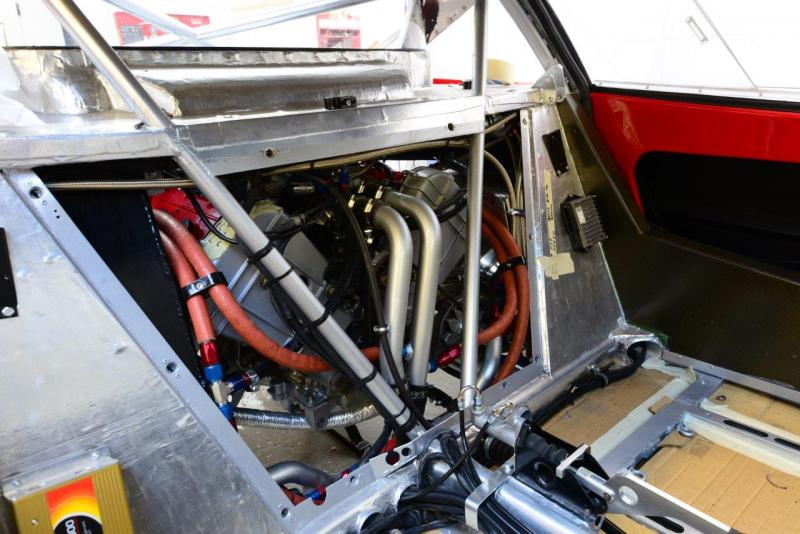
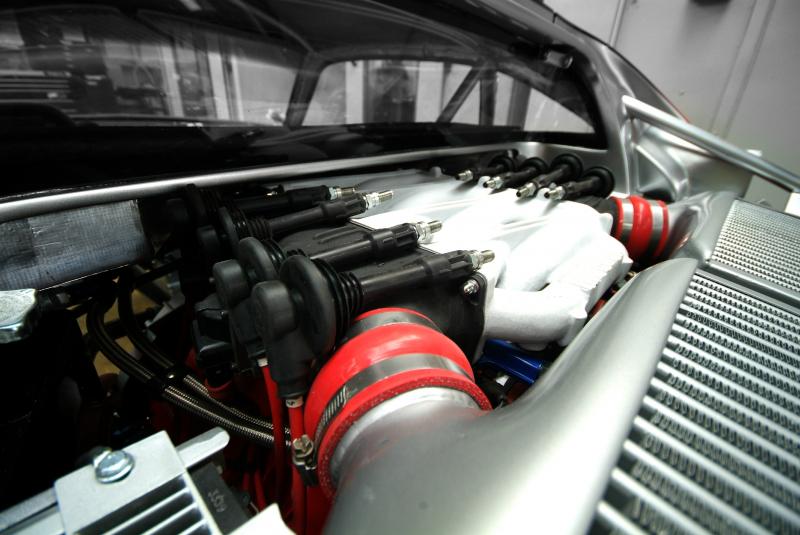
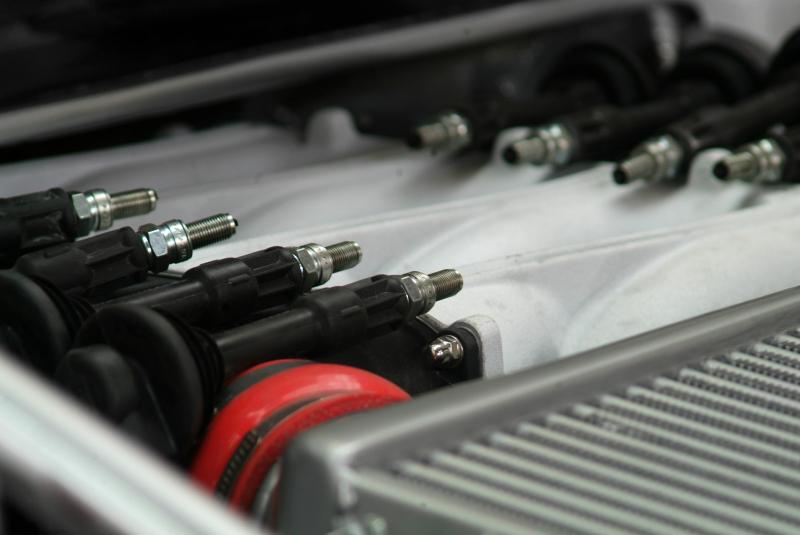
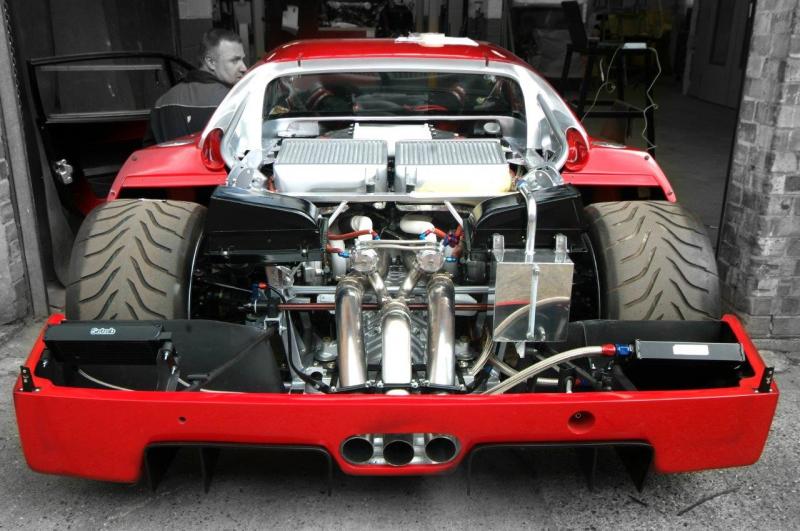
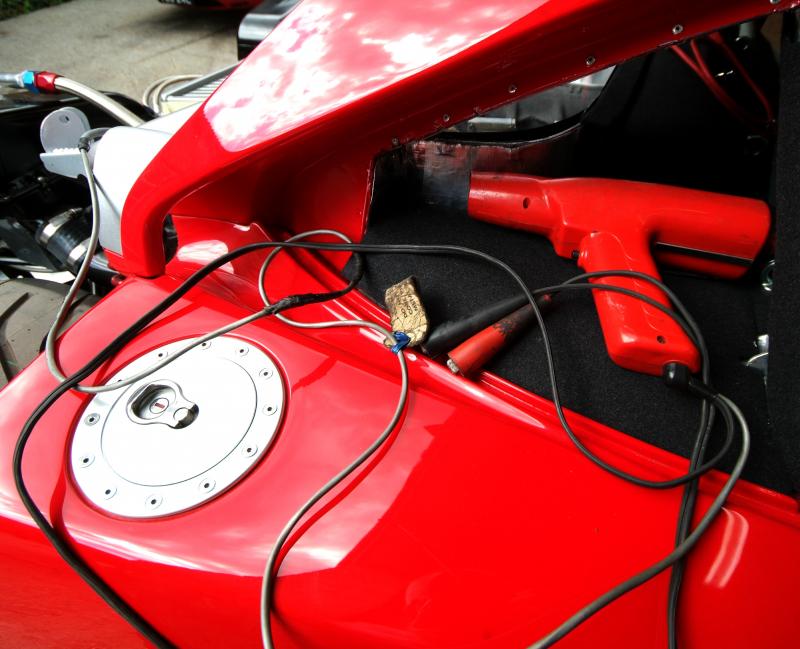
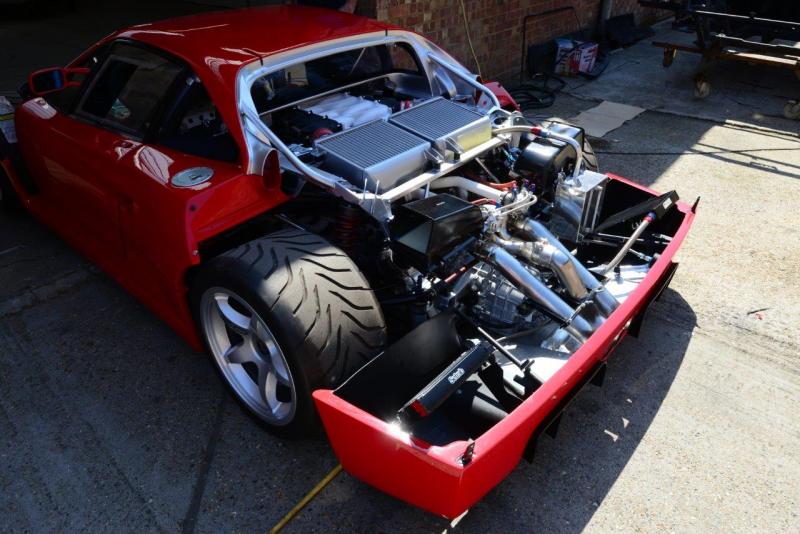
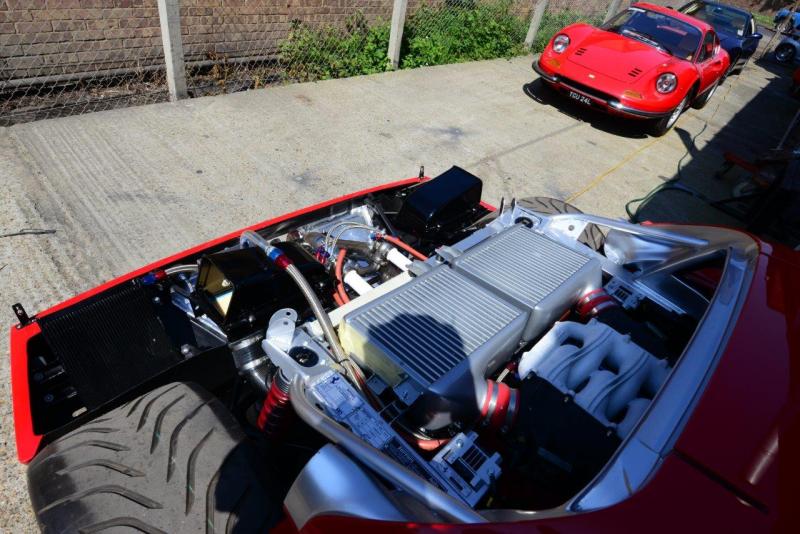
A couple of detail shots showing that this time we have the engine in with new cam covers and new HT leads etc.
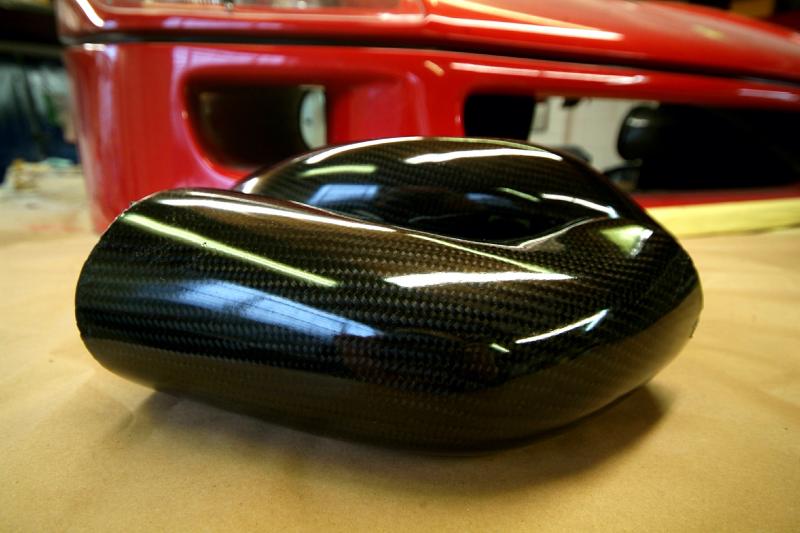
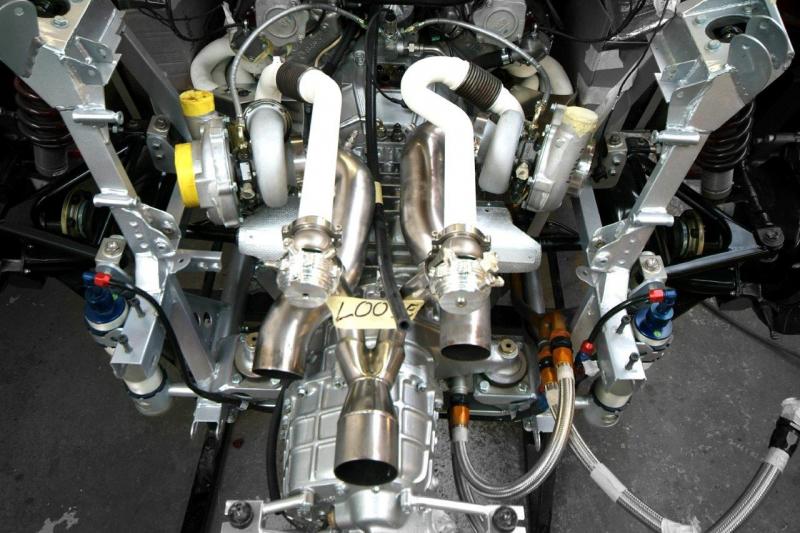
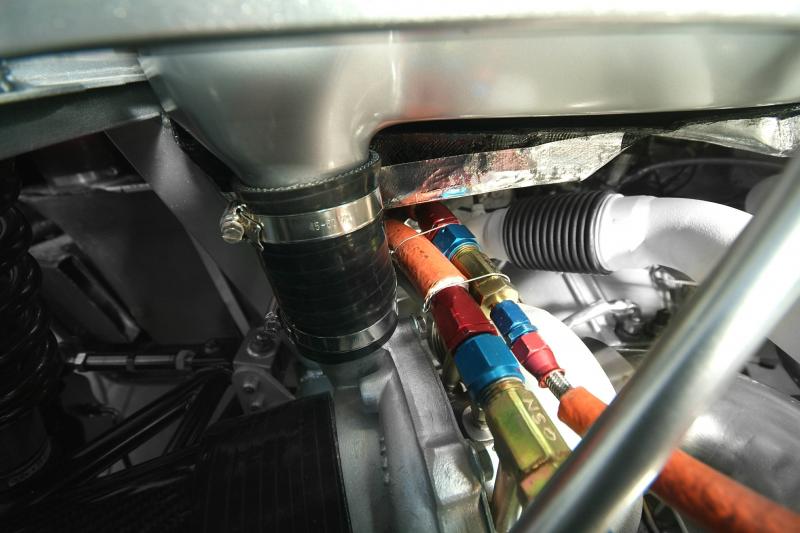
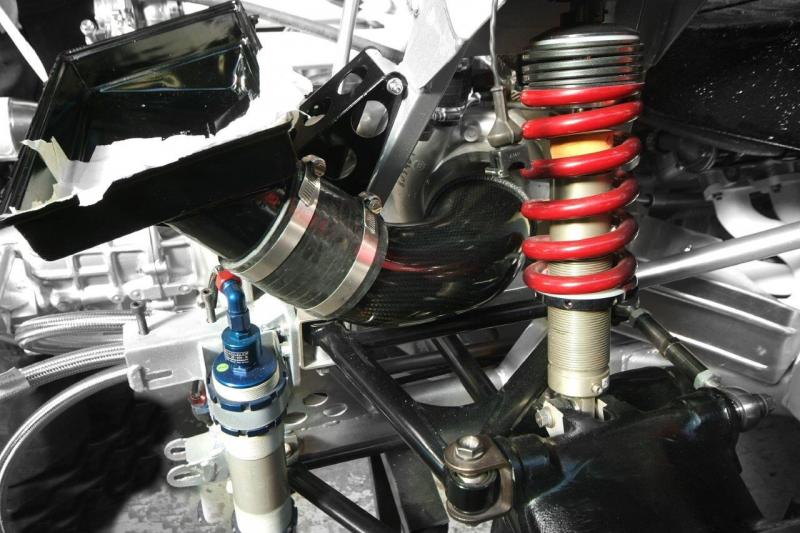
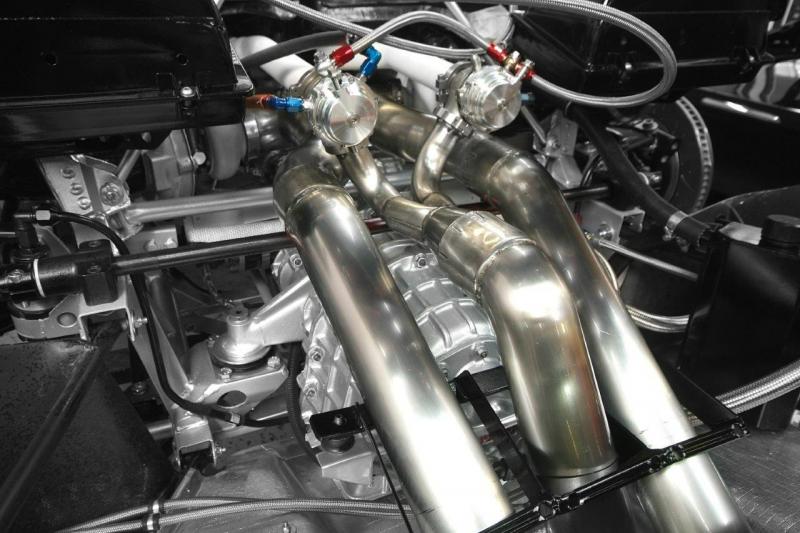
Here are the finished turbo inlet pipes we fabricated and one of the reasons for the back and forth with the engine.
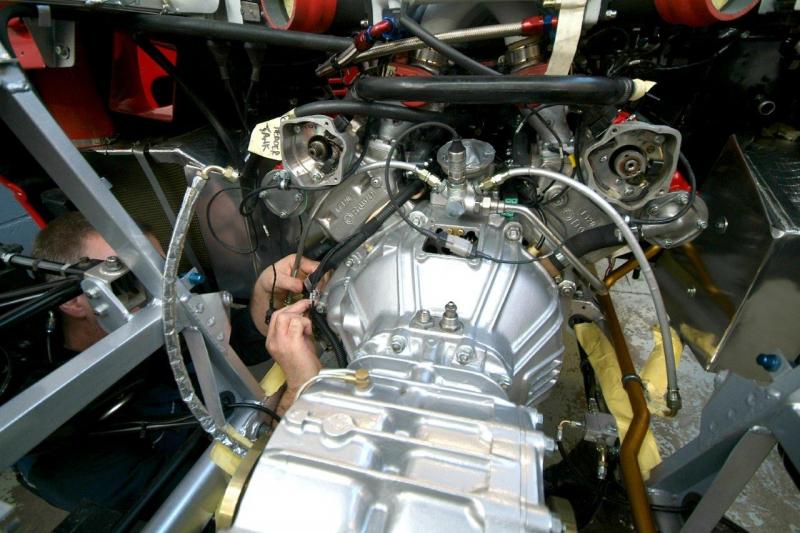
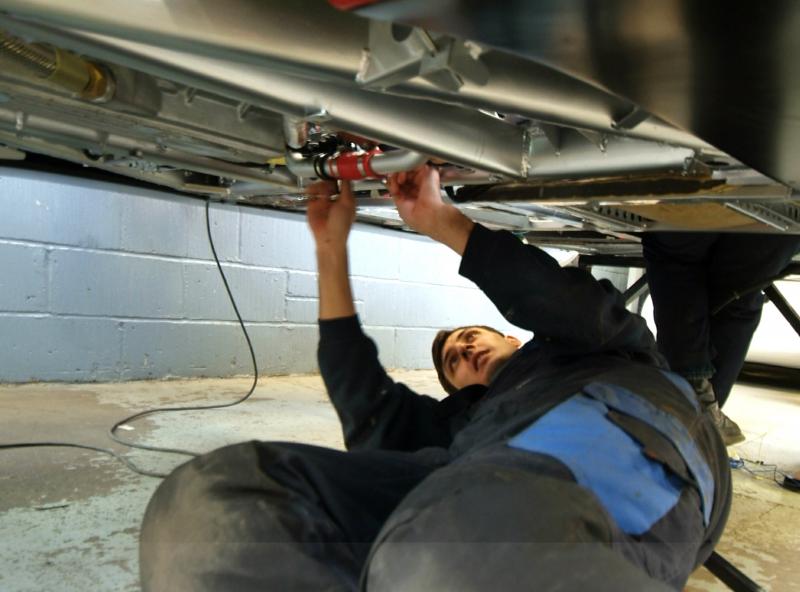
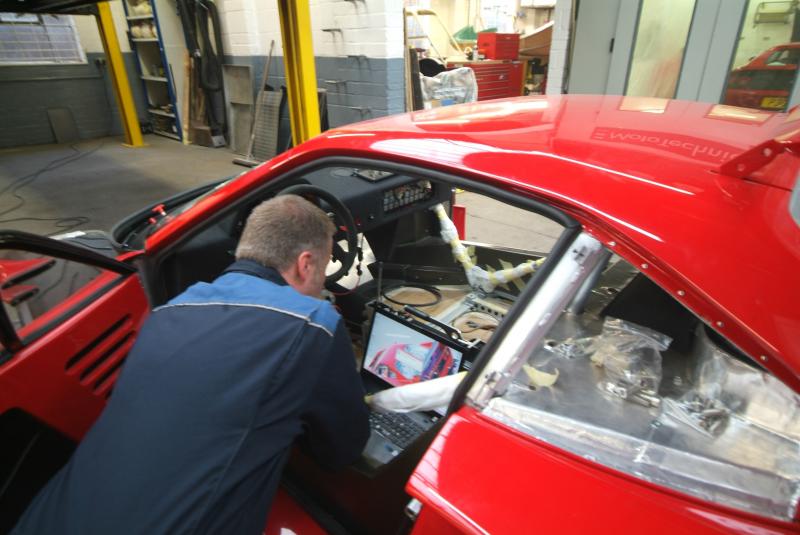
Very unphotographically appealing but Colin now getting stuck into plumbing and wiring.
Waiting on Zircotec manifolds due back next week, meanwhile all the wiring and plumbing has continued. Once we have those we can carry on with the final assembly of the wastegates etc.
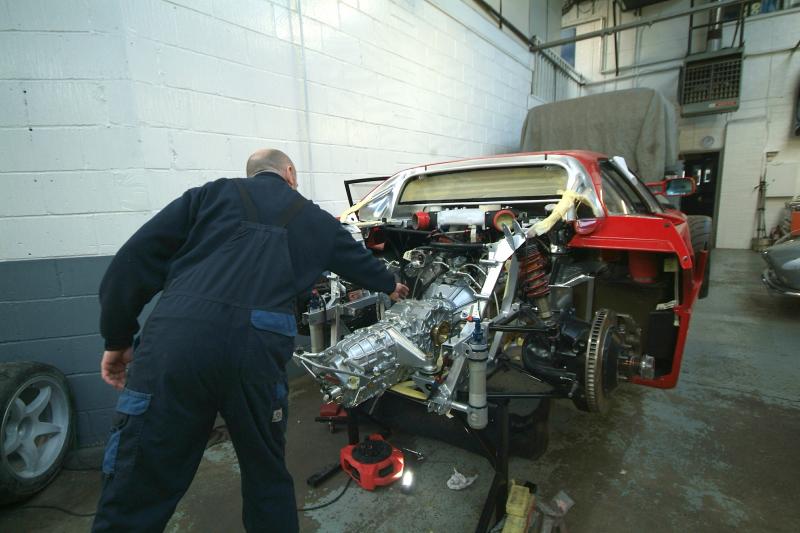
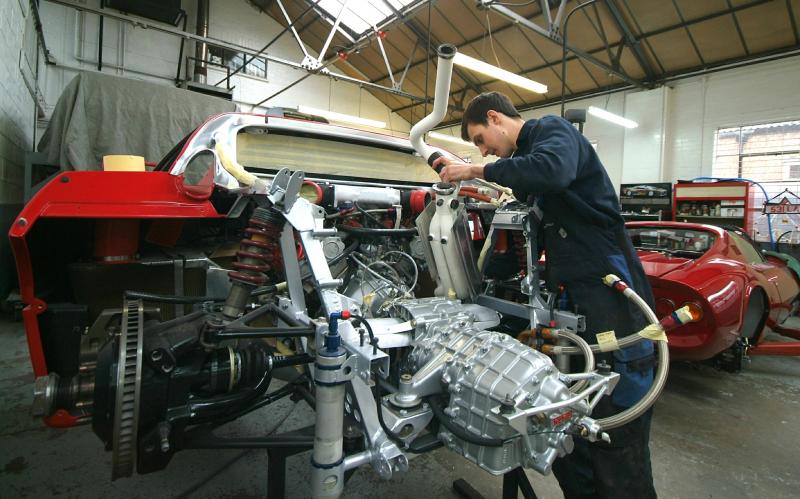
Some progress on driveshaft installation and a few other bits to follow…..
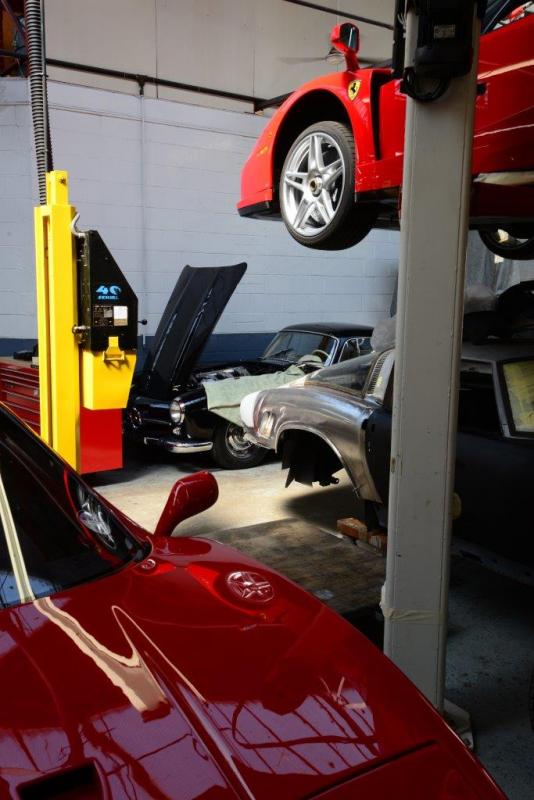
A couple of shots showing that we continue to be in good company and a further detail
The nice thing about a bare chassis resto is that it looks great wherever you look.
Expectant. Just waiting for our Zircotec manifolds.
Still waiting on Zircotec where they had a quality check issue so a view from the other end.
More waiting for Zircotec, more detail…
Got to be as original as possible on details like this.
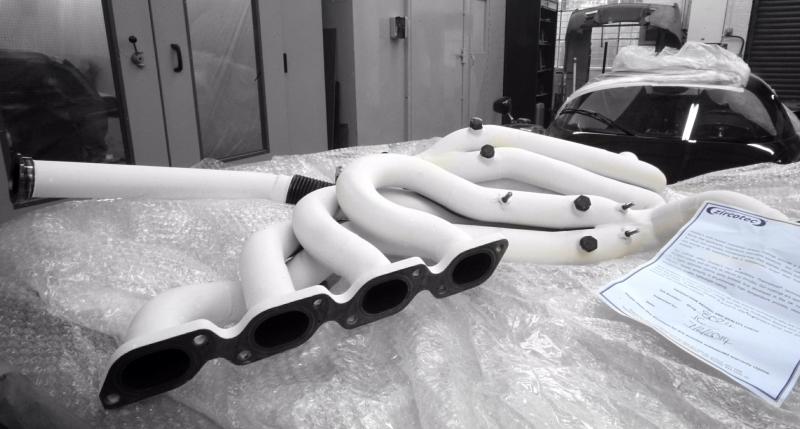
The exhausts turned up from Zircotec, beautiful.
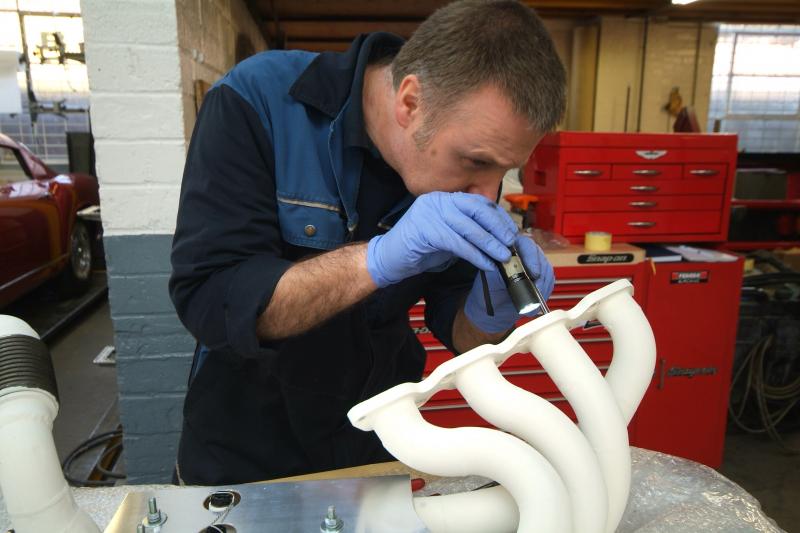
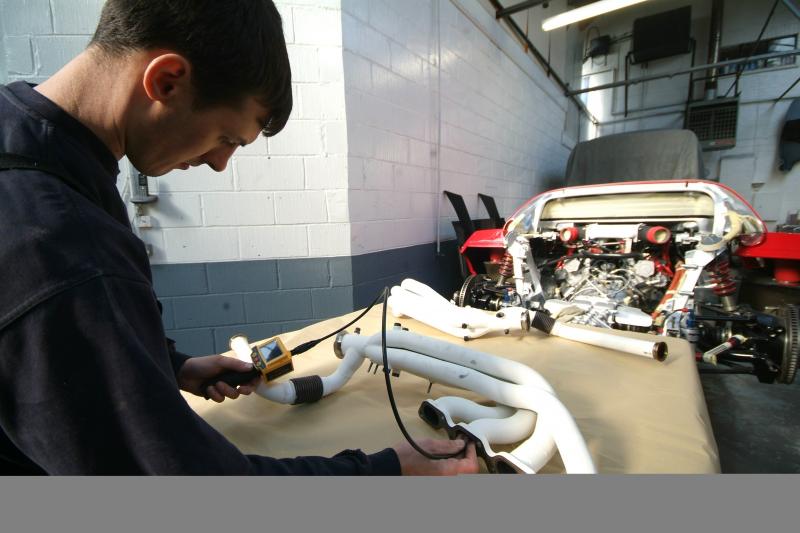
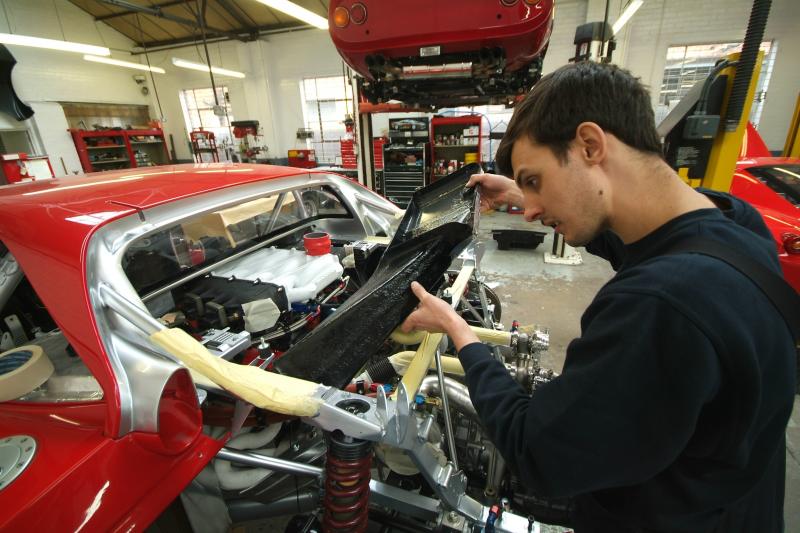
Colin, being Colin and beyond vigilant (ex RR aero) thought he would just shine a light into the manifolds……
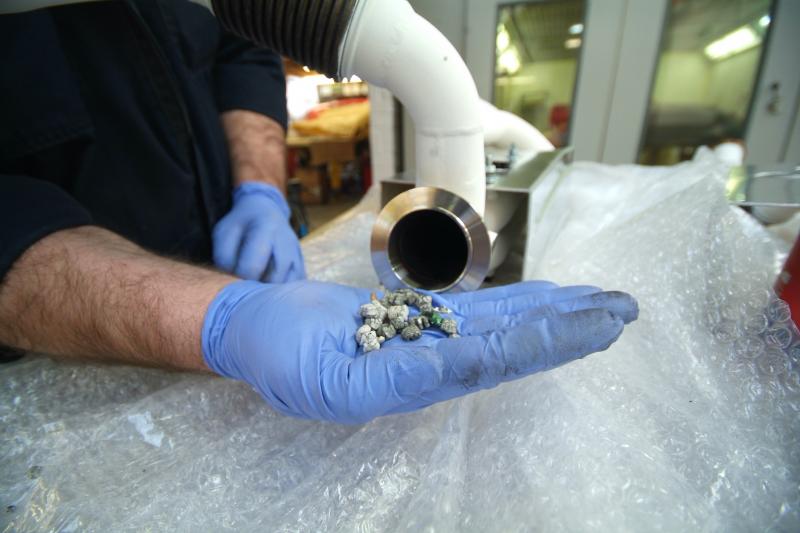
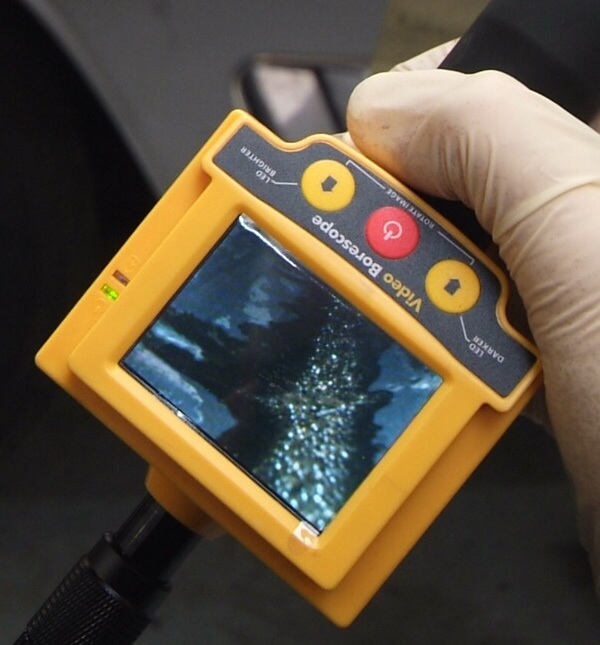
And look what he found. We think it is some packaging material that got caught up in the Zircotec process. That could have gone straight to the Turbos and finished them off so a real lesson learnt. Consequently they have been boxed up again and sent back to Zircotec so they can thoroughly examine them, hopefully with a boroscope. Thank you Colin!
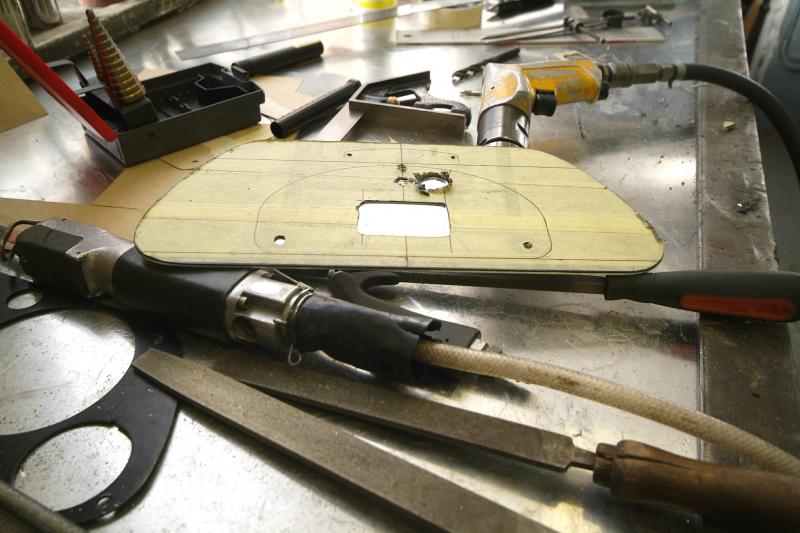
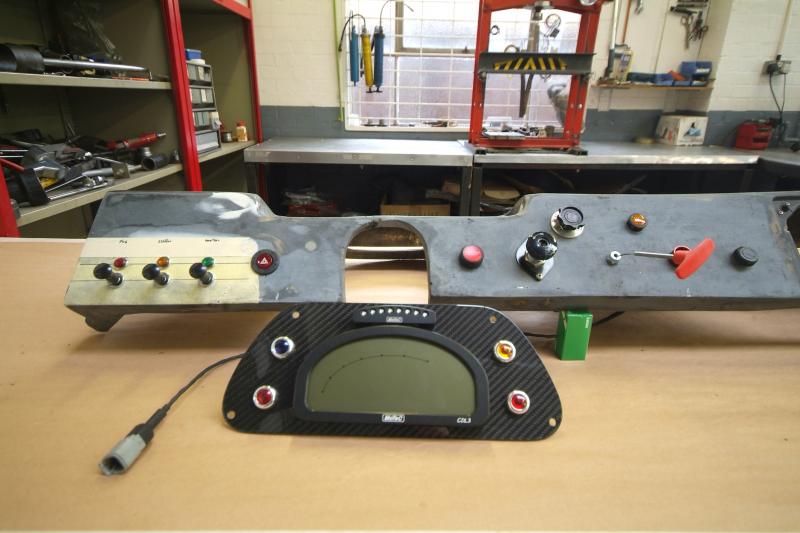
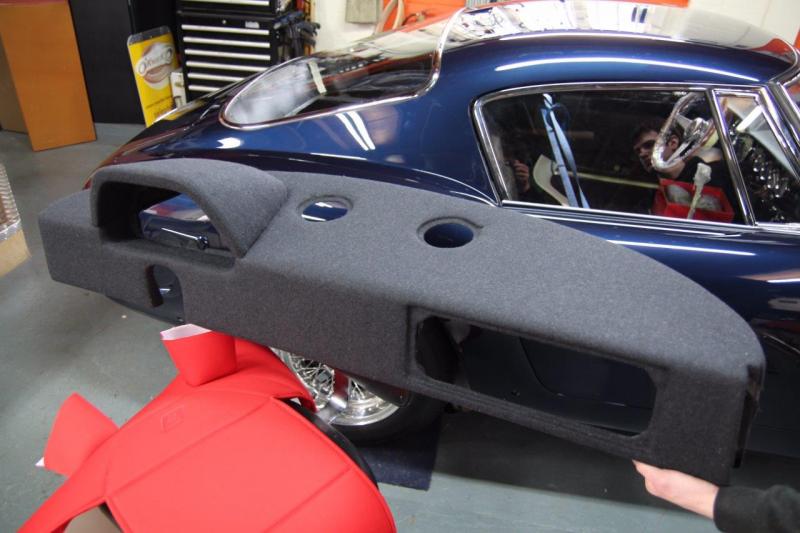
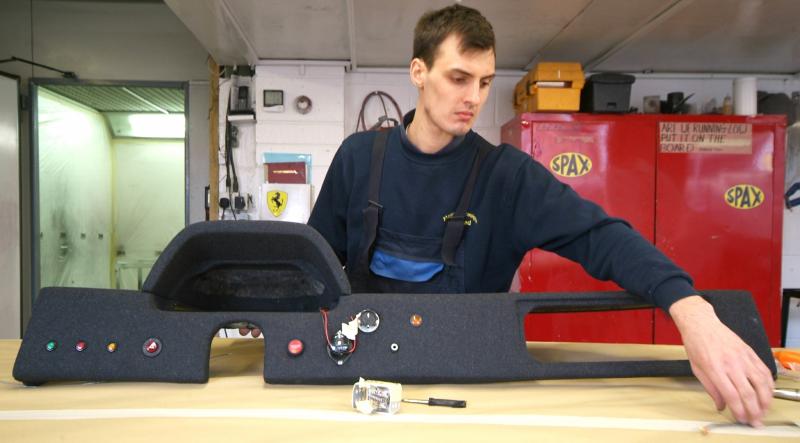
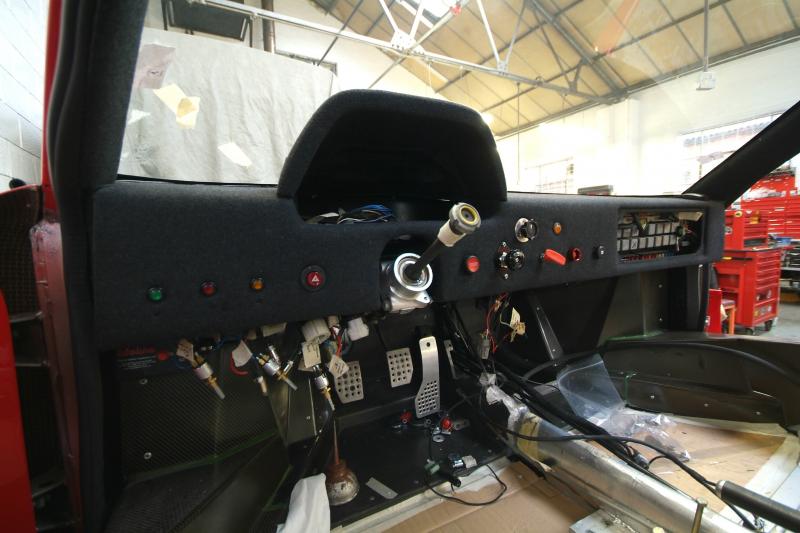
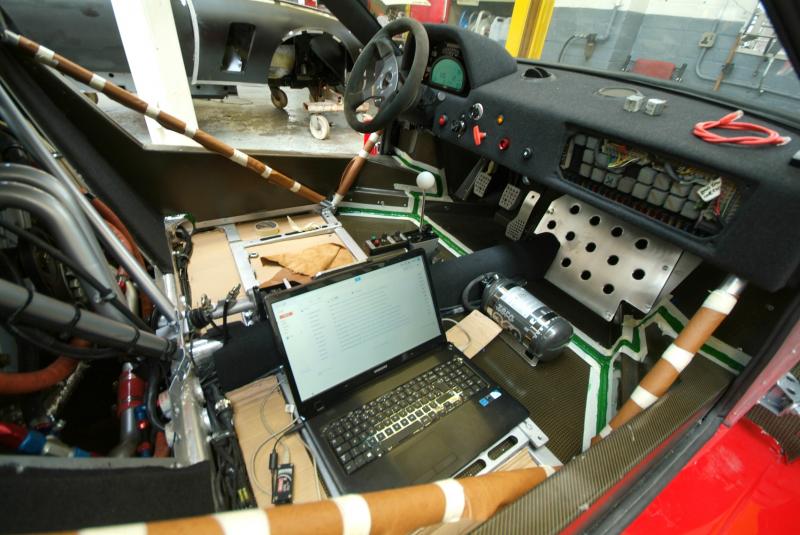
Meanwhile, work well underway on the C/F dash.
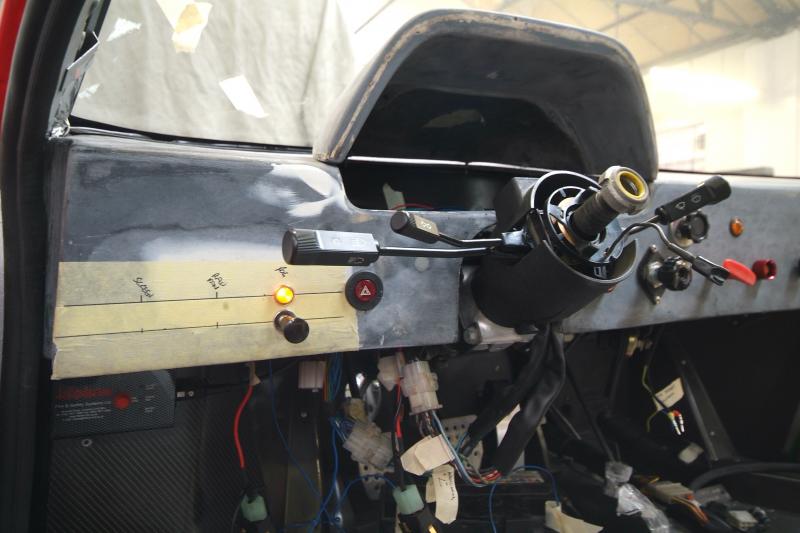
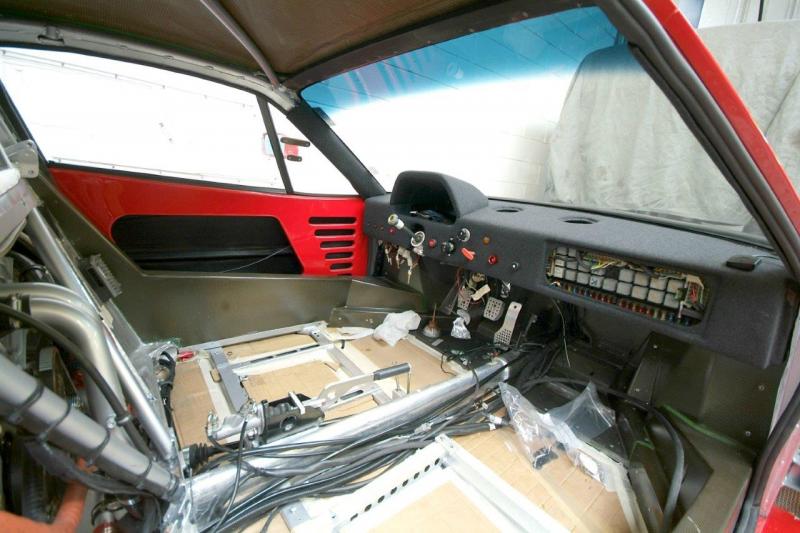
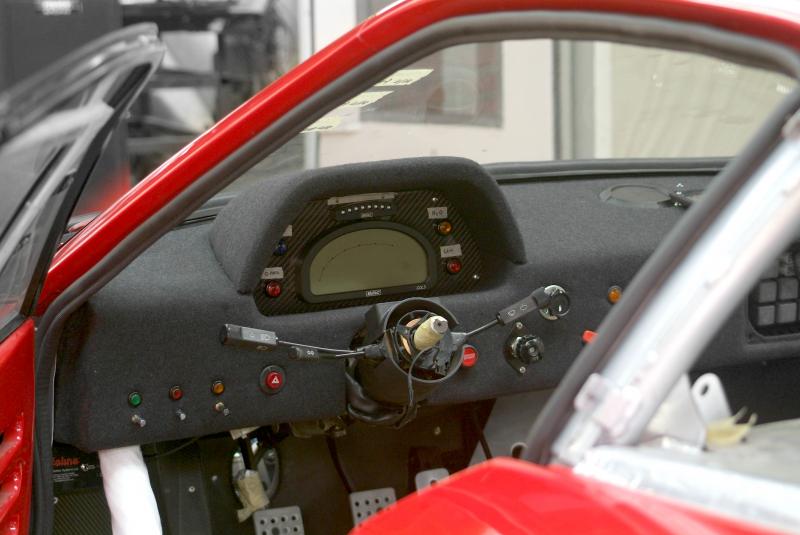
Dashboard now installed and switches being finalised pending removal for trim. Trim, now that is a word I have not thought of for a long time.
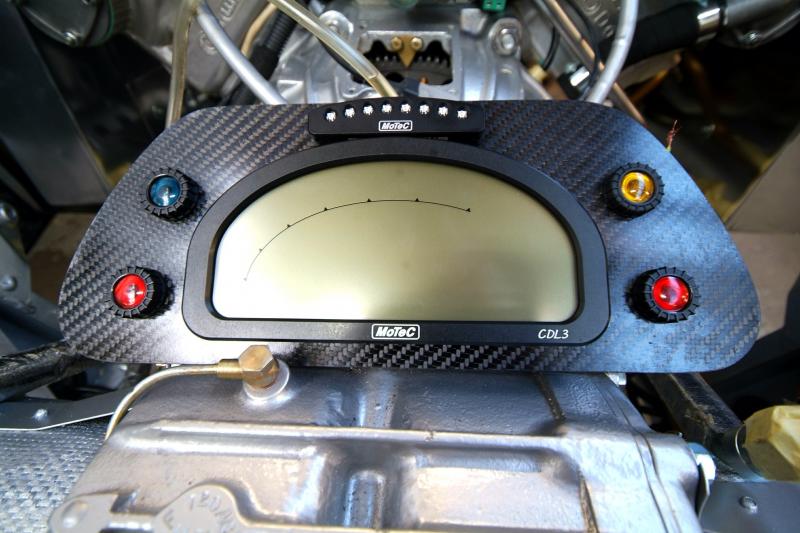
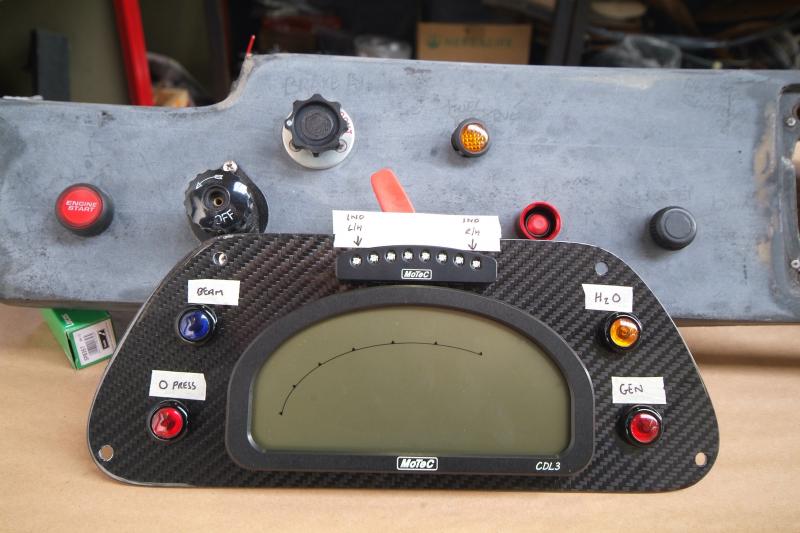
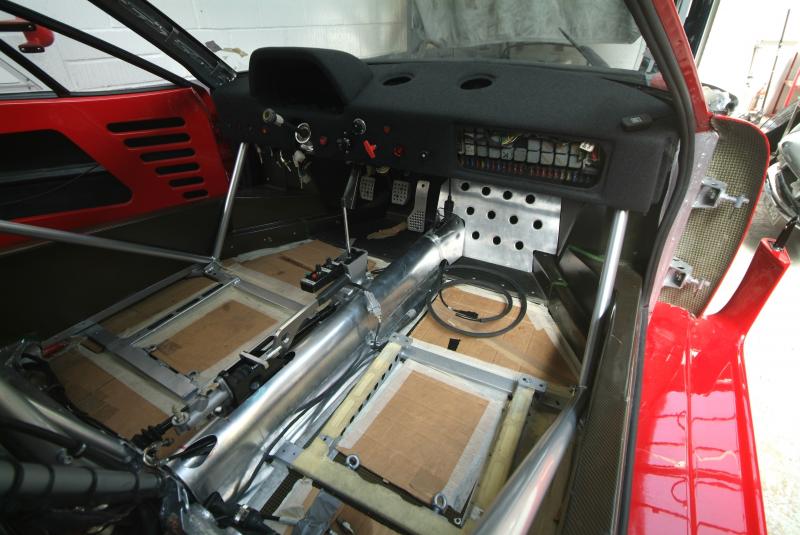
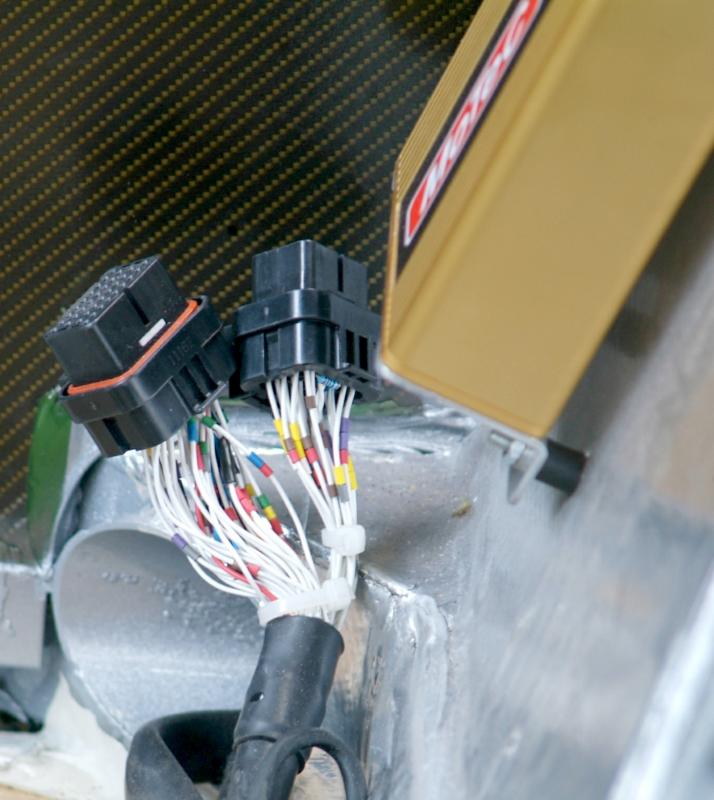
Dash now complete. Not happy with the lights, so those will change for something neater when we can locate, but meanwhile it now enables us to get the Motec loom sorted. We will also try and lose the Motec nomenclature to tidy it up.
Oh yes. And checking the checker, but all looking good and a roadblock to progress hopefully removed.
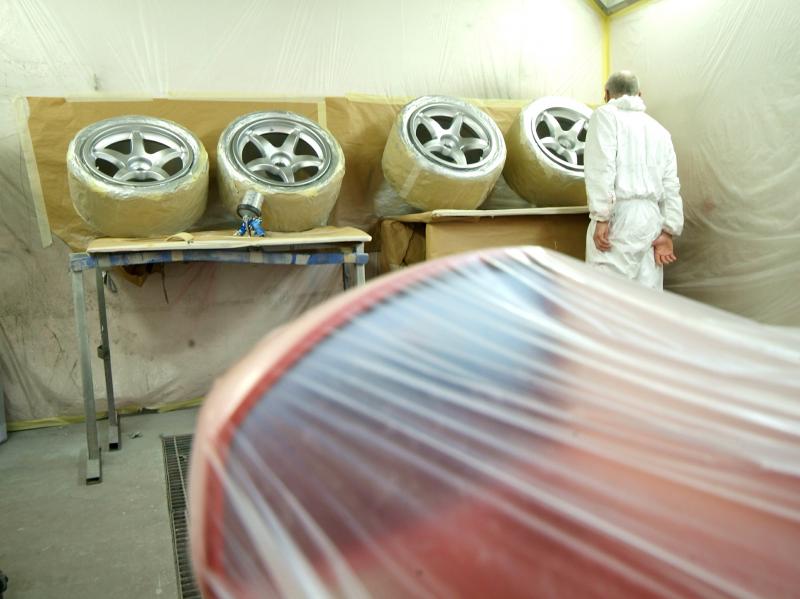
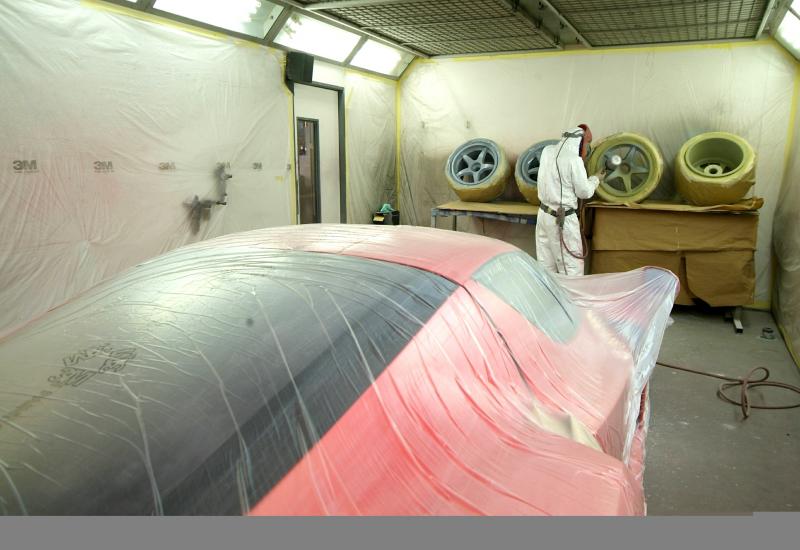
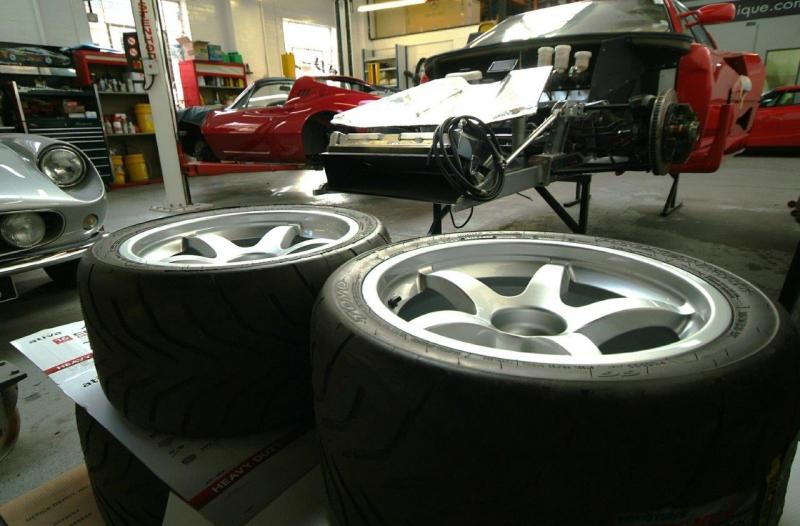
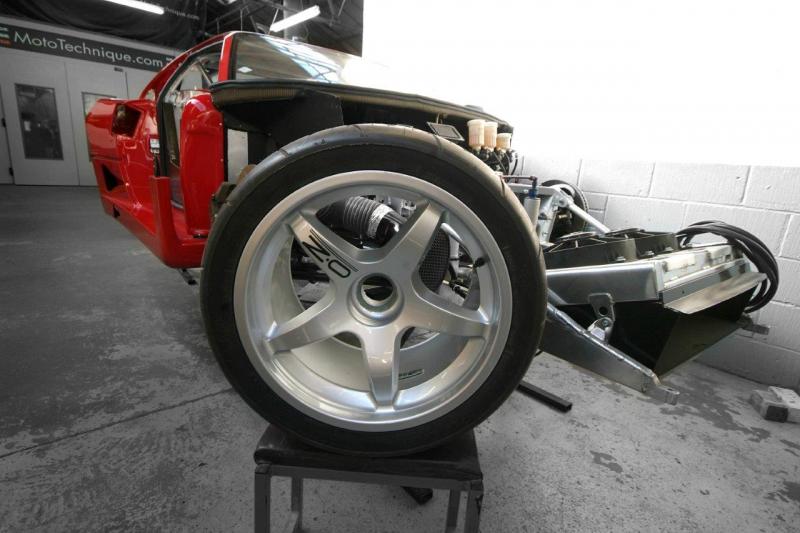
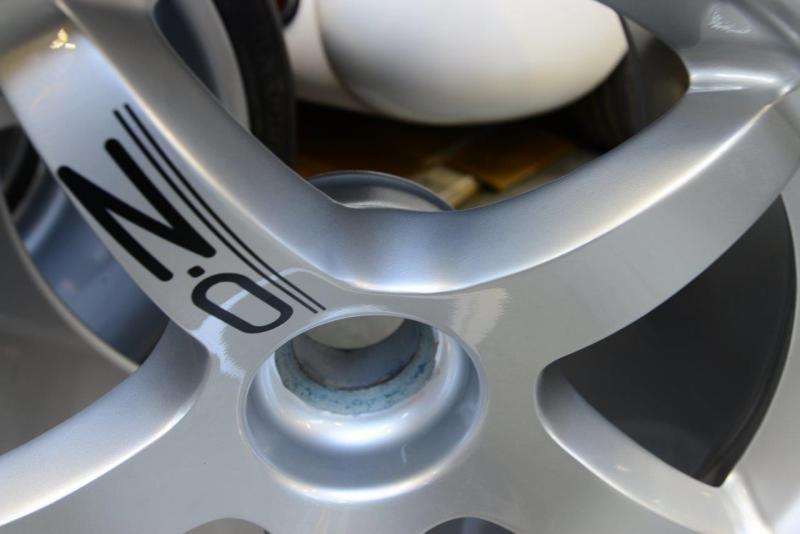
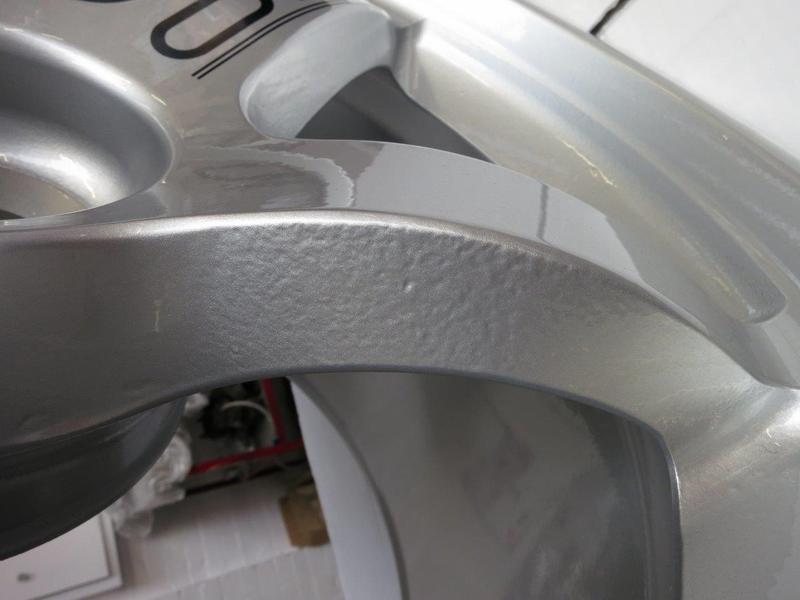
Whilst waiting to get the manifolds mounted, sorting out the ‘new’ OZ’s which we have now popped the tyres, stripped, filled and about to be clear coated.
In case you could not recognise the wing mirror, more good company
Belt, braces and whatever comes next. I was hoping they would be fitted by now but I should have suspected MT would want to double check the checkers. I promise no more manifold pics until fitted.
Well I lied. Another pic not fitted.MT being MT, given the seriousness and liability of this saga, we had another look. Amazingly, it turns out there is still some material which seems to have puddled and melted onto the walls and given there is soot in the pipes, it may not be that well stuck albeit everything so far has failed to displace it. The worry is that under conditions which we cannot simulate it might detach, either damage a turbo or stick to a blade and unbalance or whatever, so it is not something to be chanced.A lesson to be learnt and it looks like back again to Zircotec. Now not impressed and somewhat pissed.
Meanwhile,the dashboard starts to take shape. The chrome bezels will be going black next.
Dash in its latest incarnation, now with black bezels. Logo next to be removed.
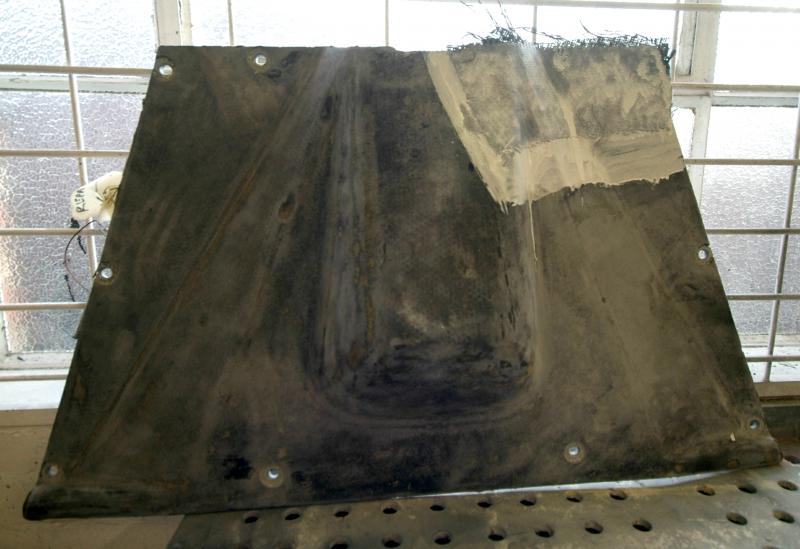
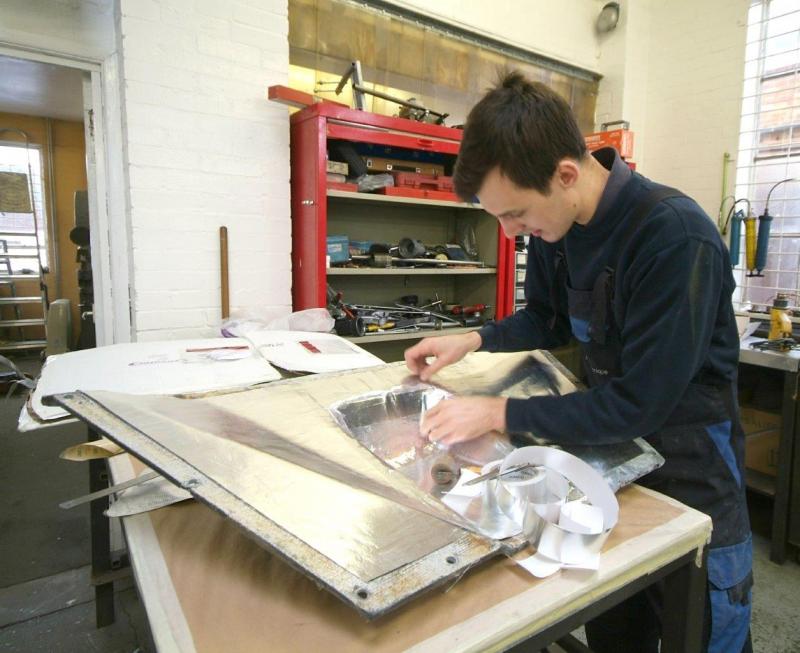
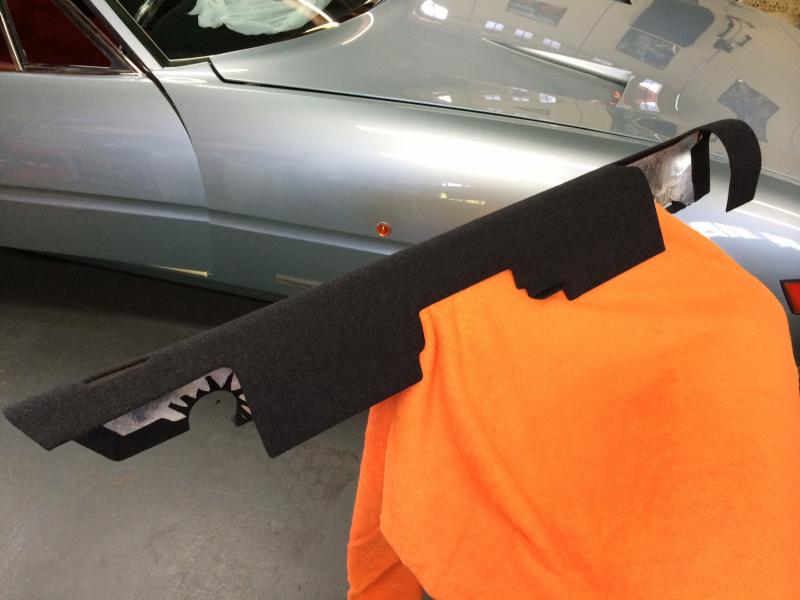
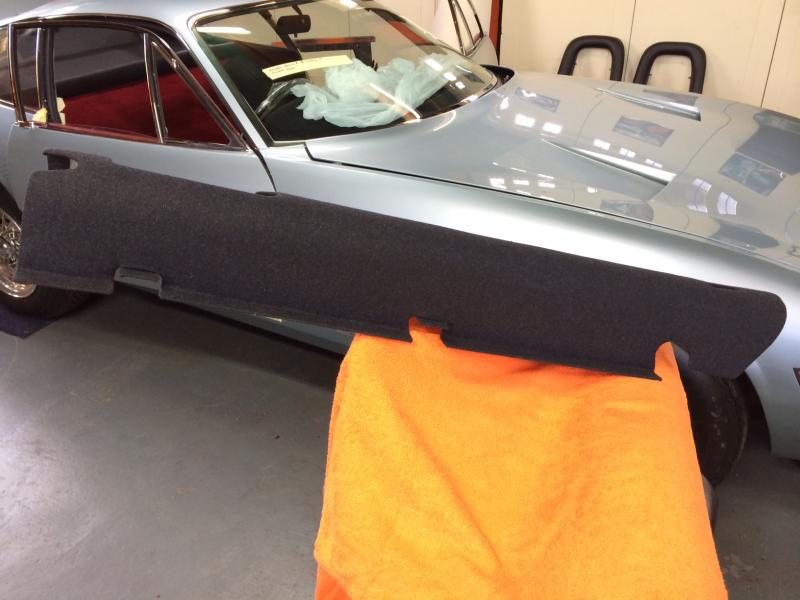
Whilst twiddling our thumbs waiting on Zircotec, a bit of prep work on the firewall which needed a repair where the old lines and wiring had been forced through buckling one corner. Next up heat insulation and then off to be ‘trimmed’ such as it is. Scrabbling around for work to do as the manifolds trigger so much.
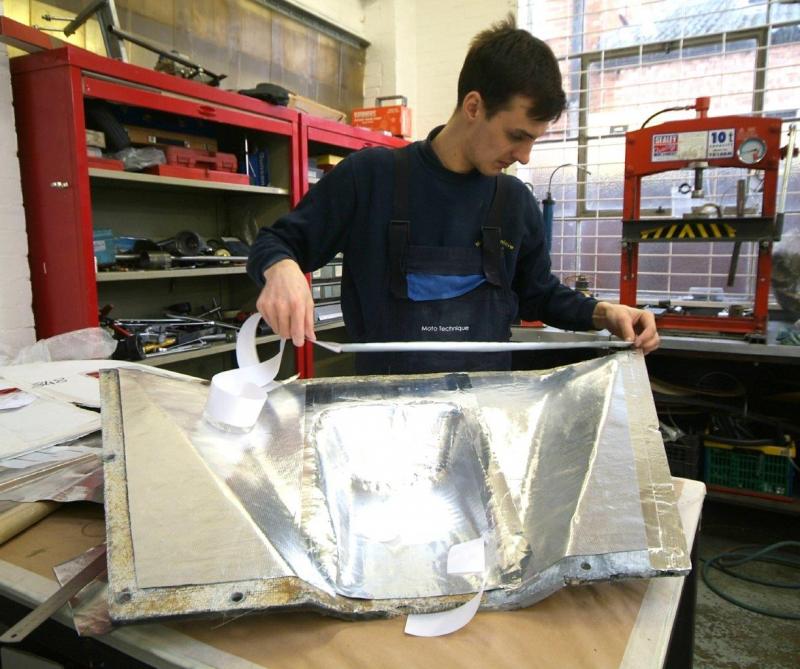
James now finishing off the engine bulkhead heat insulation with more Zircotec product.
Meanwhile, does this begin to look like the end of the road or what?More good company this time at Rorky’s, Kevin’s son and super ace trimmer, not that his skills are going to be tested here. Next up the mouse cloth.
And in what must be the quickest turn around service ever…….And just look at the company here-keeps getting better
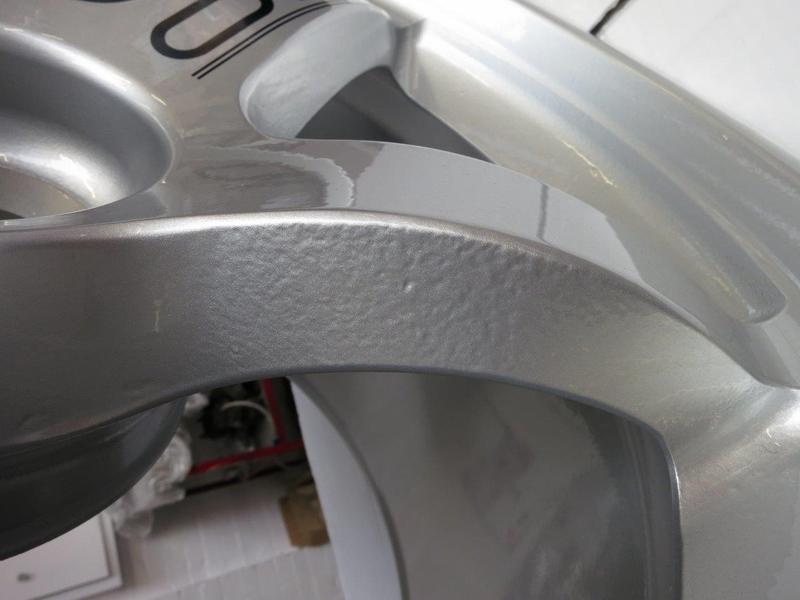
Whilst twiddling our thumbs, wheels now filled and repainted and the OZ detailing to follow. Somewhat better than the tat that turned up ‘new’.
Attached is an example of what we received buried some 70 pages back ease of reference.
We finally received the manifolds back from Zircotec who said as follows: ‘when they were received on 26th February we undertook a thorough internal inspection finding no further evidence of foreign matter, we did, however, observe evidence of some internal surface scratching which suggests that some mechanical cleaning had been applied. However, as a precaution we cleaned out the pipes with cellulous thinners and pulled through a course swab. This showed evidence of combustion product and mild oxidation, but no foreign matter.’We then decided to check for ourselves
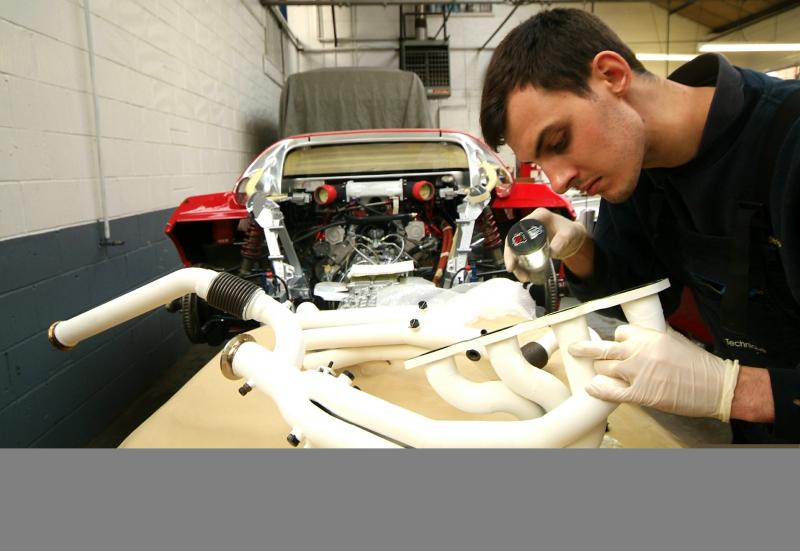
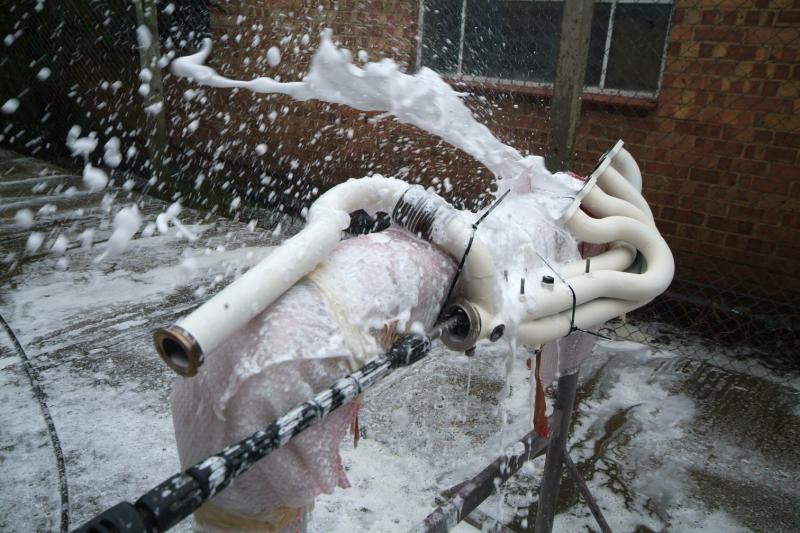
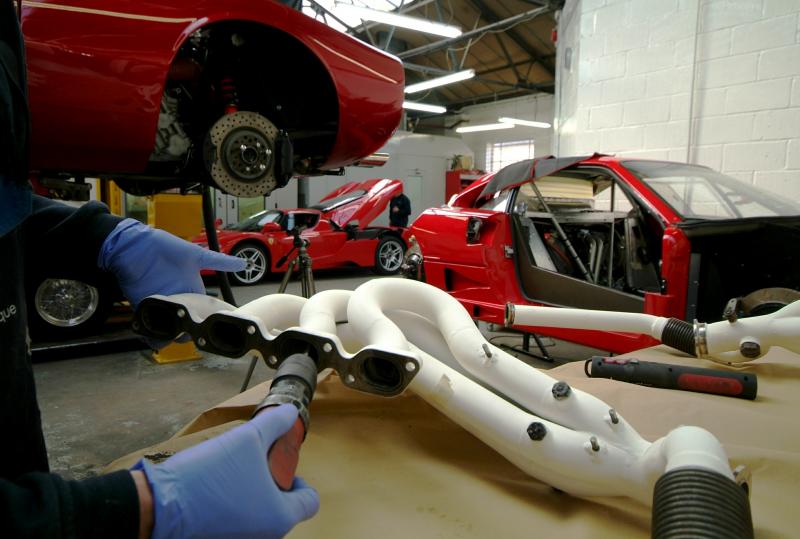
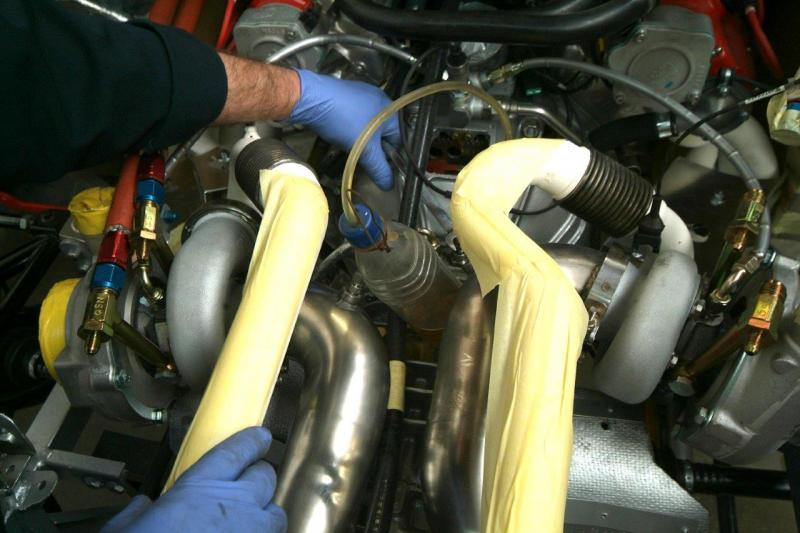
I am not responding to any comments at present as I have yet to speak to them to get a reaction but I do not expect to accept where we are as this is costing me a fortune.One thing that is quite clear is that after three attempts they have clearly proven incapable and so we cannot be accused of not giving them ample opportunity. We have therefore taken matters into our own hands and have started to clean them. Properly. What has been removed turns out to be the same old crud as before.With gloves, padding and wrapping, looks more like something surgical. But they will be clean.
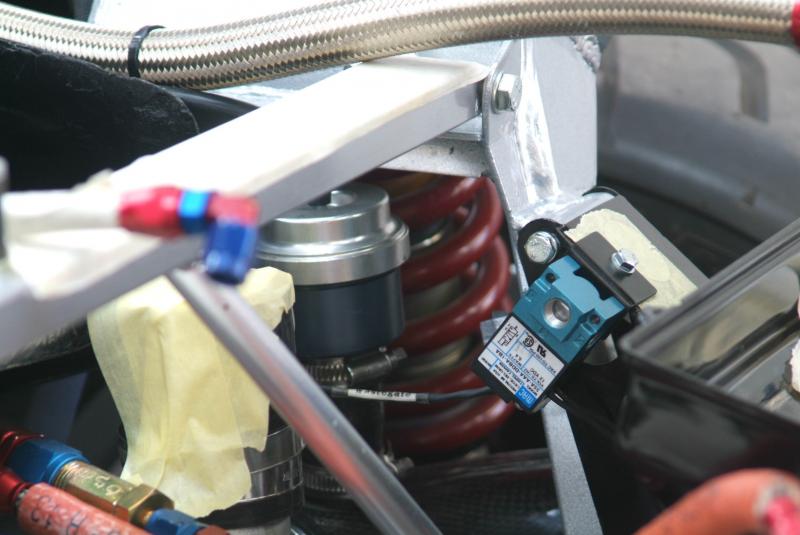
I will let you know how I get on with Zircotec, but meanwhile Colin has fitted the idle control valve and…..
FINALLY, we have cleaned out the exhausts from the crud and James is now carefully manoeuvring them into position.
Forgot this shot of the clean up…
Now really moving on. Turbos and wastegates on and the engine bay is really starting to look like something.
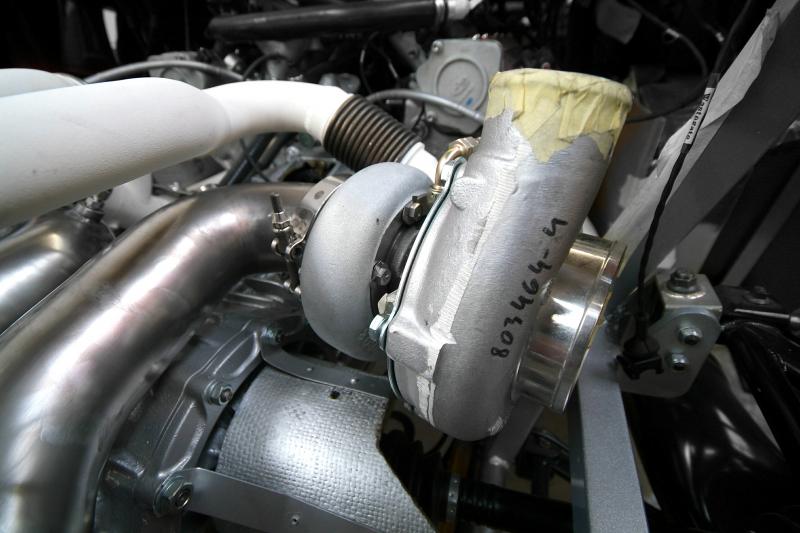
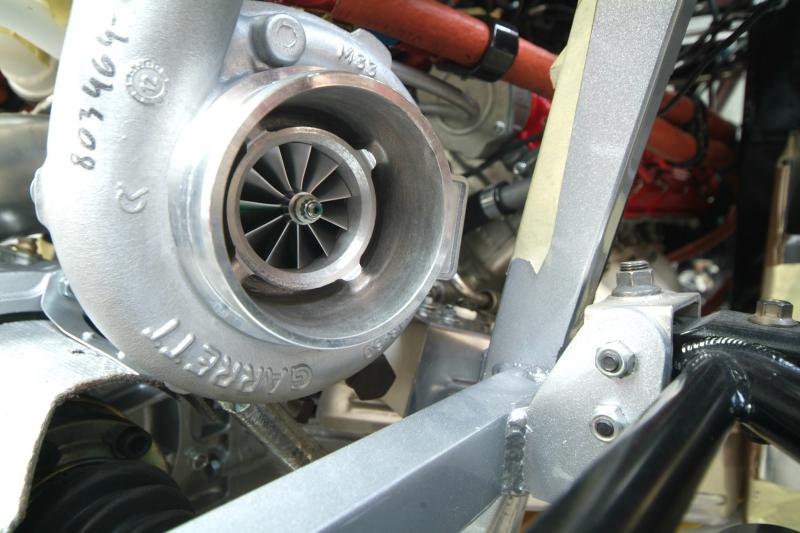
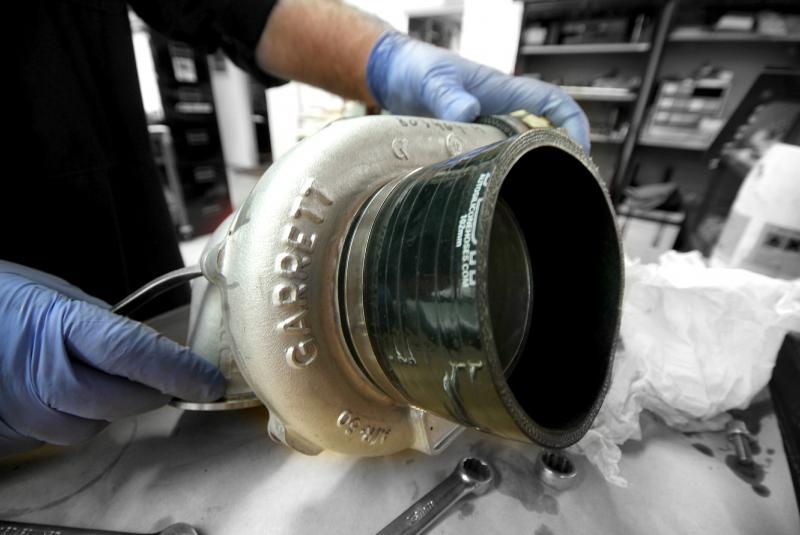
A few details. Here a close up of the turbo, the hot section also thermally treated.
Another detailed shot from last week…
Happy Christmas!
Another small detail
Back at the other end, new cabin floor now in.
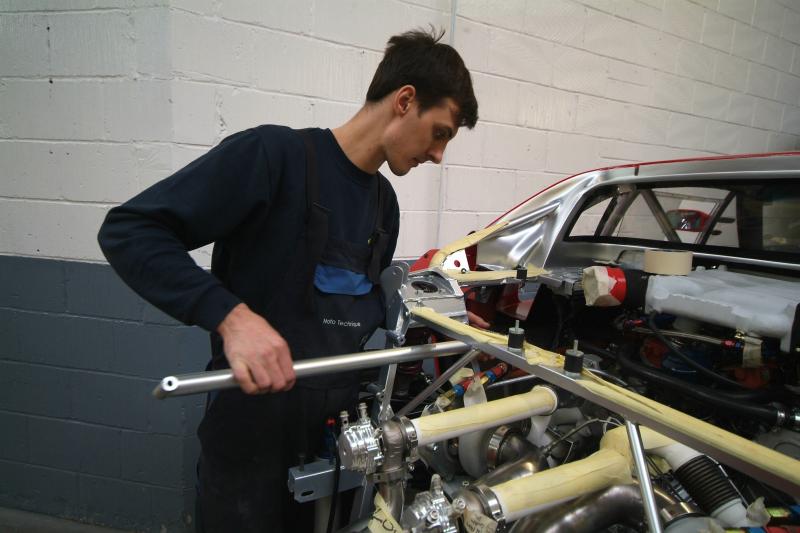
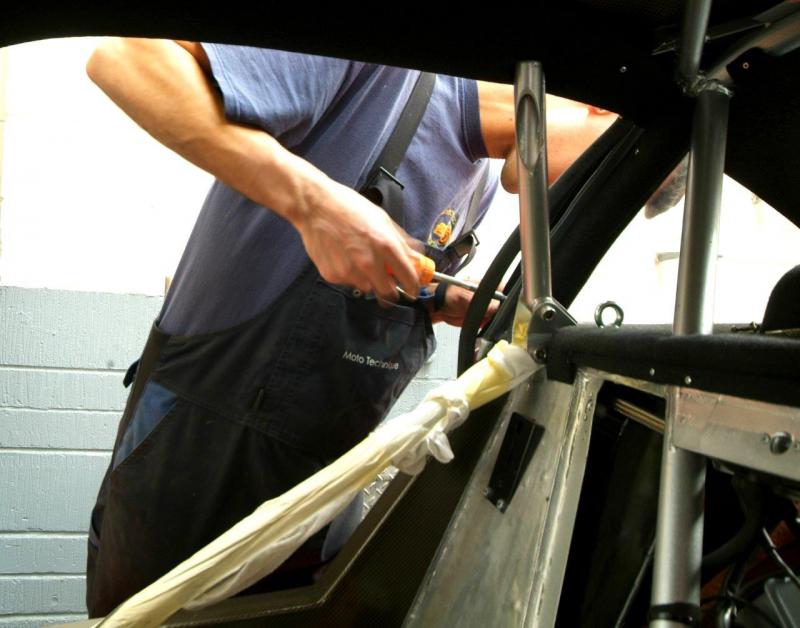
James now fitting the chassis side braces.
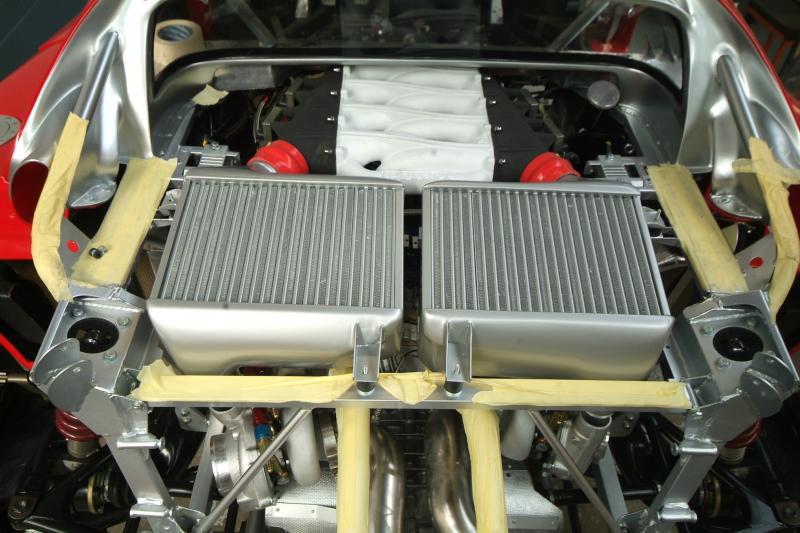
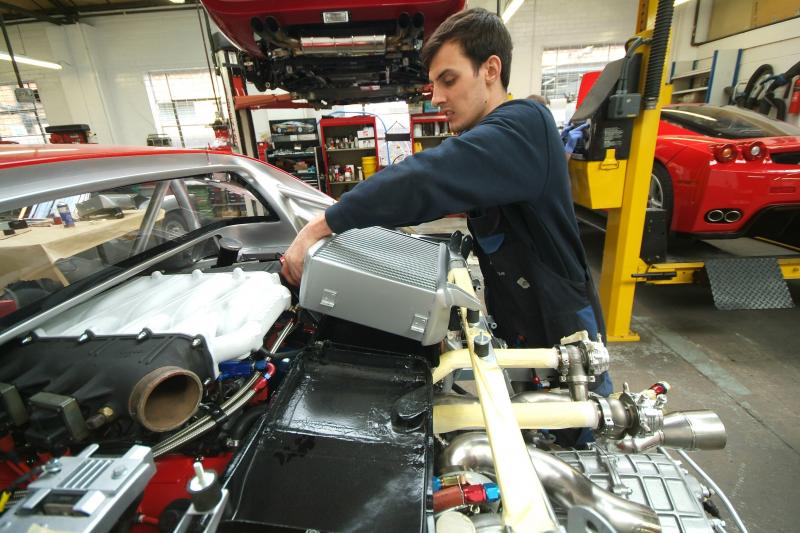
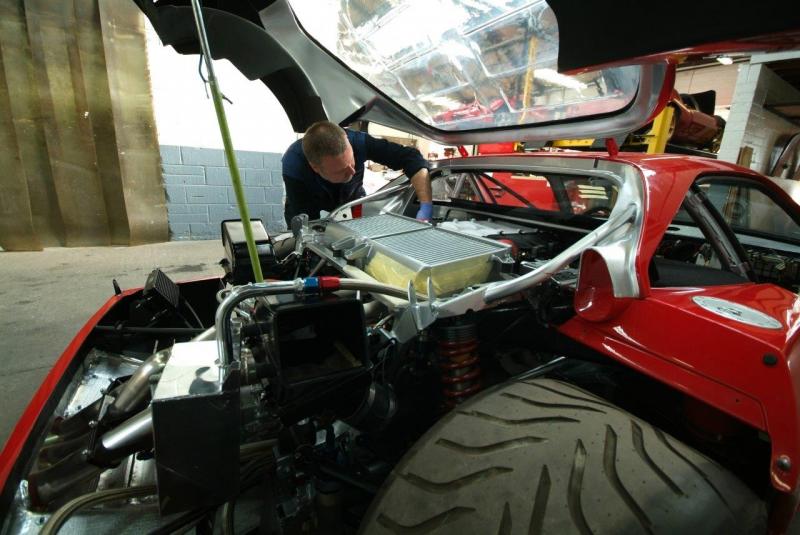
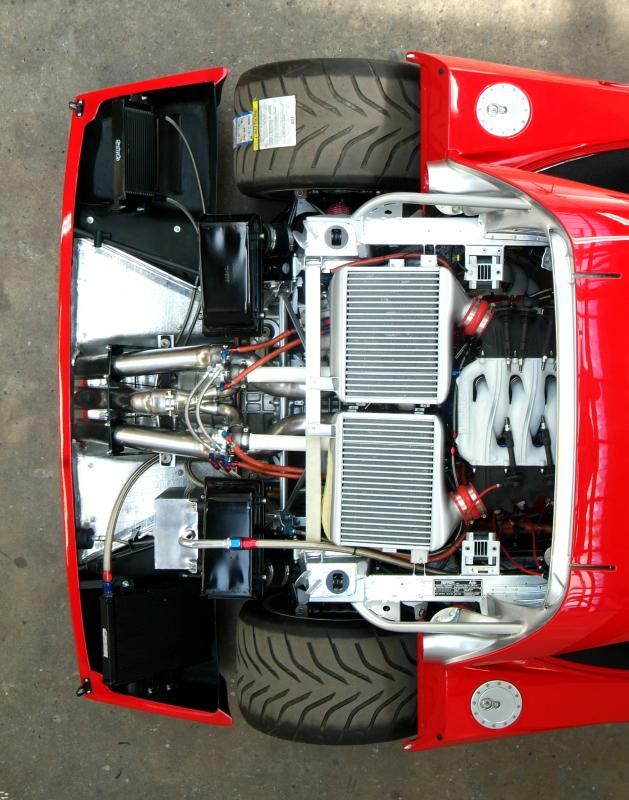
Dry fitting of the intercoolers which will be fitted properly very shortly.
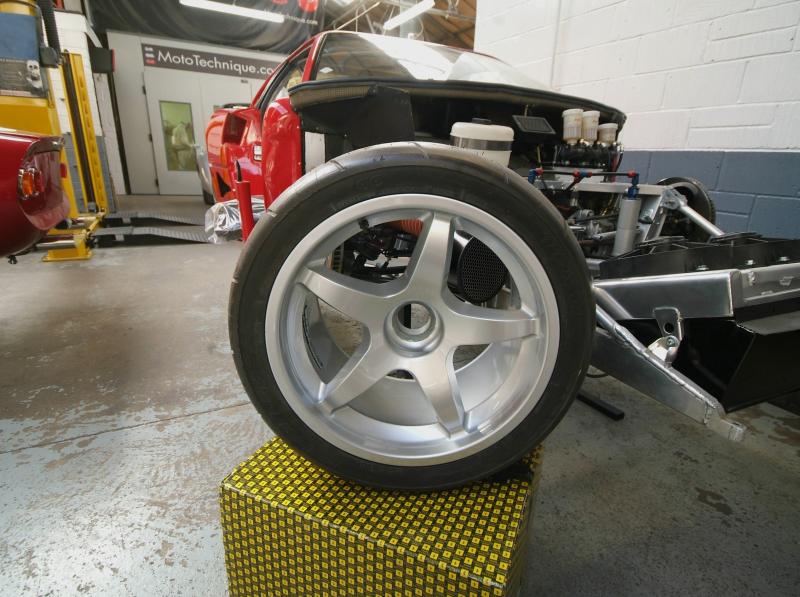
A quick wheel update for those who were concerned about the lack of OZ marking on the refurbished new wheels, and a good comparison between factory fresh and Moto T fresh.
Meanwhile James seen here finally fitting the air inlet trays that duct cool air to the intercoolers.
Oh, it looks like after our troubles, we finally have an operational clutch as the first fluids begin to flow
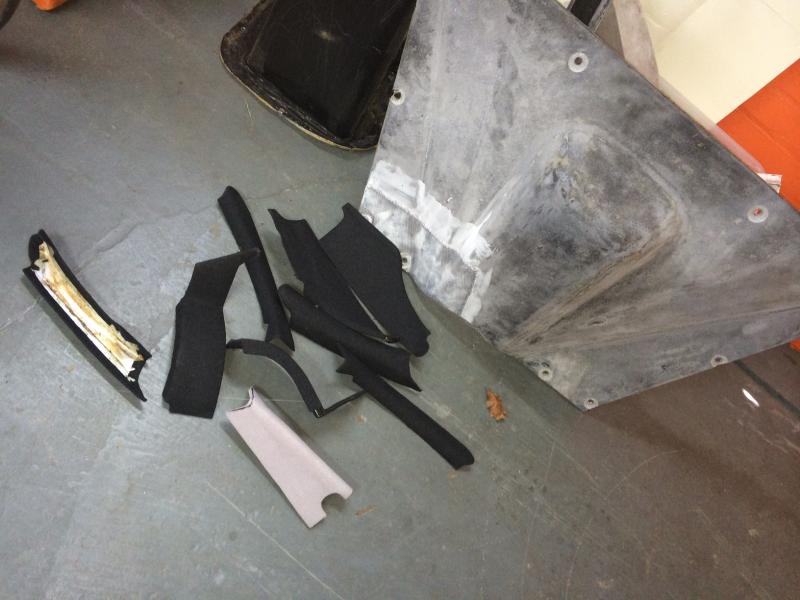
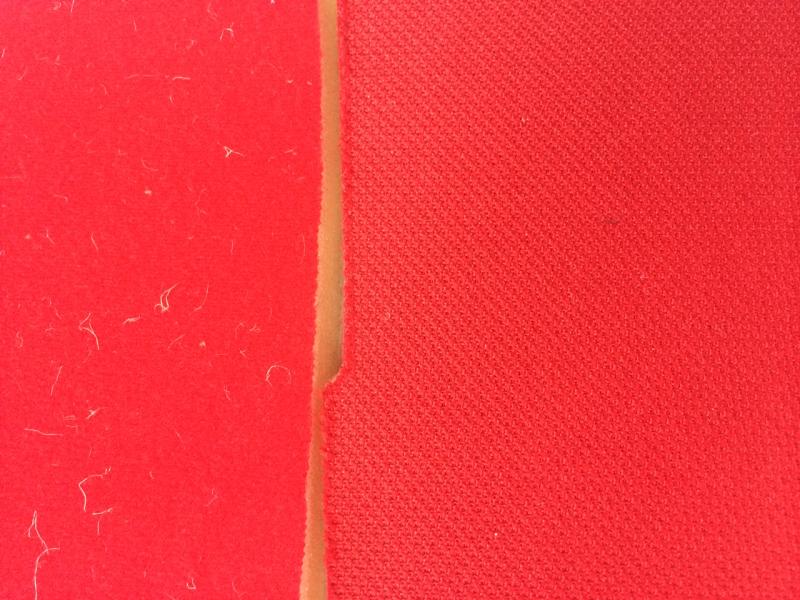
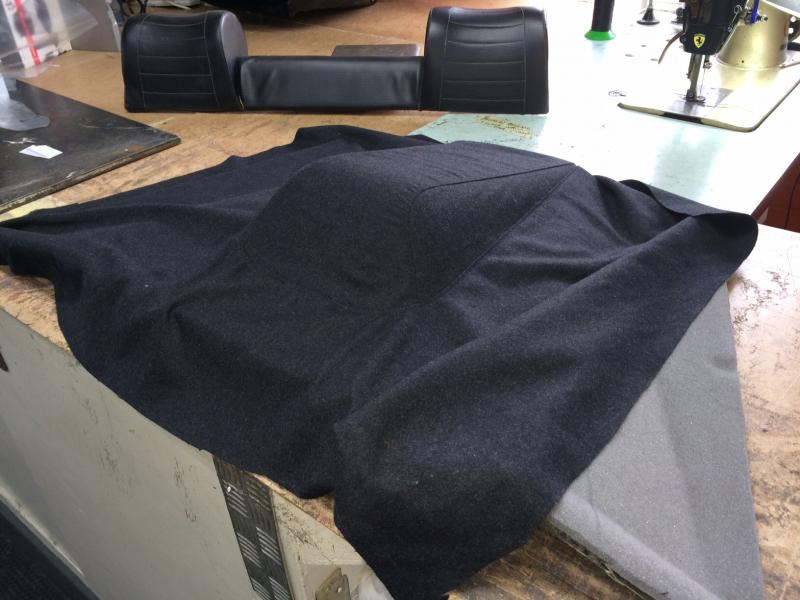
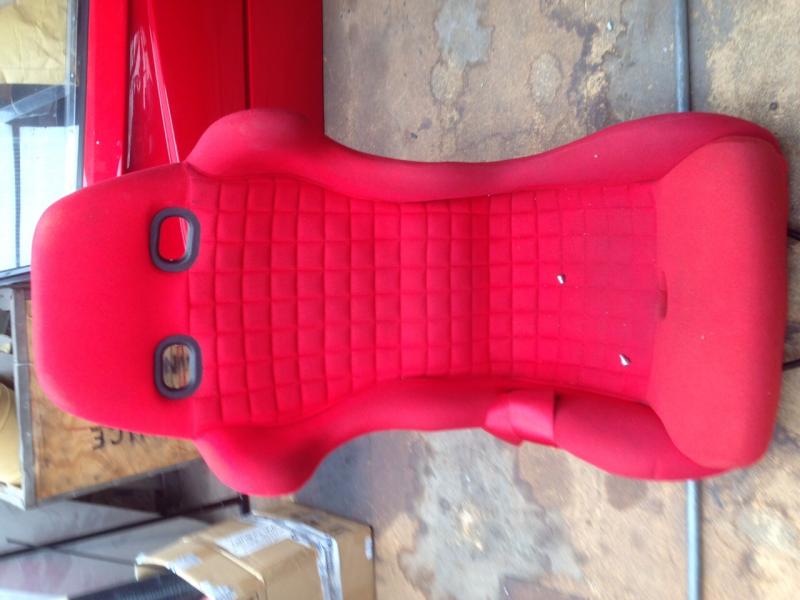
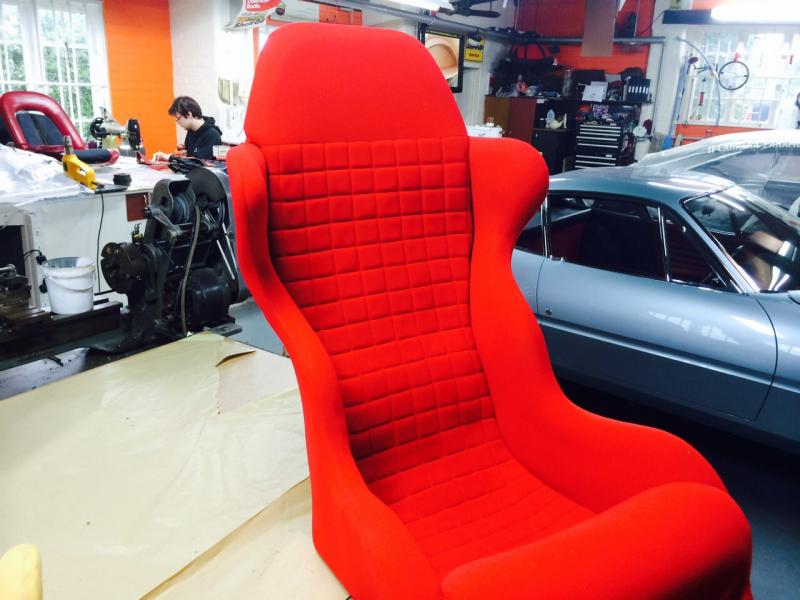
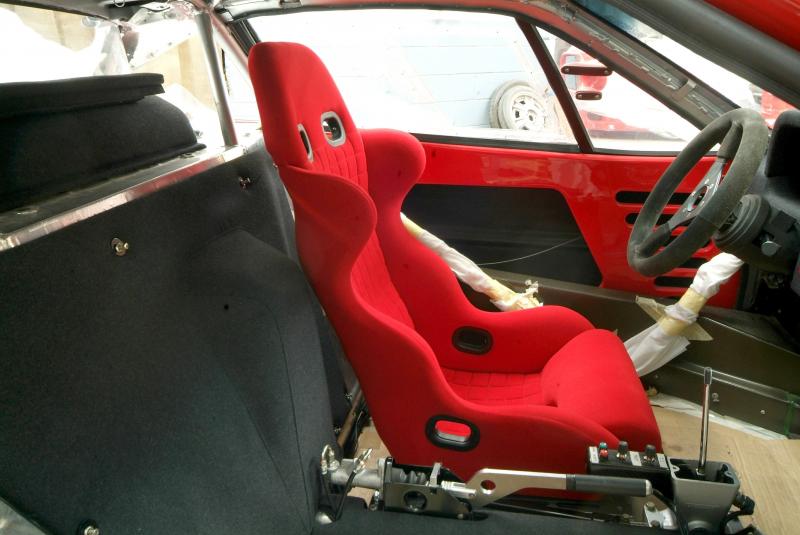
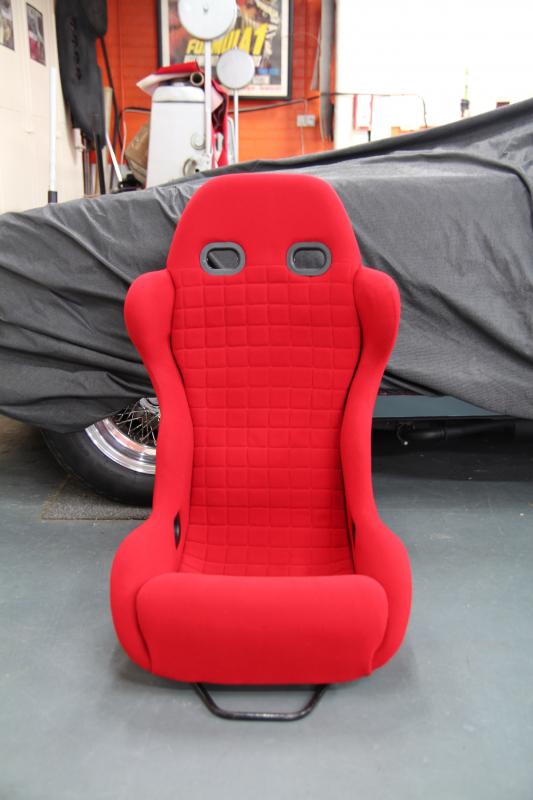
Rorky, the worlds foremost interiors specialist (OK, maybe one of), son of Kevin the Head Man at Moto T, and responsible for the dashboard is now turning his attention to the less than demanding bucket of 22 bits requiring mouse hair but at the same time has pointed out that the Michelotto seats are looking pretty grubby and will not clean up. They did apparently have mould growing on them let alone oil stains and so we are left with no option but to recover.Interestingly the standard road car seats are covered with a very effective slightly coarse material, whereas the LM chairs have this nasty nylon like stuff that picks up everything as per the attached. The sensible and practical choice would be to go for the nice road car finish so we have gone for the nasty impractical choice but somehow it just looks right.
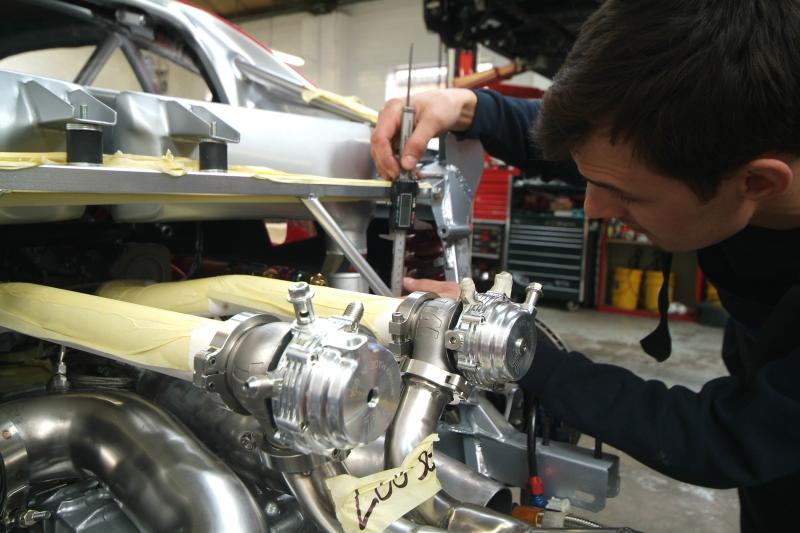
James just making sure things are within his acceptable tolerances……
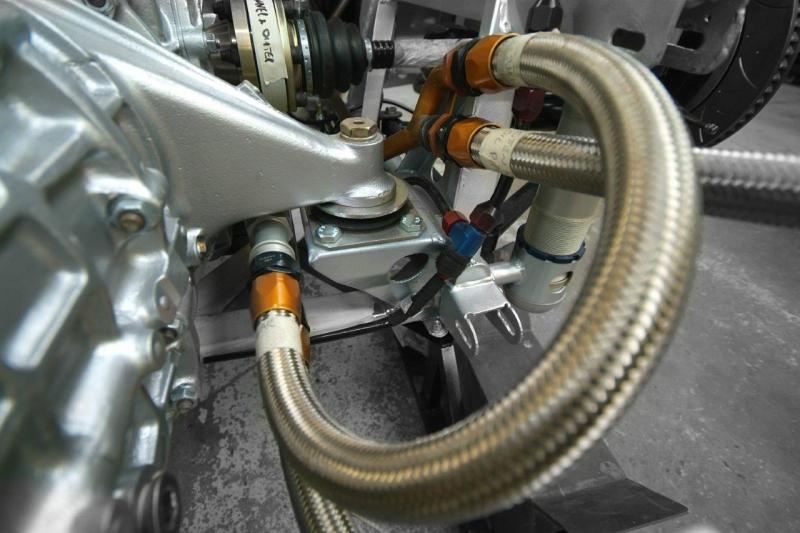
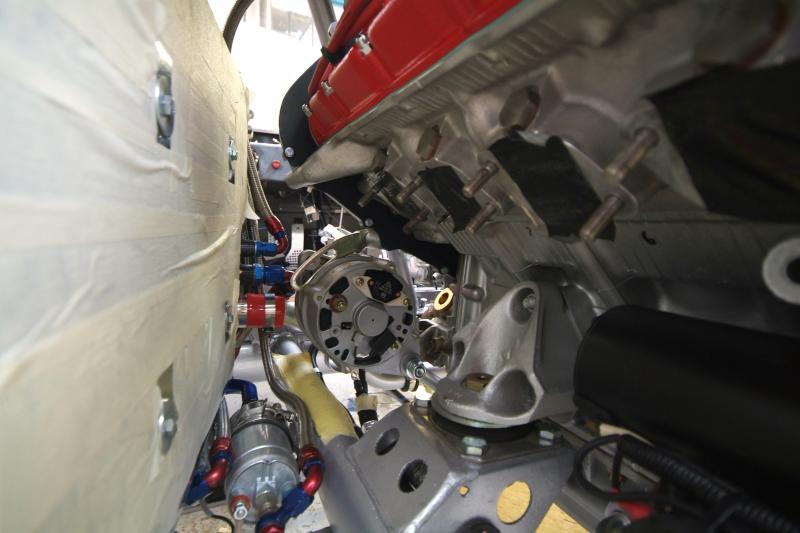
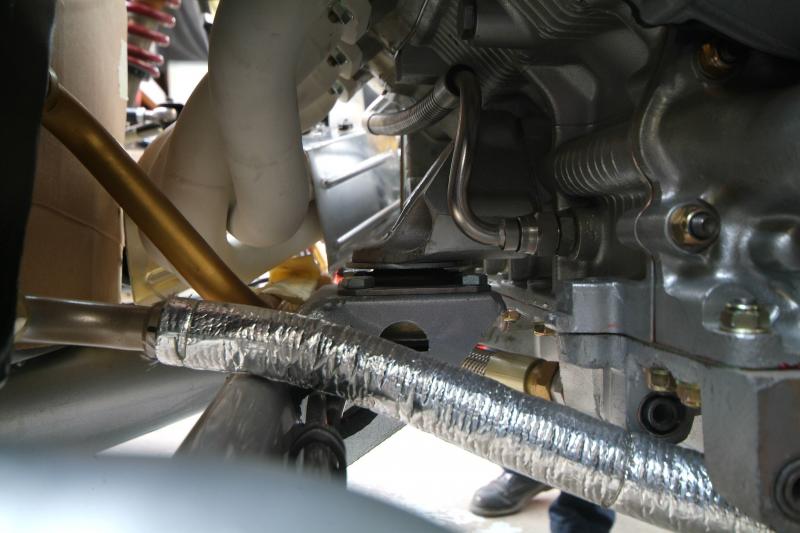
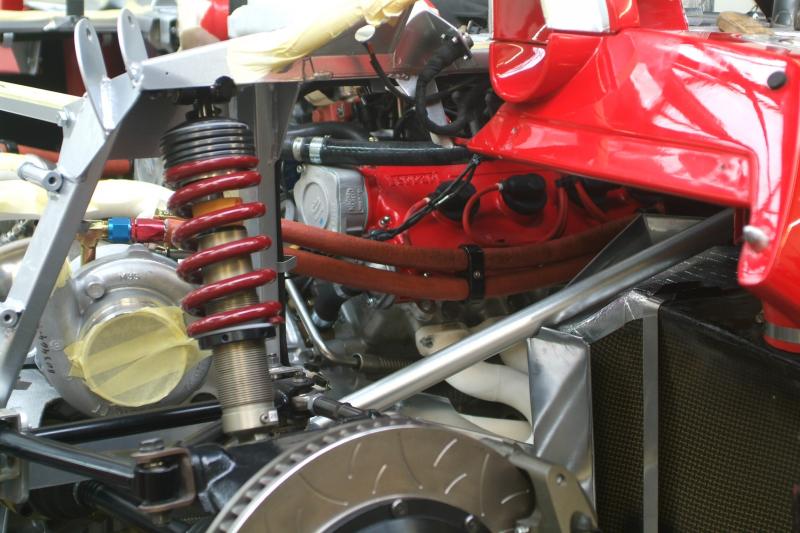
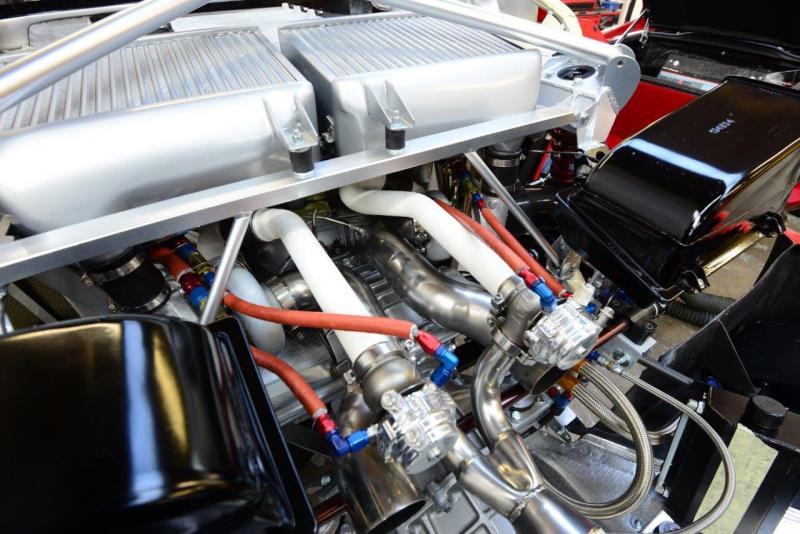
And a nice detail shot showing coolant hoses to the turbos.
And here is where those beautiful carbon inlet pipes we made have ended up.
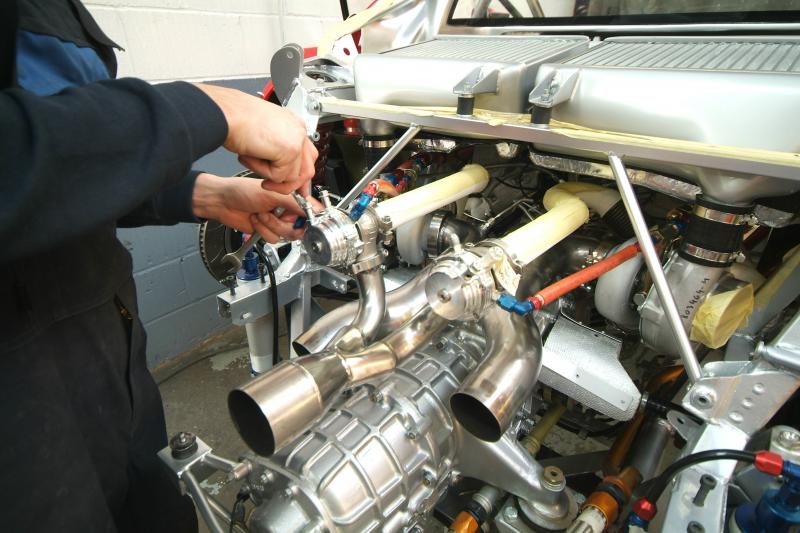
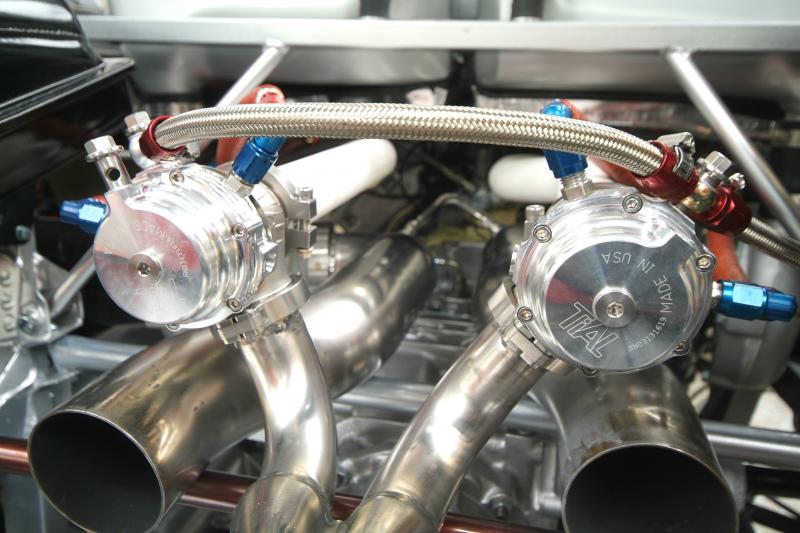
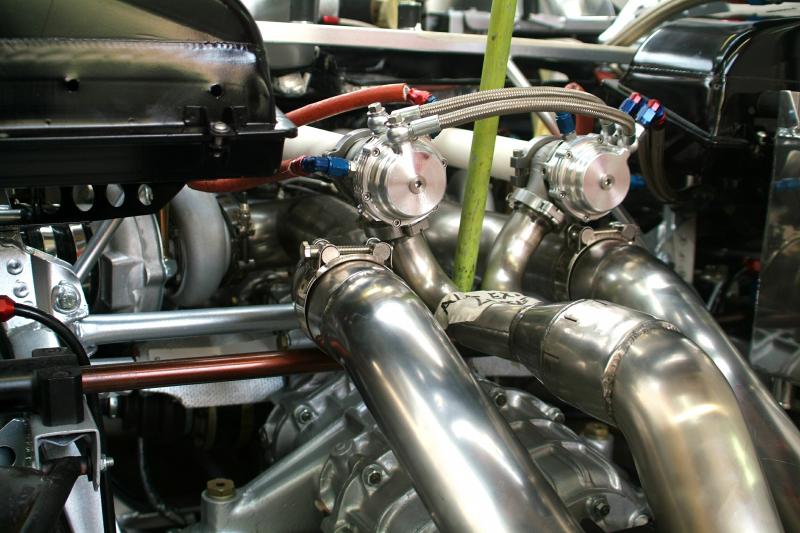
Wastegate plumbing
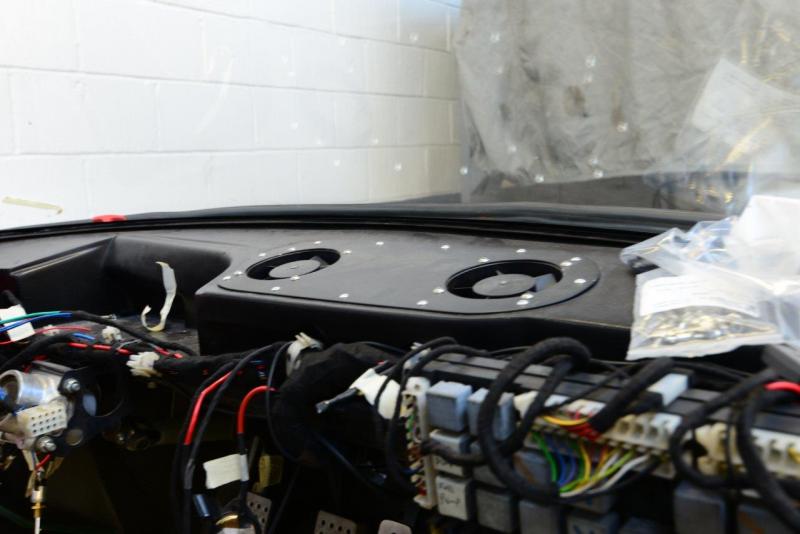
Slight change of focus. One of our sops to driver comfort at virtually zero cost in weight and which will disappear under the dash assembly.
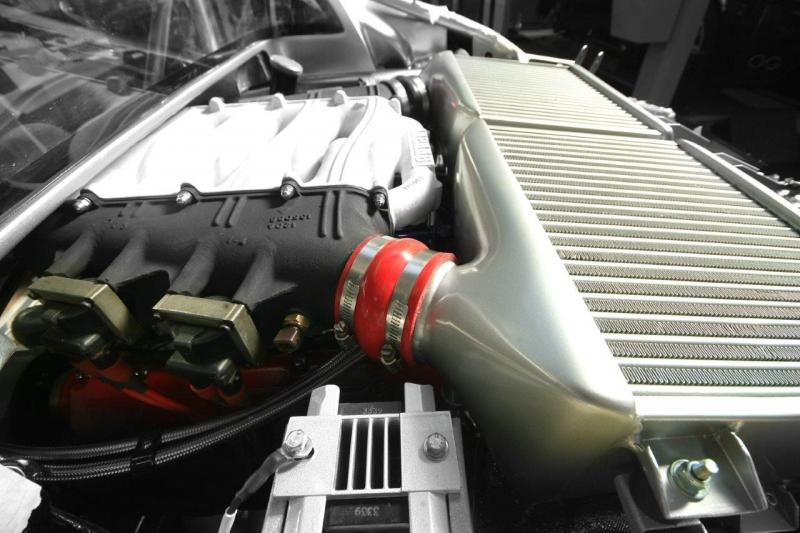
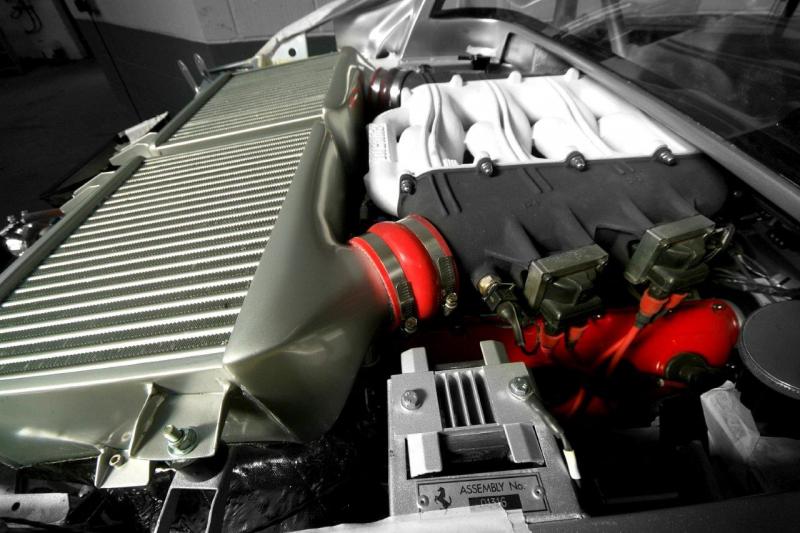
A couple of detail shots of the intercooler manifold set up.
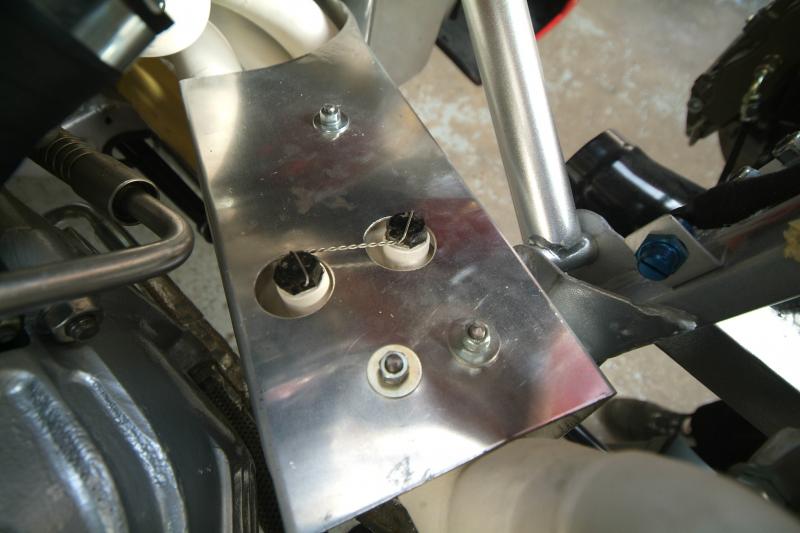
Meanwhile, back at the workbench work, the last piece of metalwork is in manufacture, the old one being simply unfit for purpose. Any ideas?
Made it too easy.
Checking positioning and then some final detail work and a good polish.
Dashboard now well on the way, although there have been delays with sub contractors matching up the loom connectors, however, that is just about resolved and should be installed next week.
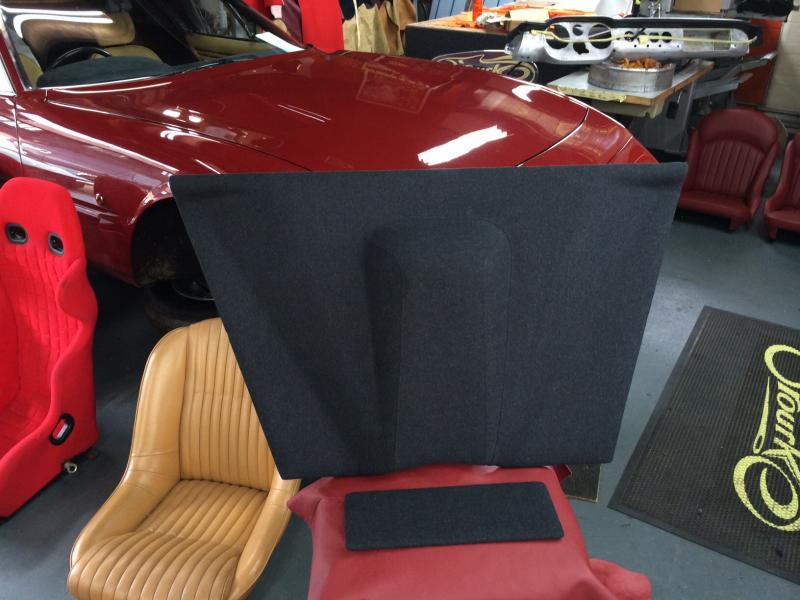
The firewall getting Rorky’s best efforts to turn the mouse cloth into something. Cannot believe we are actually into trimming now.
And now finished up with the seemingly normal standard of backdrop to the O’Rourke family lives.
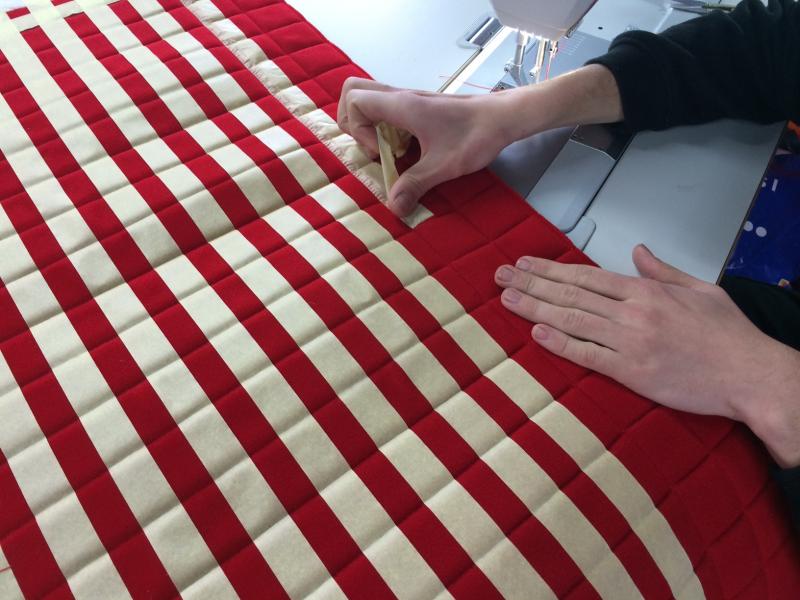
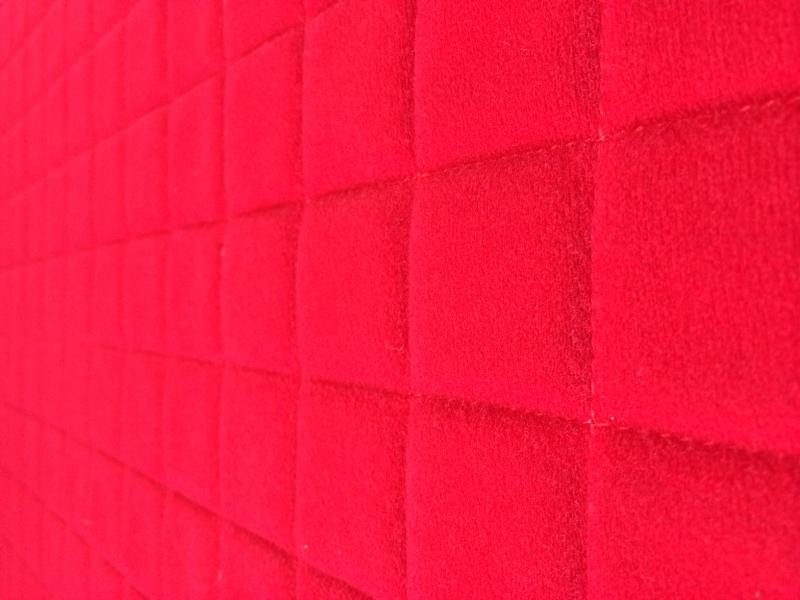
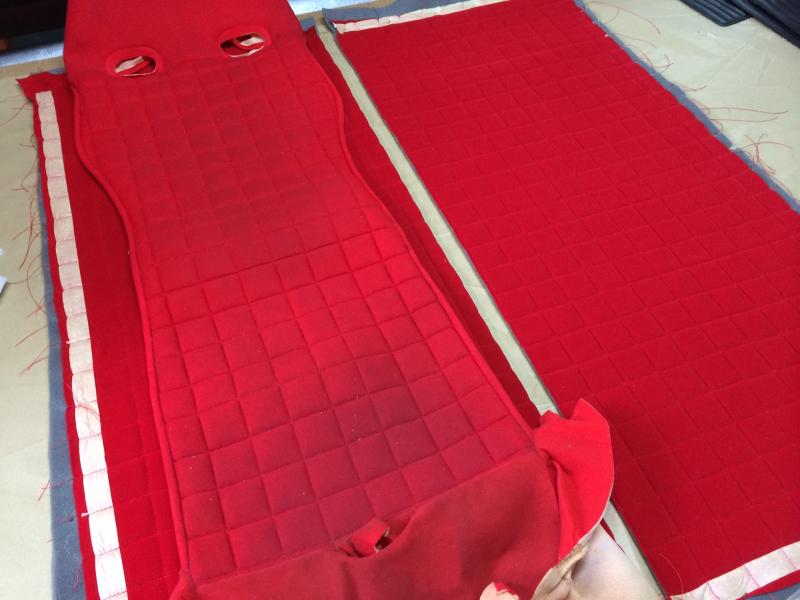
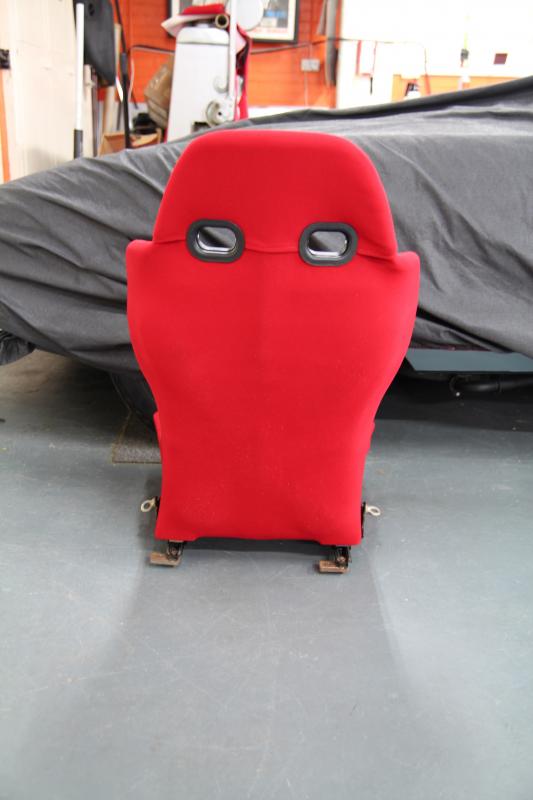
A little more on the trim front.As you will have noted the Michelotto chairs have a square stitching and I was interested to find out how Rorky duplicates this exactly. Masking tape as the guide is the answer rather than pencil lines which can leave a trace.Last pic is the old worn, stained and faded covers against the new quilted panels.
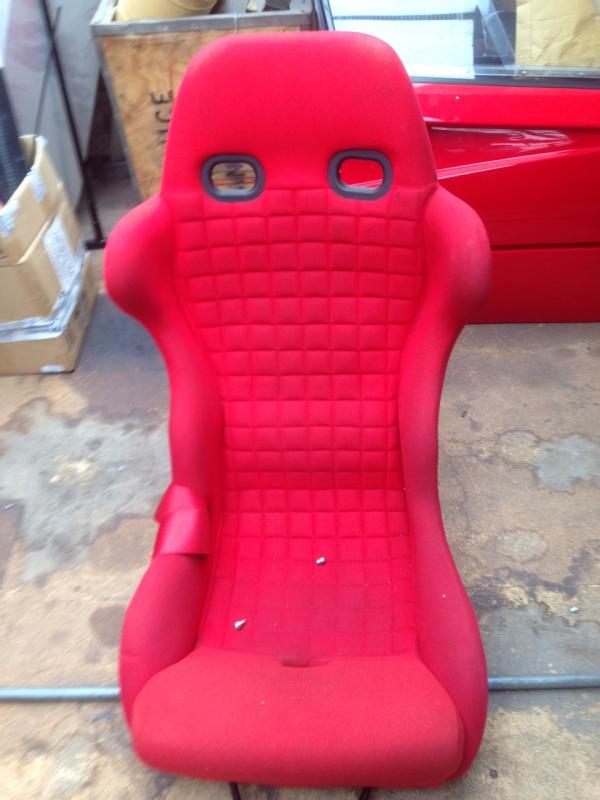
While I am at it, here is one of our seats pre recovering. They seem to have faded to an almost dark pink.
Dashboard now back in place.
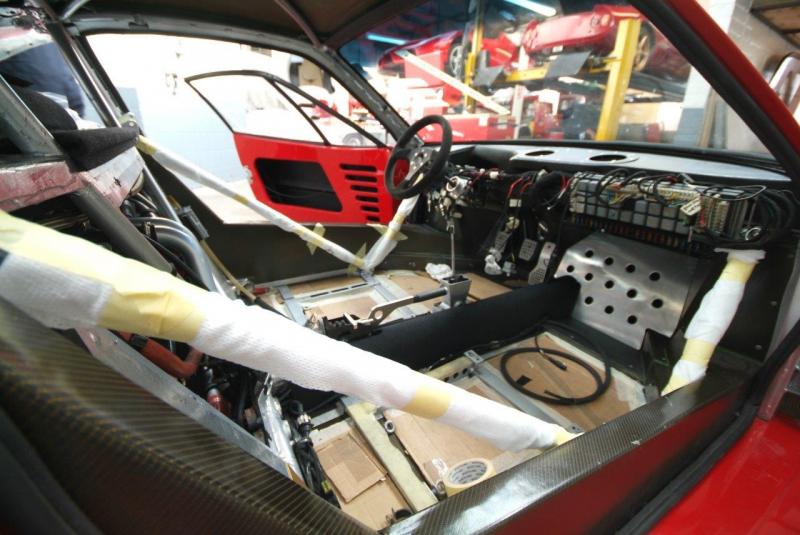
A couple of generic shots whilst work goes on in the cockpit with wiring and plumbing
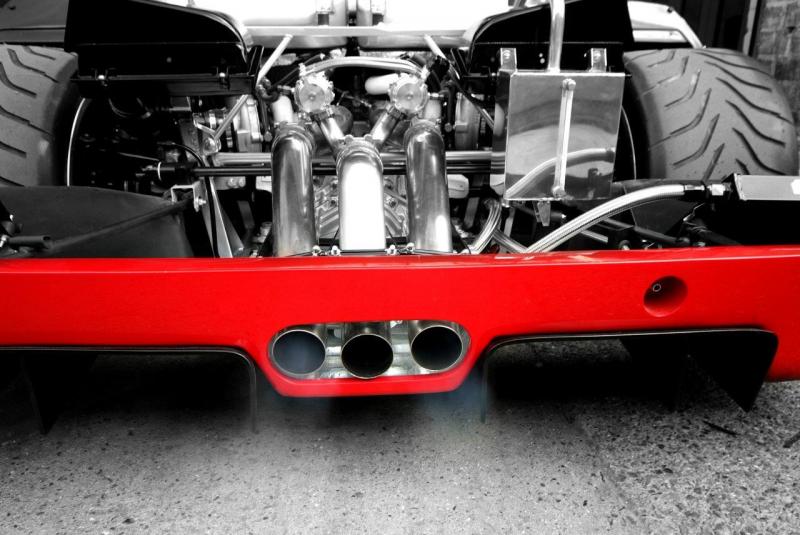
Exhaust on which is just a straight through. This will stay for now and testing but will hopefully be replaced by something more suitable for controlled track day use when and if I can find it.Still seems difficult to find a suitable exhaust with a dual purpose, open for open track days and muffled for the rest.
Meanwhile another shot of the almost finished dash.
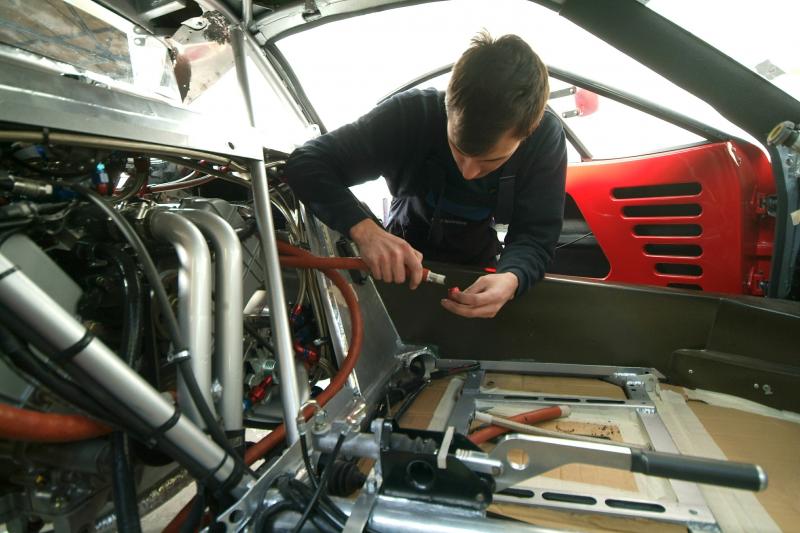
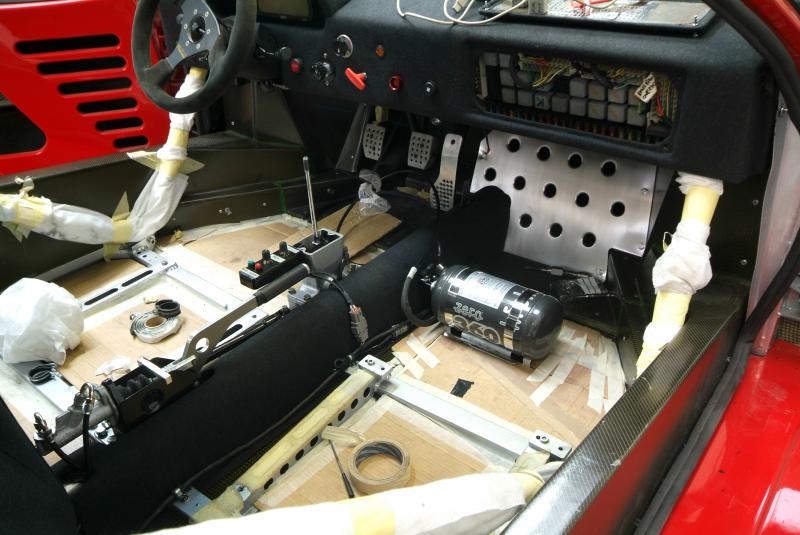
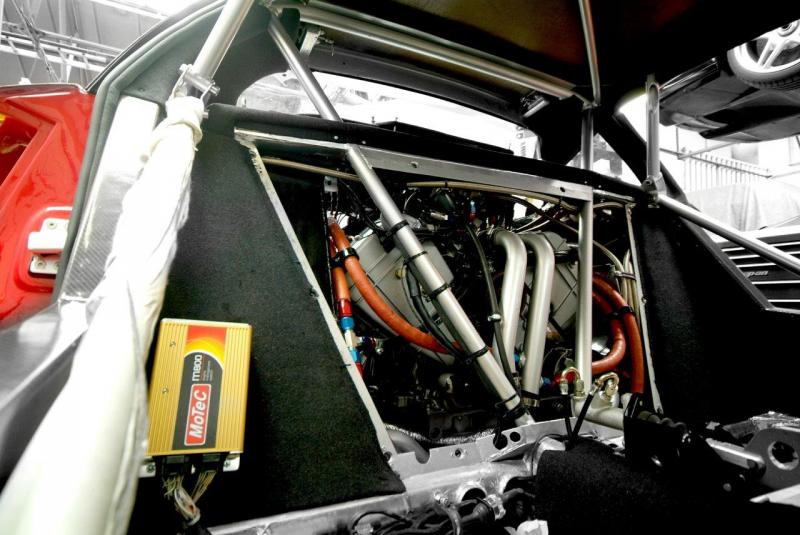
Plumbing and wiring in its latter stages. Most of this umbilical gets covered by a simple trim panel in due course
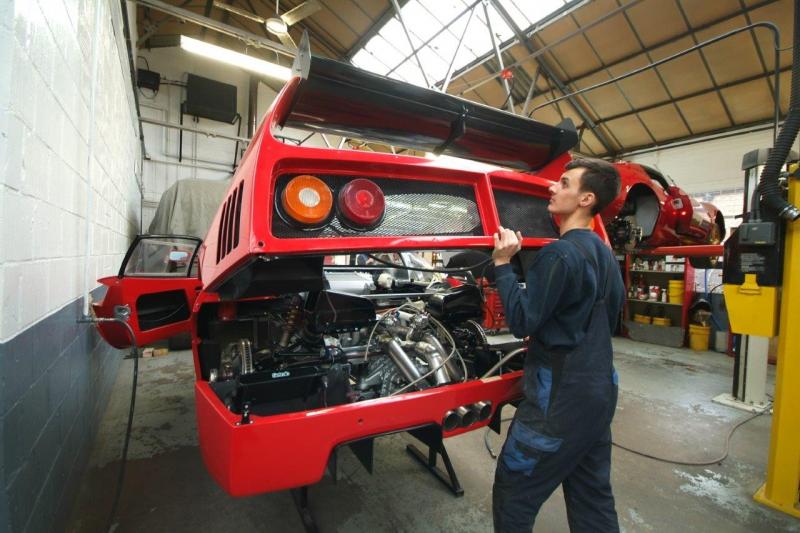
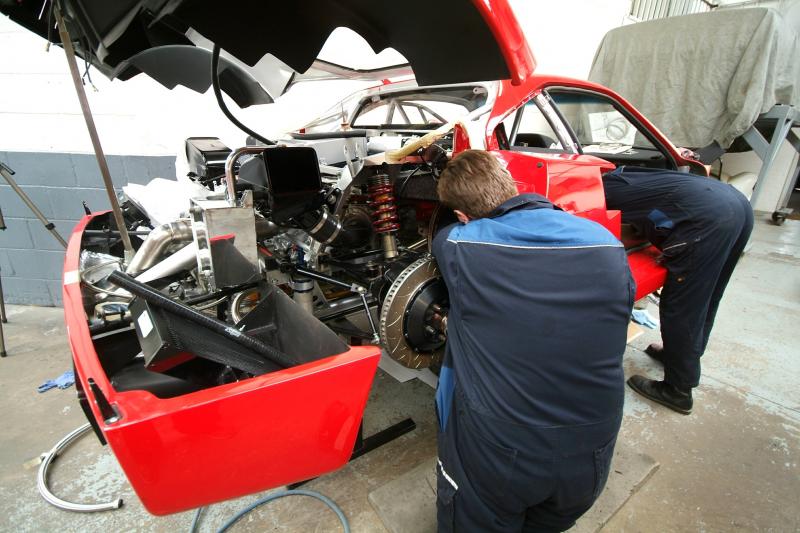
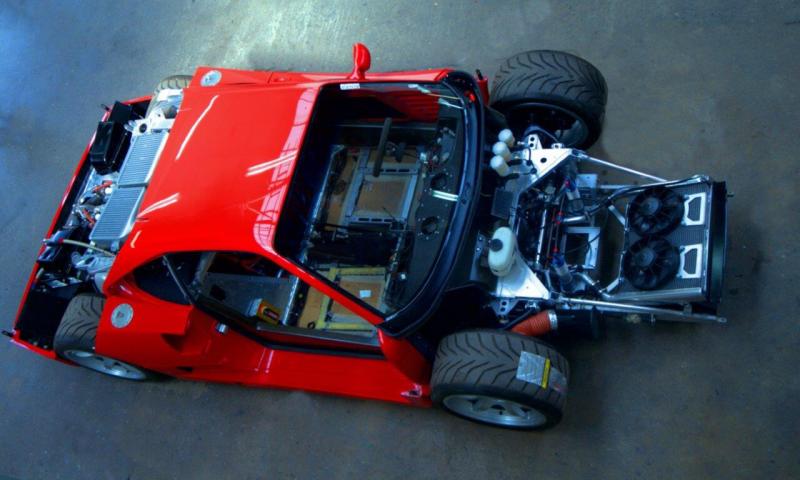
Rear clam being tried on for size before finishing details are added. All bodywork will be coming off again for start up and dyno work.
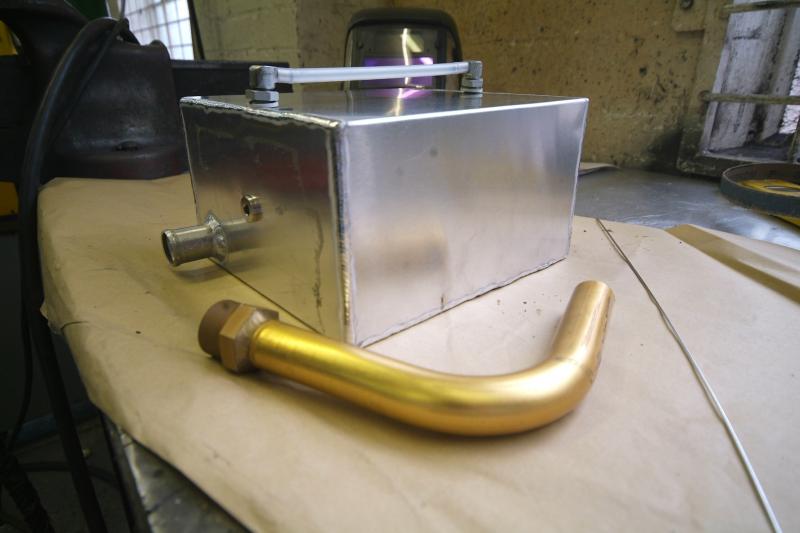
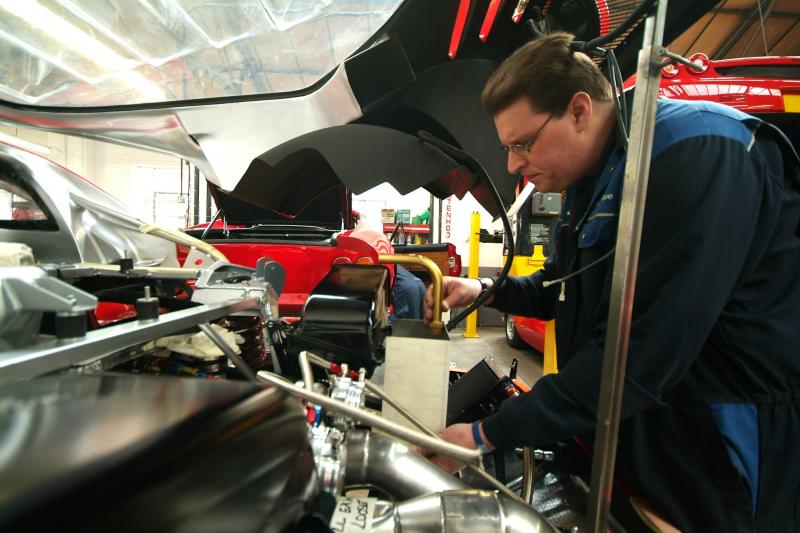
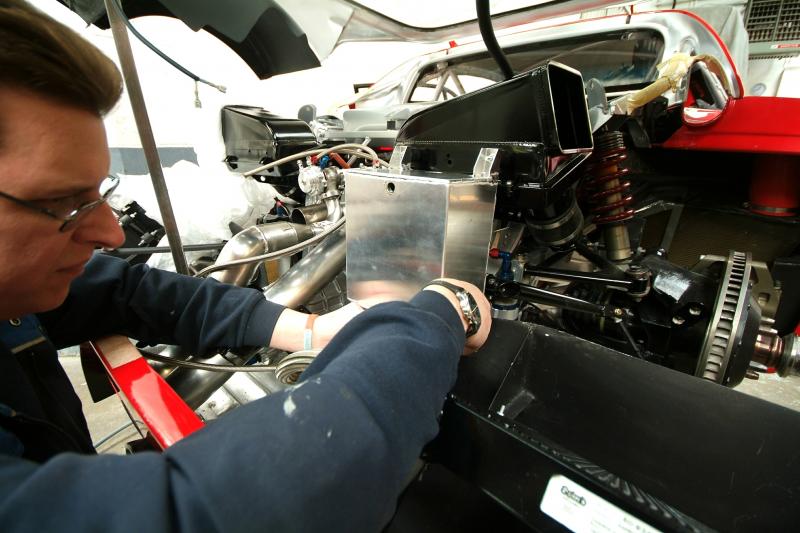
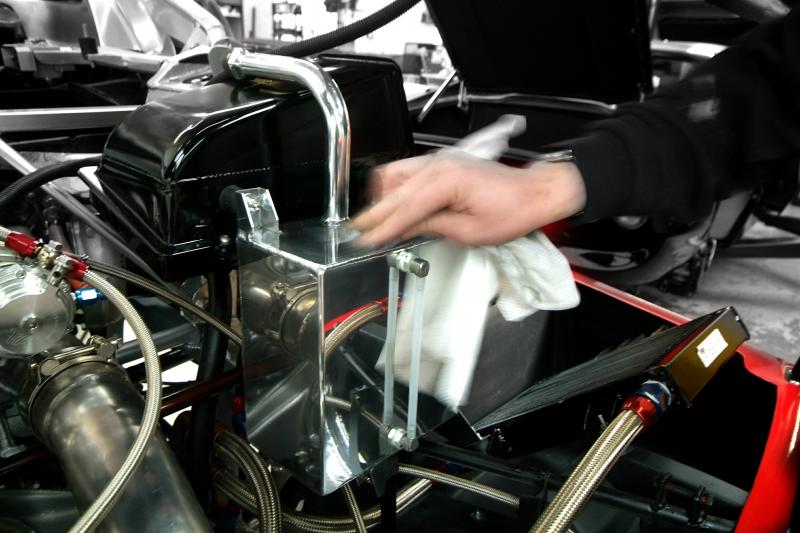
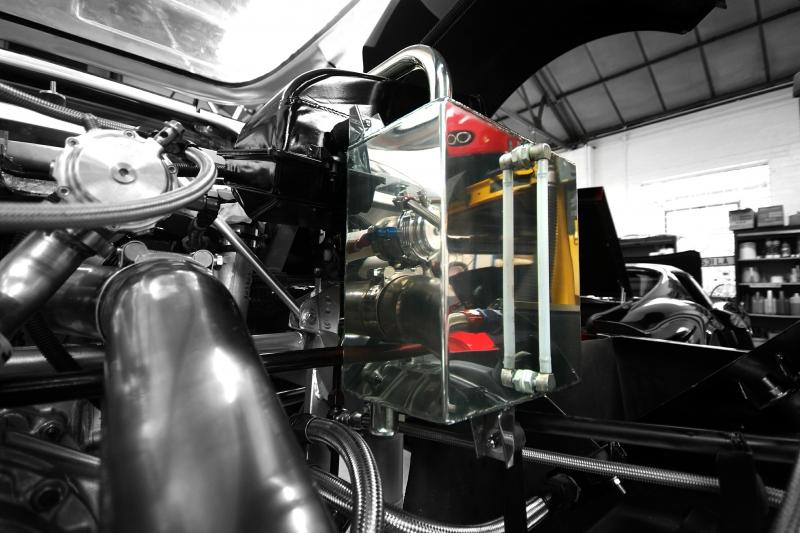
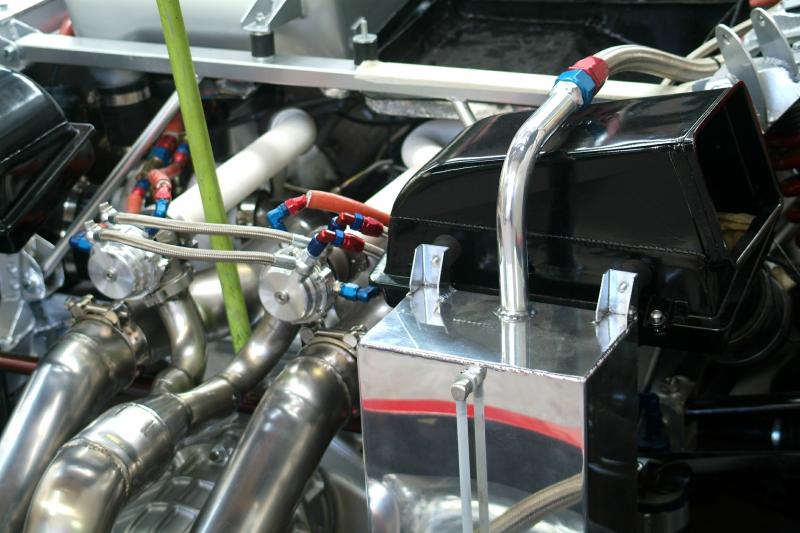
I will do a vid of first start, Dyno, shakedown and testing etc, assuming we get her to work, but meanwhile content yourself with this poor substitute as our new polished catch tank is fitted. And yes gloss black is going satin.
A few detailed pics
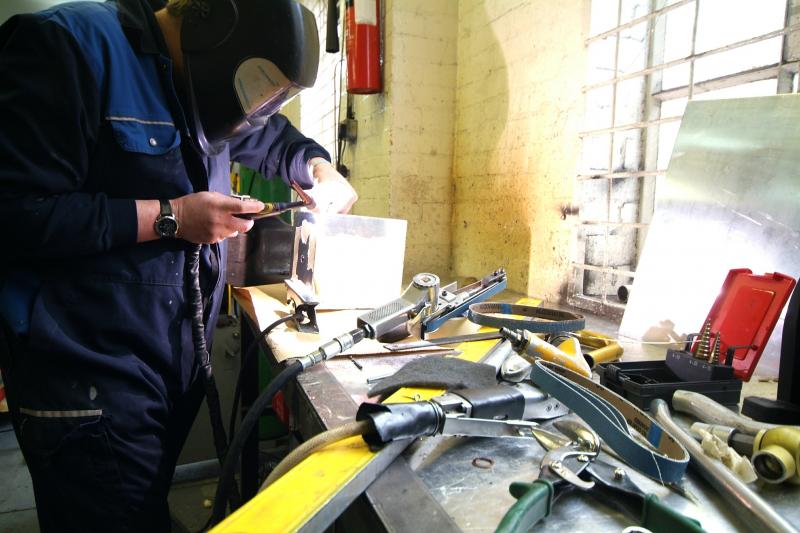
Here we are again back welding. This really is the last go with the torch and any metalwork
A picture speaks a thous…….
And just to make it clearer…..
A bit more detail work and then off to Rorky, the trimmesiter
Now ready for the Trim Meister
A few more bits and pieces fitted last week.
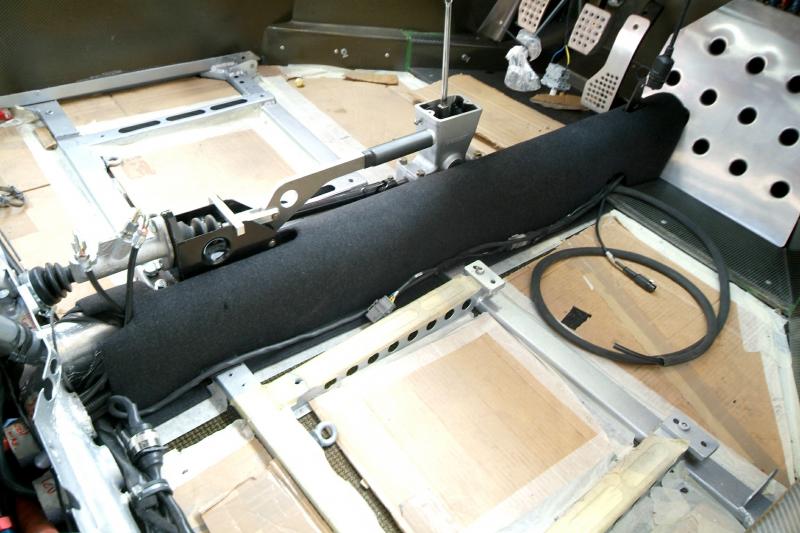
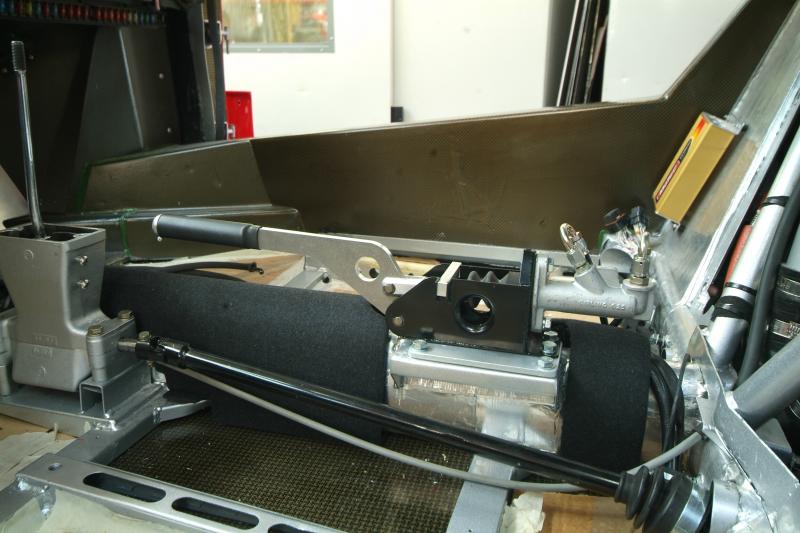
Tunnel finished and now off to Rorky the Trim Meister and one or two other elements fitted.
All being well, a remote Motec session on Friday to set and check all parameters and then a moment, or I suspect moments of truth, next week.
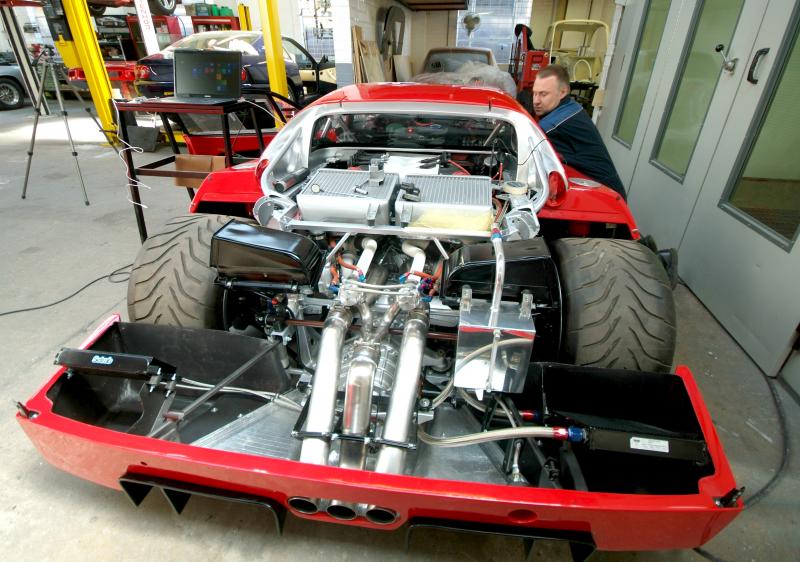
It is one of the very few cars that, I think, looks almost better undressed. When finished we will do a proper set of photos with clams on and off, but first we have to see if she works. Nervous, primarily due to our new electronics.Having taken mrknowitallF40 and others advice on this forum, may I present the new wastegate plumbing for comment?
A shot from the other side showing slightly better detail of the wastegate plumbing. The green broomstick is not exactly permanent.
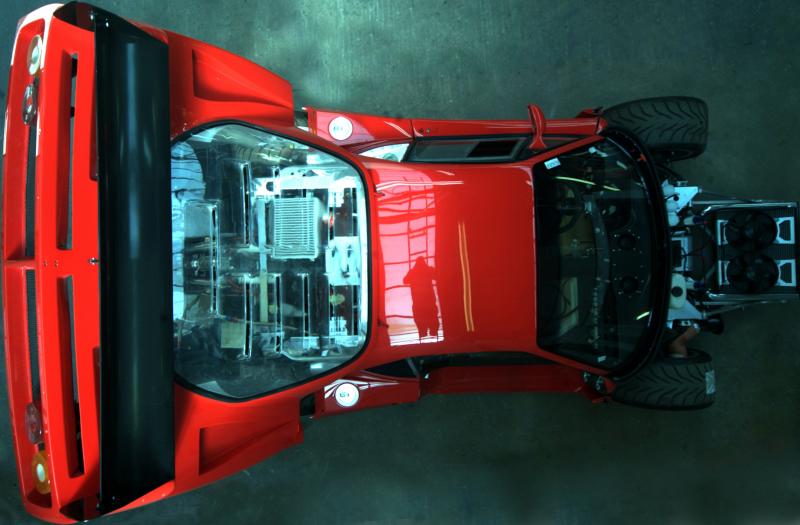
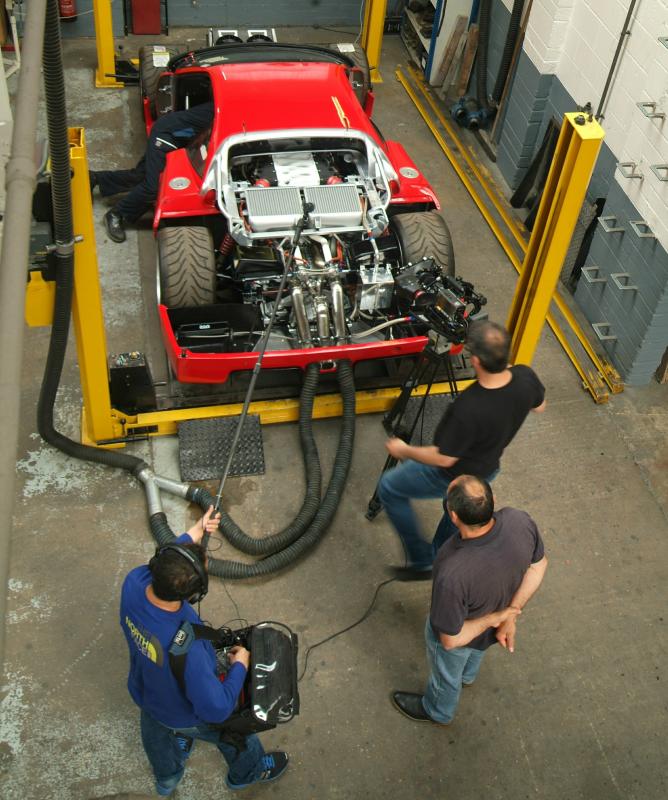
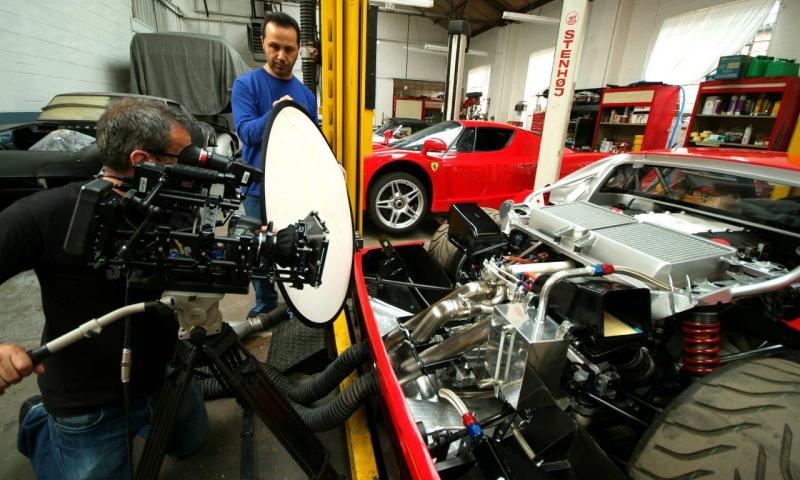
Another practice run on the photo side of things. Got to work out how to avoid the reflection of Kevin’s fine physique from his perilous position.
Meanwhile, all plugs in line abreast awaiting electronic calibration this week.
All to be controlled by this….
Rorky’s tunnel,now back in situ
Trying to establish what max revs to limit the engine to and also what max boost. Impossible to raise Michelotto, no surprise there, but interested to hear from anyone with genuine experience/knowledge.
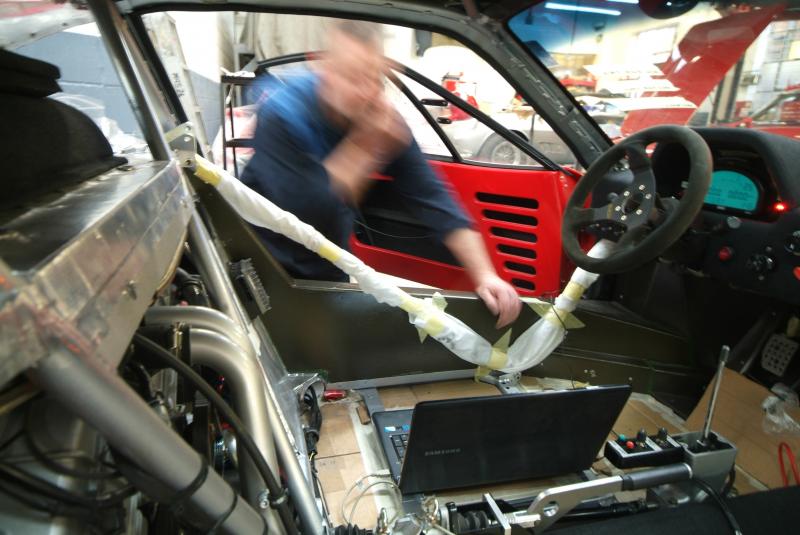
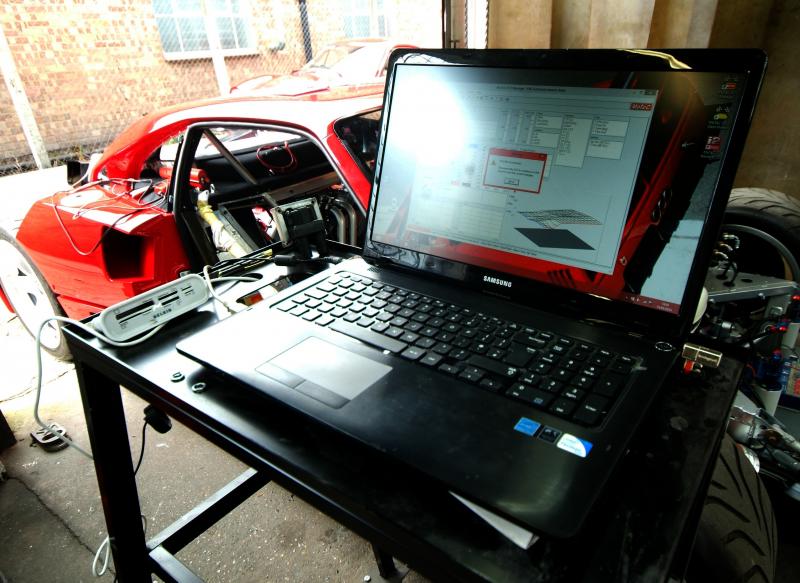
A couple of generic shots-this electronic trickery, setting parameter etc,s checking everything is firing and activating correctly is a time consuming process, far longer than we originally thought, not unlike a mini Apollo countdown and equally as concerning.
Lucky to get one comment today seeing as how it is LF review day, but finally a few electrons start to buzz around the system and she starts to wake. A lot further to go though…..
Despite Colin being a blur of activity, electrical issues continue to frustrate but I always wondered if this phase might not be straightforward.
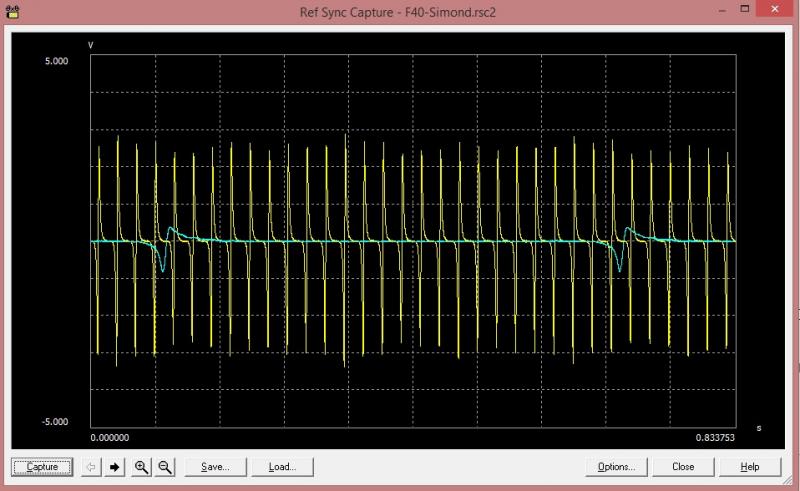
But before the weekend we managed to get this trace which is positive and shows the crank and cam sensors are working correctly.
Too detailed to go into and may be some solutions tomorrow relating to the fuel pumps, Monday being a holiday here, no action today. Will update when I have more to report but as envisaged, in fact more so, the digital dash etc is proving somewhat complex and we want to make sure everything is spot on before mixing fuel and a spark.
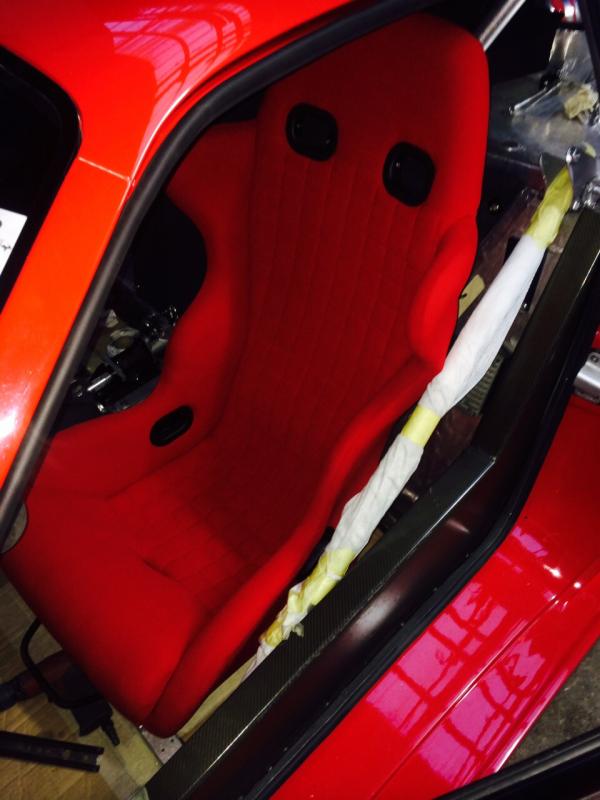
Rorky almost there on one Michelotto chair. Just needs the seat belt openings sorted.
Extinguisher now in situ and plumbed in.Struggling slightly on the wheel. Momo or Sparco and I prefer Momo although all LMs I have seen seem to be inconsistent. I have some ideas but interested to hear any suggestions on model? Alternative is to refurb what we have but probably cheaper to buy new.
Rorky, AKA The Trim Meister has delivered our first complete seat and it is perfect and so glad we decided to recover in original fabric rather than more practical road fabric.
And with the firewall temporarily fitted
A few issues with getting the fuel pumps to talk to Motec but more news on that tomorrow. Meanwhile James is busy fitting more of the internal trim such as it is.
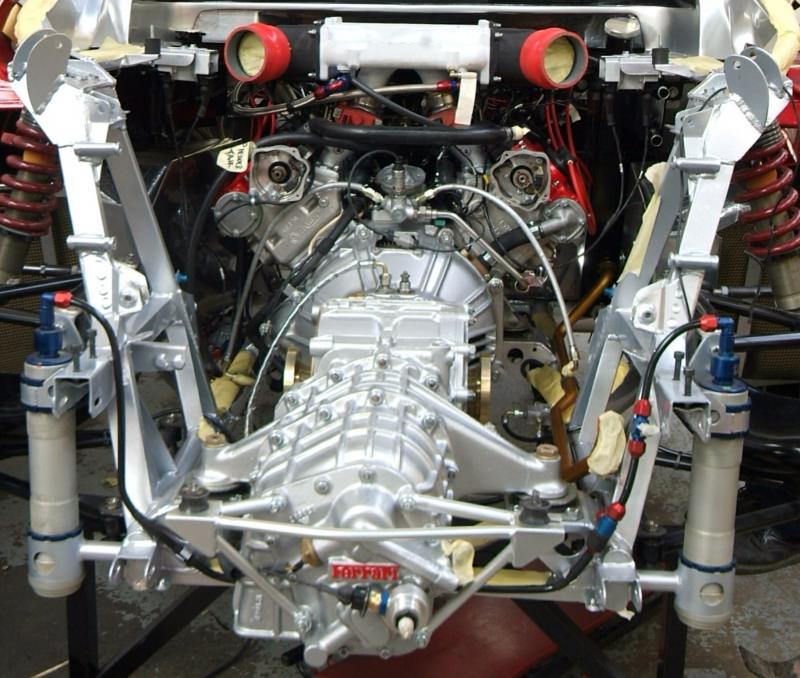
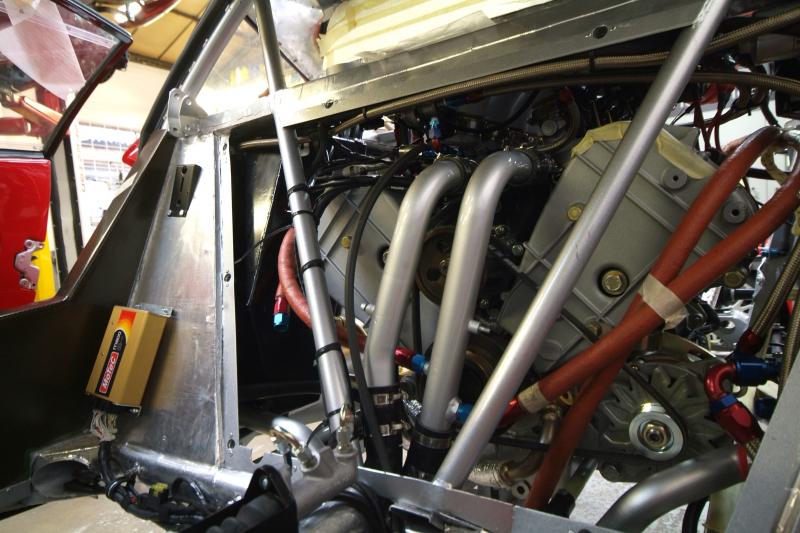
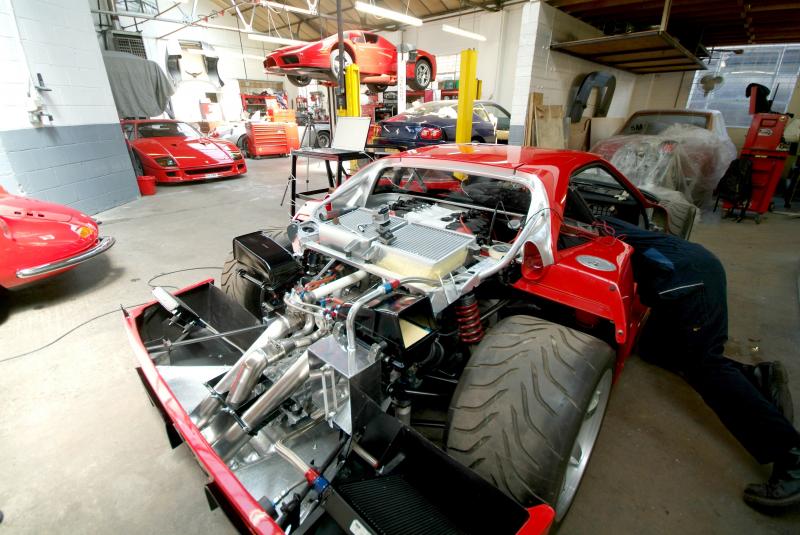
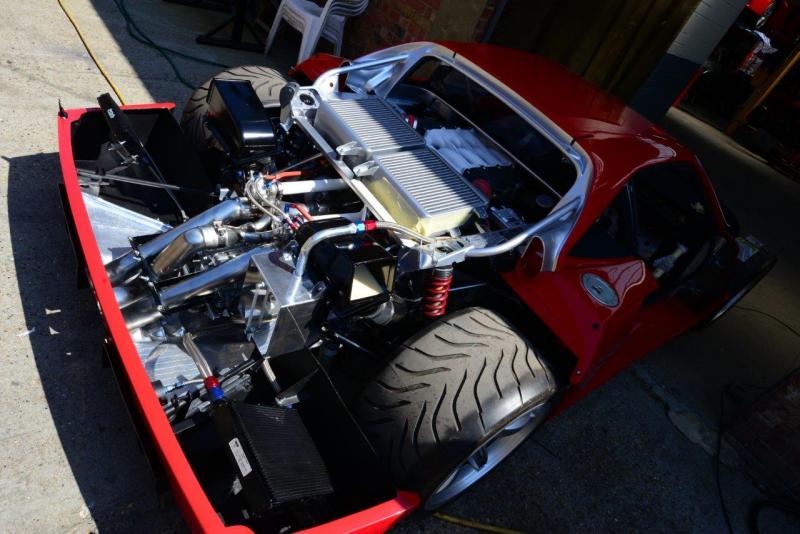
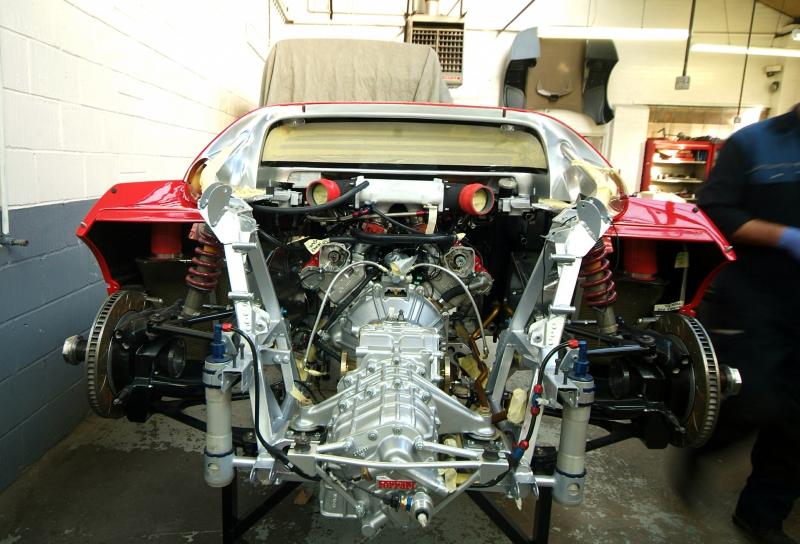
Whilst we continue with our electronic sagas, a snap of where we are in the engine bay.
Another shot with a typical Moto T backdrop……….
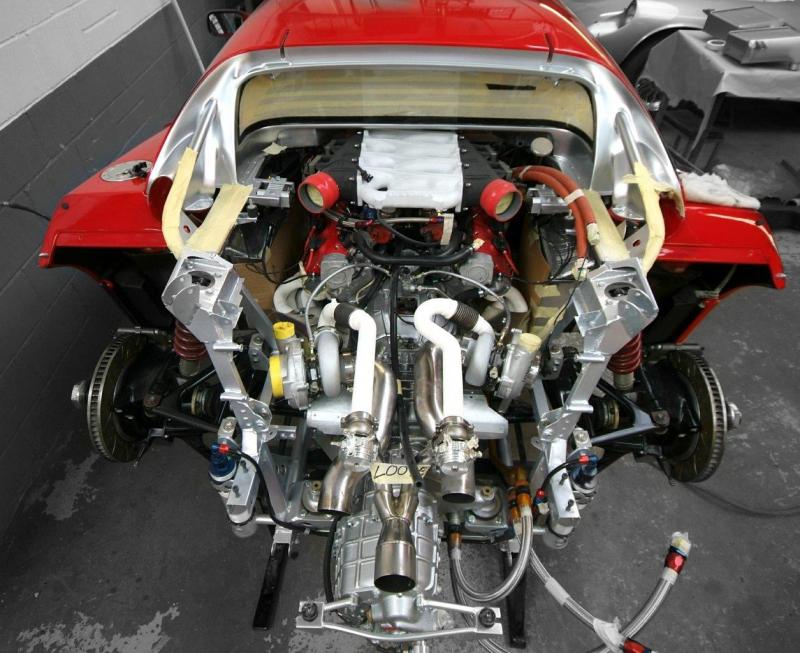
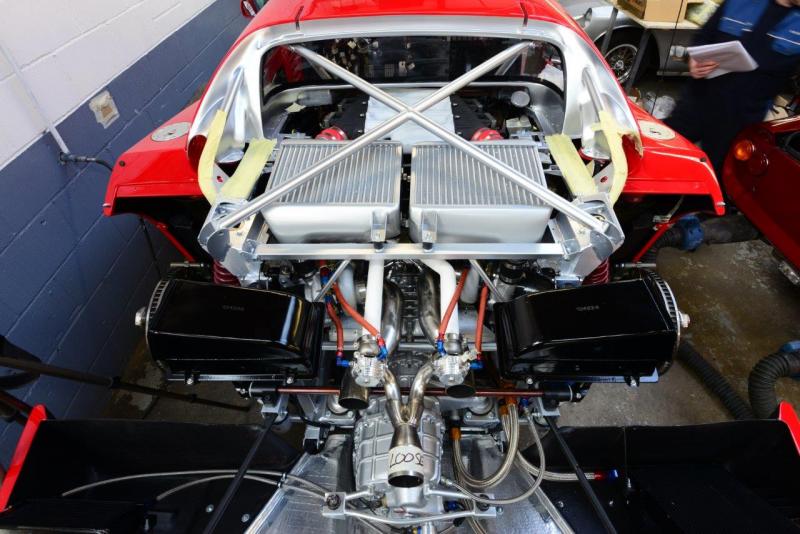
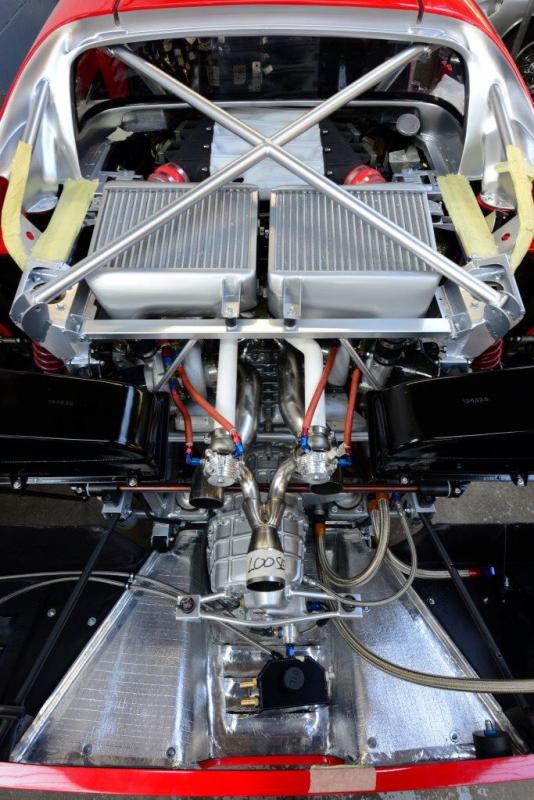
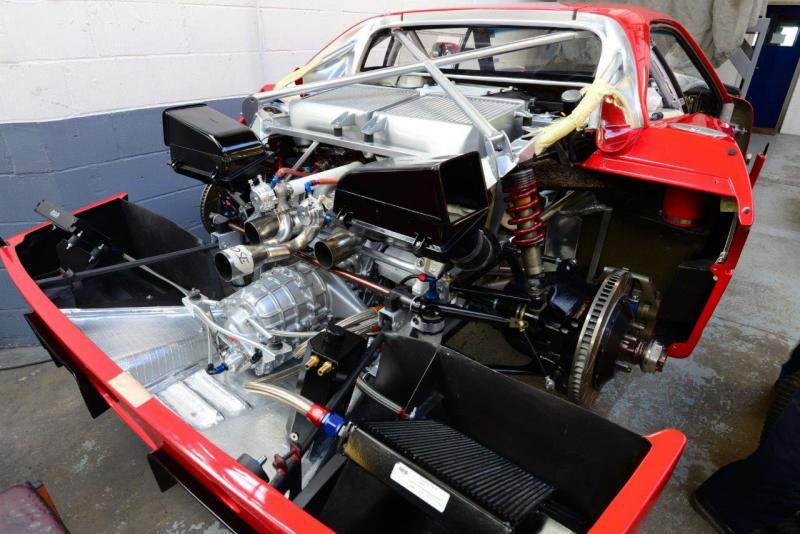
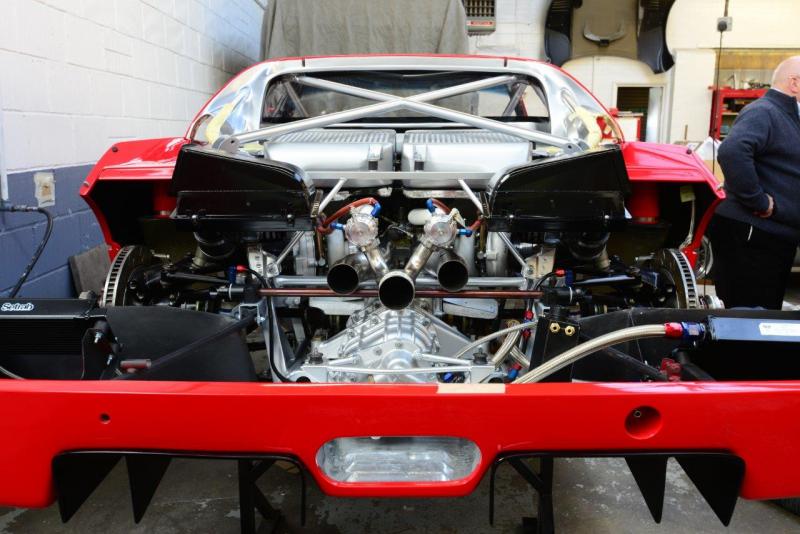
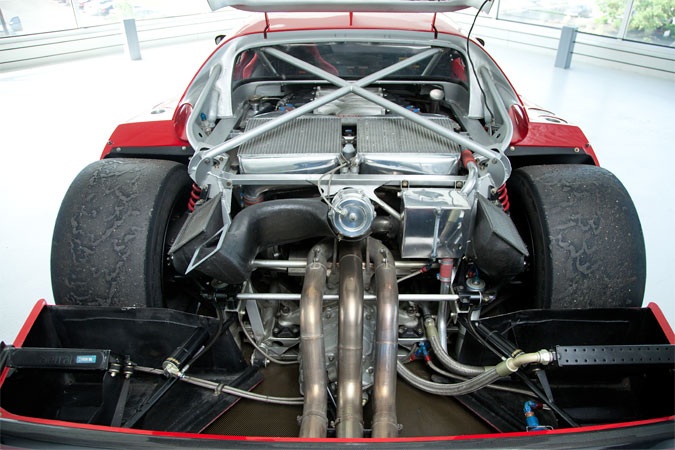
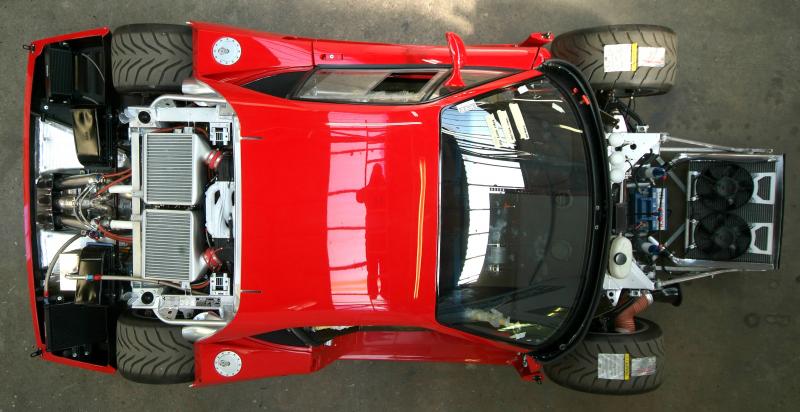
A weekend treat as Kevin has been back mountaineering again and taken this cracker. Few details still not finished, bits of tape to come off but this shot will be repeated at the end, wherever/whenever that may be. Currently at T-1 after a few holds.I don’t think there is a much better view of an engine bay in the automotive world……?
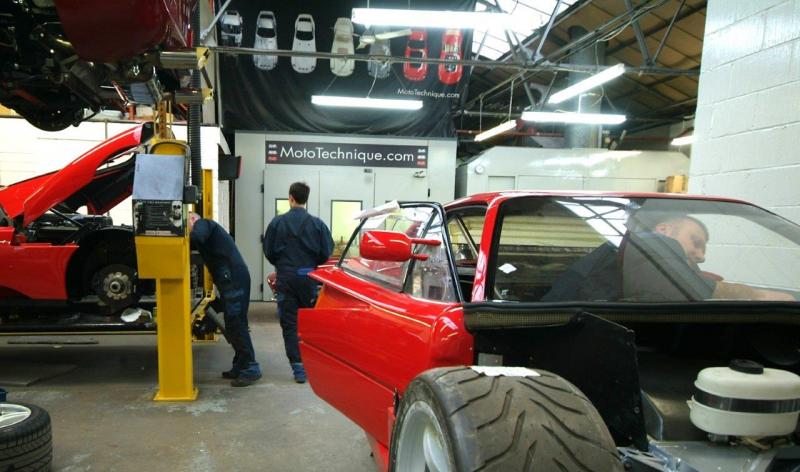
Speaking about the cars Mototechnique get to work on, I just thought I should lob this in for a typical day at the office…………..
And one for the weekend Kevin has been climbing again- once finished, this will be the money shot. or at least one of them.
A final bit of prep
Well we have ignition if not yet lift off.Have a very poor vid but too big to post here. Started almost on the button, three turns and immediately caught which bodes well. Running a little unevenly at present and set the fuel pressure at 4 bar for now but mazy need to be increased given the power we are looking for. This photo was taken whilst running and you can just see a tiny bit of smoke from the right bank.In terms of mapping, current aim was just to make sure the fuelling at idle is correct and both banks are running good lambda values. Now over to the mapper whilst we get on with our check making sure all hoses are tight and no fluids being lost. First impressions was a slight leak on one turbo but aside from that, which is easily sorted, seems like Colin has done a great job.Next up is trying to get a few revs on her later in the week.
Just a few more snaps from start up day and hopefully more to report later in the week.
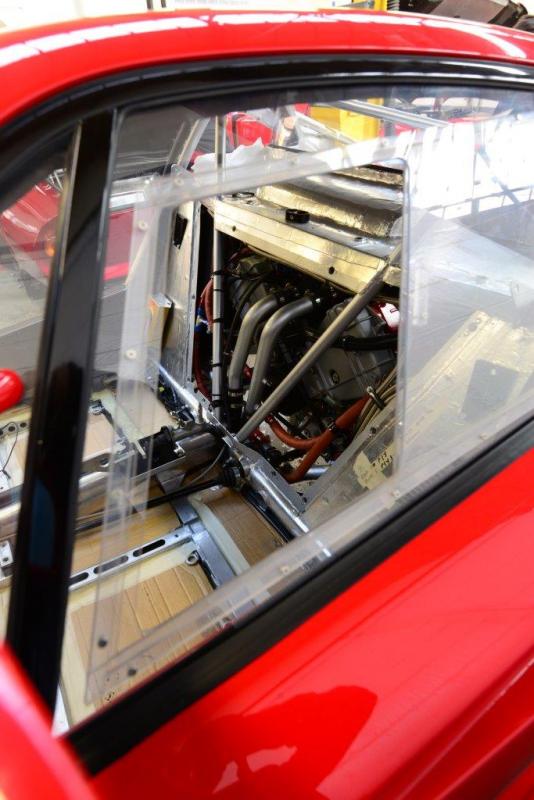
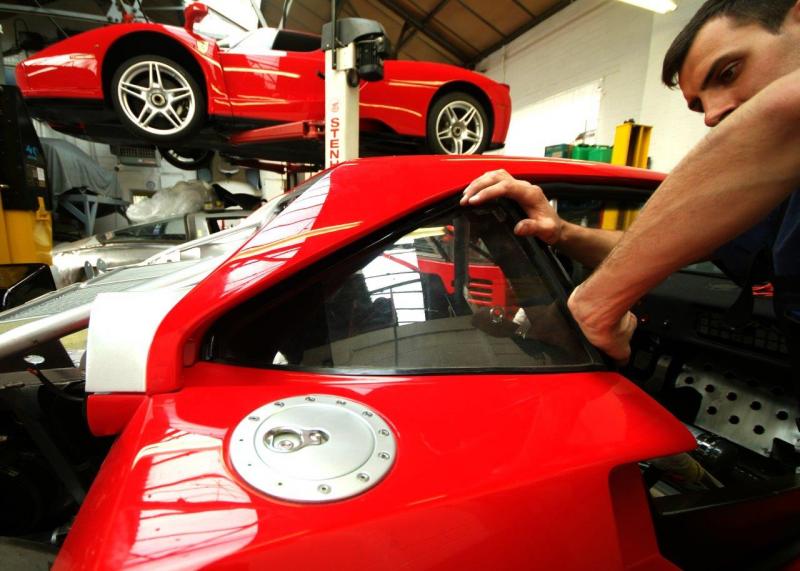
Thanks for all the feedback on the oil tank and we will leave it polished and it can dull with age, but I agree on the routing which is less than satisfactory as a result of having air filters and you have confirmed an unease in the recesses of my brain and so we are looking at it.Meanwhile, rear windows etc back in place.
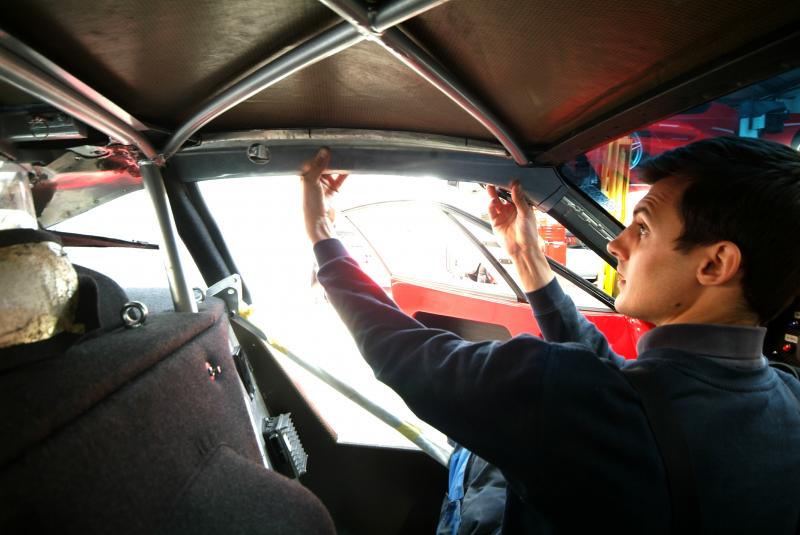
Rear bulkhead trim now being fitted…. All beginning to look more permanent now.
Will there be a video soon………….?
This time with traditional backdrop
Have just completed a gentle two hour break in session,n limited to 1400 revs, and so far so good, minor leaks all resolved and so next week we load up a ‘transient map’ and get some more revs on.
After our two hour check run, MT dismantled the turbos just to check no detritus from the Zircotec saga and that we had cleaned the manifolds out properly. All good.
A holiday here in the UK but all set for a few more revs hopefully later this week. Note the floor now bonded back in.
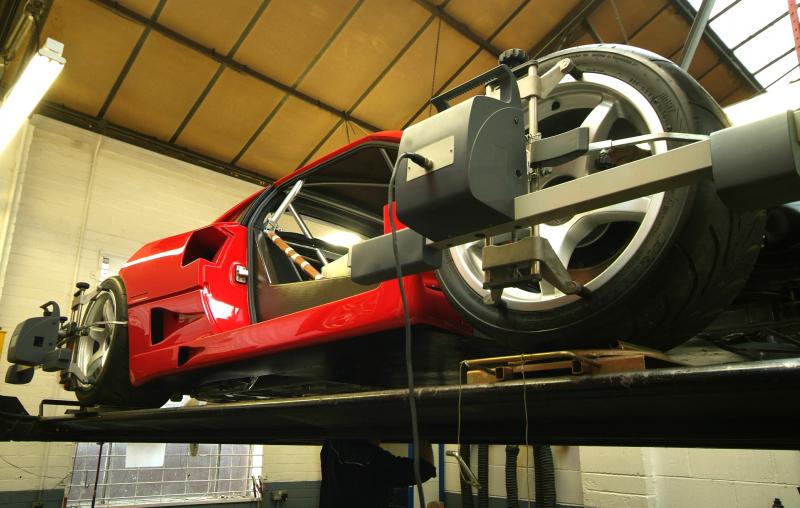
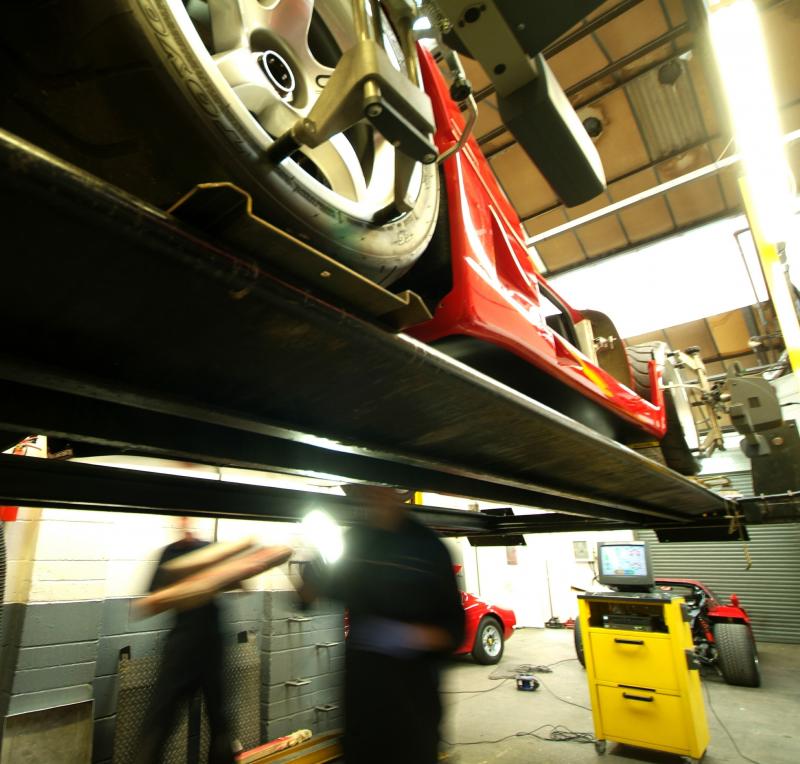
Setting up the suspension, ride height etc. We are lucky enough to have all LM settings direct from Michelotto so hopefully this should save a heap of time in trial and error.
Meanwhile we have decided to take advantage of this slow period to use our existing front clam to make a mould and a replacement as otherwise, IF there is an accident, it will be almost impossible to replace, or at least even more expensive to do so, so there will be a further interesting story about manufacturing a lightweight CF front clam coming up shortly.
Second seat back from Rorky, better than new.
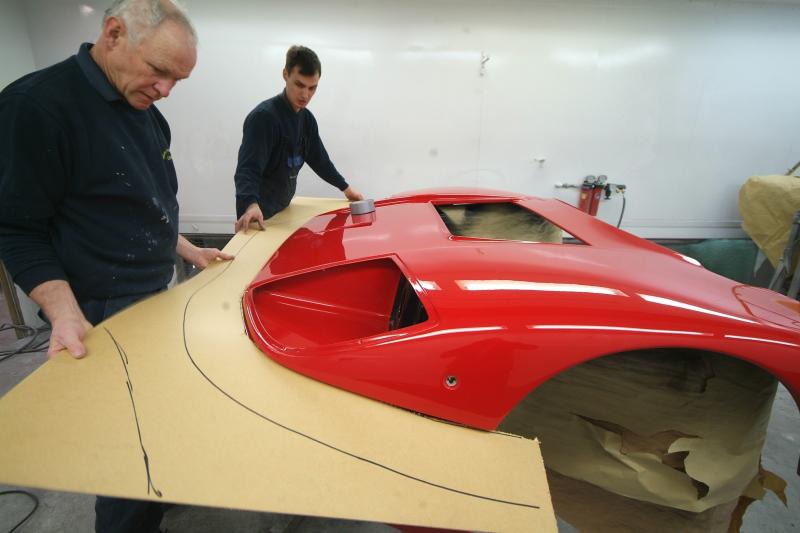
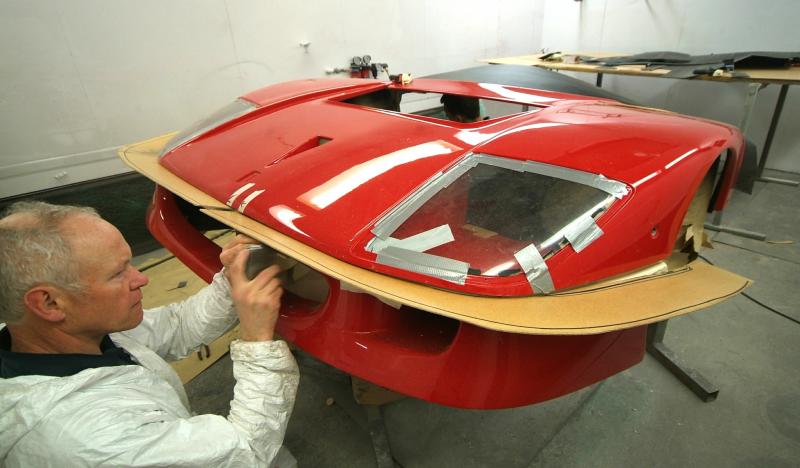
We finally have a dyno date for mid next week when unfortunately I am overseas and out of contact which is not great timing.Meanwhile we have been using the time to insure the future. LM full width clams are a rare item to find and all pretty individual so we are taking the opportunity to make a mould and a spare against that possible time we might need one and chances are that if we have a spare we won’t need it.These are the first stages in making a mould for the CF lay up. Here you can see the various ” dam partitions being measured up and hot glued into position and will form the mould joints and also serve for the vacuum bagging.
Original: Build Threads

