Project 510: Suspension Development
In the opening paragraph of my previous Project 510 update, I eluded to the fact that I’m in a bit of a refinement phase with the car, and that methodology continues to the undercarriage with some front and rear suspension (re)development that took place earlier this year.
But before we get to the suspension, we need to go even further back, 3 years ago in fact, to an update I titled “Project 510 Gets Meaty“. In that update, I proudly showed off my new higher-profile 195/50/15 Hankook RS3s that I had just stuffed under the guards.
Sadly, they only lasted one quick test drive to my local fish-and-chip shop and back before I realised they just wouldn’t work. I couldn’t dial any more camber into the rear end, and these cars suffer from the unfortunate fate of having a secondary inner rear guard lip that can’t simply be rolled out, instead they need to be cut, welded, body-worked and re-painted (one of my ‘wish list’ mods, but I’m not ready just yet).
So with the smell of rubber and defeat in the air, I had the Hankooks stripped from the wheels and sold them off. I ended up getting a great Black Friday deal on my dream set of tyres, some Advan Neova AD08Rs in the same size, hoping they would be slightly less chunky than the RS3s.

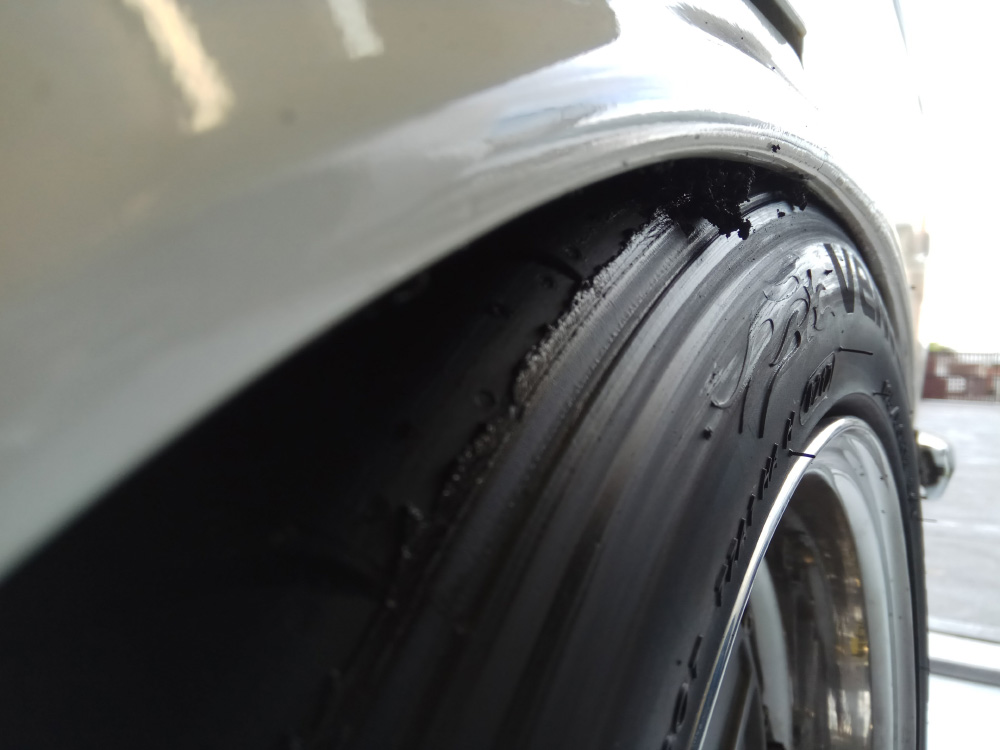
Less chunky they were, but the emphasis would be on the word “slightly”. While they were drivable, they still had a tiny bit of rub on that same rear inner guard lip, and it was just a bit too much for what I’m comfortable with.

Right: 205/45/16 Advan AD08R on a 7″ wheel. Confusing!
This led me down a path of intense research, trying to figure out the ins and outs of each tyre brand and how their section widths are in fact different to their physical widths. What I’m trying to say is, all 195/50s are not the same width, even though they are labelled as being 195mm wide. This goes for all tyre sizes.

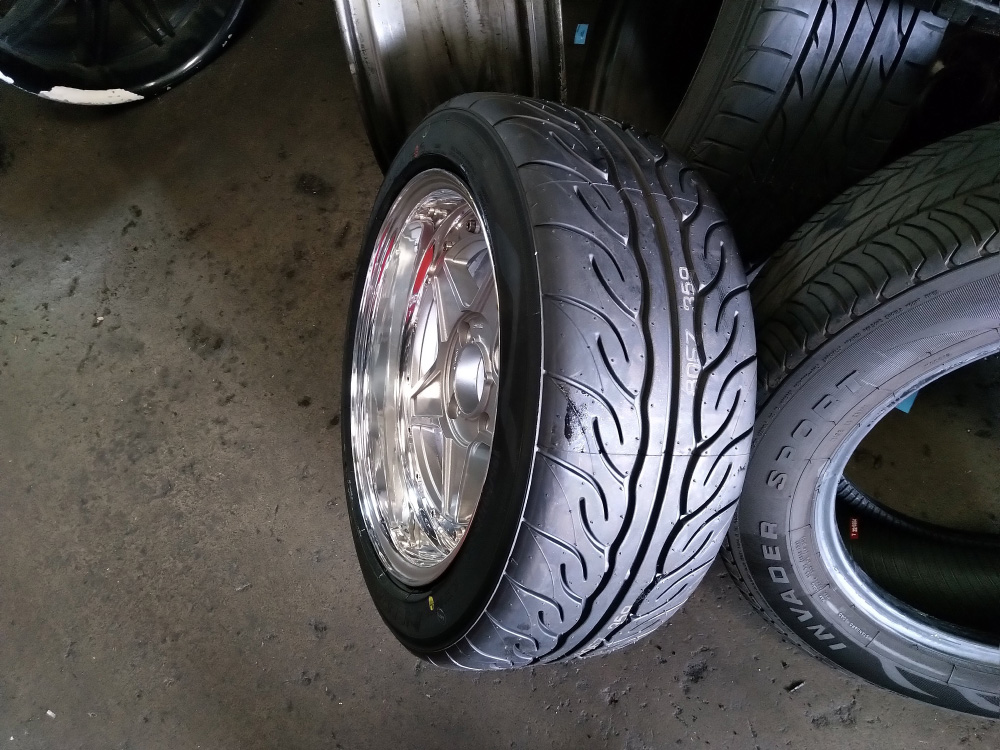
After putting the word out to some of my group chats, I was informed that Dunlop Direzzas tend to run narrower than their competitors, and a friend who luckily ran a set in the exact sizes I required confirmed this by measuring for me. With this new data I ordered up a set and crossed my fingers.

I was very happy to see they fit exactly as I needed them, and also gave me the look I was after compared to the old 45s, that is a slightly higher profile but no bulging sidewalls like the other two sets of 50’s that I tried. While not as hardcore as the AD08Rs, I read reviews on their performance and was confident they’d suit what I need from the car.

Okay, tyres finally sorted! Now it was time to give the car a long-overdue alignment. Hmmm, not so fast. There were a few issues with the suspension that I’d been putting off for a while, so before laying down some folding for an alignment, I figured it was a good time to sort them out.
In the front, I wanted to address the fact that my springs were not captive when the car was jacked up. To fix this, I bought a set of BC Racing helper springs and hoped that would be the end of it. However, it made me uncover an issue that I hadn’t noticed all these years. The issue was that my shock absorber shaft was a smaller diameter than the centre hole of the coilover top hat, meaning there was room for the top hat to move around. This wasn’t as much of an issue with the regular spring setup, but with adding a helper spring, there’s much more scope for movement at the top of the unit due to the almost non-existant spring rate of the helpers.
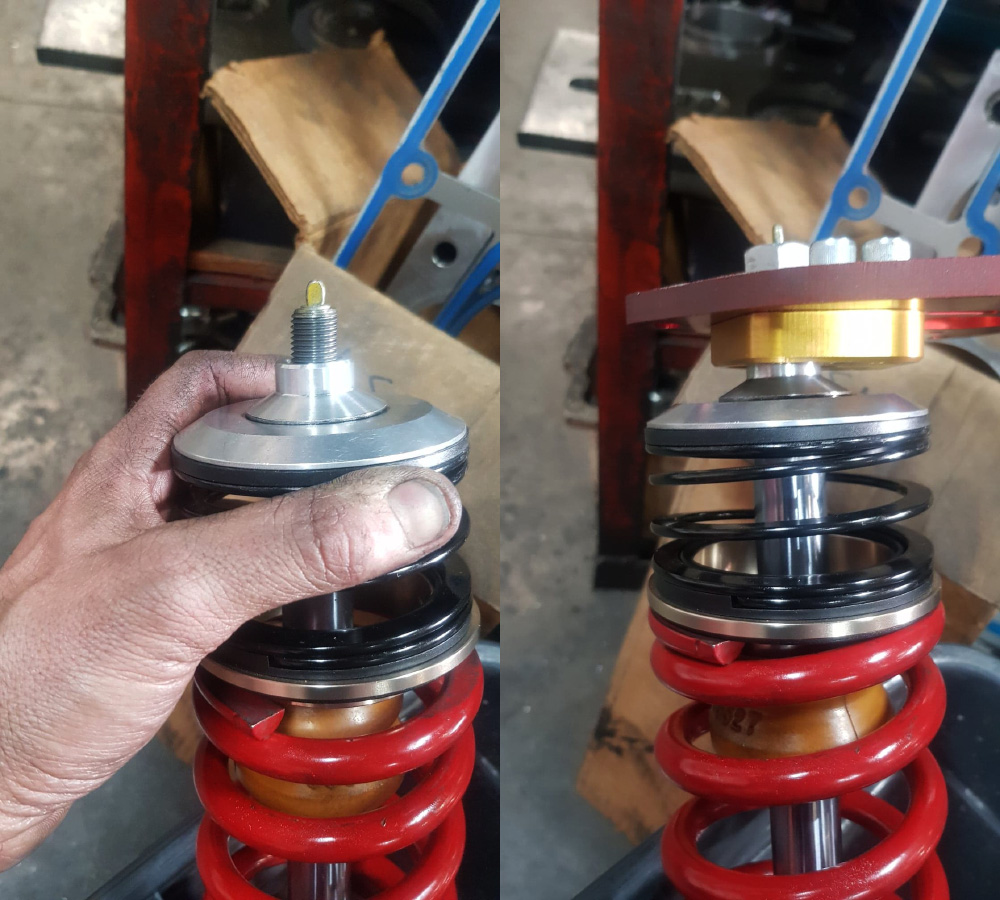
To get around this, I had my mate Gaz whiped up some custom aluminium spacers. One to take up the difference in diameters between the top hat and shock shaft, and another cone shaped one that would sits above the top hat and under the camber top, to allow the camber top articulate independently of the springs (using it’s inbuilt spherical bearing) to allow for changes in camber and caster while still keeping everything seated correctly. Gaz is always my go-to for mill and lathe work and I can’t thank him enough for helping me with these little fiddly (yet important) jobs when they pop up.

While I was playing around with the front end, I maxed out my camber tops, removed the old 7mm slip-on spacers, and added some 15mm bolt on spacers, just to get it looking a bit more agressive.


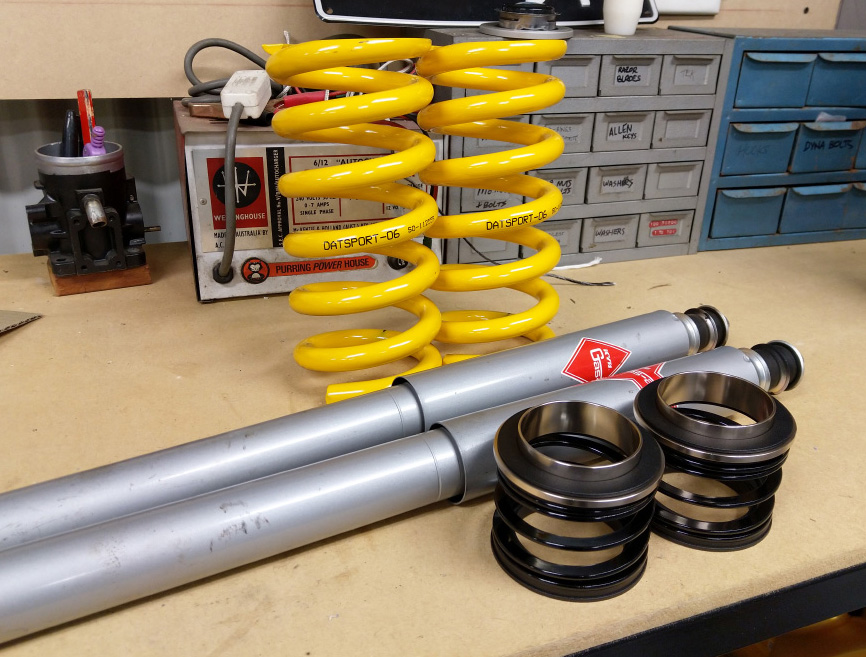
Moving to the rear end, I had the same issue with uncaptive springs with my coilovers. I thought about trying to adapt some helper springs to them also, but truth be told I had been toying with the idea of removing the coilovers for a while. I love their ride-height adjustability, but I was never really happy with the harshness and various sounds they make over bumps. I also have a mate with a 510 who runs a shock and spring setup that I really liked, so I figured this was a good time to move to that solution.

I ordered the lowest 900lb springs that Datsport offer, and was lucky enough to score some matched KYB shocks from a friend for a great price. To try to get the car to sit at a similar height to the old coilovers, I did without the rubber isolators that usually sit on top of the spring, and instead slipped some hose over the top coil (this is a common mod with these cars). The hose had to be heated up in some hot water first, and I used a large amount of WD40 and swear words to get it seated.

I had to unbolt my CV’s to allow the control arms to drop low enough to get the coil springs in, so while I was there I tightened up all the bolts and gave everything a good de-grease and clean. Lucky I did this, because a lot of the CV adapter bolts had loosened up over time (I did fit them over 10 years ago, after all!). This is another part of the car that I’d like to upgrade in the future.


With everything finally bolted together it was time to get that alignment I’ve wanted for so long. I took the car to an alignment specialist, as opposed to a regular tyre shop, and I’m so glad I paid the extra money for an experienced technician. The difference was immediately apparent as soon as I drove the car away from the shop, and I’m very excited about the fact that the steering wheel is pointing straight for the first time ever. I do miss the ability to play with the rear ride height, but it drives great and the rear end is nice and quiet, so it’s worth the trade-off.

The day after the alignment was a trial by fire as I set out on a huge 6+ hour drive on some windy roads and am happy to report that the car performed faultlessly and was a dream to drive. I wouldn’t mind if it was a smidge lower, so hopefully the rear springs settle over time and then I can adjust the front to suit. It just needs a little bit more power, but I’ll save that for another update in 2021.


