Project 510 – Take a Seat
I’ve owned my car for around 8 or so years now, and in that time it’s been in a perpetual state of modification/restoration. One area that I’ve neglected over that time, apart from a change in steering wheel, is the interior. This isn’t unusual for most people, but it doesn’t make sense for me as my dad is an upholsterer! I’m hoping to change that this year, and the first area I attacked was the seats…
The seats that came with my car were always uninspiring, both in appearance and support, and gave me a sore lower back on long drives. I think they were pillaged from an N13 Pulsar by the previous owner. After my first track day, I swore I was going to fit some better seats, and picked up a pair of fixed back buckets soon after. Fast forward another track day, a few skid pans, and multiple hills-runs later…the seats still sat gathering dust in my garage.
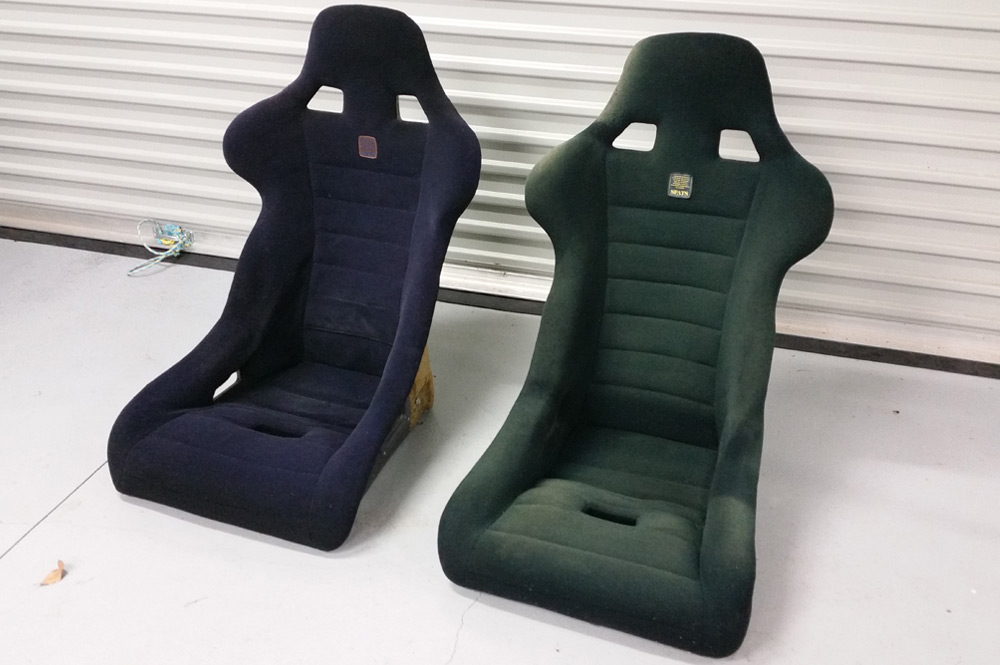
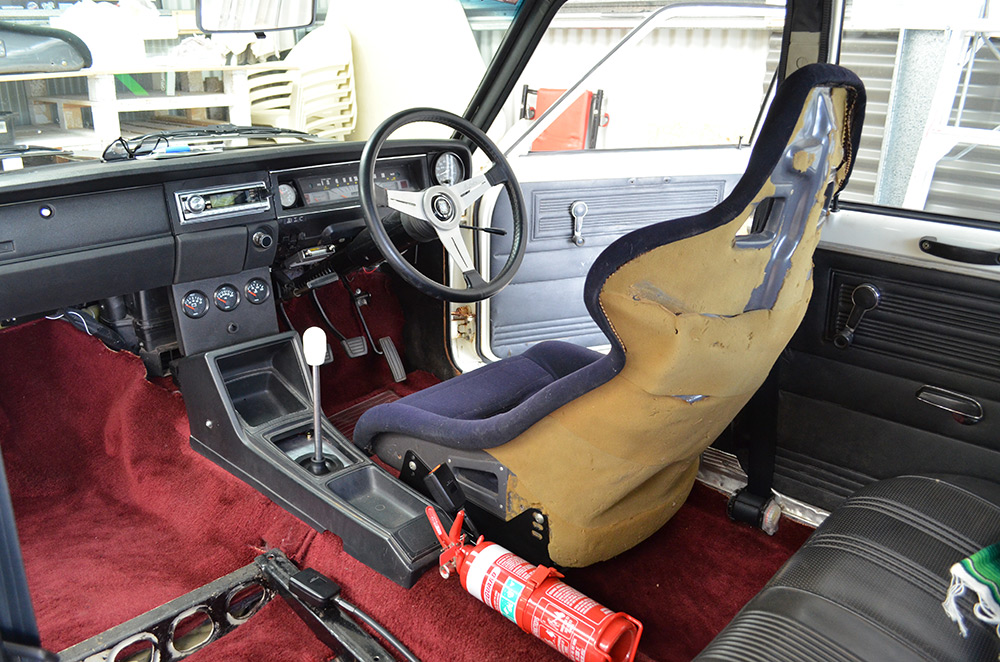
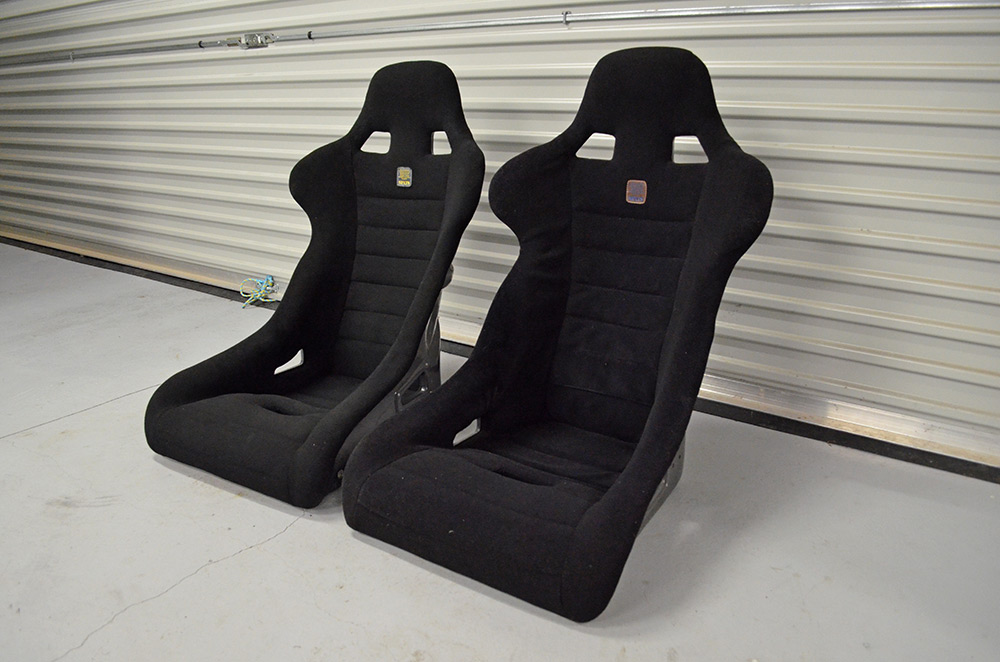
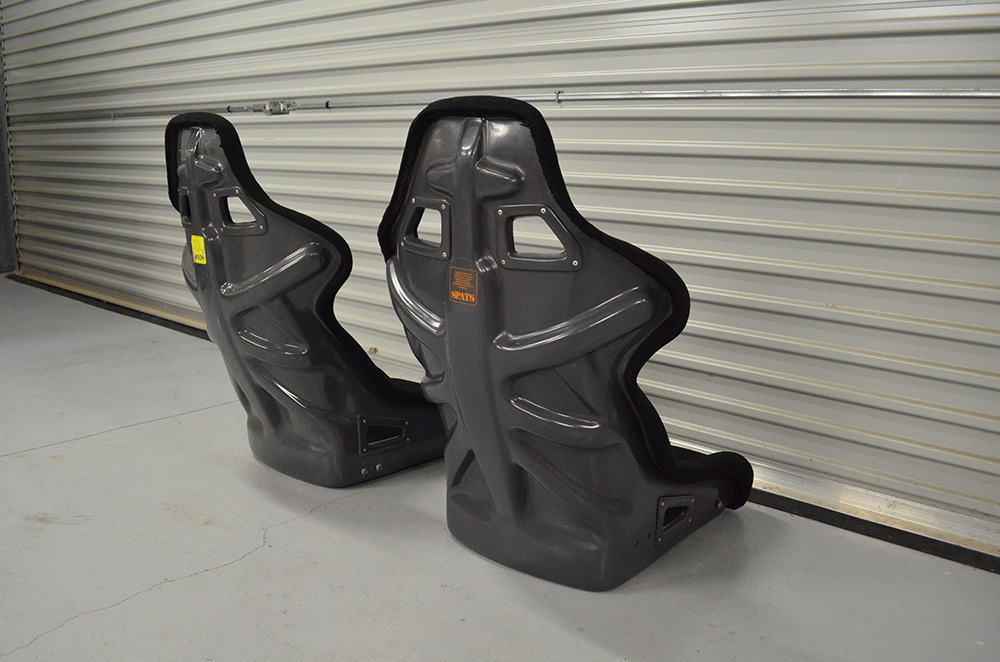
The seats in question were a pair of SPATS, a little-known Japanese brand who seem to also specialise in driving gloves and strut braces. I found one locally, and then managed to track down one in Japan and had it imported by Dan at JDMparts.Rupewrecht. They’re fiberglass-backed and have provisions for a 6-point harness, with mounting holes suitable for side or bottom mounting.
Late last year I decided it was finally time to fit them to the car. The plan was to get them fitted, then take them out to be re-trimmed before bolting them in for the final time.
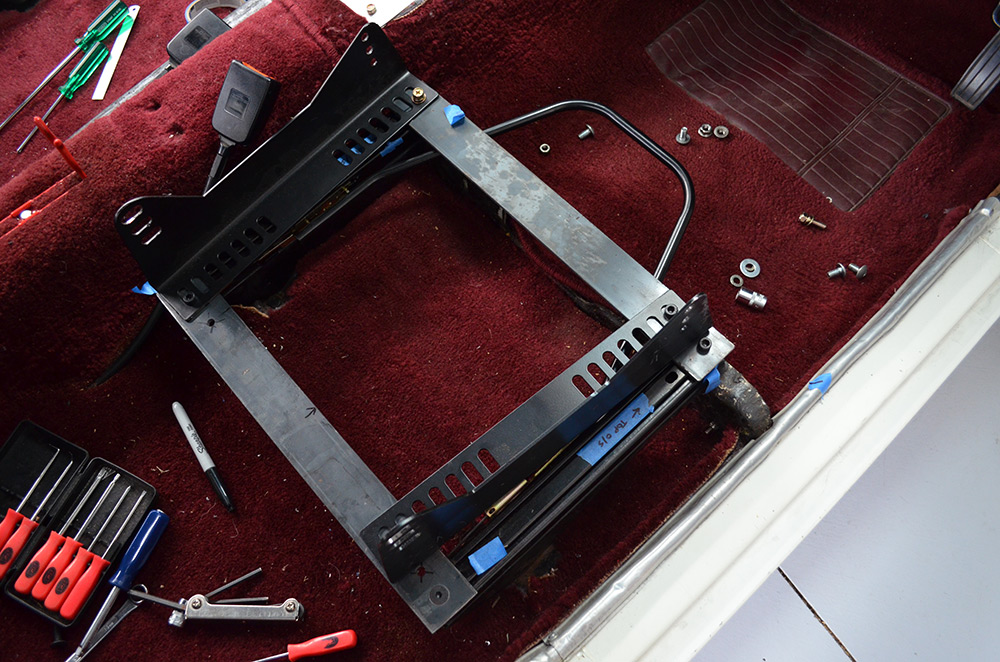
After ripping the stock seats out, with the help of some friends we started figuring out a mounting solution. The easiest way to do it was by using some universal sliding rails, bolting them straight to the standard Datsun floor mounts, then using some 5mm steel strips as adapters to bridge them together, and bolting the side mounts on top of the adapters. As you can see the side mounts don’t run parallel, this is because the seat bases taper in towards the rear, which proved a bit of a headache. Had they not tapered in, we might not have needed to use the adapters.
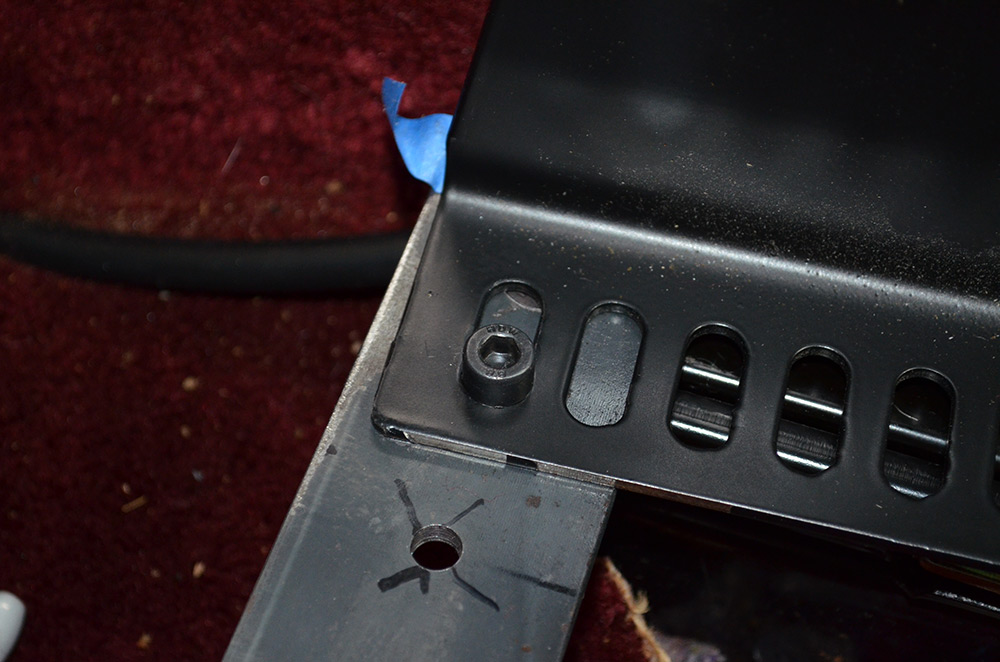
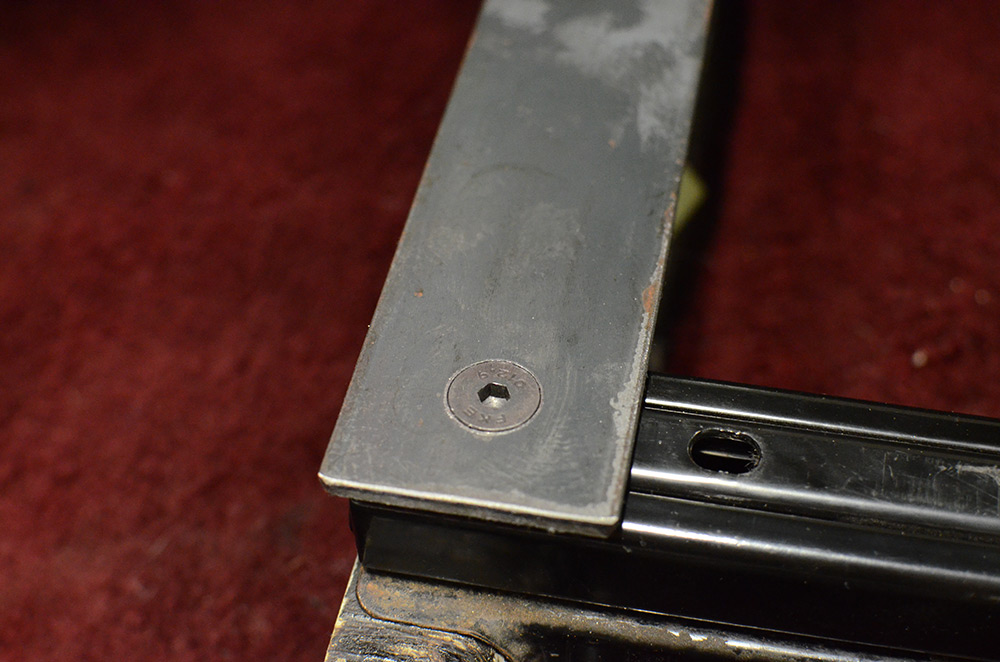
In order to get the wide shouldered seats to fit in the car, they had to be offset slightly. This meant that some bolts and brackets wanted to occupy the same real-estate. To work around this we counter-sunk some of them, so the side-mounts could sit on top of the bolt heads, as seen above (look closely under the left-most slotted hole).
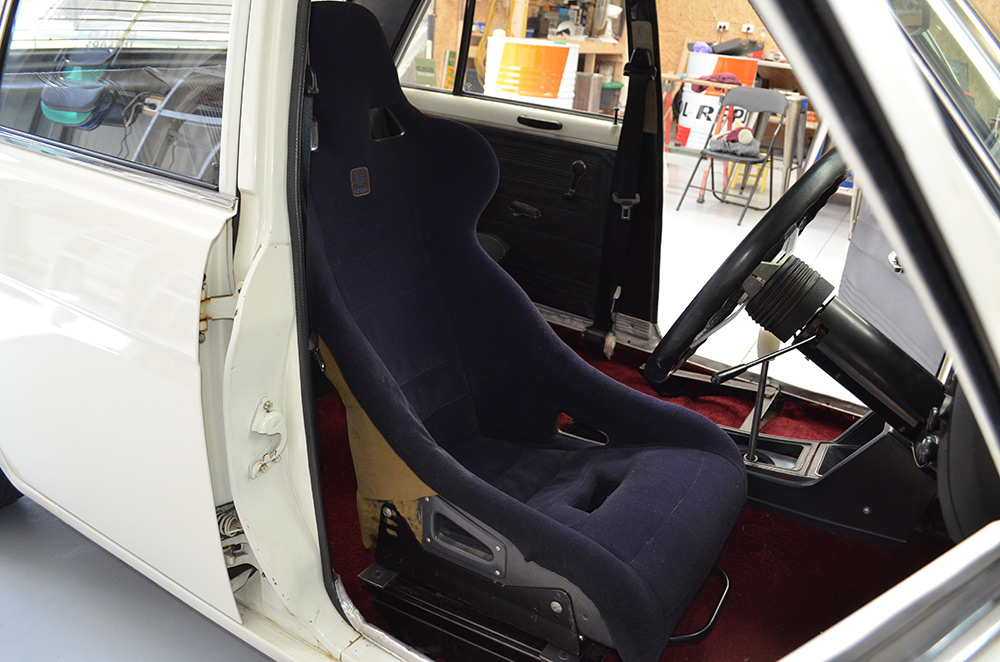
Once I had the drivers seat fitted, I took the car on a test drive. The level of lateral support was amazing, I could take corners with so much more confidence, and they were surprisingly comfortable once you were in them. But the twisting and contorting needed to get into and out of the car was a bit much for me. Maybe I’m getting old, and maybe I’ve eaten one too many plates of lasagne, but the overall verdict was that they just weren’t for me. The other thing to consider is that to use these seats properly, I would probably need to fit some harnesses, which means a harness bar, and possibly losing the back seat. I’d like to think that I could one day take my son (and future children) for drives in this car, so I’d like to keep the back seat if possible. As a set of race-only seats, they’d be perfect, but I’d rather have one pair of seats that work well on both road and track.
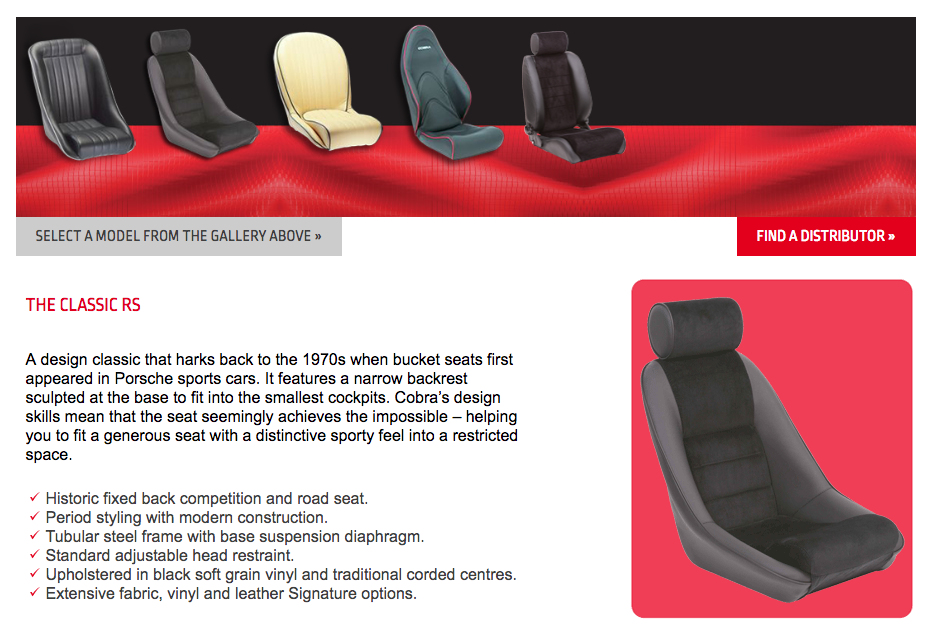
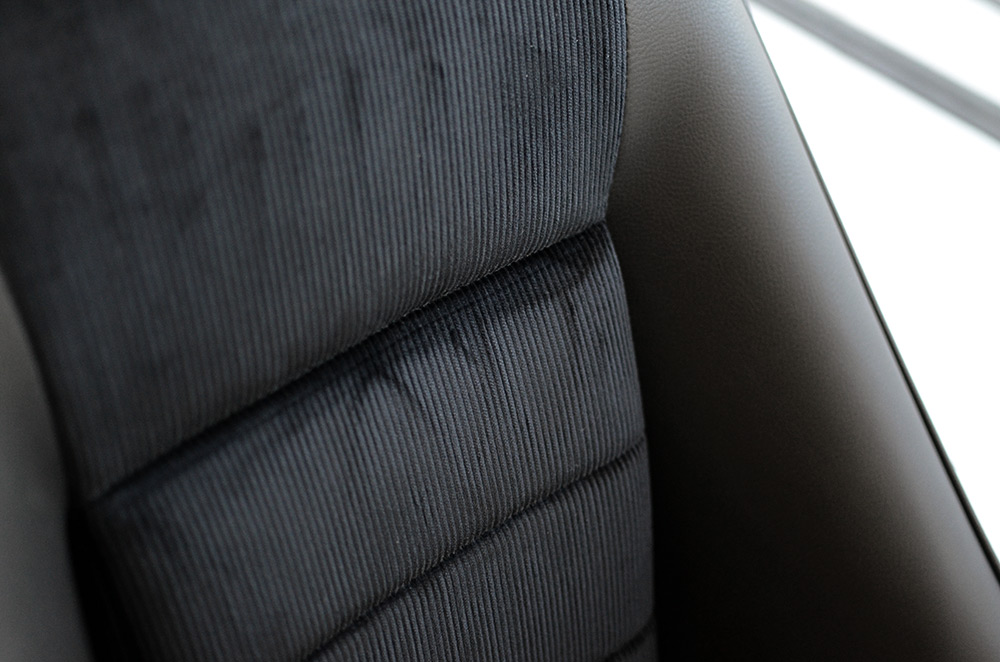
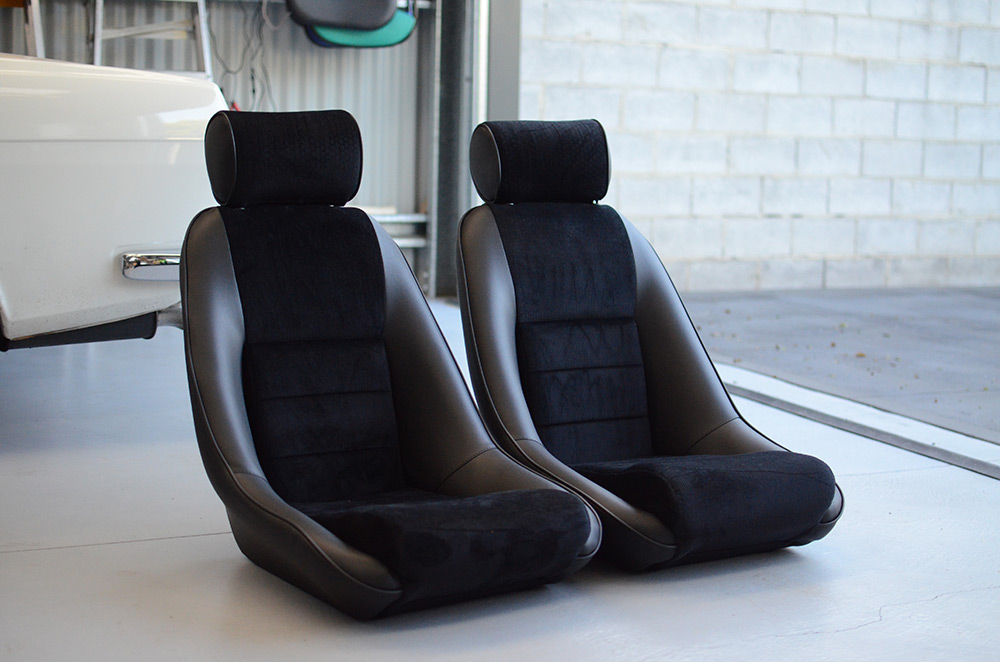
So where to next? Google, of course! I’d had a set of seats on my radar for a while, even before I’d test-fitted the SPATS seats, and that was the Cobra Classic RS. I loved the vintage looks and fixed-back design, and thought it would fit right at home in the Datsun. I reached out to Keith from Speedhunters, as I remembered he had used some custom made Cobras in his Project 86, and he put me on to the fine folks at Cobra Seats UK. We worked on many different style combinations, but in the end I couldn’t help but love the standard vinyl/cord combo for that quintessential 70s look.
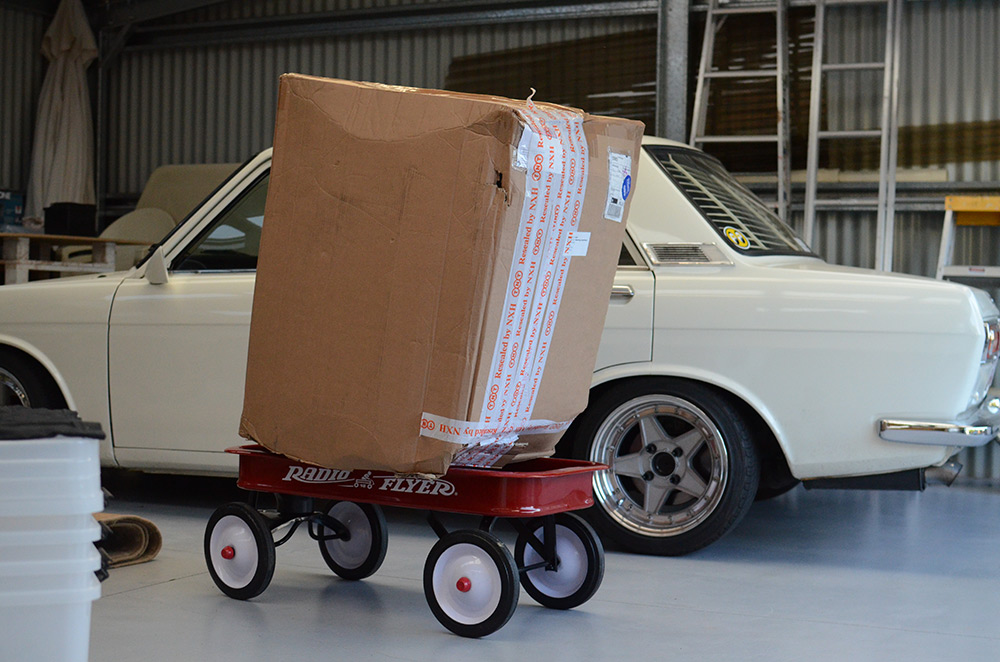
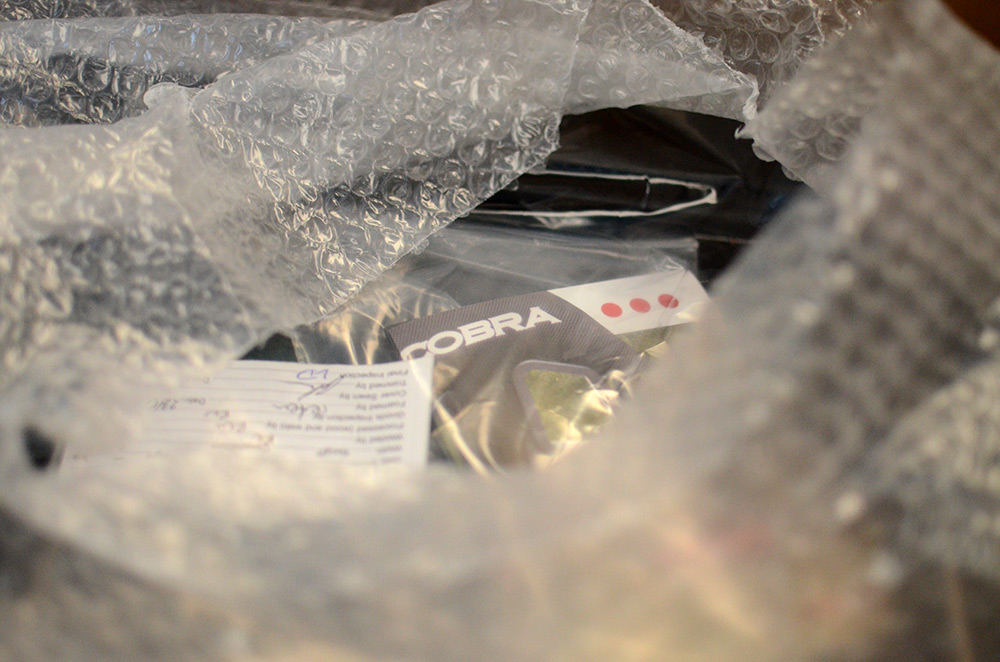
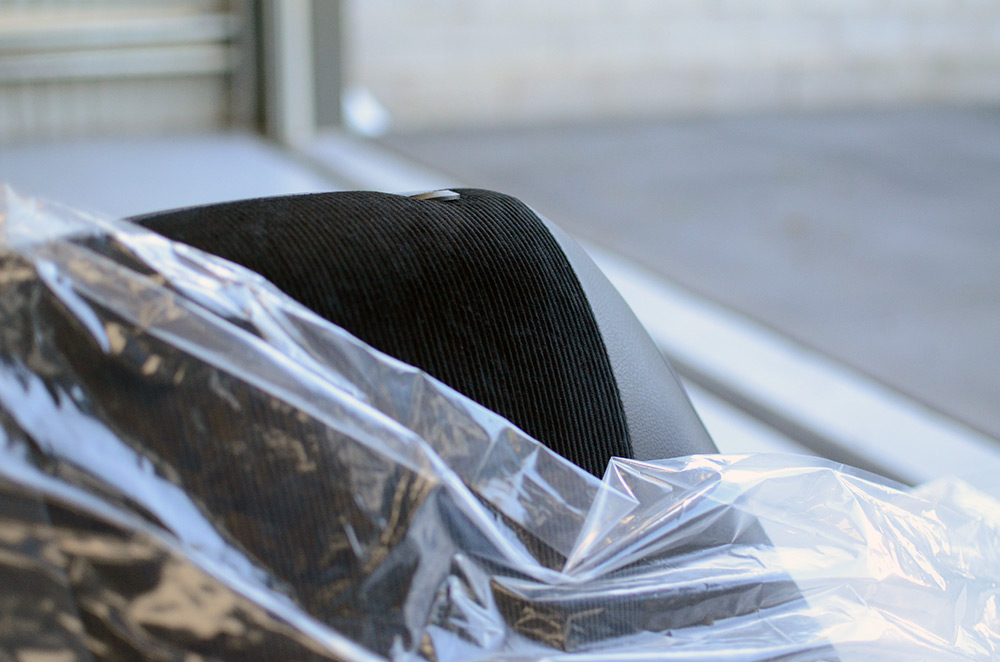
Fast forward a couple of weeks and I was greeted with a large nondescript cardboard box that I promptly sat onto my designated heavy-parts-hauler and wheeled into the garage.
Beautiful!
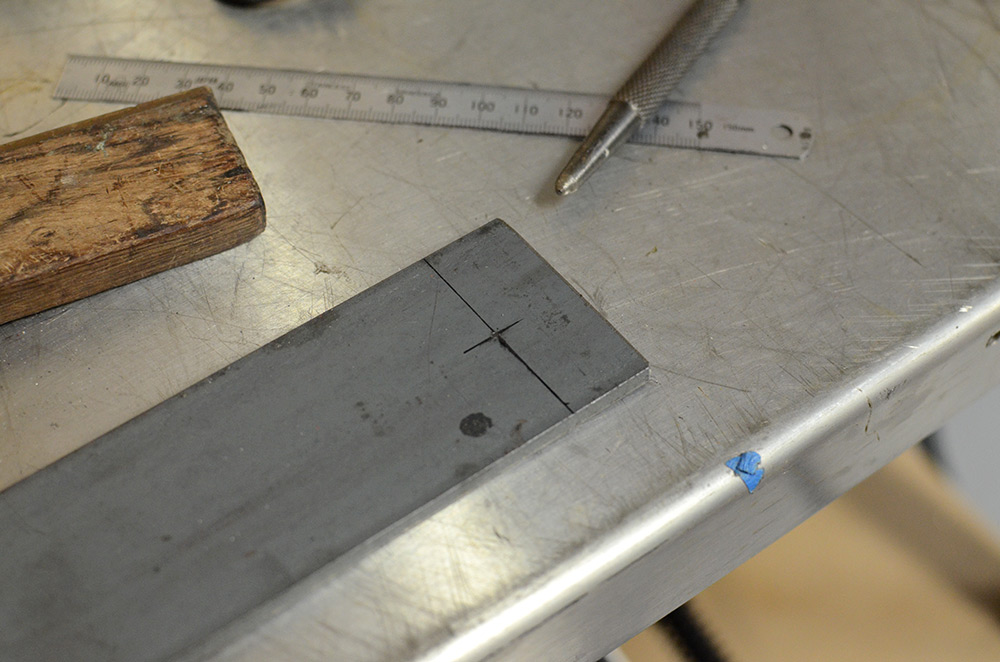
After taking in a few deep whiffs of shag-tastic cord, I set about measuring up the threaded inserts underneath the bases so I could develop a mounting solution.
Since the mounting holes were parallel, unlike the SPATS seats, mounting was a lot easier. Four holes for the seats, and four holes for the rails.
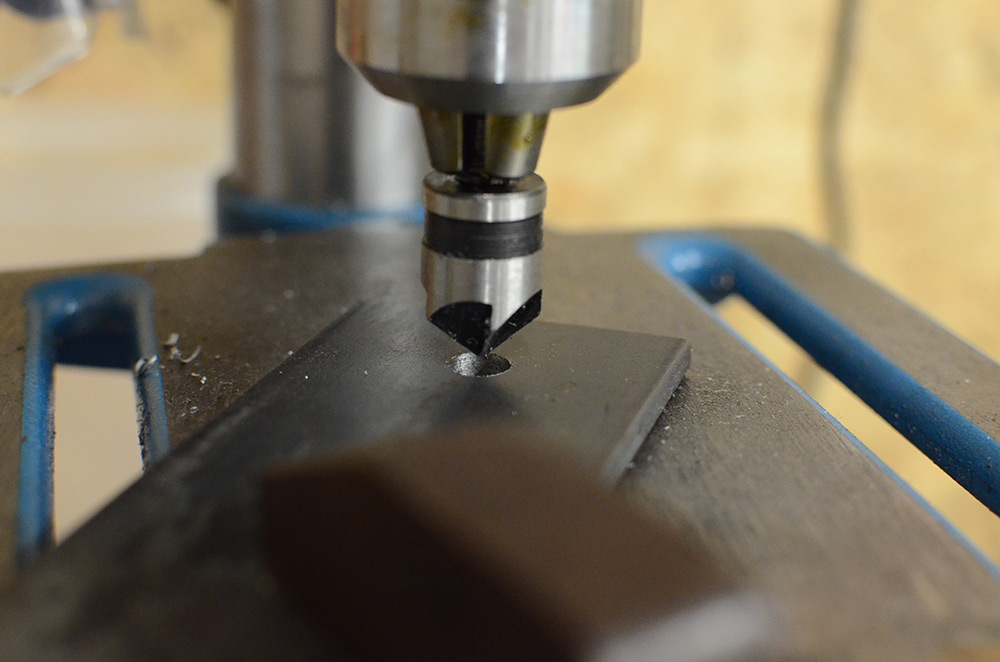
I made use of the countersunk drill bits I had bought for the other seats for a neater finish.
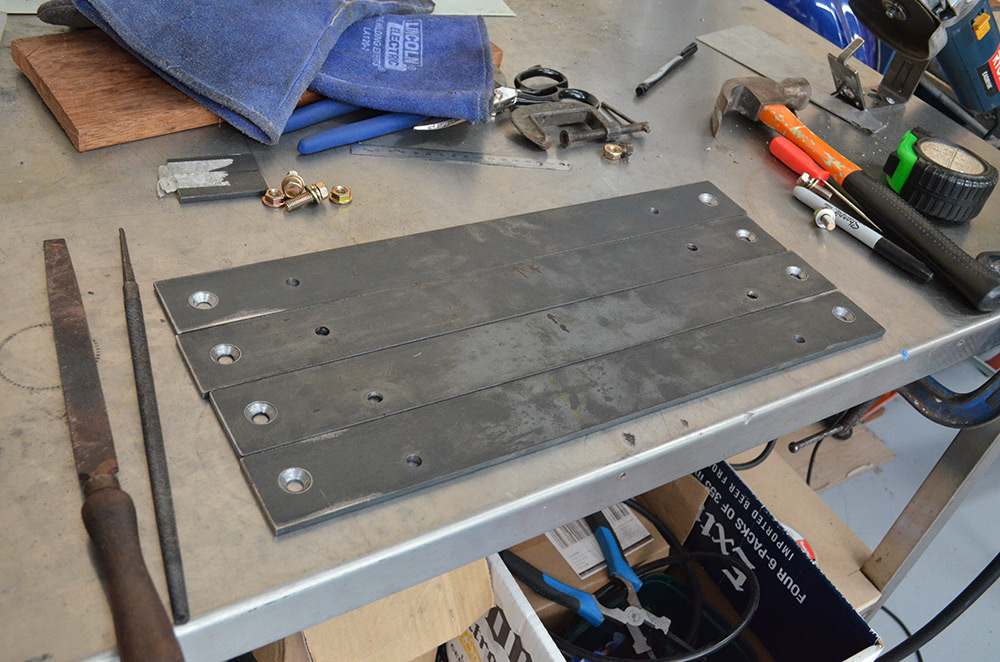
The finished adapters. The outer holes bolt into the rails, and the inner rails bolt into the underside of the seats.
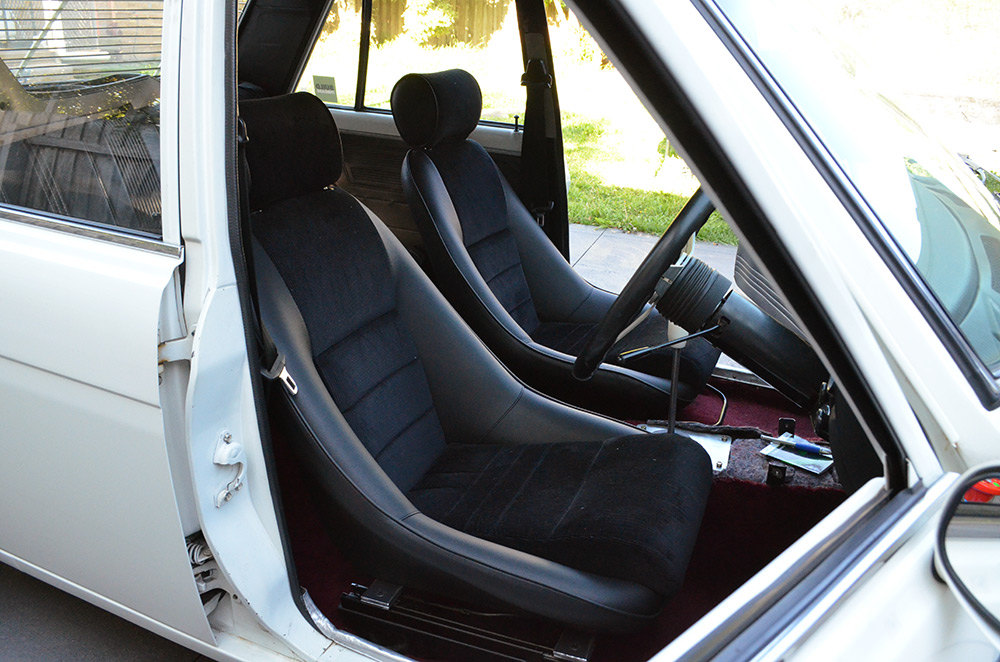
And finally, the seats mounted into position. I couldn’t be happier with the way they look in the car, I think they suit it to a tee. They also fit perfectly, with plenty of room to spare all around, and the seat belts work perfectly with them. I will say that I wish they were a bit ‘deeper’ and offered more support, as you tend to sit “on” them, rather than “in” them. I’ve taken a few long drives in the car and the seats are super comfortable, no more sore back! Will these be the final seats I fit to the car? I’m not too sure, I would like something a bit more supportive, whether that means new seats or I modify these ones. Time will tell.
This isn’t the end of the interior work, not even close. I have a stash of products waiting to go in, like fresh carpet, some blank door cards (that will need to be trimmed), a set of VDO gauges, a woodgrain Nardi, and remanufactured scuff plates.
As for the SPATS seats, well I spent some time cleaning them up, removing the foam from the back of one of them, and dying them black. They’re now for sale. If you’re in Australia and are interested in them, hit me up!
This post is brought to you by:
If you would like to sponsor a future post, contact me.

