EG Civic / S15 Silvia – Rear suspension & driveline
The guys at Impossible Fabrications are absolutely rocketing along with the Nulon EG Civic build, I can barely keep up! In part 3, we saw the SR20DET inserted into the engine bay, using the S15 front suspension, crossmember and strut towers. Now it’s the rear of the car getting some very similar attention…
Click here for the Nulon Civic / S15 build index.
All text and images taken with consent from http://blog.nulon.com.au/2014/09/rwd-sr20-civic-part-4-its-starting-to-come-together/
The guys have been busy over the past week, We had a clear goal in mind. Get the rear end in the car and keep it rolling, we don’t even know if the rear end will fit the stock body, so the sooner we got it in we could see how much we need to change to have the car sitting well and rolling true.
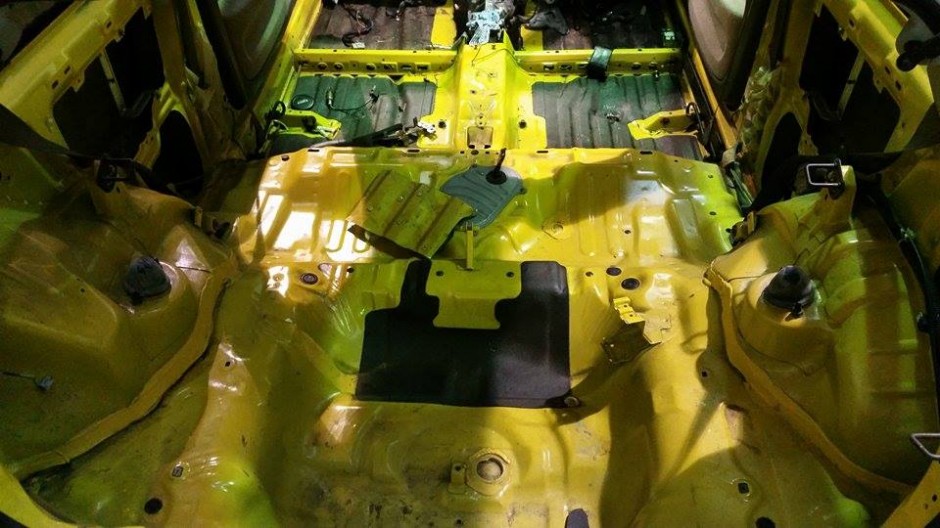
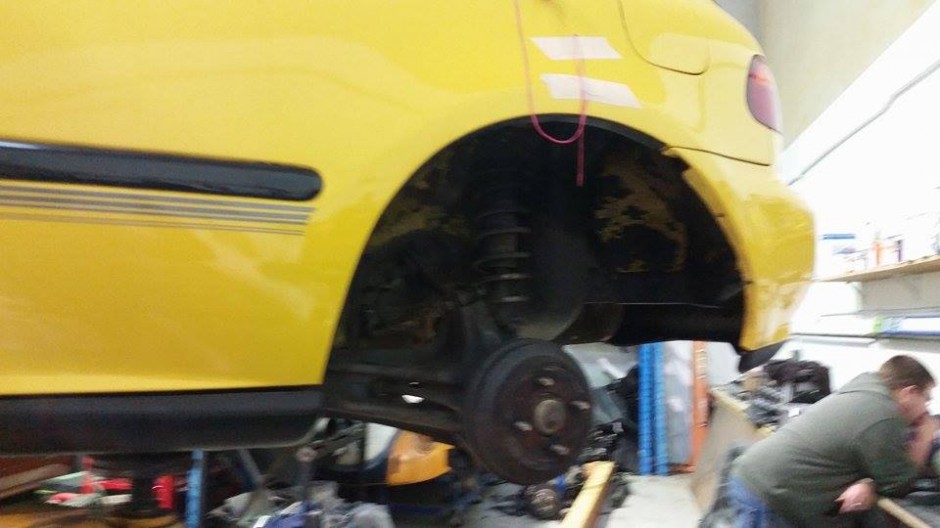
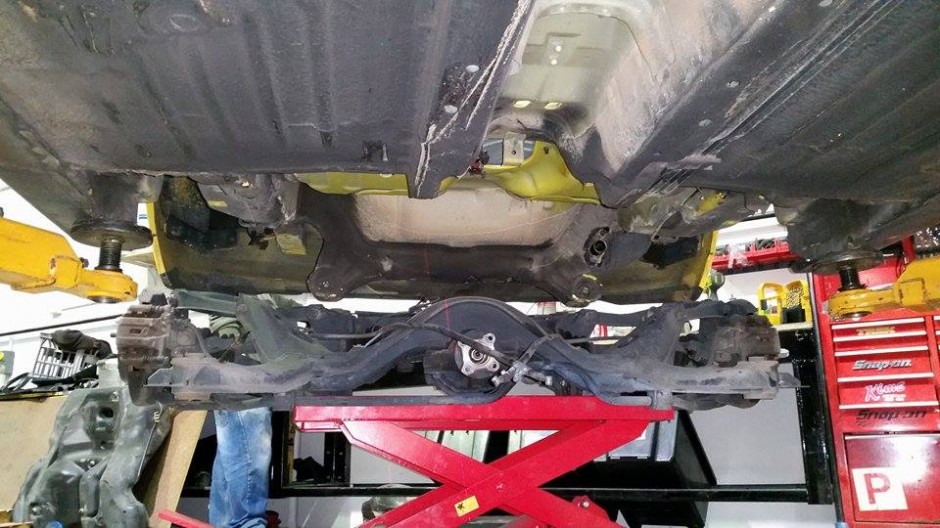
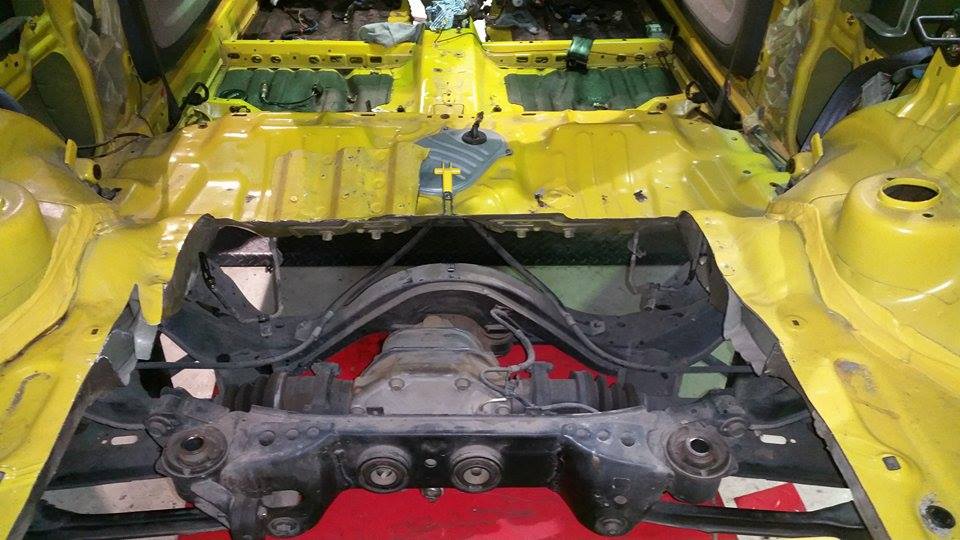
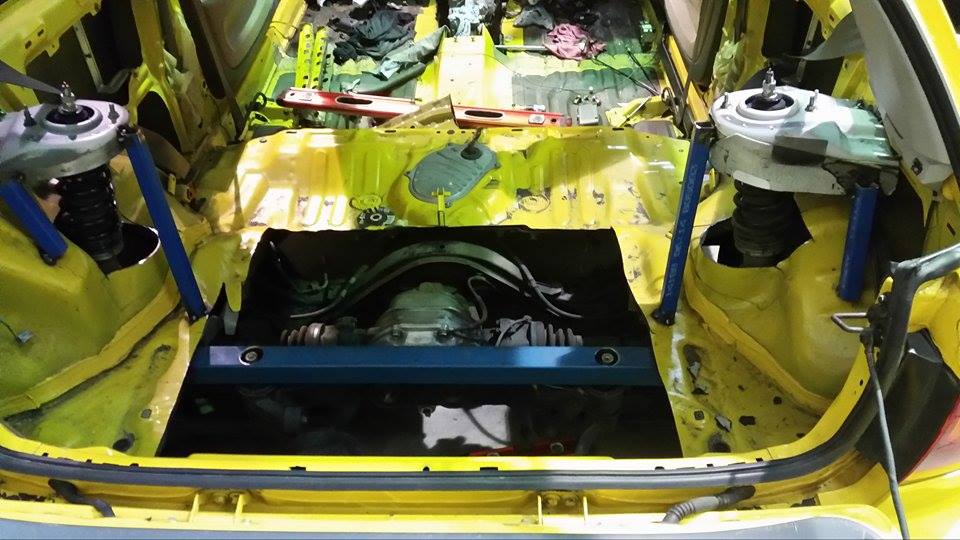
As you can see, there isn’t a lot of room for activities back here. We knew we were going to lose our spare wheel, but after pulling it down are direction changed to making sure we didn’t lose the back seat as well. We still had to tunnel the car and somehow fit a fuel tank under the car to meet engineering requirements. The car will be street driven so we can run fuel cells or have big fuel tanks hanging off the back of the body.
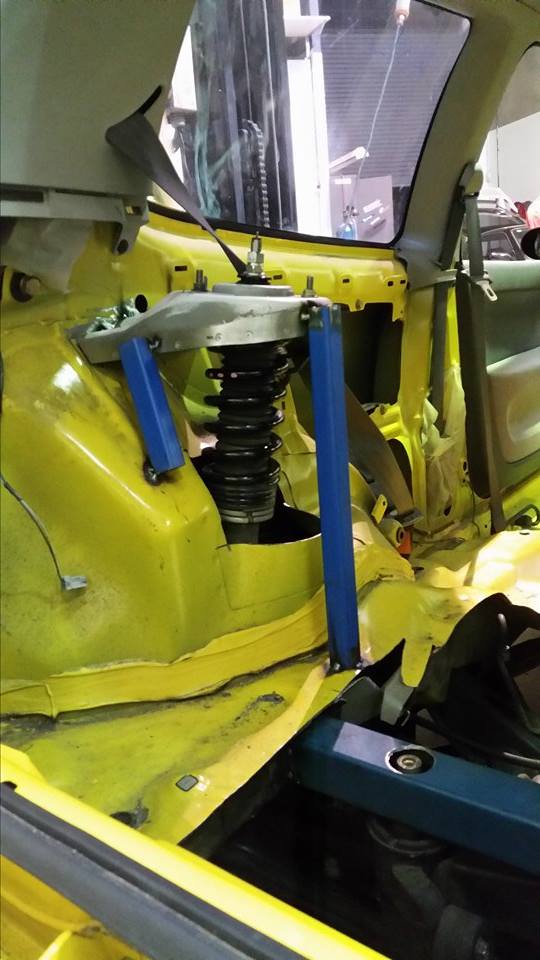
The view from inside isn’t much better. To keep the back seats we need to retain the factory mounting points, these are located in on each wheel arch as well as the dead center of the car. Daniel (Grub) wanted to use the same method as the front end and use the S15 strut tops in the rear instead of fabricating new tops. The main goal for this car is to look factory, by using the factory strut tops and some sealant we believe we can achieve the factory look.
It was time to string line the rear end and remove it from the car, we wanted to keep the geometry the same as the 200sx as this is a car we know how to set-up. They have great traction when you want them to as well as a very predictable power-steer, this is something we didn’t want to lose when driving the civic so we spent a lot of time studying the angles of both the wheel and the shocks of the s15 before we pulled it apart.
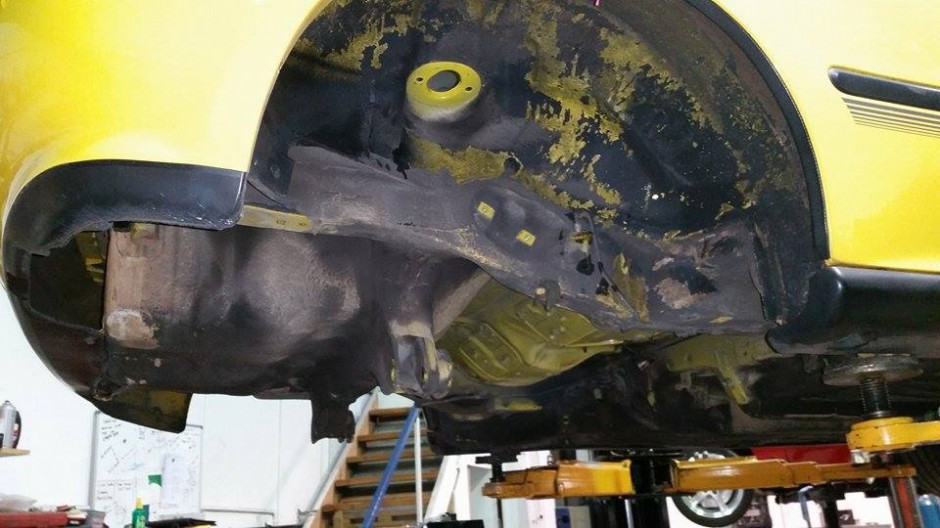
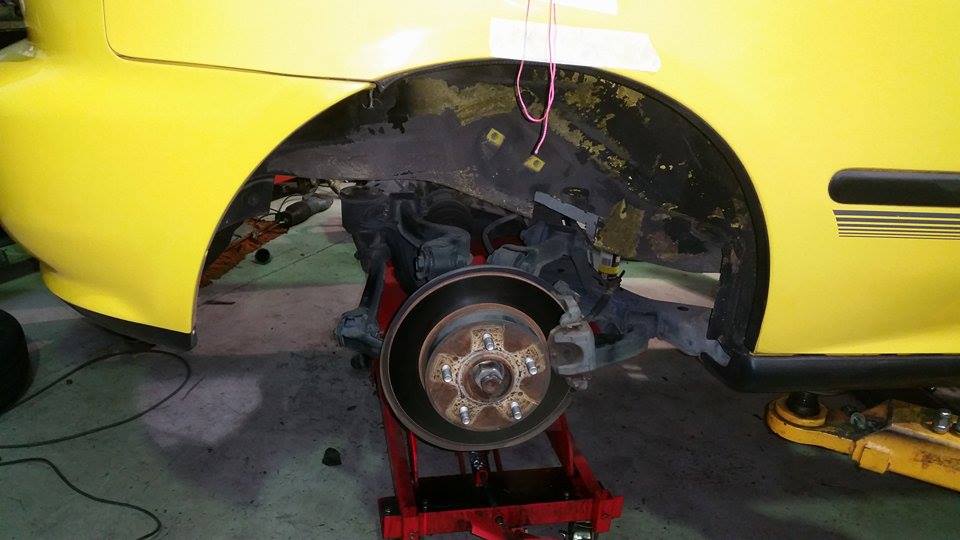
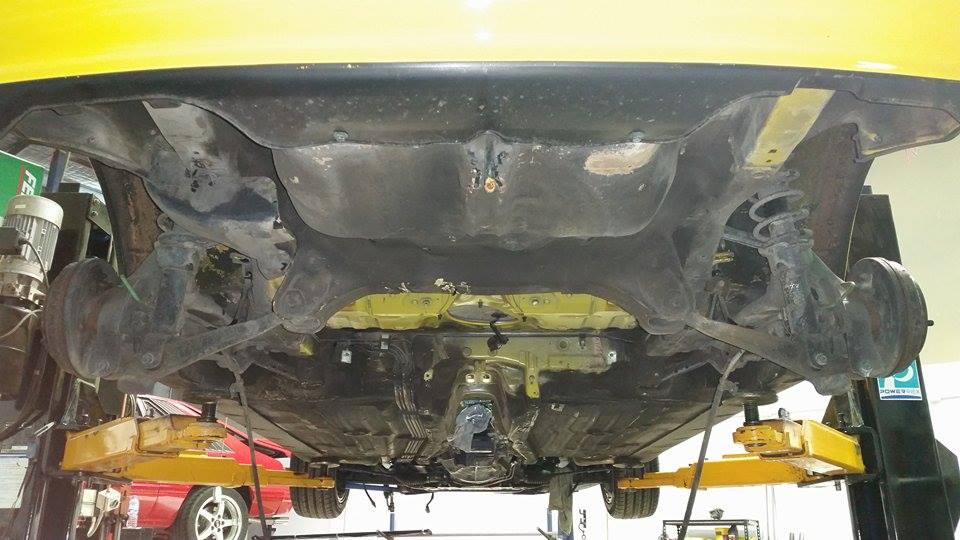
Once the rear end was out of the Civic we could really gauge how much work we had to do to get the Nissan rear end in the car. The only other EG that has been done with a Nissan rear end was a drift car and they could run a fuel tank in the boot and didn’t see a reason to ever take it out again, so they welded it in place. This is something we wanted to avoid, so Grub came up with another stroke of genius. His plan was to pull the factory pins out of the S15 chassis and mount them in the Civic body, this means that we could unbolt the rear end with 4 bolts and drop it out and replace it with any S chassis rear end. So if we wanted to upgrade arms, diffs, bushes etc it could all be done with ease. The downside was that there was now a lot more work to do…
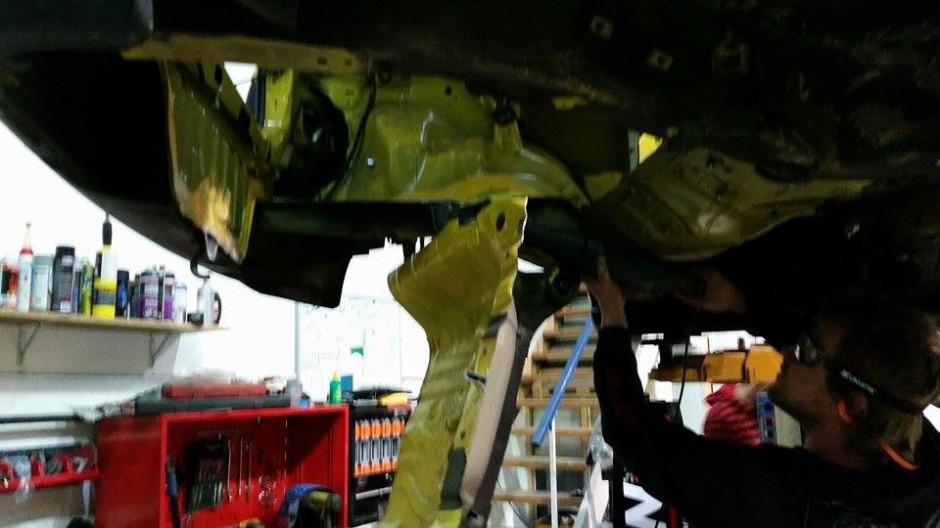
Out comes Grub’s famous Magic pen, and he removed the spare wheel well and made room for the new 200sx rear end.
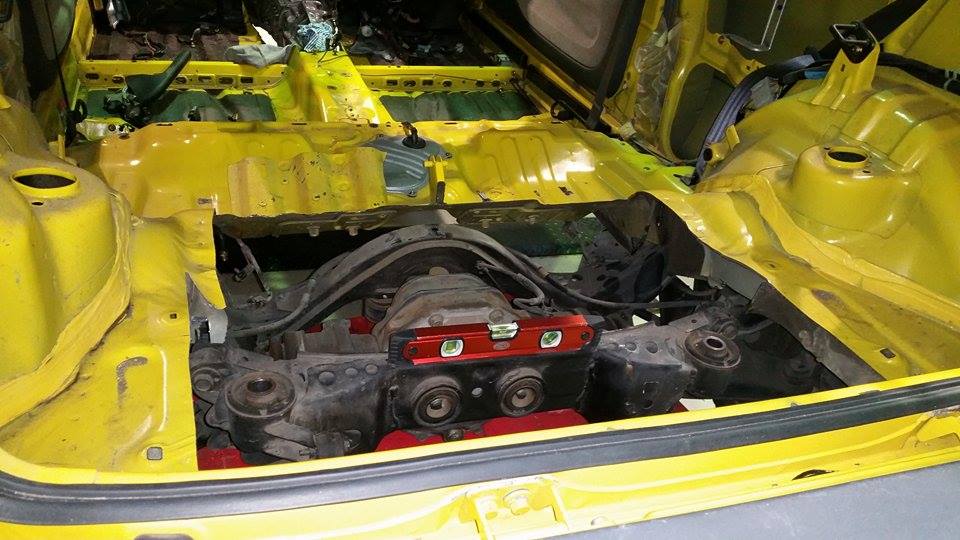
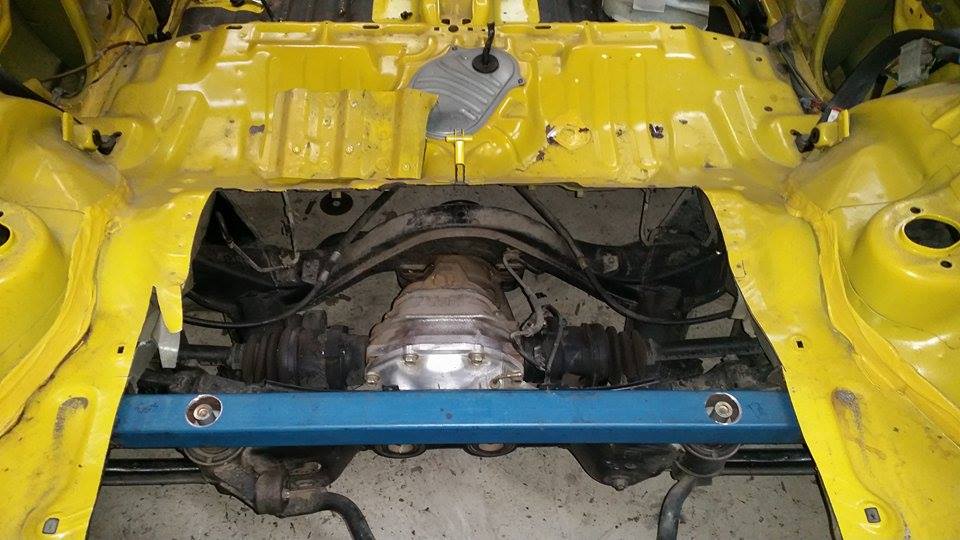
Once the floor came out it all started to make more sense, we could now see how things would start to be fitted, with some minor adjustments we had enough clearance to trial fit the rear end and see where these mounts needed to be placed.
We already knew that the rear end is almost the exact same width in both cars, this made our job slightly easier (but not much). What we are checking here is the clearance for the rear cradle mounts. Then Grub will have to fabricate mounting points off the body to mount the pins in.
Aligning the hub to the center of the wheel arch proved to be very tricky, we needed clearance at the front and rear of the wheel and to get this we had to mount the wheel about 10mm forward of the center point. Now it is time to start making the mounts.
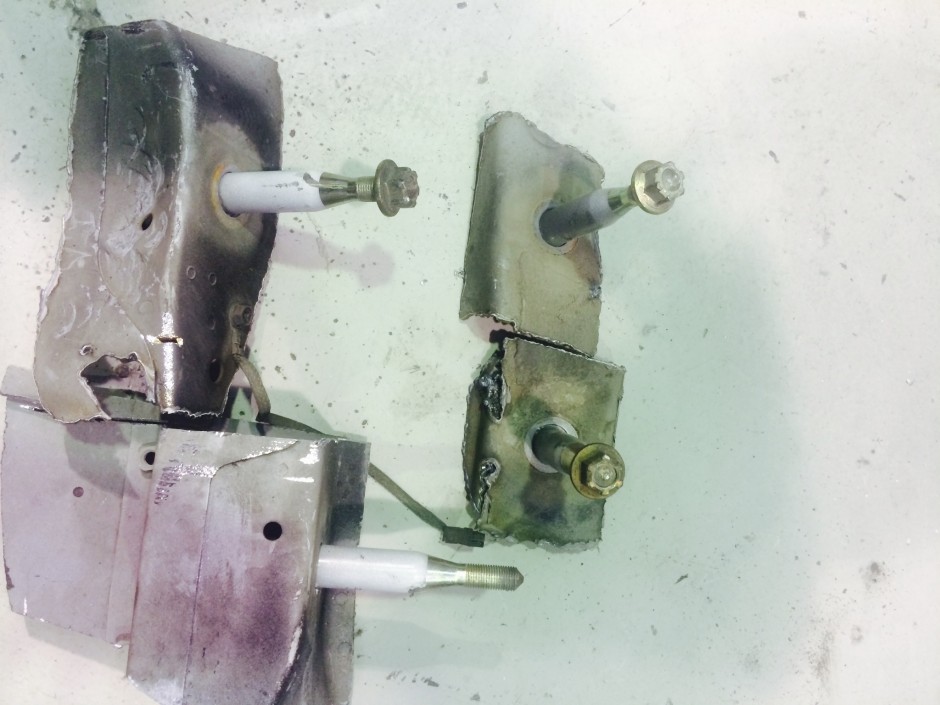
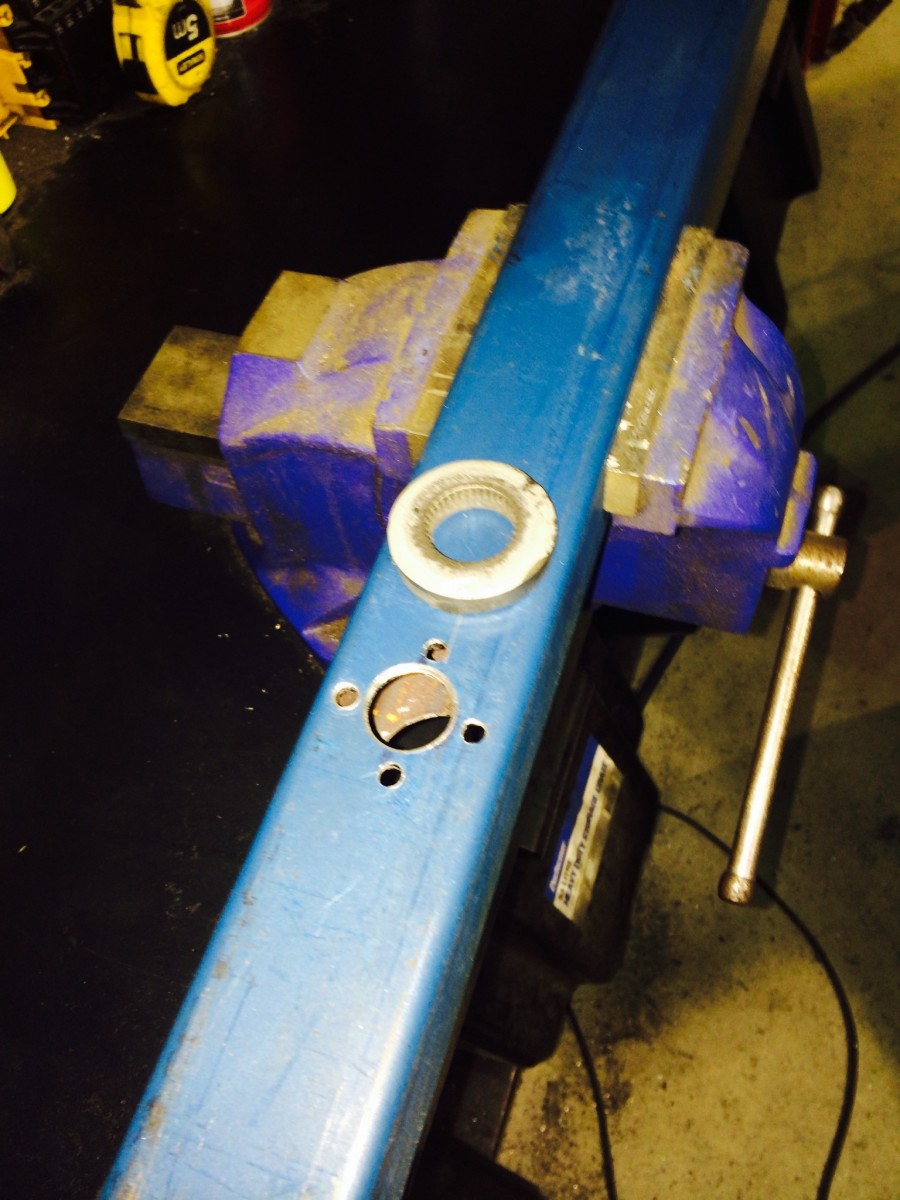
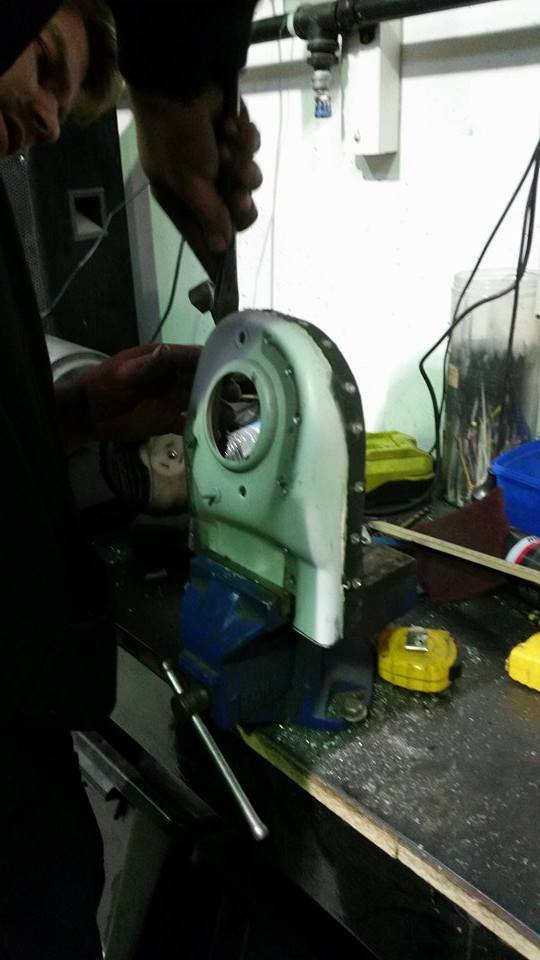
These are the pins that Grub had to remove with his magic pen from the S15 Chassis, now the fun part of removing them from these blocks.. (only took 3 hours)
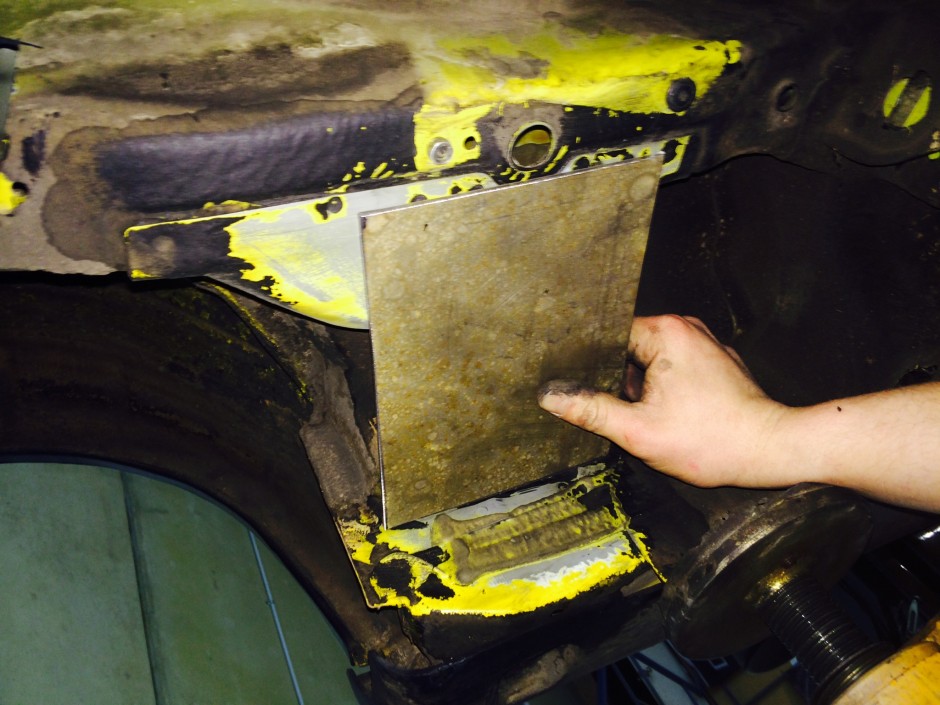
This is the start of the rear mounts, we want to keep it as neat as possible so we will mount the pins through this then sheet it all off, No one will ever know.
Once the front part of the cradle was in, it was time to focus on making the mounts for the top pins… It made it a lot easier to do with a big hole in the floor.
This is often the most time consuming part of any build. Leveling off and making sure the numbers in your head (on paper) match the numbers you see in front of you.
Daniel (grub) actually used the same technique as the factory would use to lock these pins in place, they use a lock ring to hold them in but can be removable if needed.
By welding the lock ring in place it means that we can remove the pins if needed, along with it being a tried and tested mounting technique.
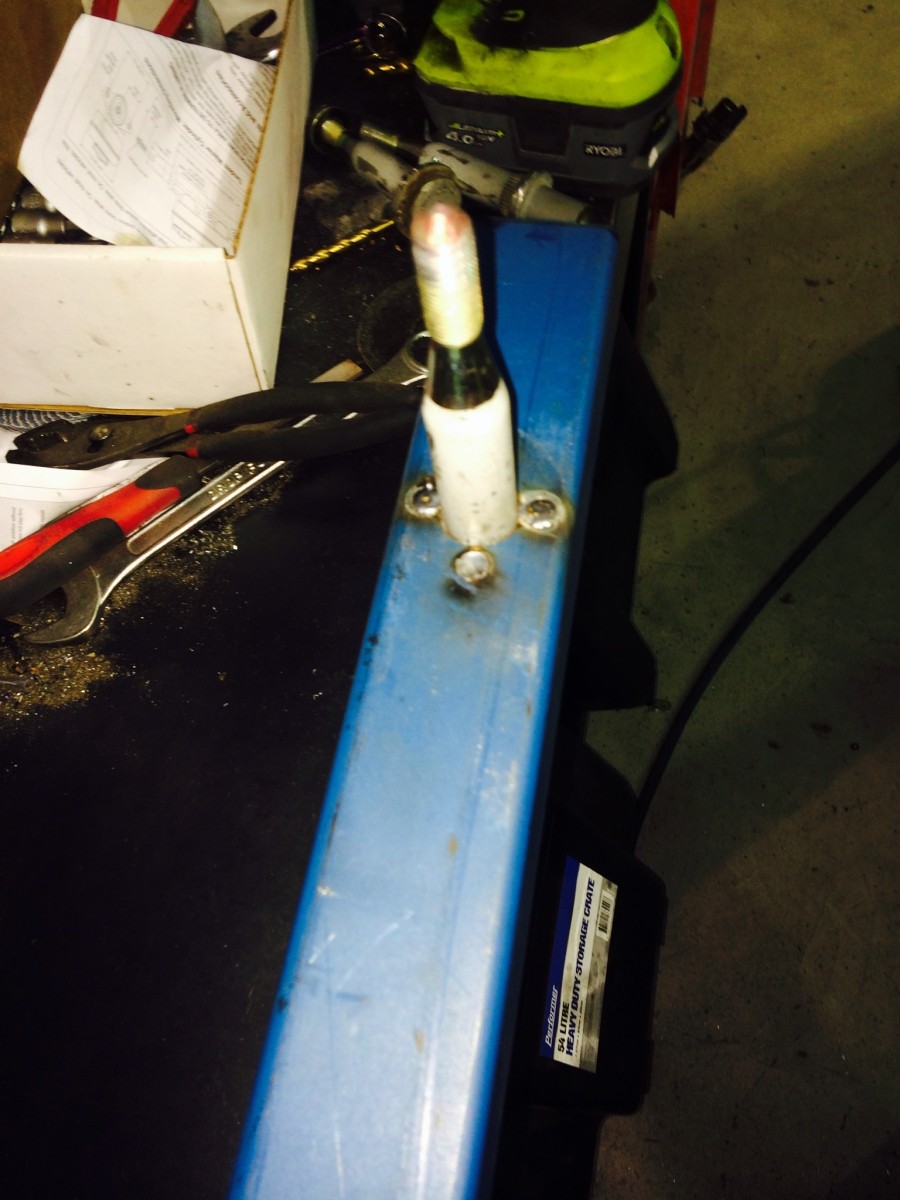
This is what the pins look like once mounted and ready to install in the car.
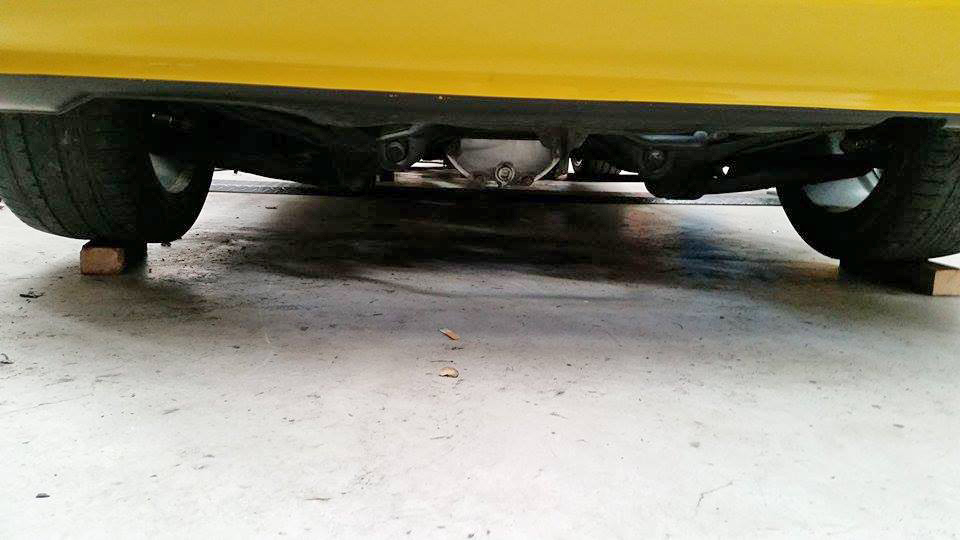
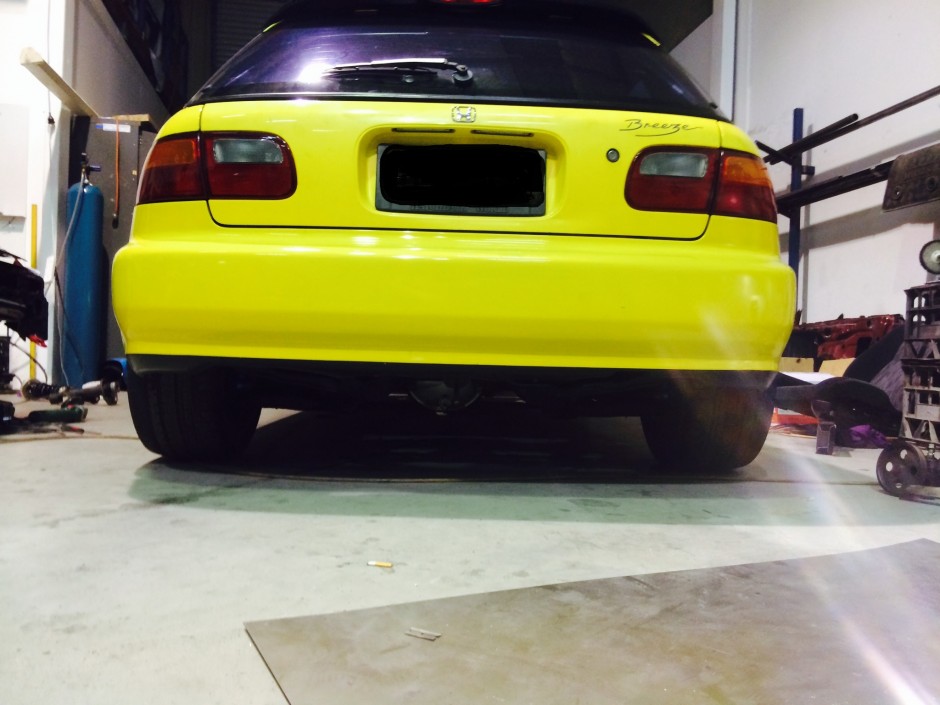
Photos just don’t do it Justice, we sat on the floor of the workshop for more than an hour looking at the rear end of the civic. It looks so tough with 245 wide tyres and the diff looks massive against the small body. Time to get back to work as we have to put shock towers in.
After unpicking the rear shocks out of the S Chassis, it was time for a clean up and time to tack it in its final resting place.
Although it looks very rough here, this is actually a work of art, it took us no less than 1 day per side to get the angle and height correct, the distance between the wheel and the tower is critical to how this car will handle. We are glad that the boys at Impossible Fabrication have been to a few rodeos before and knew some little tricks to make this process easier.
The moment of truth, time to set the Civic down on its new rear end. Once we are happy with it we will remove the blue bars on the towers and reinforce them so they will be stronger than a factory tower, (we have a few tricks up our sleeve for that).
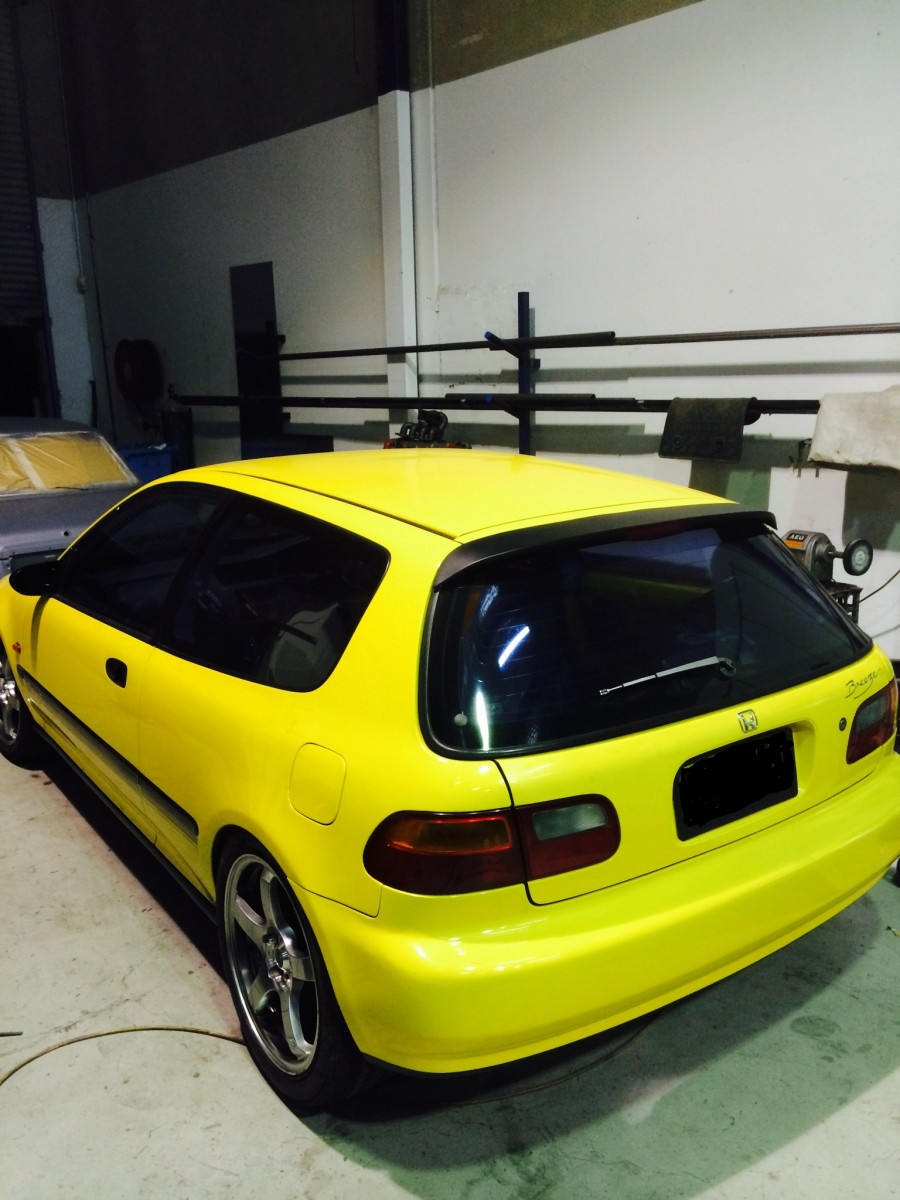
We couldn’t be happier with the way the car sits in the rear, the wheels tuck just enough to give it a good stance, We can run a 265 tyre (if needed) and 17inch wheels almost look too big on it.
Next installment soon! We’ll get to see the car in action, stay tuned ![]()
Original: Build Threads

