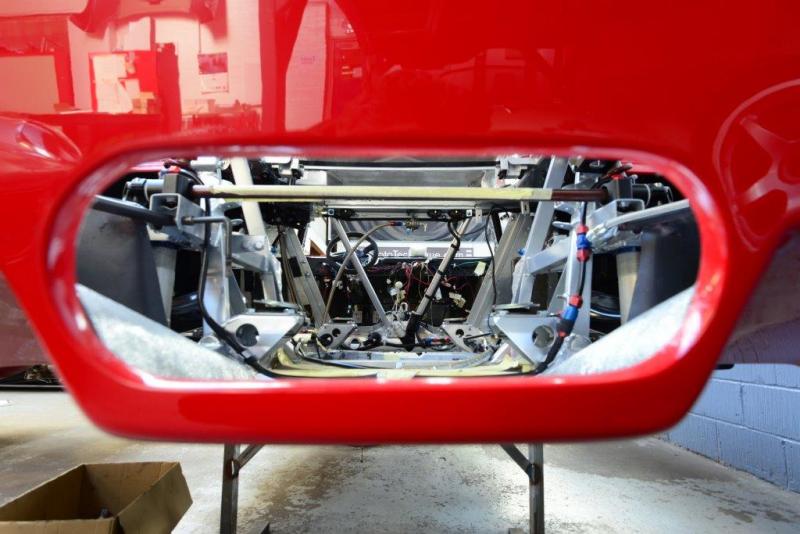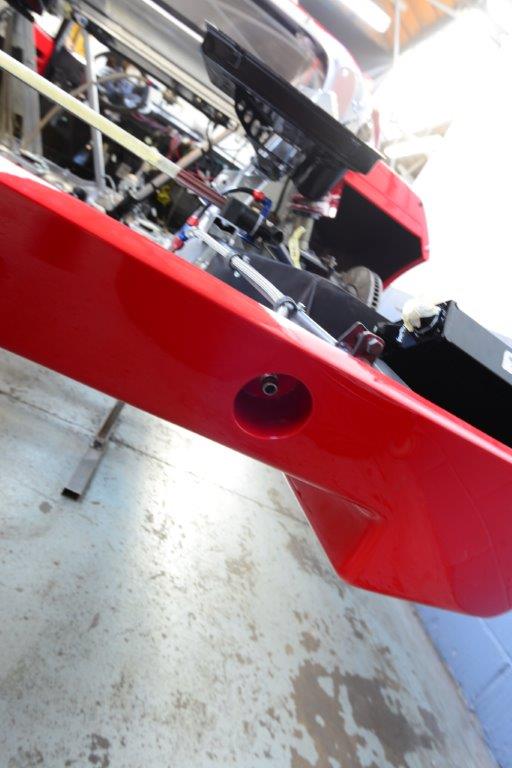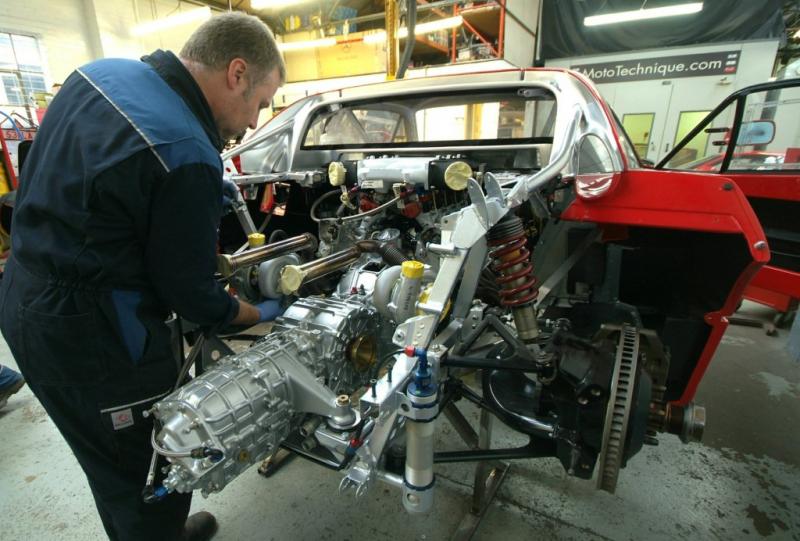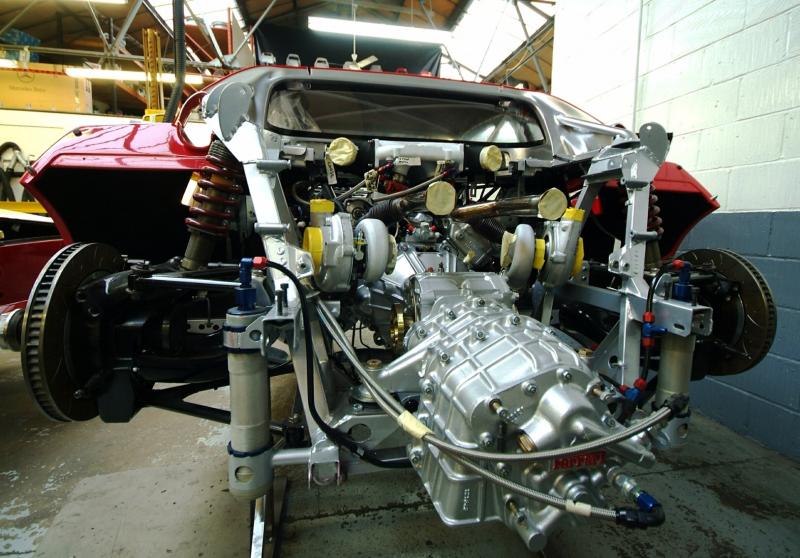
Ferrari F40 LM Restoration Part 3
I really wanted to keep the Ferrari F40 LM Restoration in one large post, however it was proving too large to handle. For this latest update, I’ve decided to create a separate post. I’ve also split the original post into two parts, just to make it easier on everyone’s bandwidth, including mine! You can access the index by clicking here. And so continues the most popular build to grace these pages…
Ferrari F40 LM Restoration Index
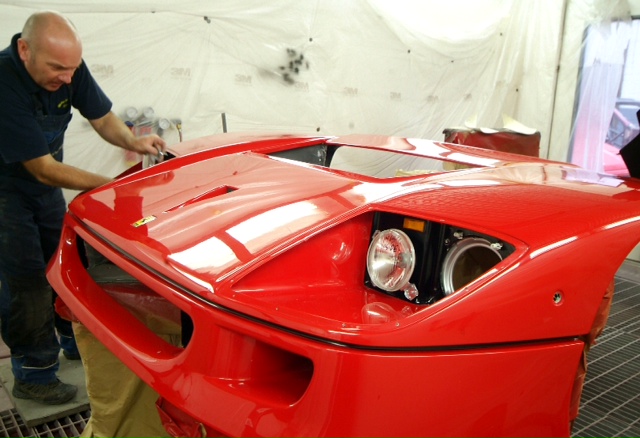
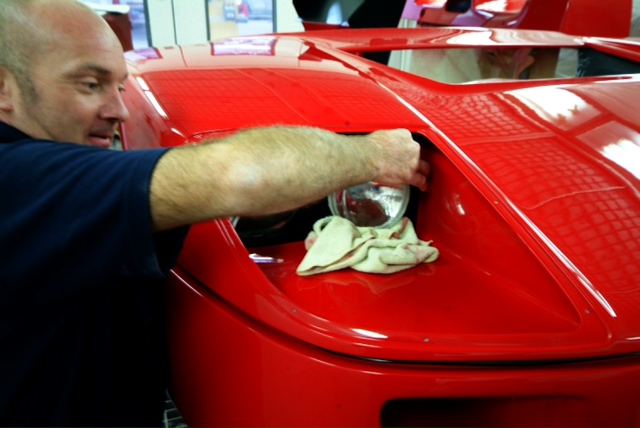
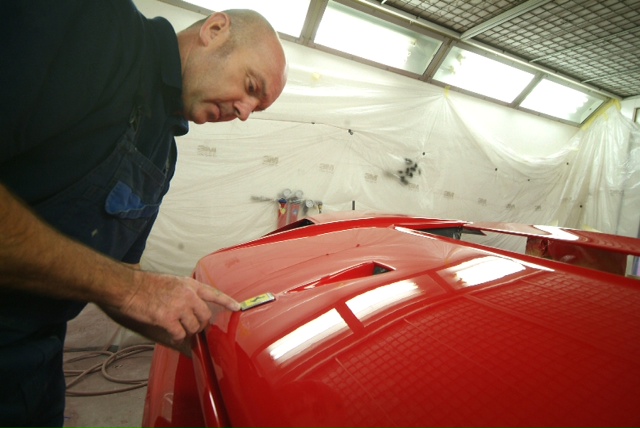
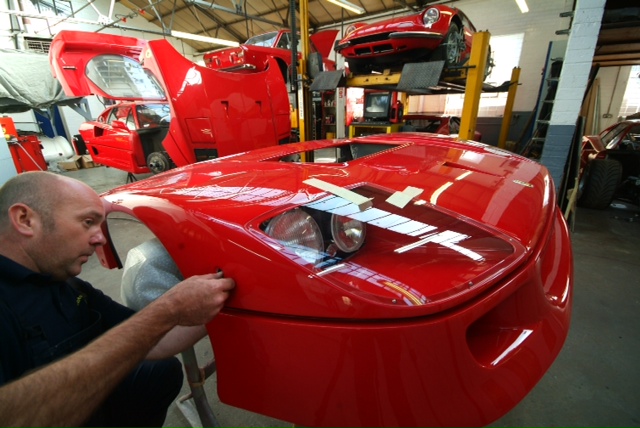
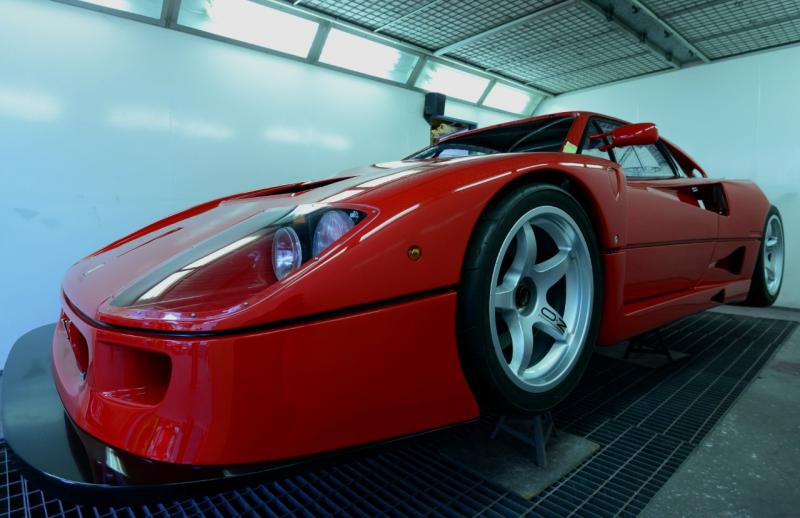
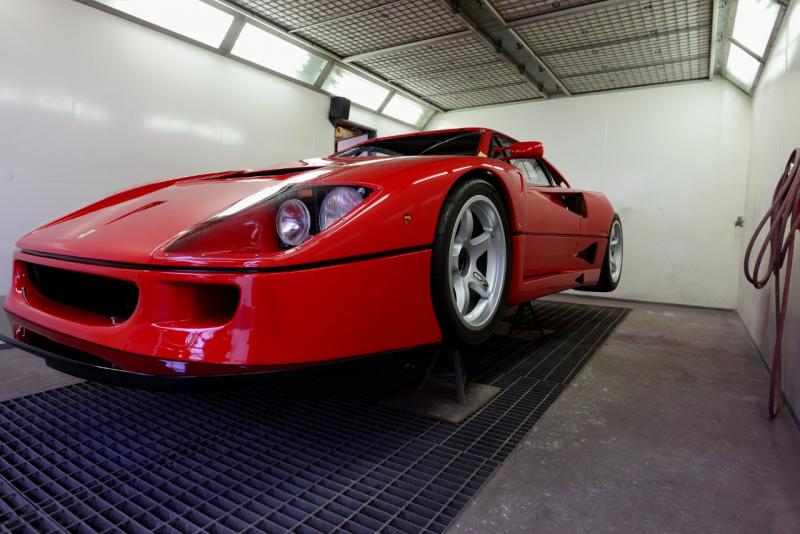
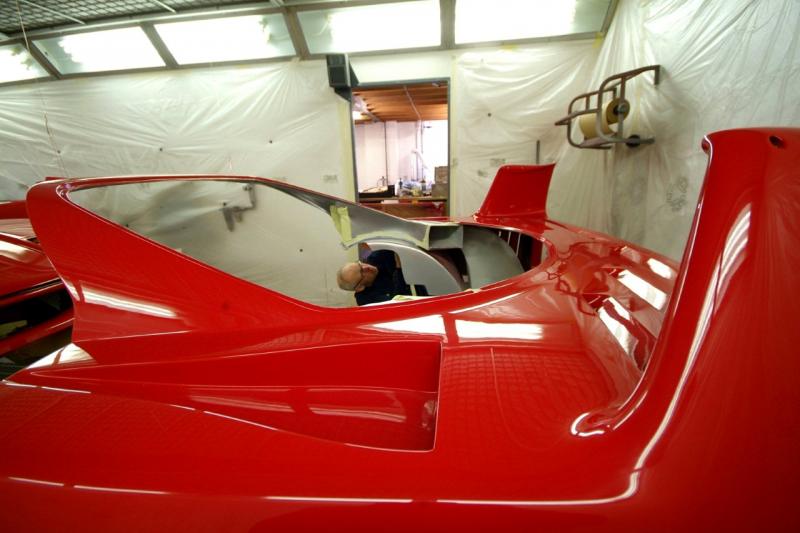
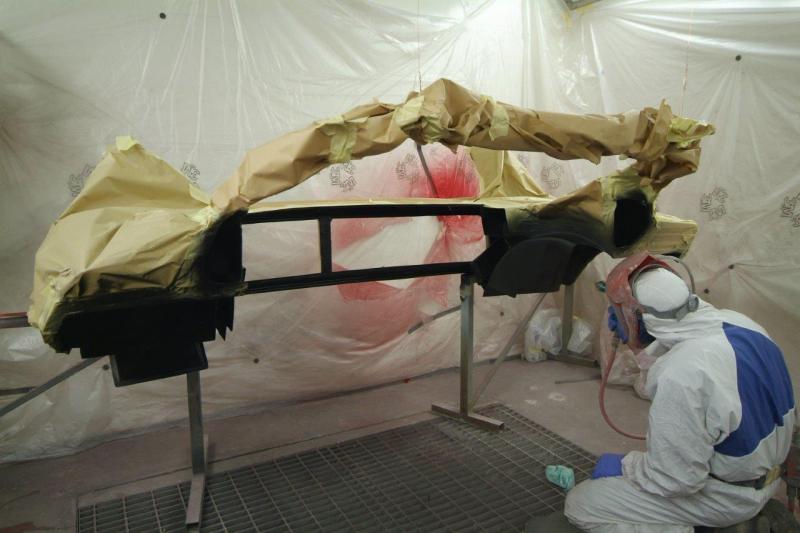
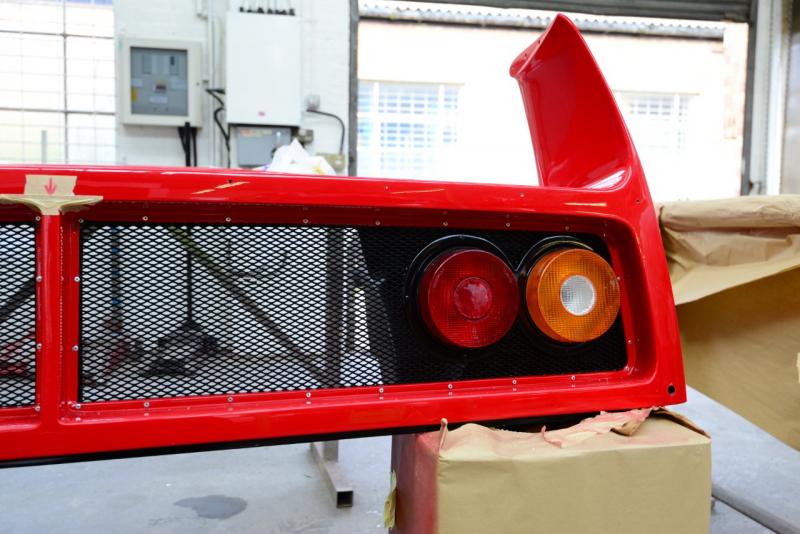
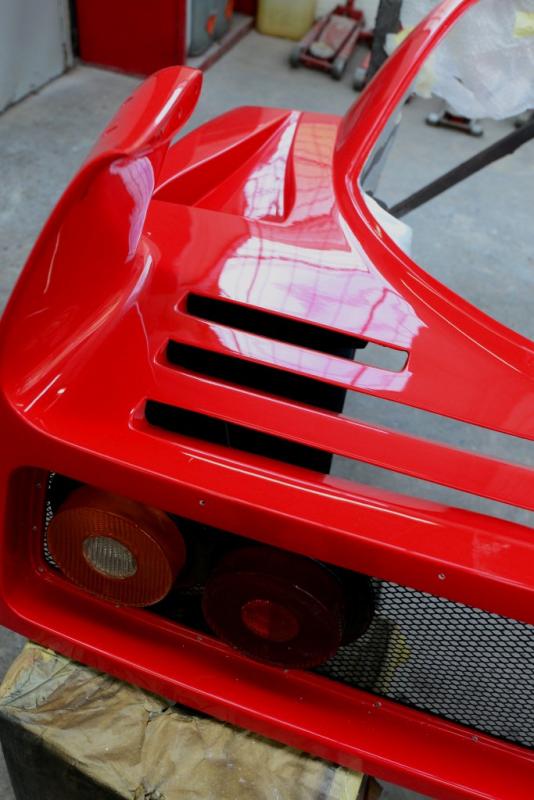
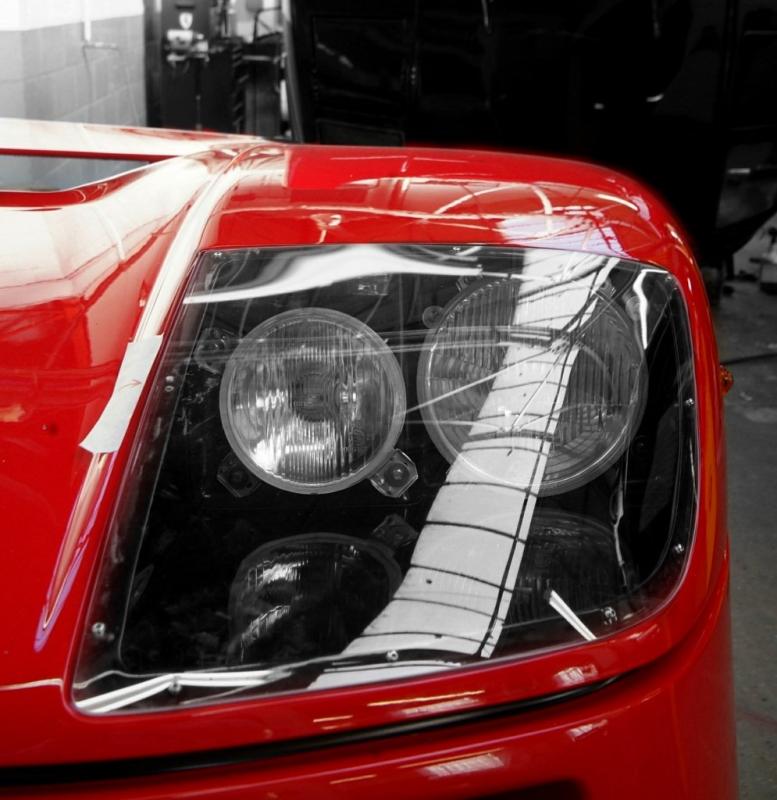
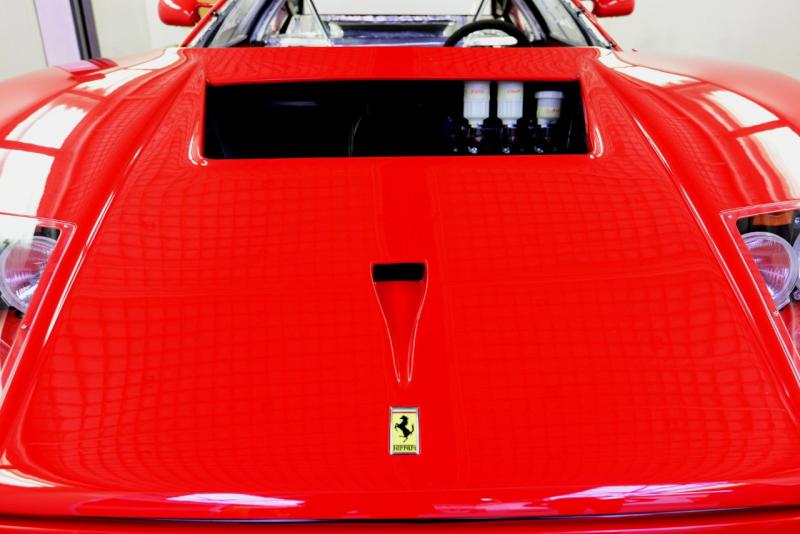
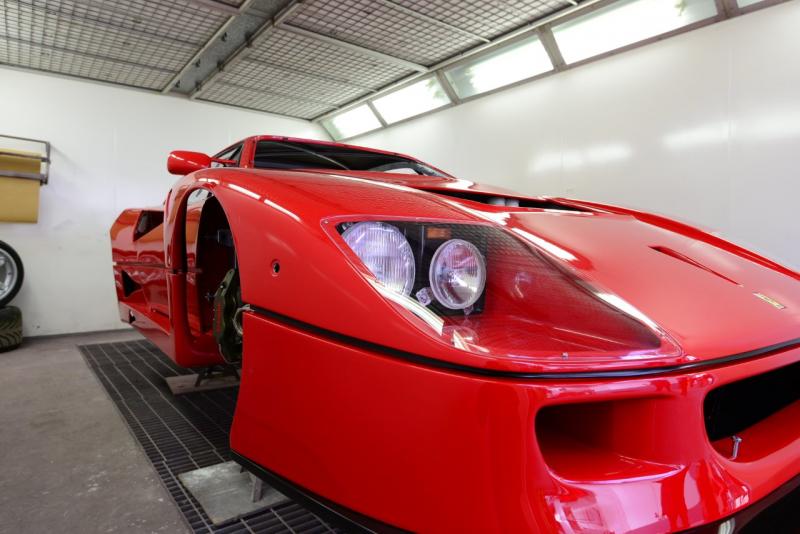
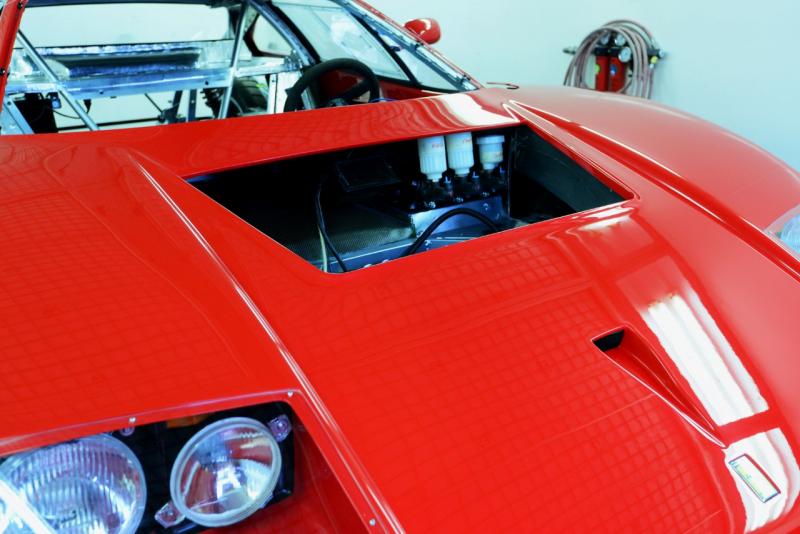
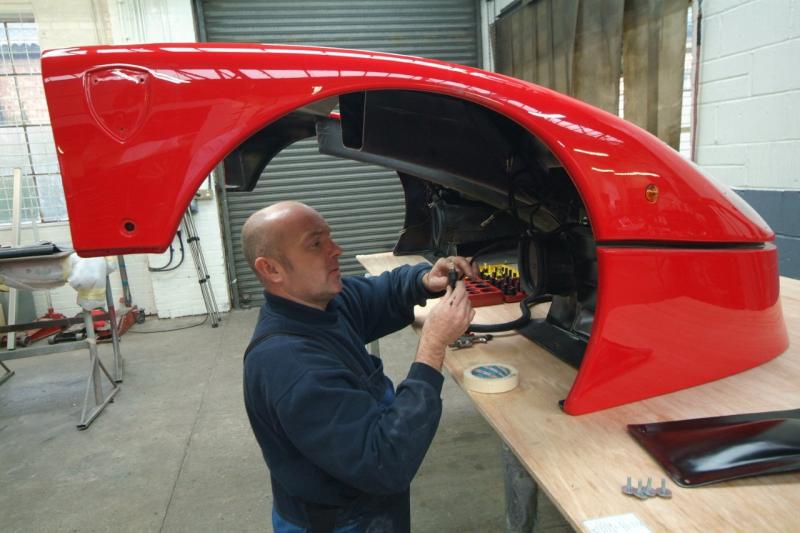
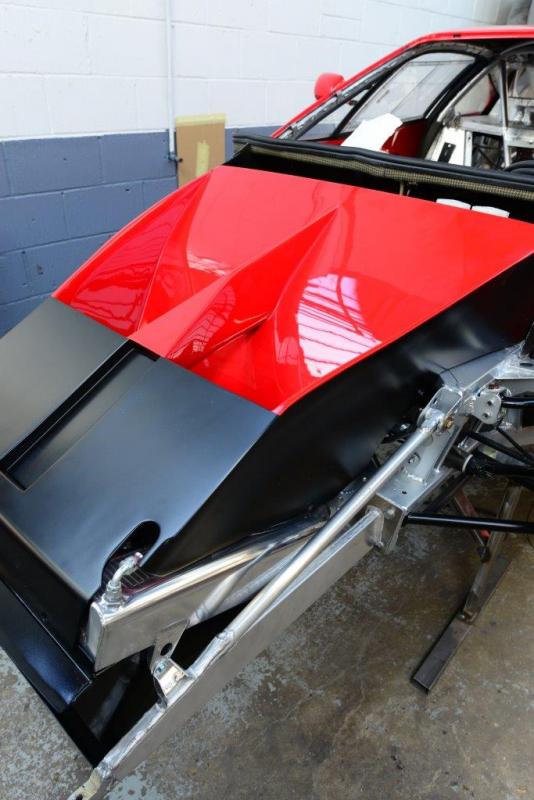
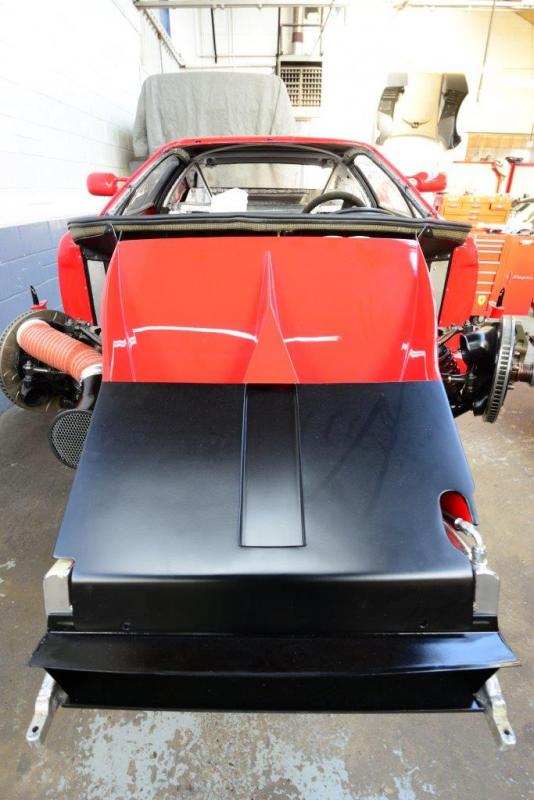
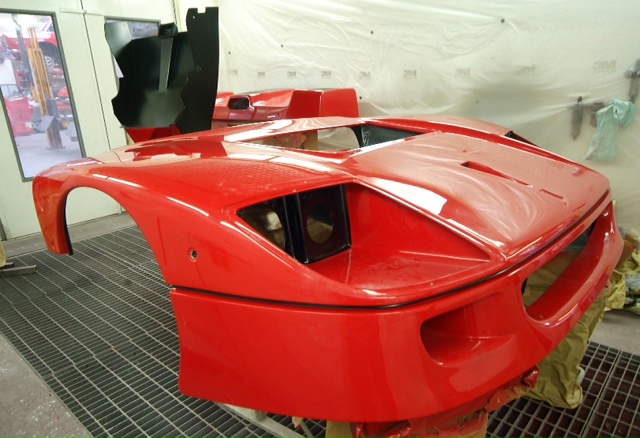
The front clam is now just about there. Black on, lights in, lenses on and even that vital Badge. On the paint Paul is correct. Effectively it is paint drying by a chemical re-action. I asked Kevin for a fuller answer and he tells me that whilst it is true to say that great progress has been made in lowering the amount of solvents released into our atmosphere during the painting process, most of this is achieved by the use of ever more sophisticated catalysts which allow ultra high film thicknesses delivered by fewer coats and cause less overspray loss age; Some say that Water based paints are a bit of a myth to assuage the green lobby, the “water dilutant ” has solvents included to speed evaporation and due to corrosion problems comes in plastic bottles which then go into land fill so all we have really done is to have moved the problem on. Water based paints take a lot longer to evaporate than solvent based products and so we now have non productive periods where the painter has to “ watch the paint dry” he can’t drop onto another job because he is suited and booted and has to keep clean, in the meantime the compressor and spray booth are running flat out burning up resources. Nasty chemicals are still used to cure primers and filler coats which account for most of the product applied
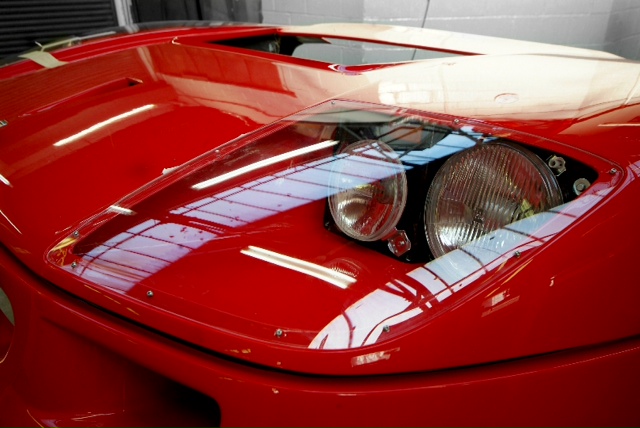
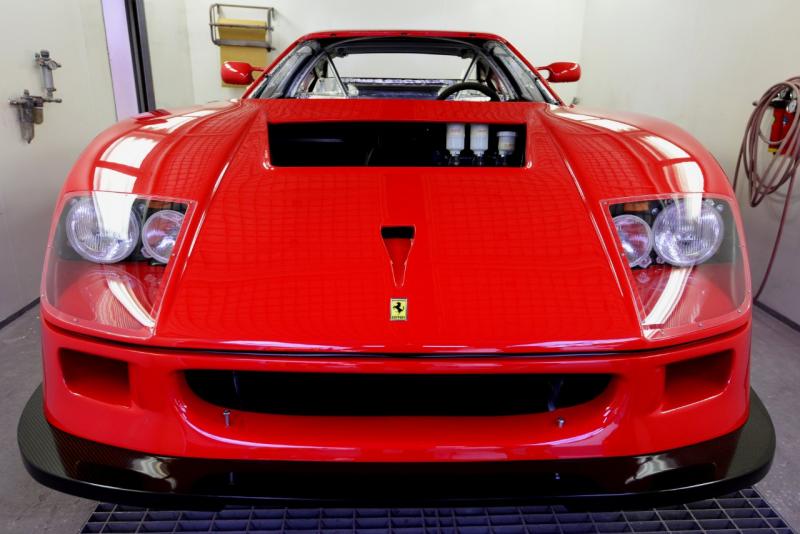
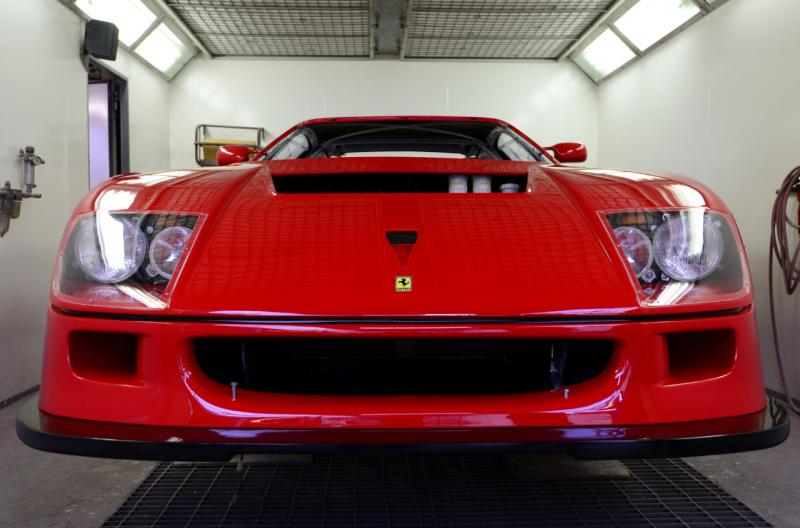
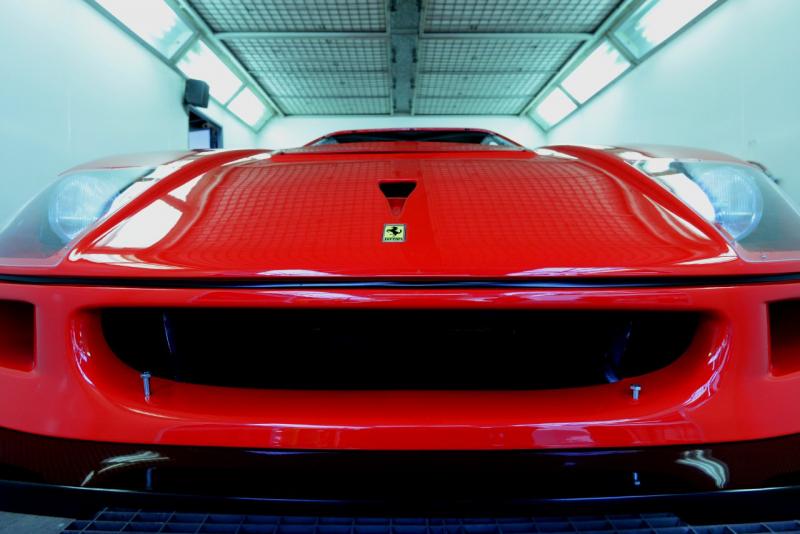
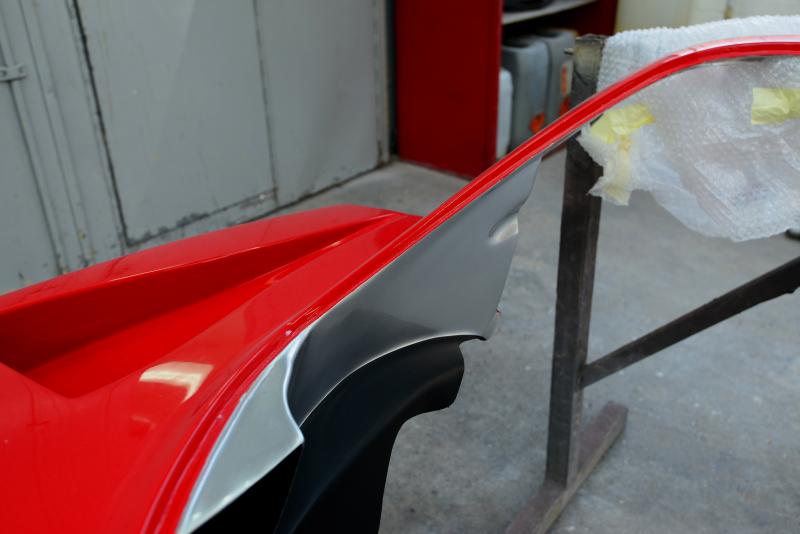
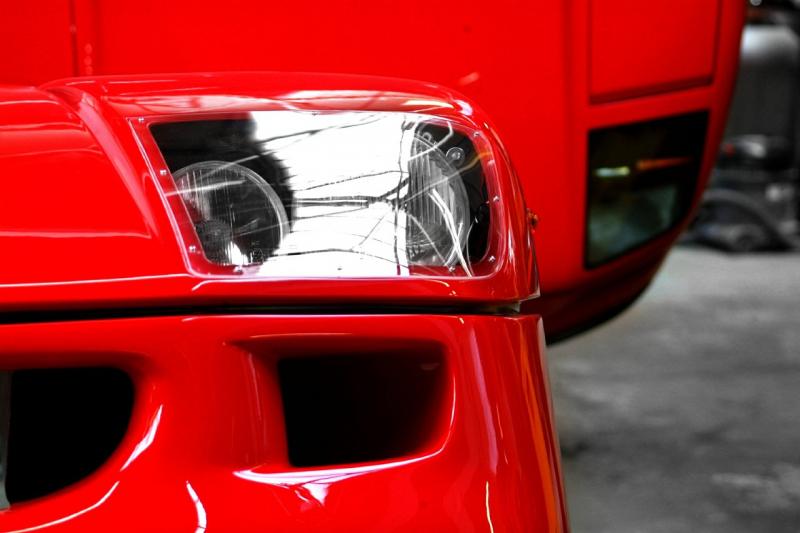
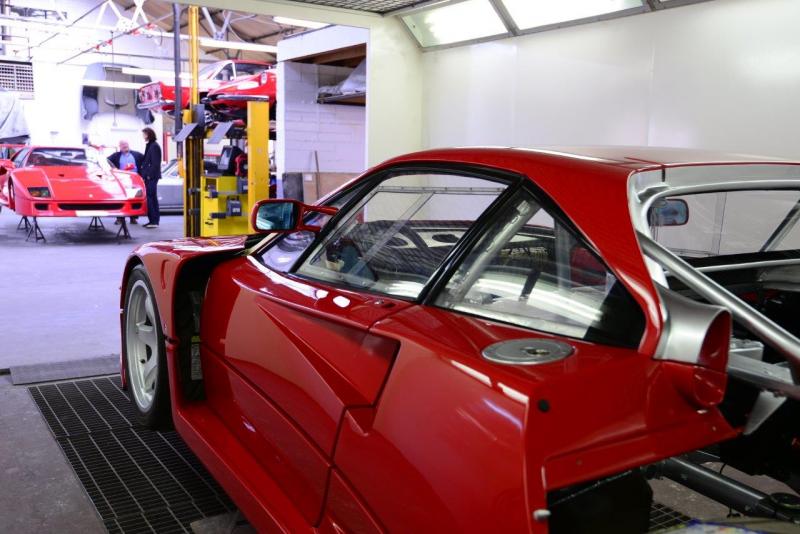
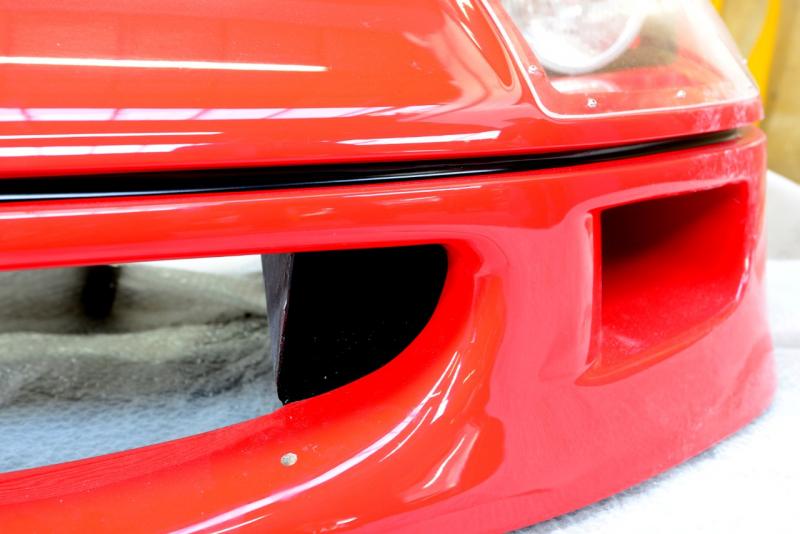
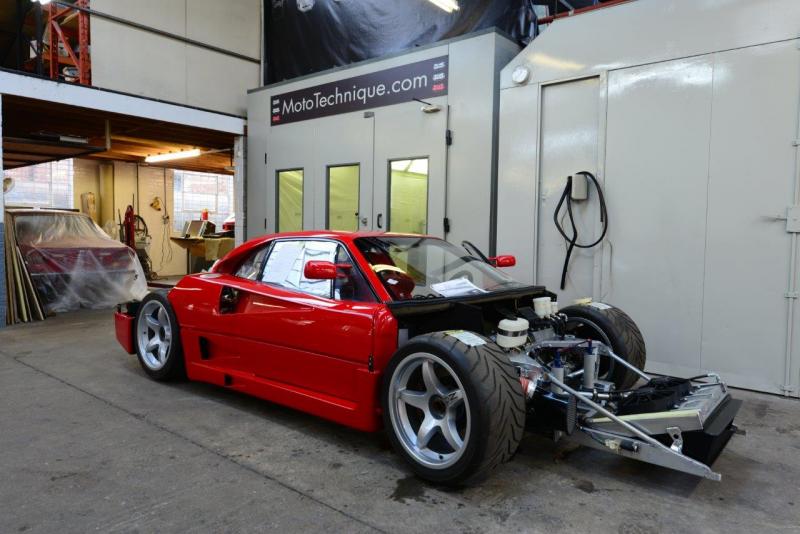
A few more pics for the weekend now we have the front clam just about complete with new splitter, soft mounted but at least in position(some black detailing still needed on the brake ducts inlets). There is something about the subtle differences in the LM that make it look like a 21st Century car and the standard car look very dated. Cannot quite put my finger on it, but I think it is to do with the lights and extra clam width?
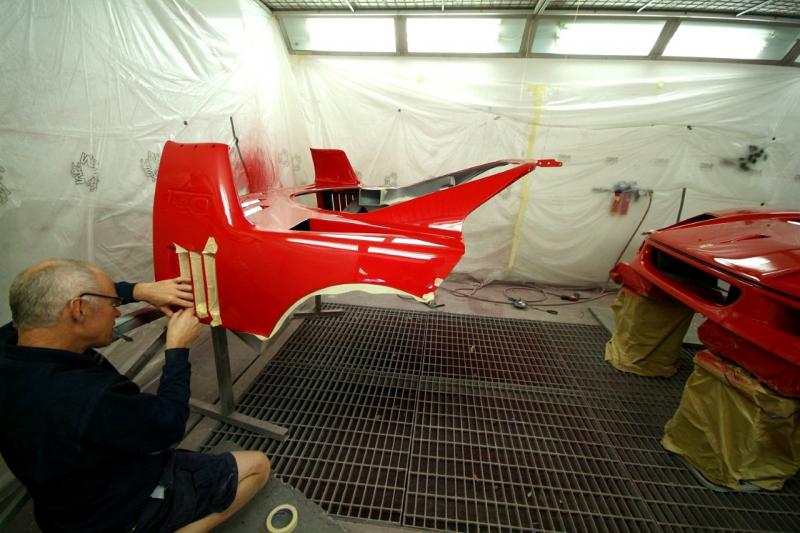
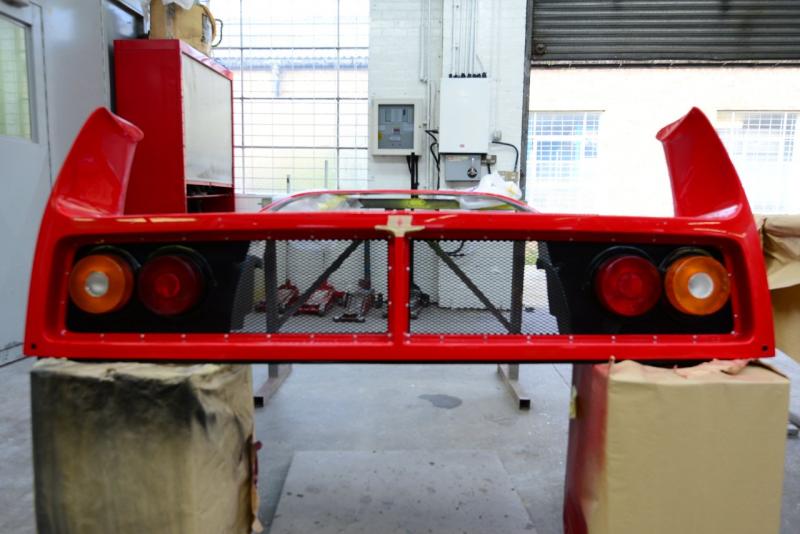
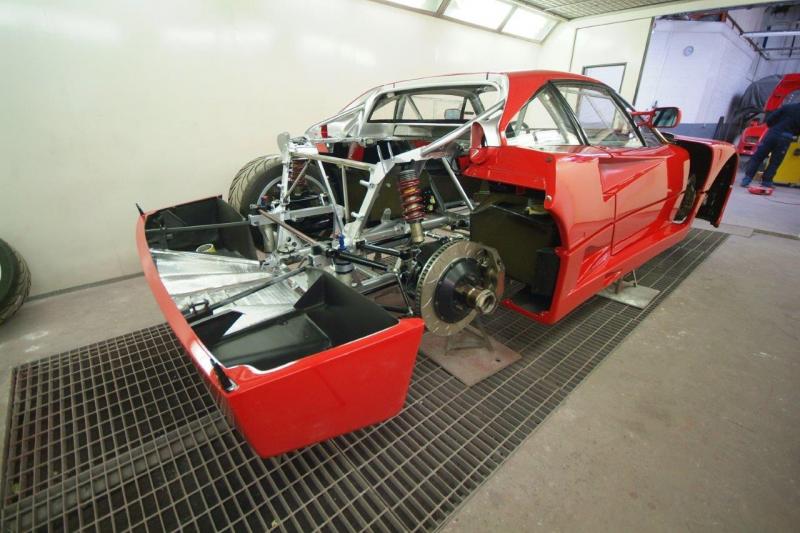
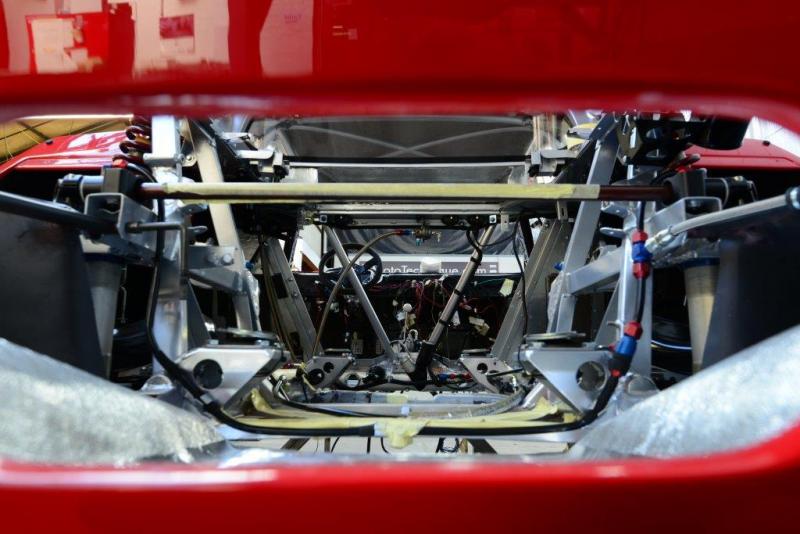
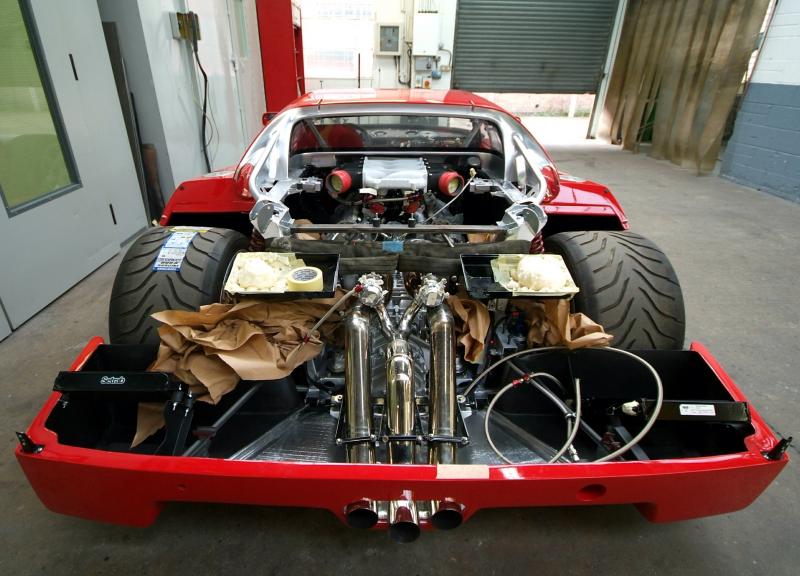
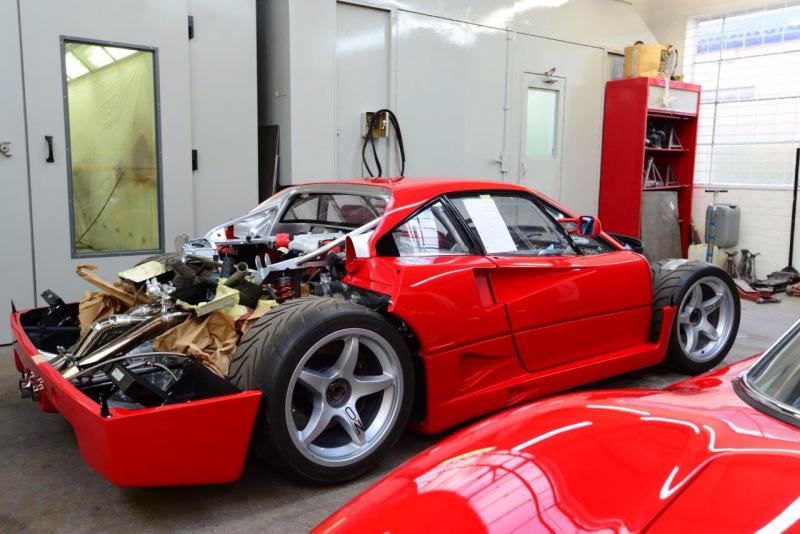
Meanwhile back at the other end of the car, the rear clam is getting close to completion which will then render the illusion that we are further ahead than it appears as it will all be coming off again.
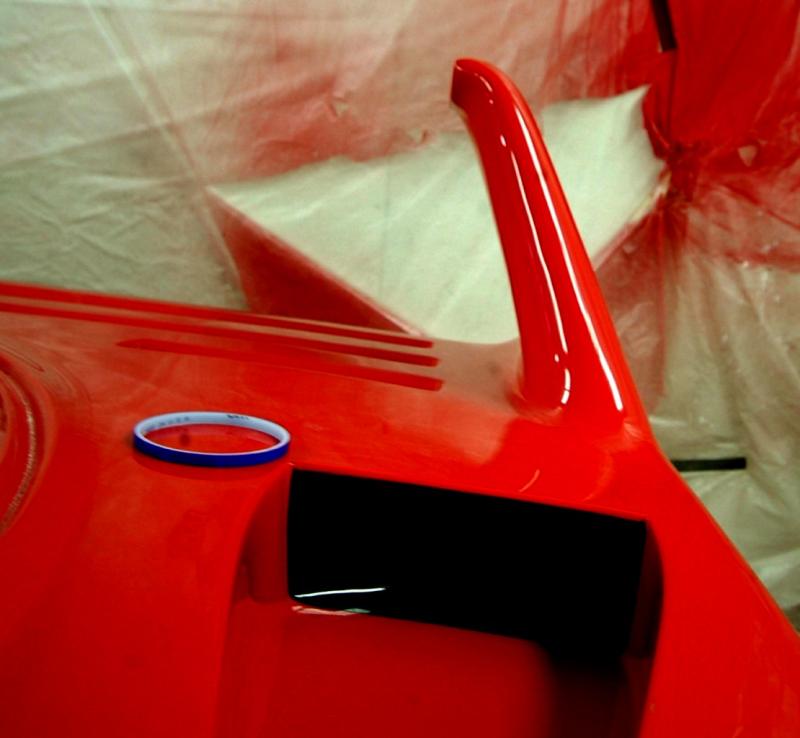
Assembly now well underway on the rear clam. Restored lights etc in and now just the wing to restore. Apologies for the out of focus shot, but you get the idea.
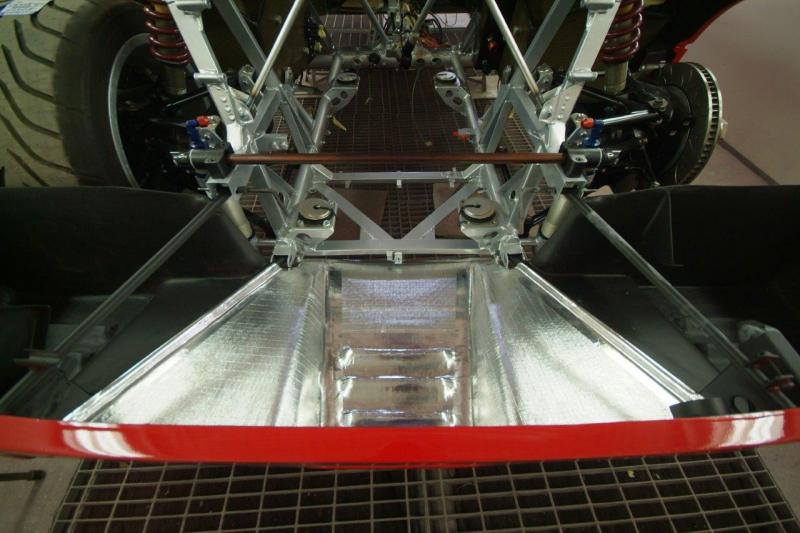
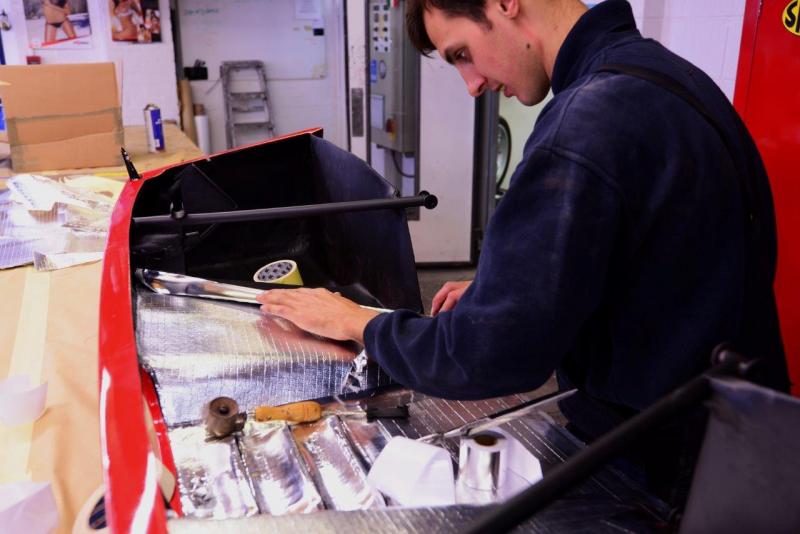
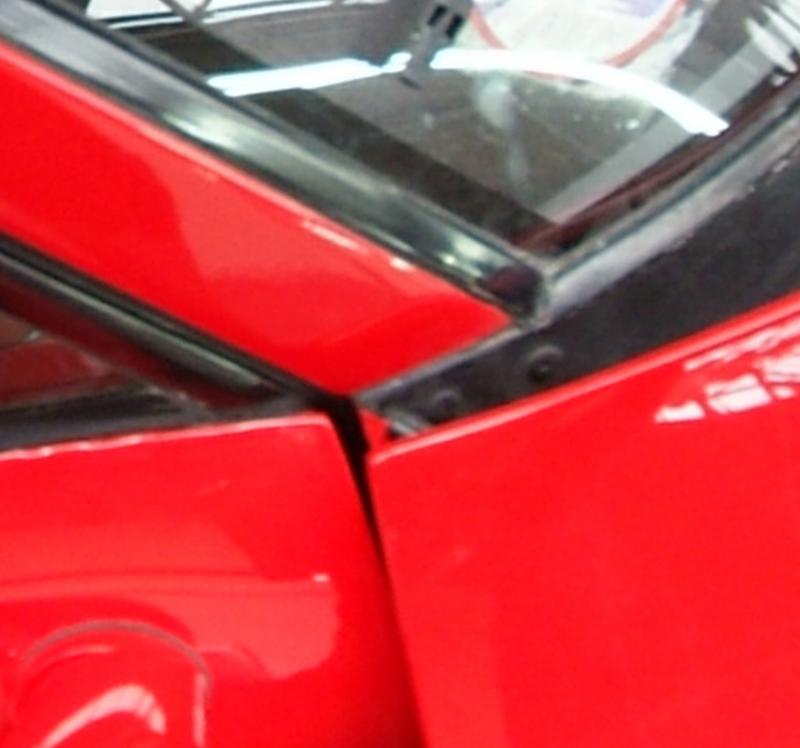
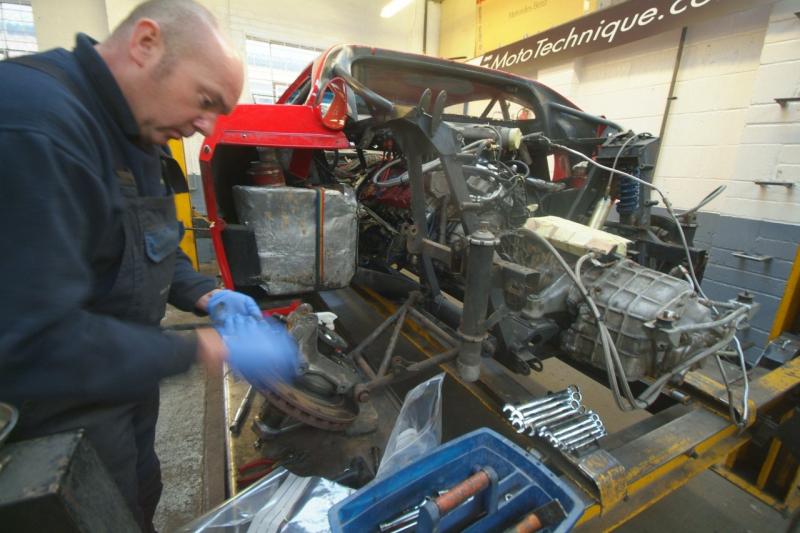
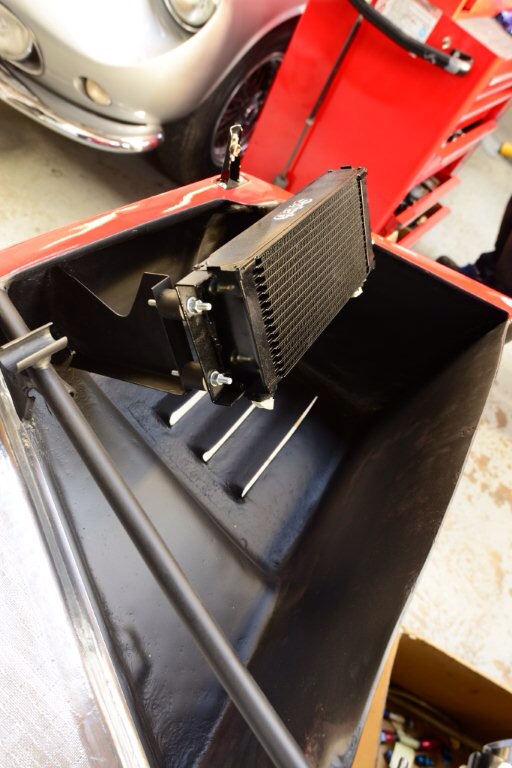
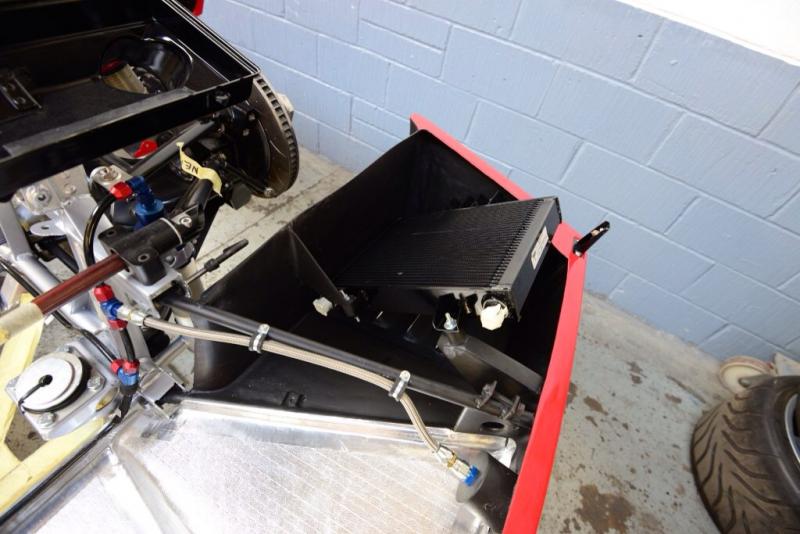
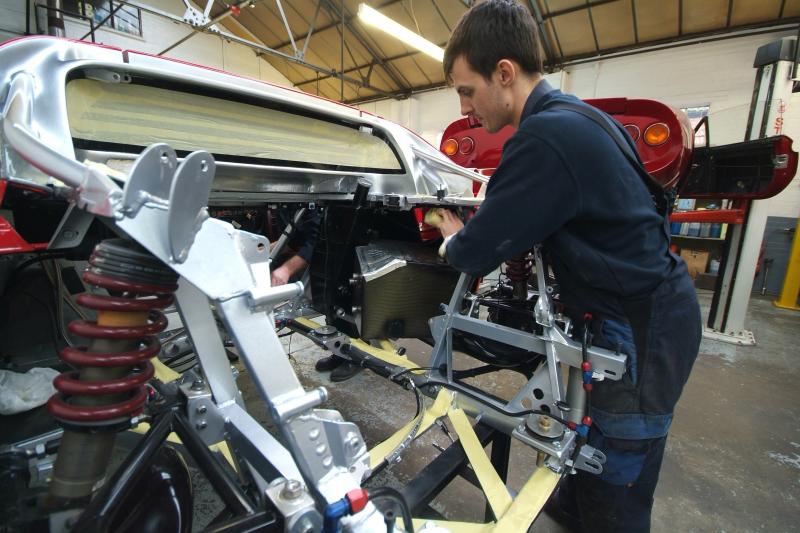
Now the lower clam. James applying the heat insulation and then the clam soft mounted. Oil coolers and their brackets have already been fitted and so are ready to go back in. Now just need the rear wing to be restored, a few clips etc and then all that remains on the bodywork is to get the engine in so all the miserable panel gaps can be adjusted.Out of interest, here is the detail of the clam junction on a standard car I noted recently (apologies poor iphone shot), so we have to try and do a bit better!
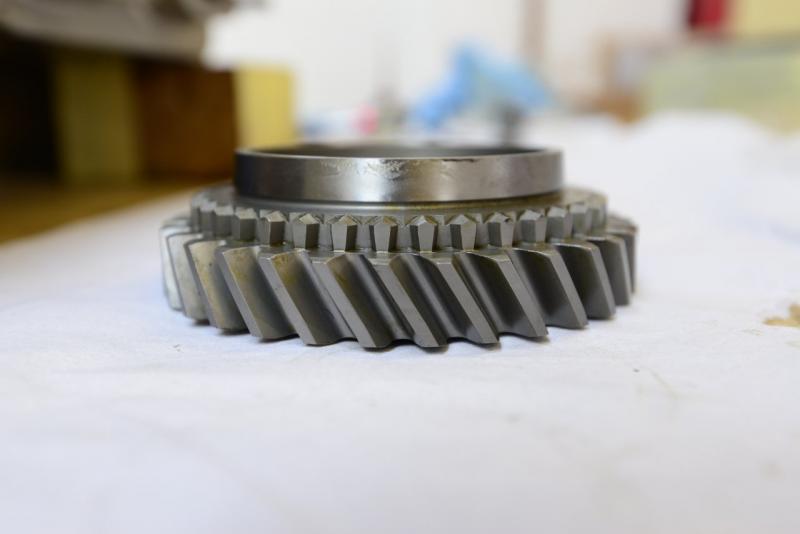
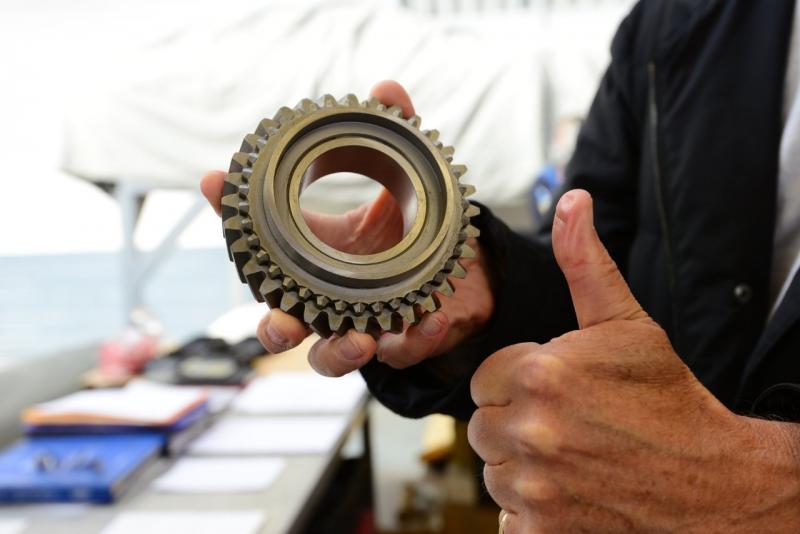
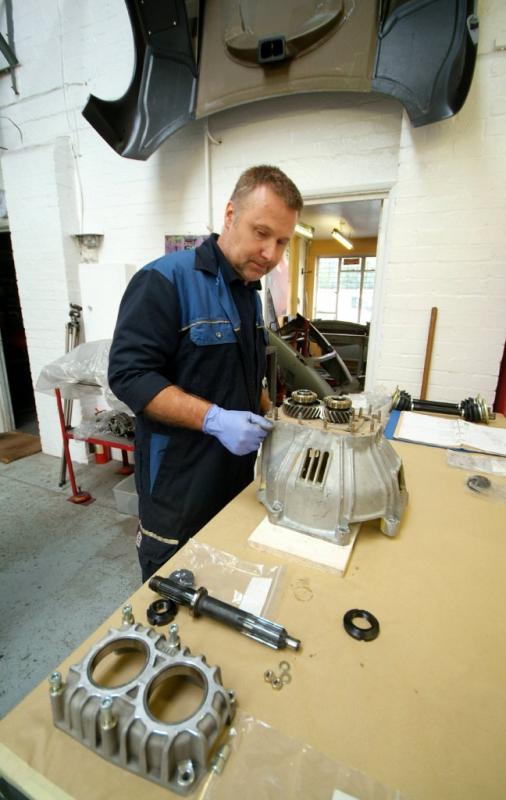
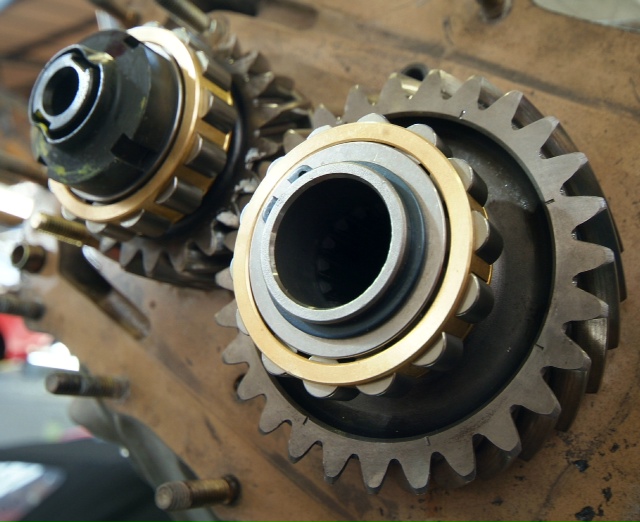
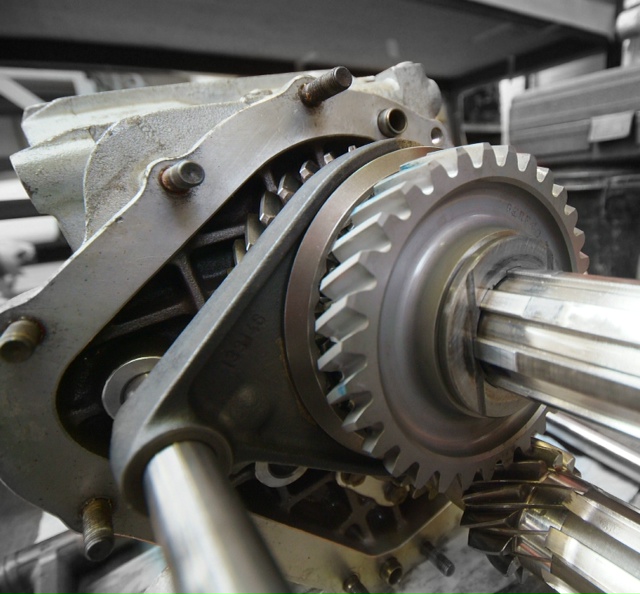
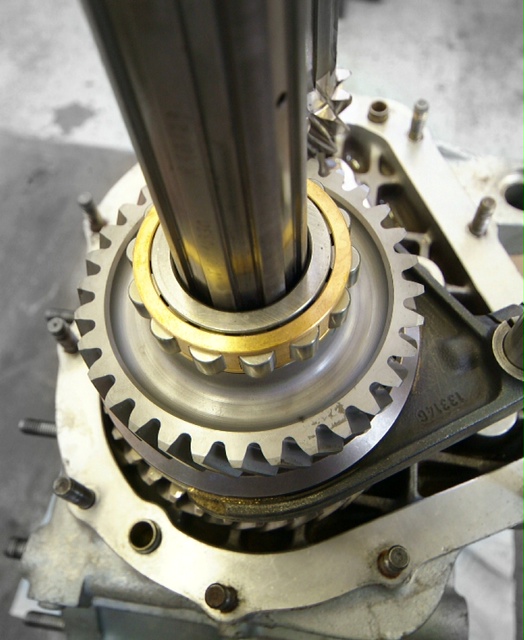
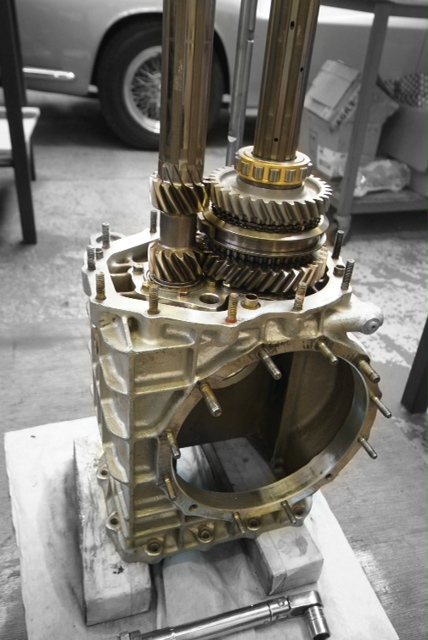
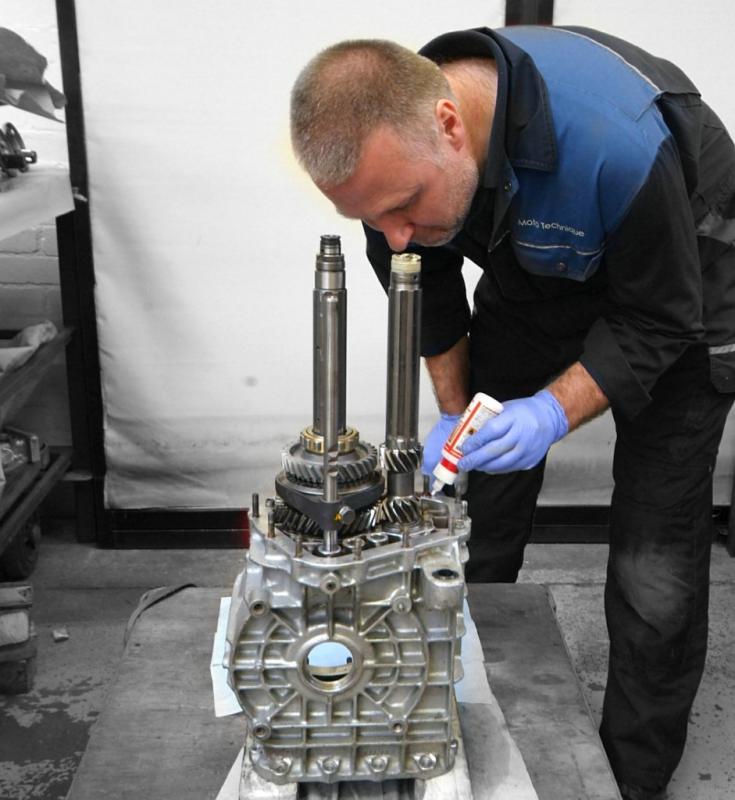
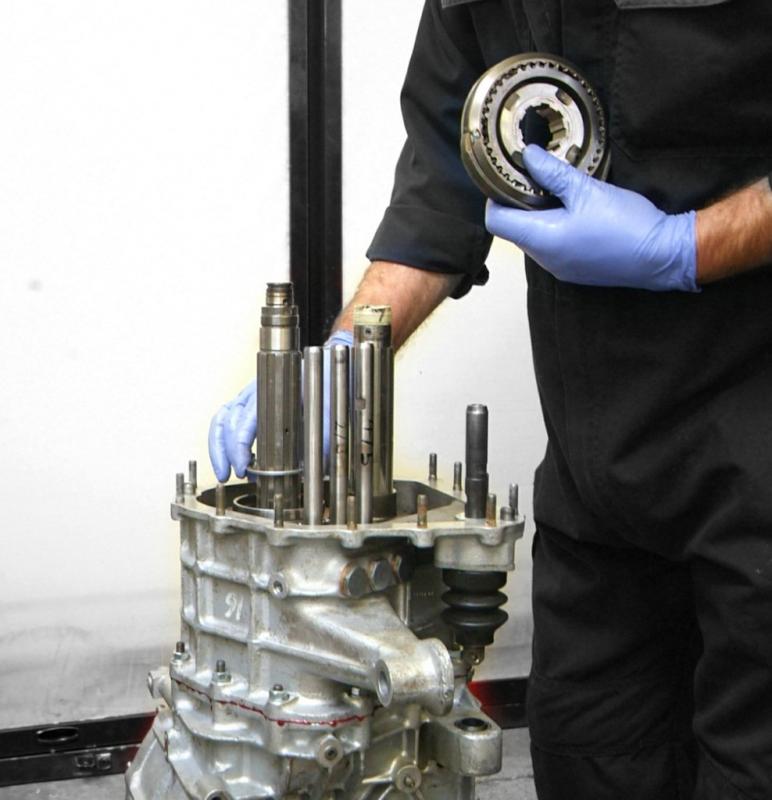
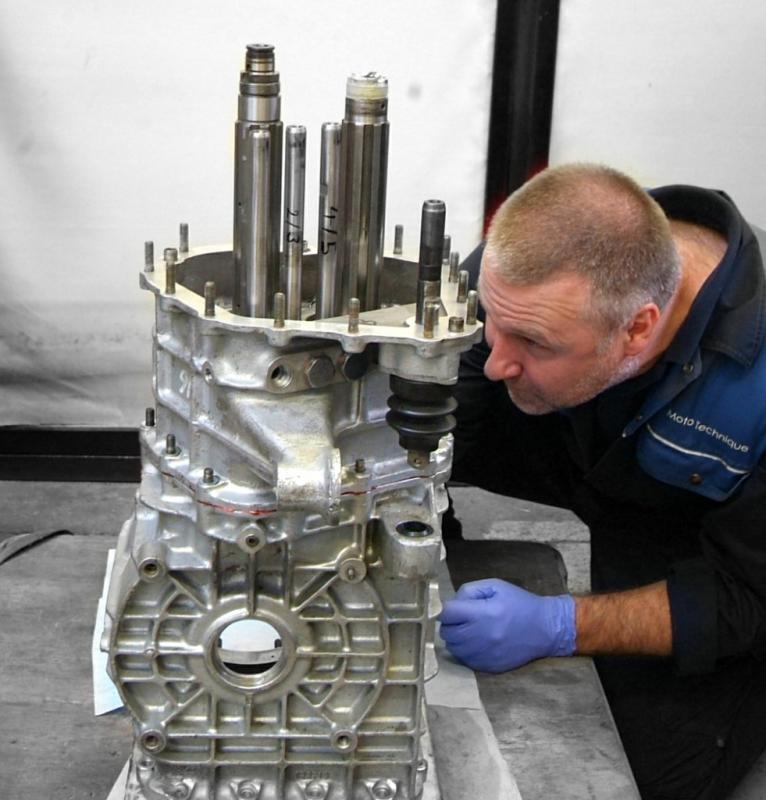
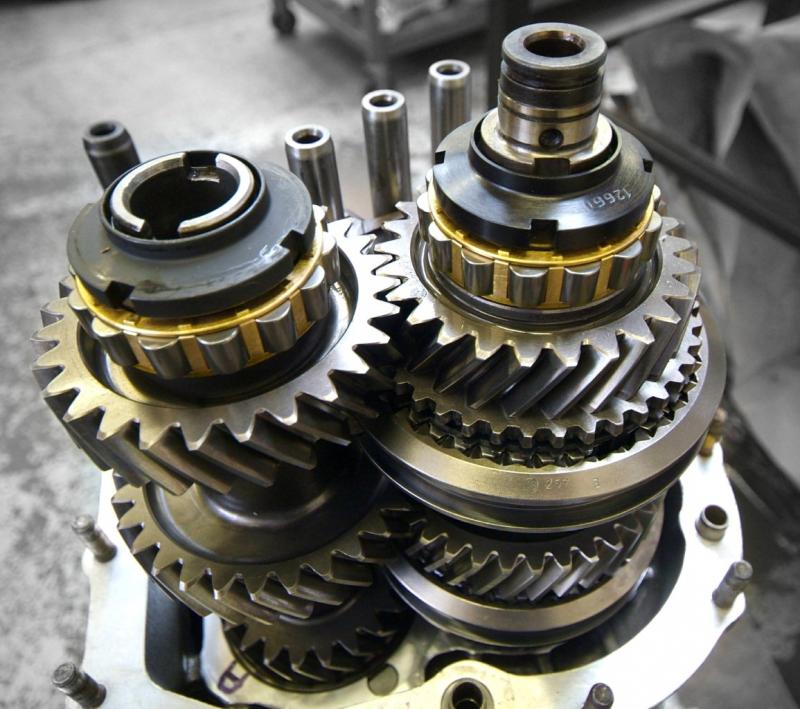
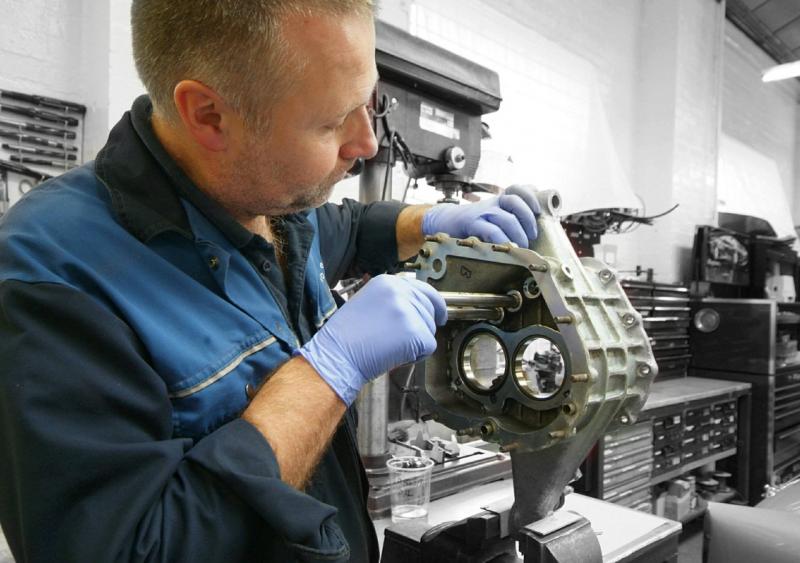
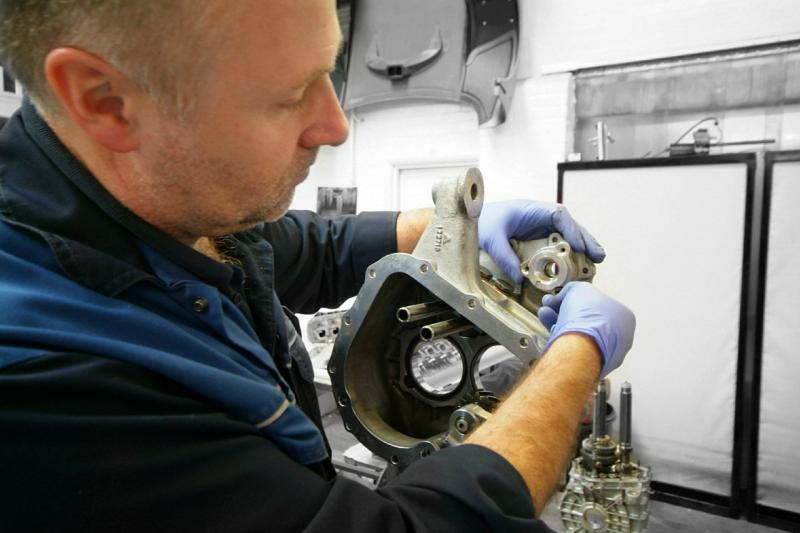
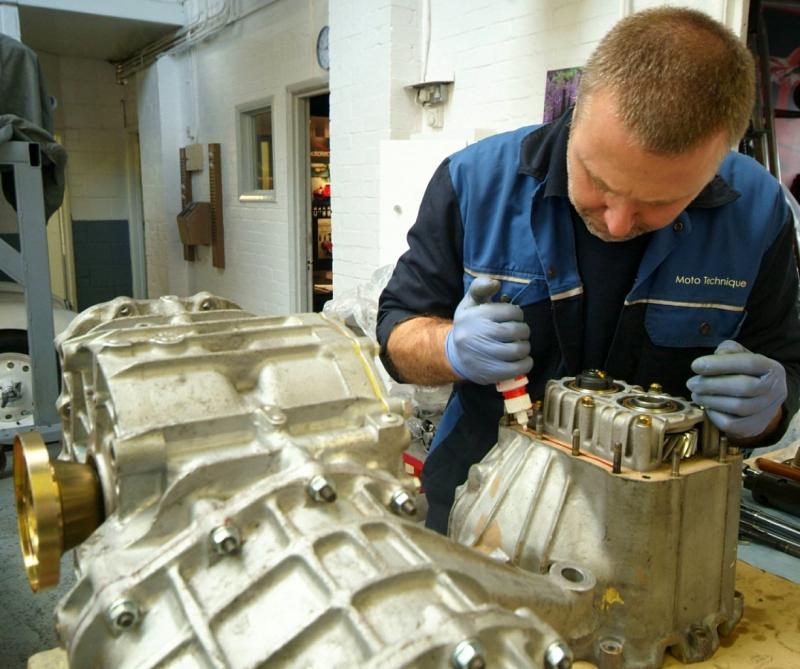
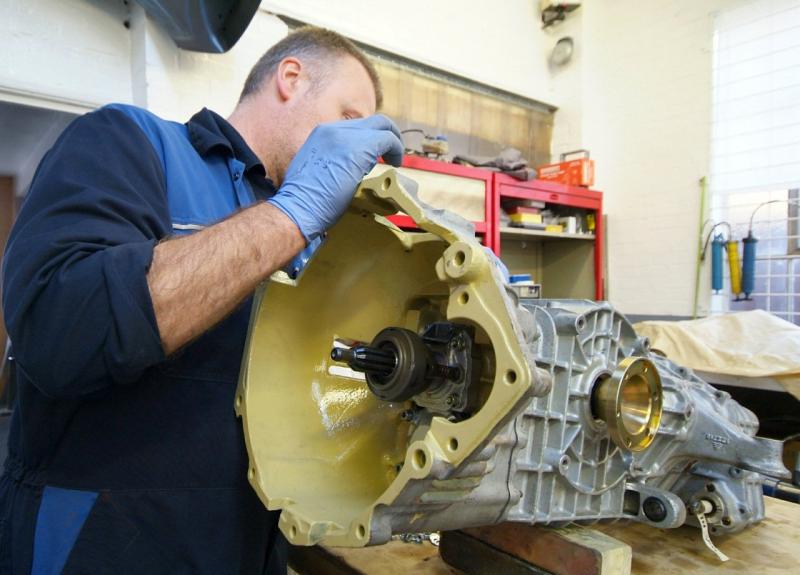
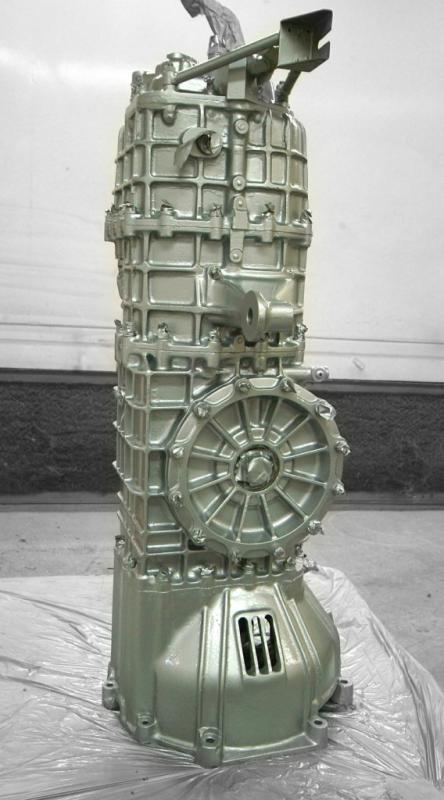
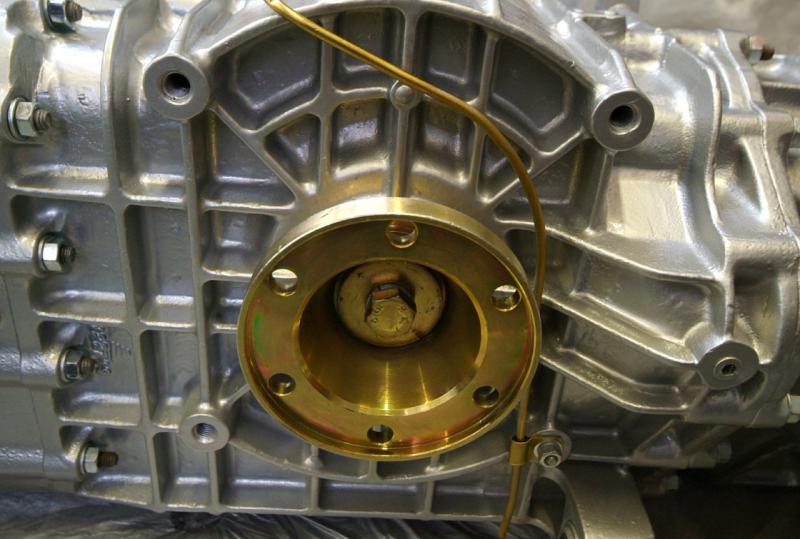
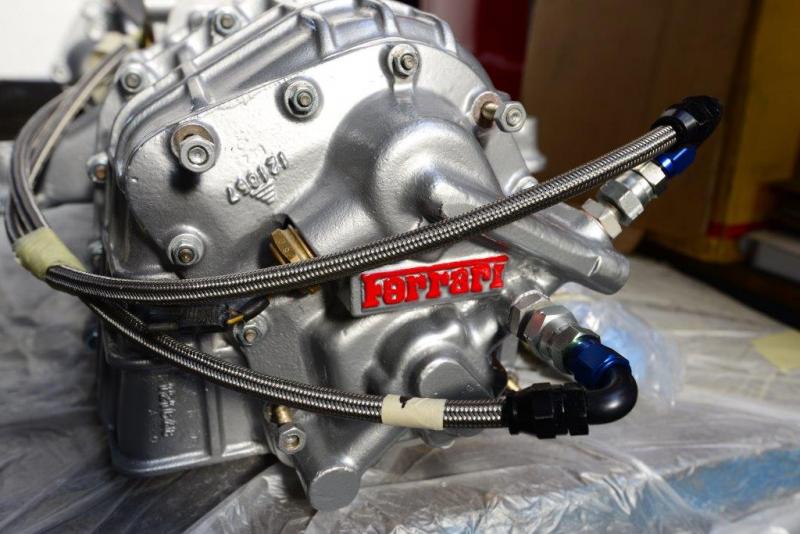
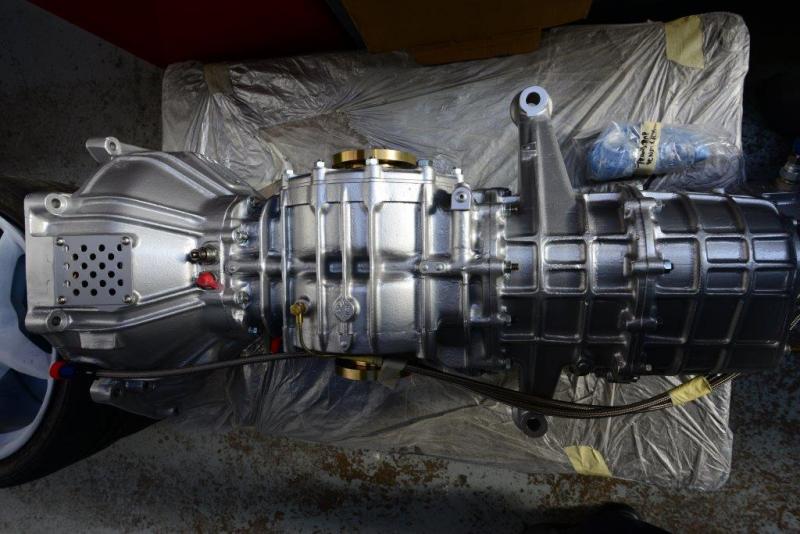
A switch back to grey from red for a bit of variety. Our gearbox has lain almost finished for some months primarily awaiting the new and impossible to source reverse gear. Finally, six months and more in the queue, a new and improved reverse gear from Crosthwaites. The original and unavailable Ferrari part is actually composed of two separate elements whereas our new version has somehow been crafted from one, a really trick piece of engineering. Now we understand how they could build an Auto Union from scratch.First shot shows the old scored gear, the others the new.That means we can now finish up our gearbox and here Colin is fitting the drop gears with new bearings on the Bell housing and when finished all castings will be cleaned up and sprayed. The entire gearbox has new bearings.
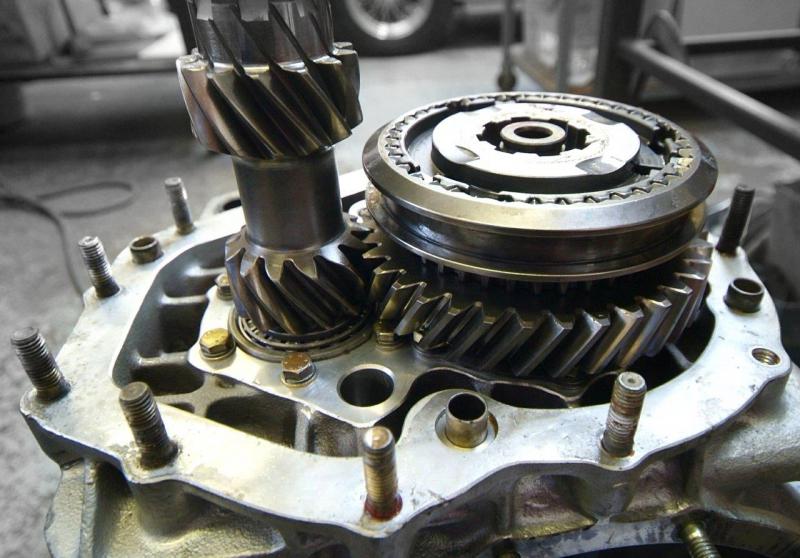
Reverse gear finds its home, meshing perfectly, so we finally are on the way to a finished gearbox.
A few arty shots from last week
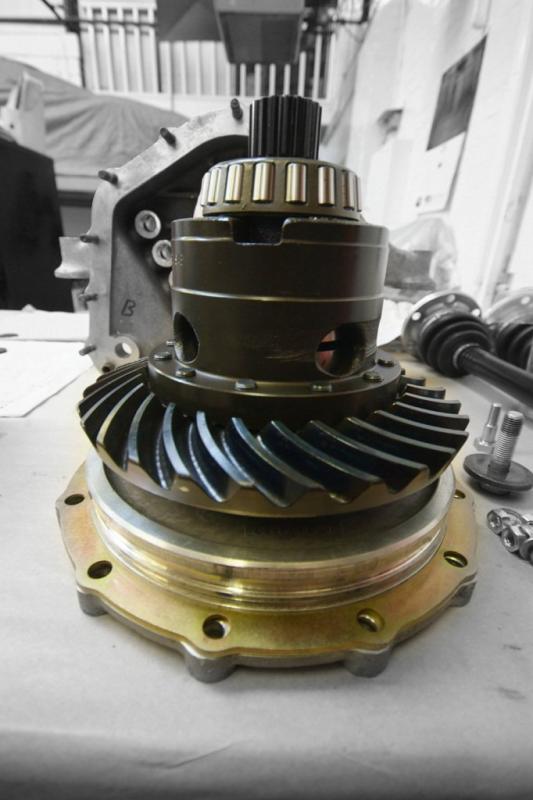
Now our finished final drive assembly with new limited slip and the lower geared crown wheel as recommended by CM.
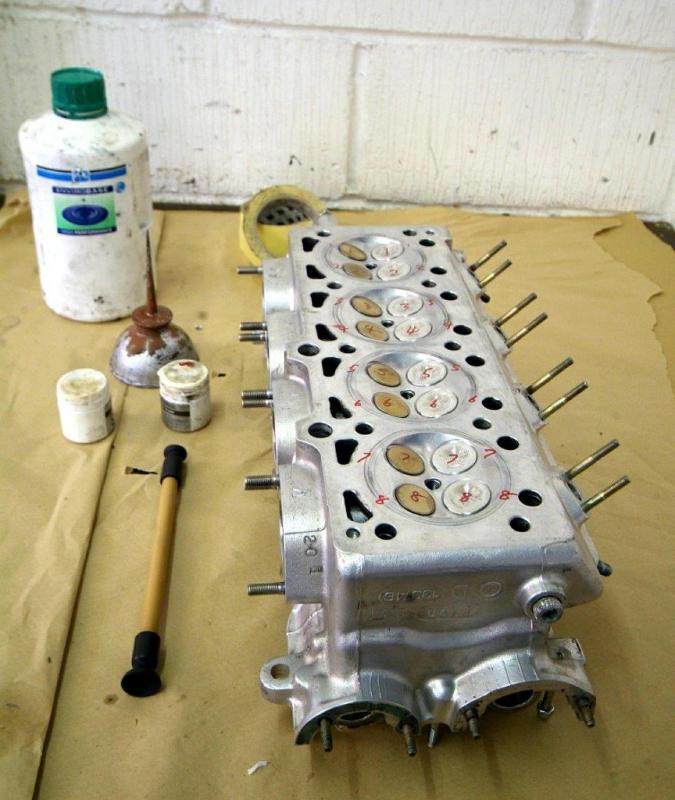
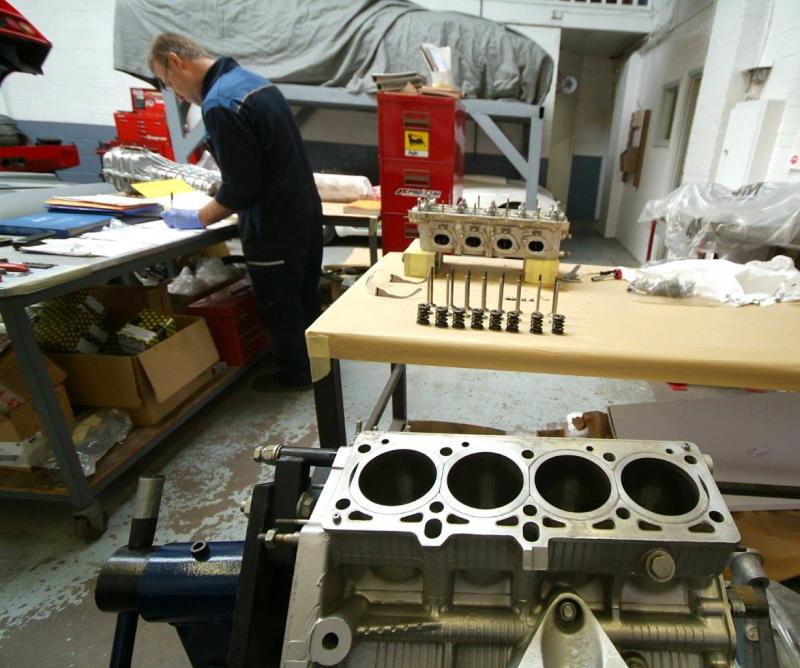
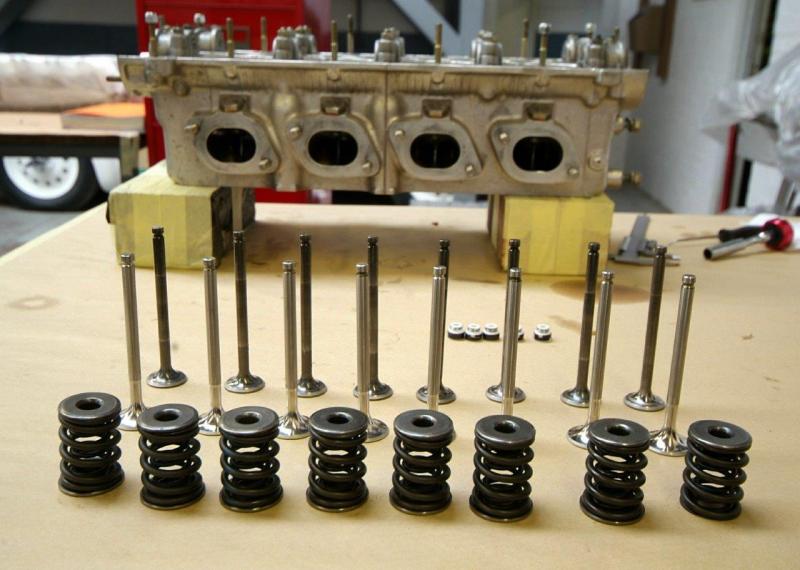
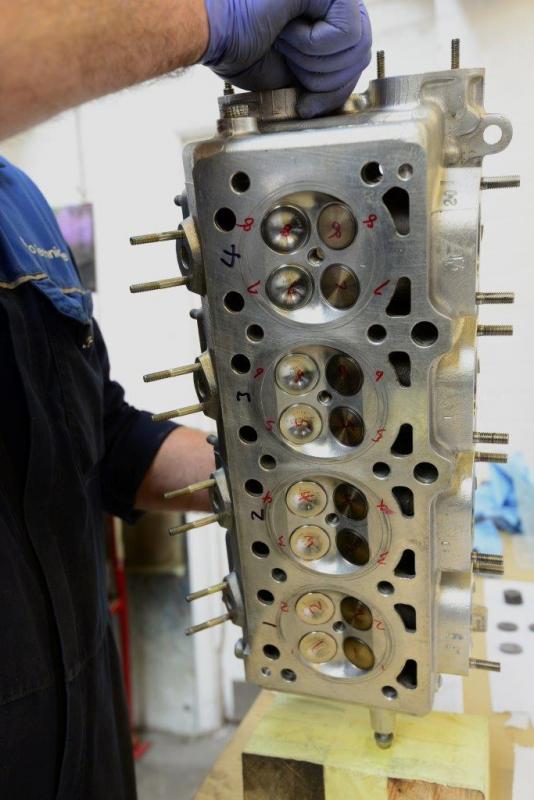
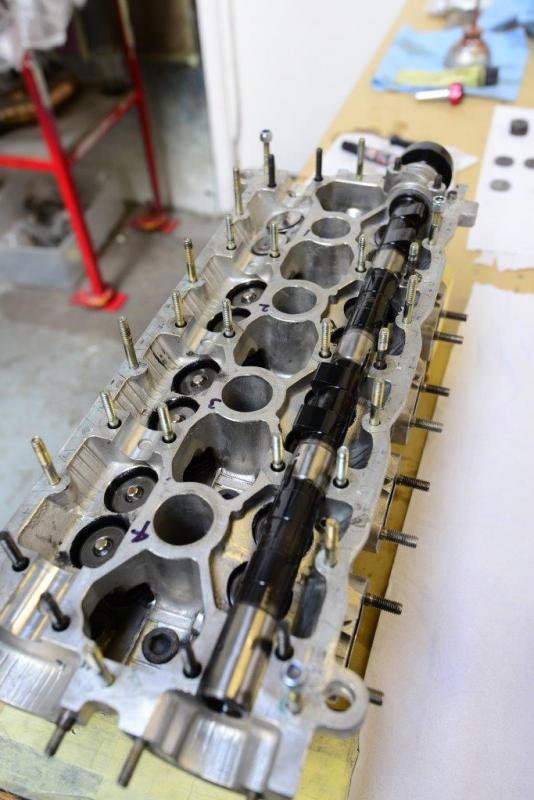
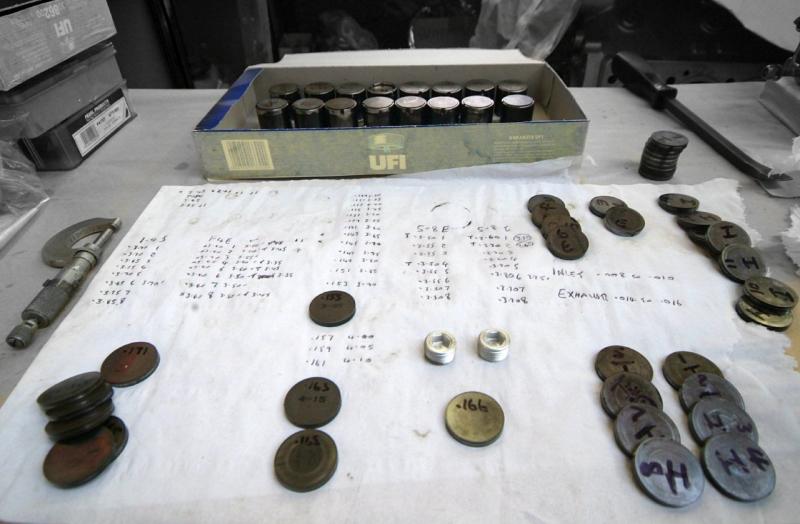
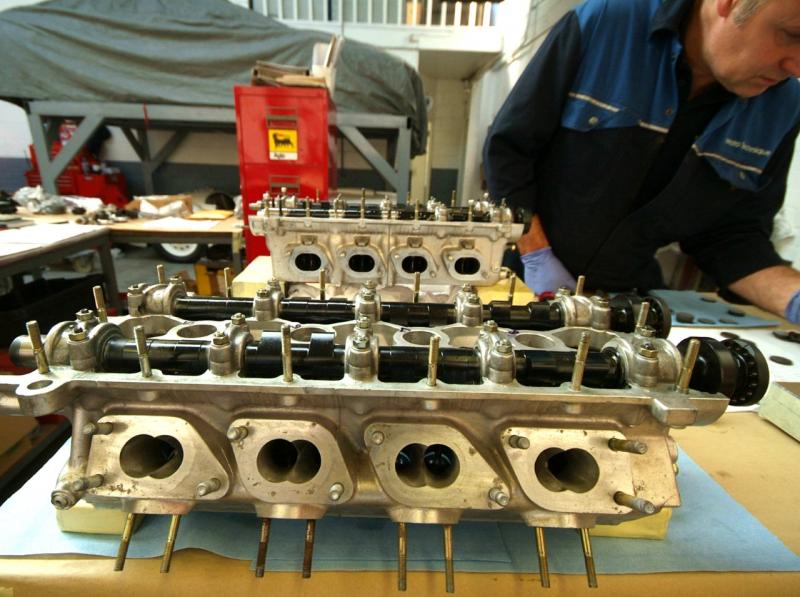
All new exhaust and inlet valves now in, having been lapped, as you can see from this bunch of shots. Next up fitting the cams.
Now this really is reverse finally coming home…..
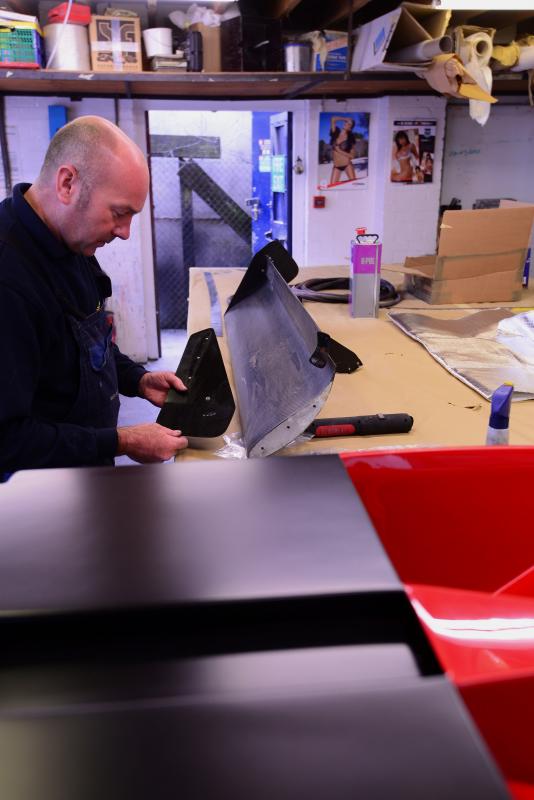
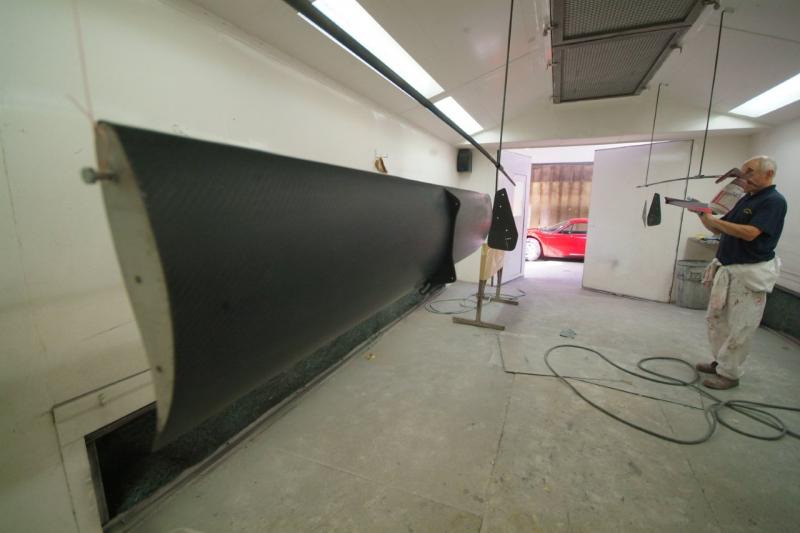
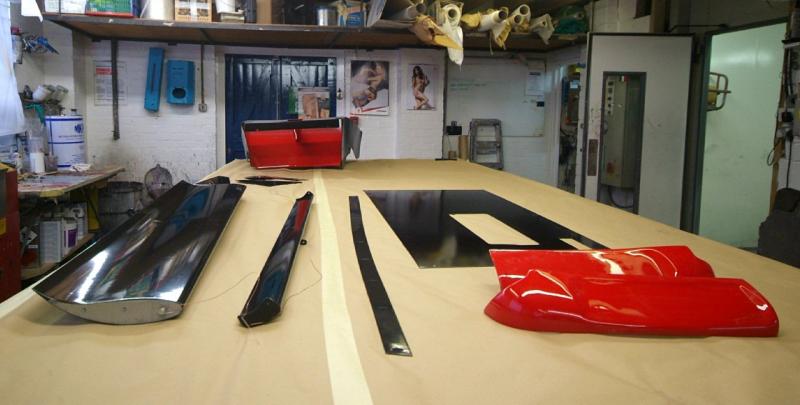
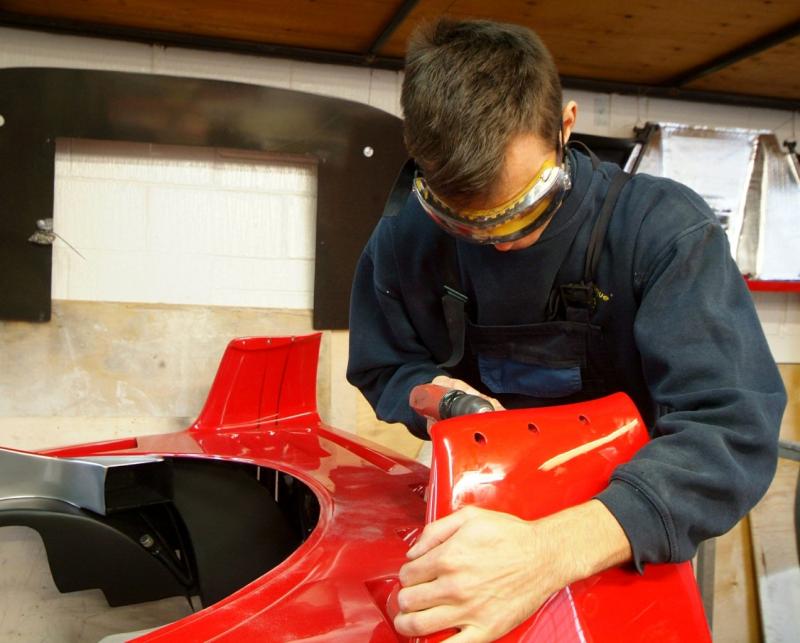
Rear wing now stripped down, degreased and coated which revealed some pinholes so a little further work required there. Large carbon pat to the right is part of the undertray. Be really good to get that all finished up and mounted so we have a complete rear clam, next week all being well.
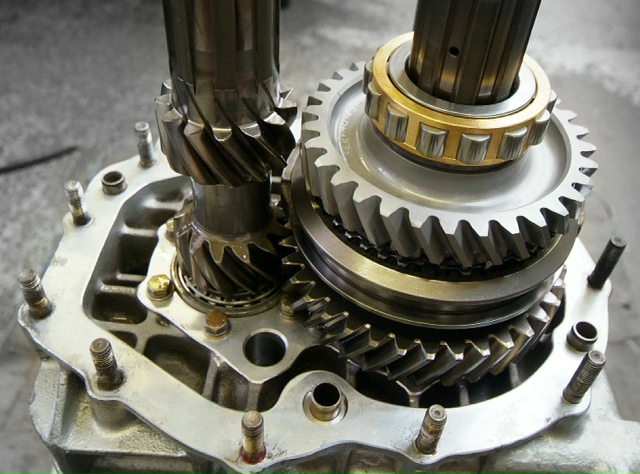
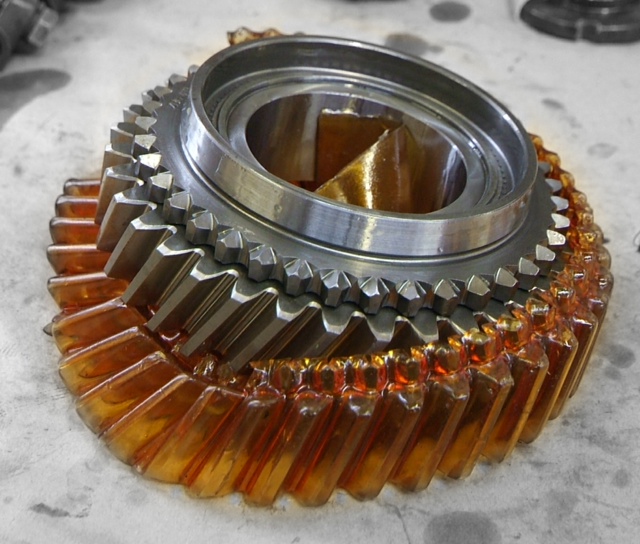
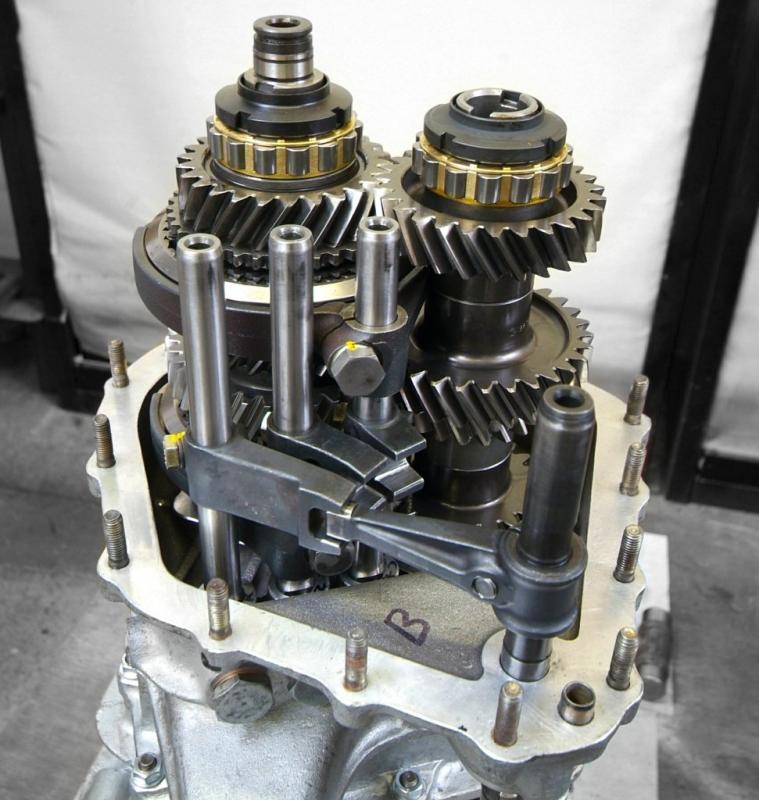
Back to the gearbox which is now really beginning to take shape with all new seals, bearings etc. Here you can also see our delicious new 2nd gear complete with toffee coating.I hope it works as smoothly as it looks and the next step is to adjust the selectors and test…..
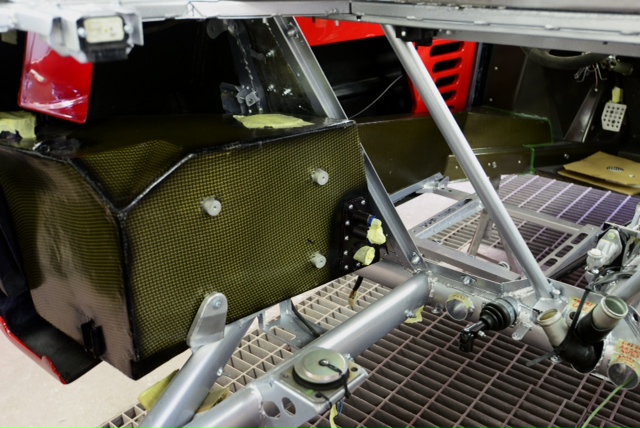
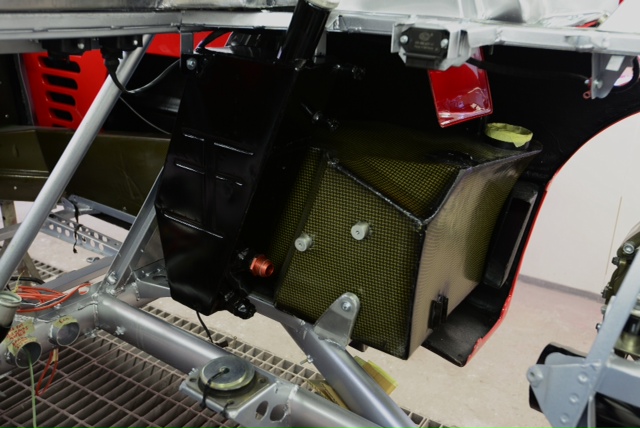
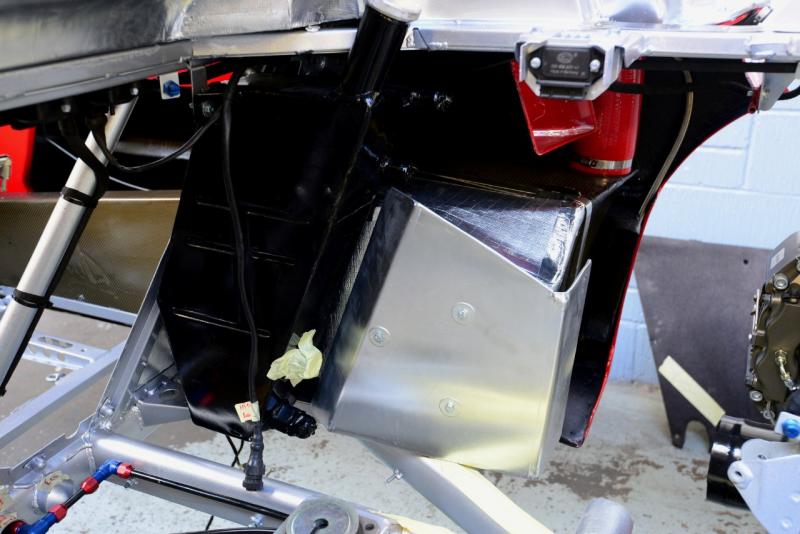
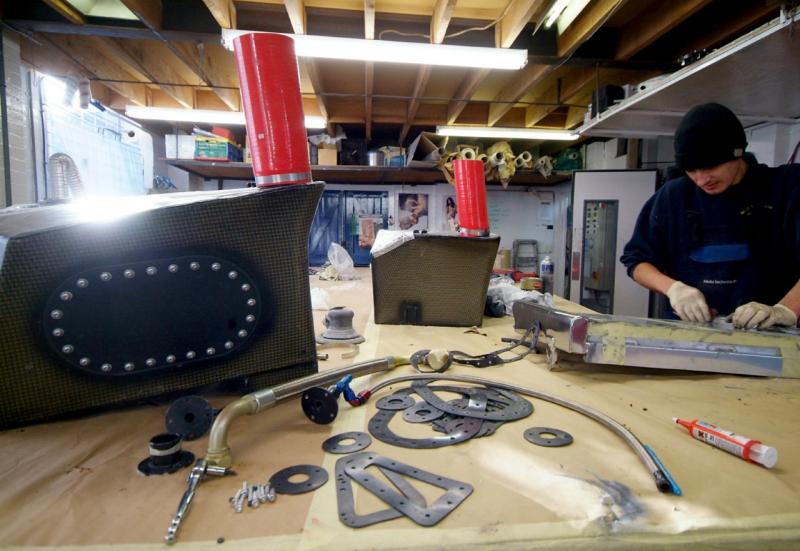
Fuel tanks back in for further adjustment and ancillary fitting. Second shot shows the restored oil tank also now fitted. Tanks will be out again shortly for their pressure test and then back in for good.
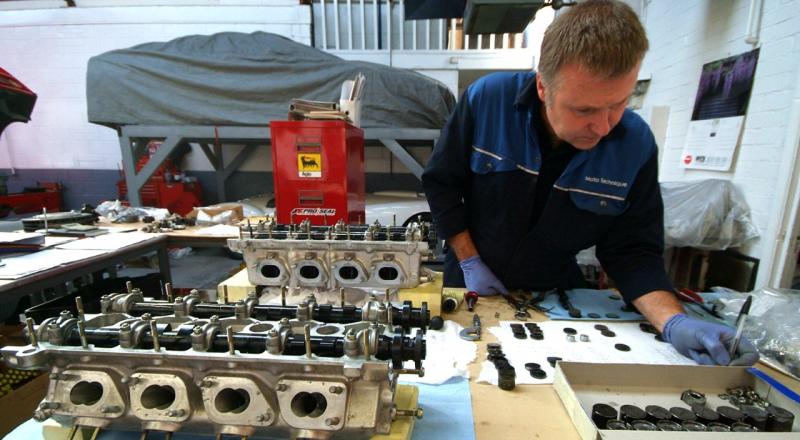
A final burst from last week with Colin adjusting the valve shims now that the cams are back in place.
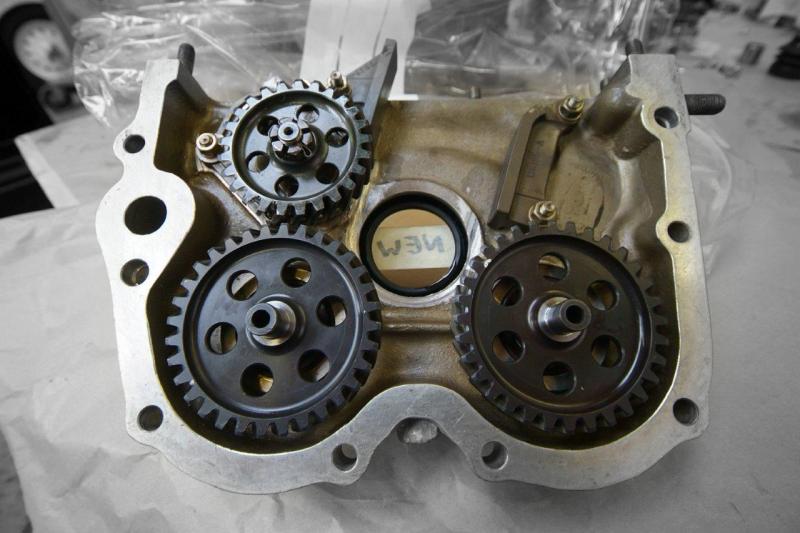
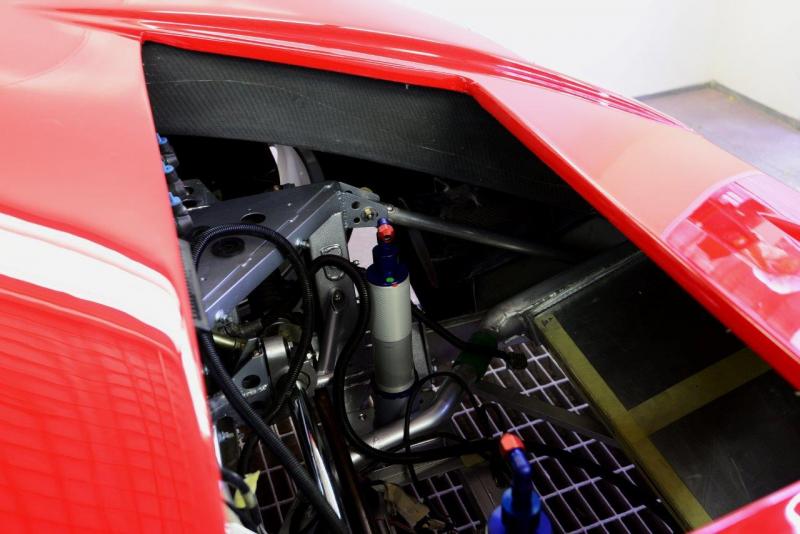
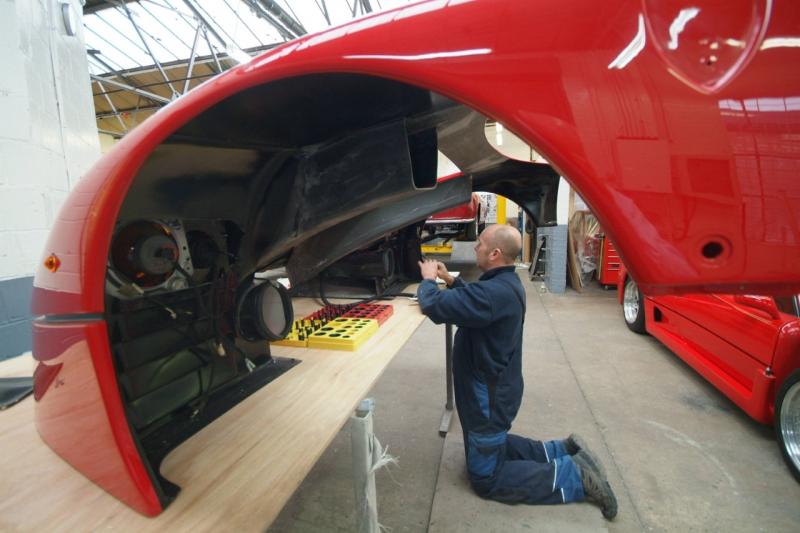
Here you can see the front timing chest being built up with new bearings and seals as well as an interesting shot under the front clam showing how the high pressure air duct runs from next to the radiator to the wheel arches etc.
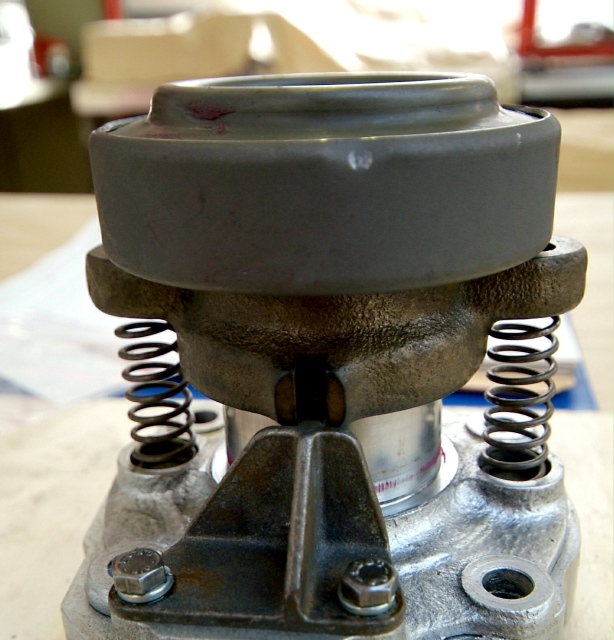
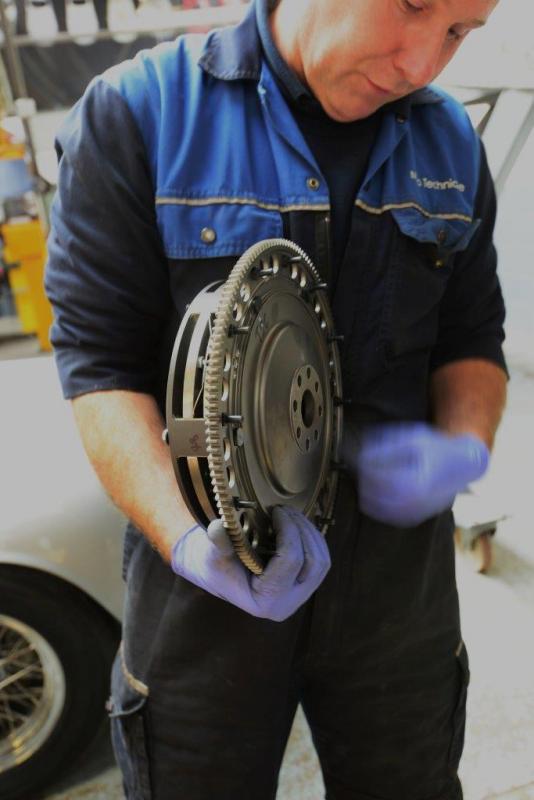
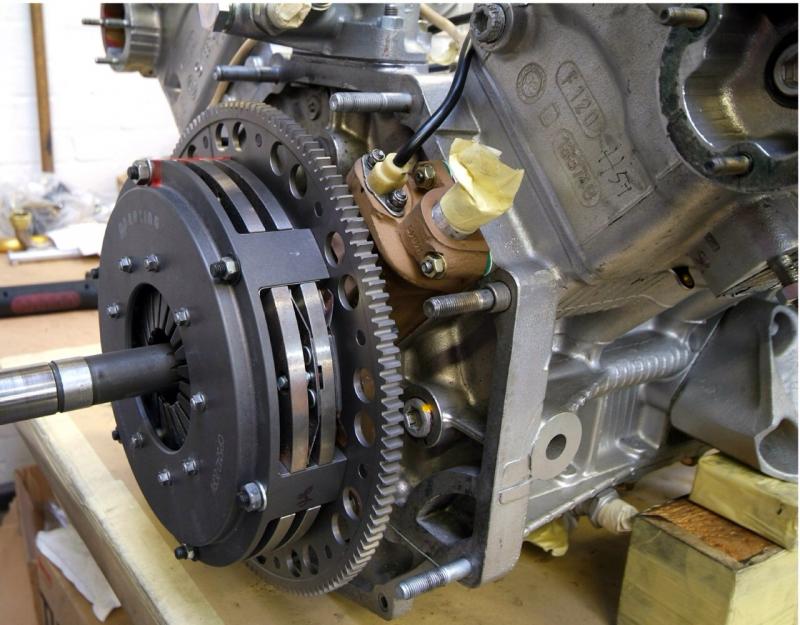
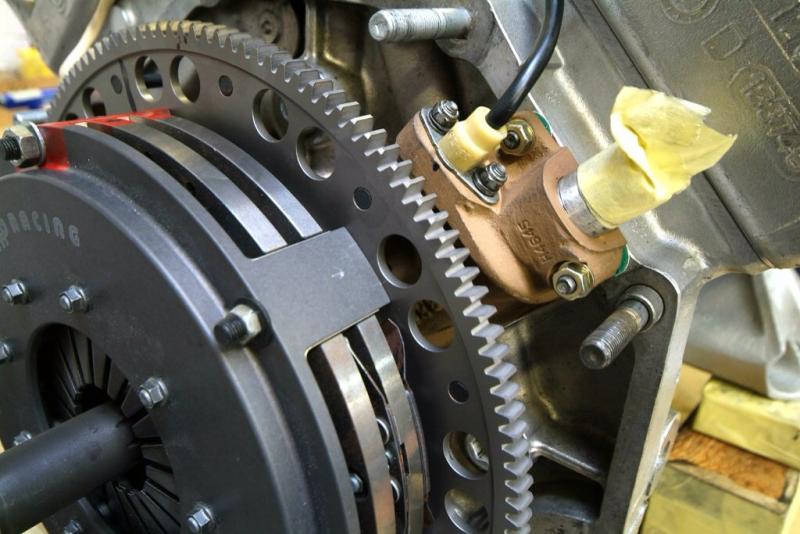
Colin pressing the clutch release bearing onto it’s carrier, our balanced clutch and lightweight flywheel and a few general shots.Please pay no attention to panel gaps as all these will need to be adjusted when the engine is in and the chassis under load.
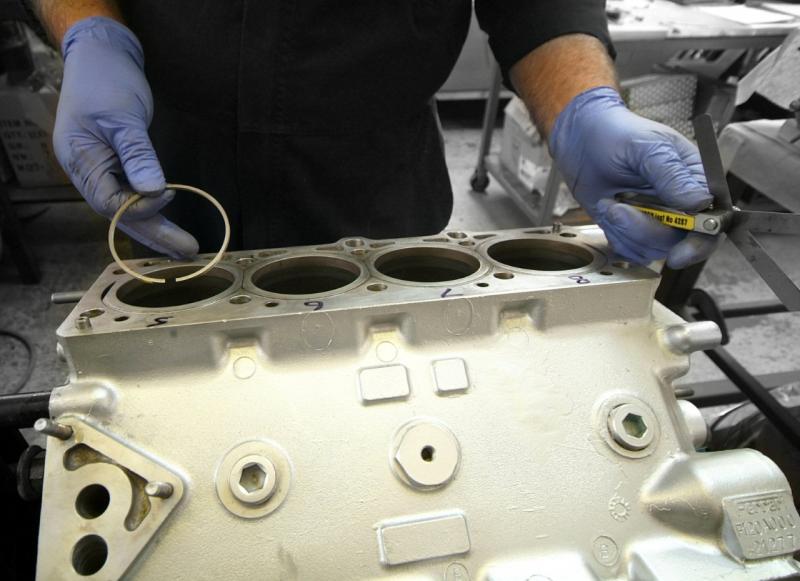
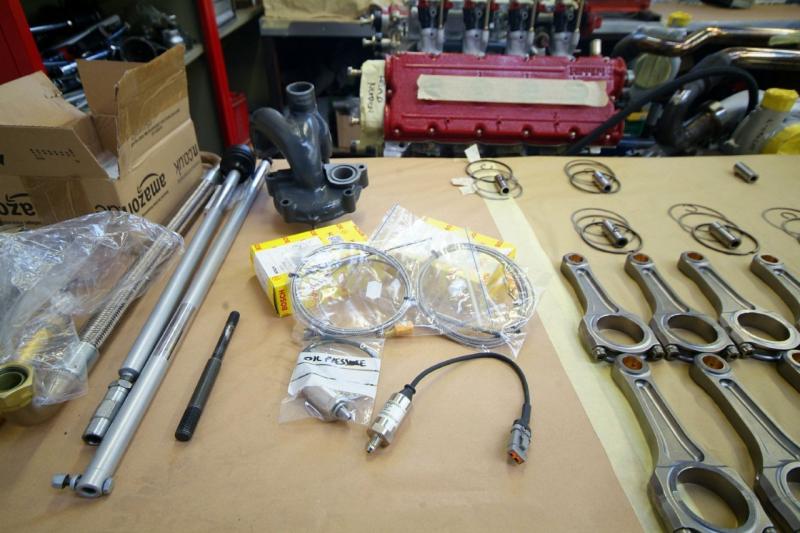
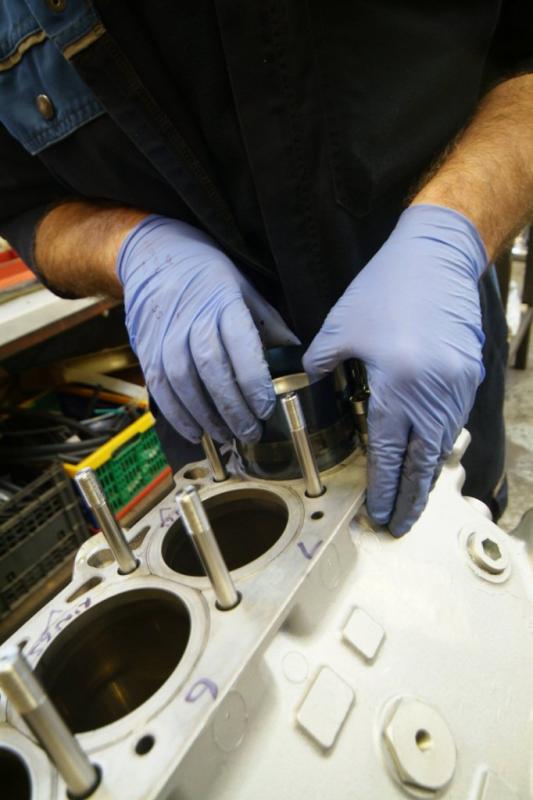
Ouch! New piston rings arrived, along with HT leads and gasket set. Do you guys get robbed in the States same us and why is it that everything ex Ferrari has a disproportionate price tag and is not easy to get your hands on? Dumb question-they’ve got it and you want it. Rumour has it that Classiche has warehouses of spares so they can promise their customers instant availability but for the rest of us it is never that simple. Keeps the business rolling in for their restoration department.Anyway, I digress, a few shots of setting up the selector shafts and checking and adjusting the end gap of those expensive rings
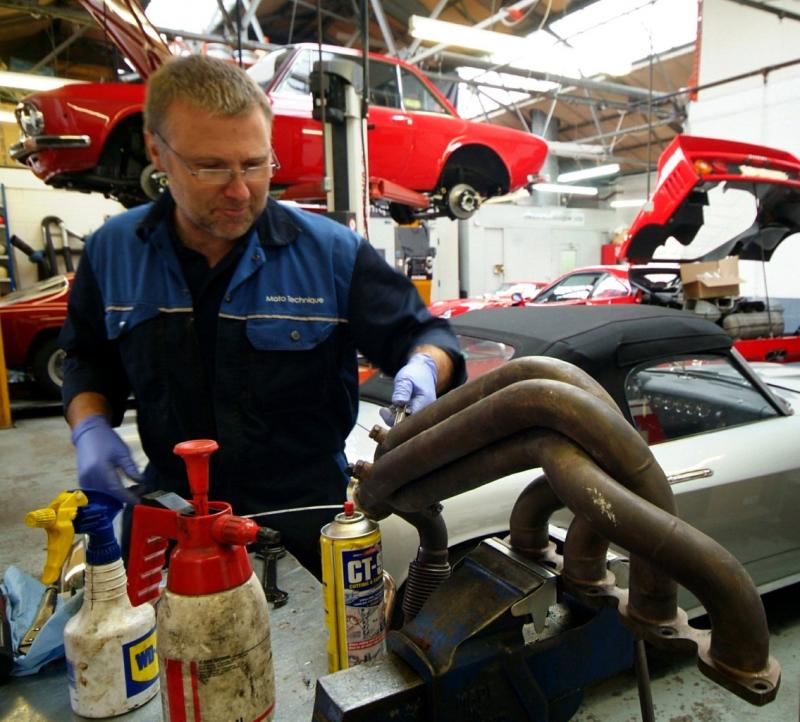
And now the HT leads and gasket set-just silly. First pic shows one of our fuel tanks undergoing a pressure test. Left overnight and they both passed with no issues. Next couple of shots show Colin checking over our restored exhaust manifolds, which in due course will undergo the Zircotec process, and generally collecting all the parts together for the real assembly push.
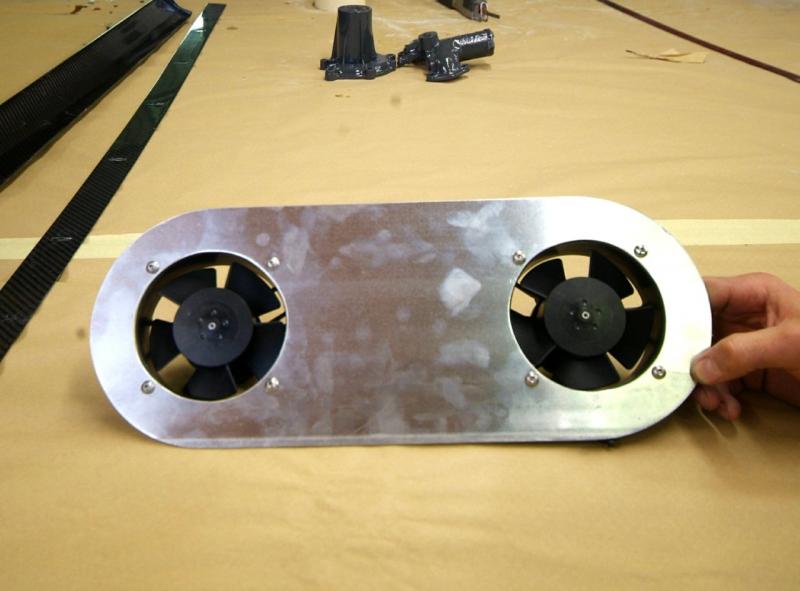
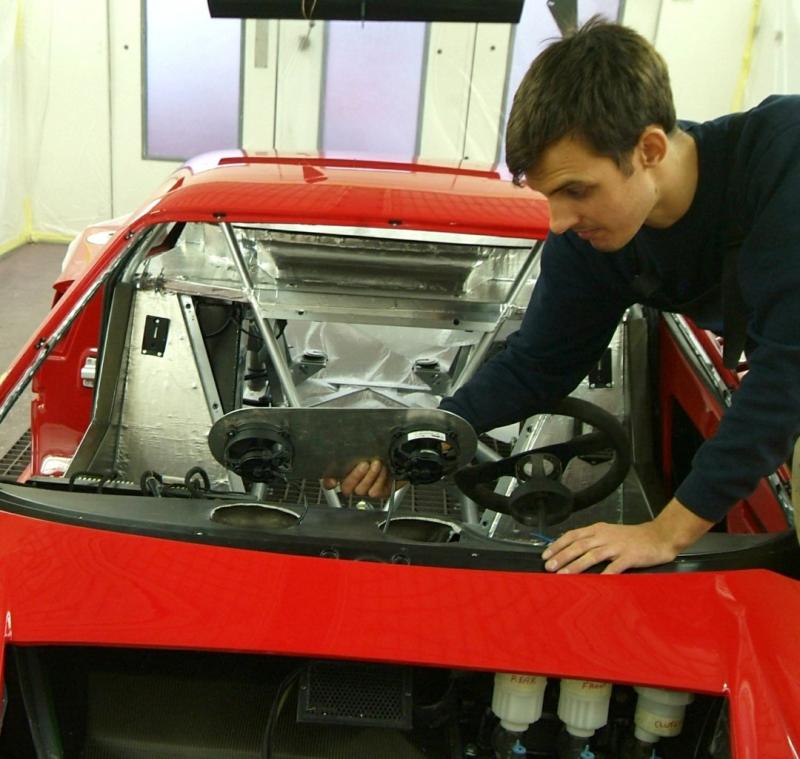
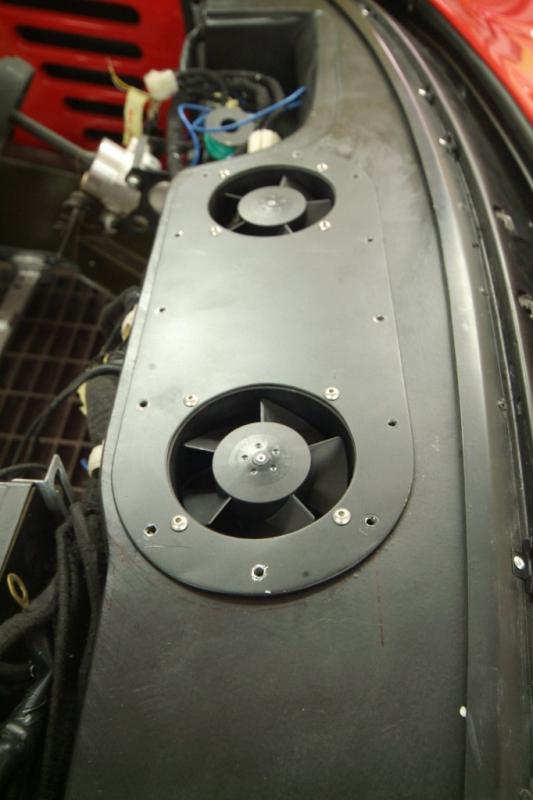
A little modification we have fabricated to endeavor to make life in the cockpit more bearable.
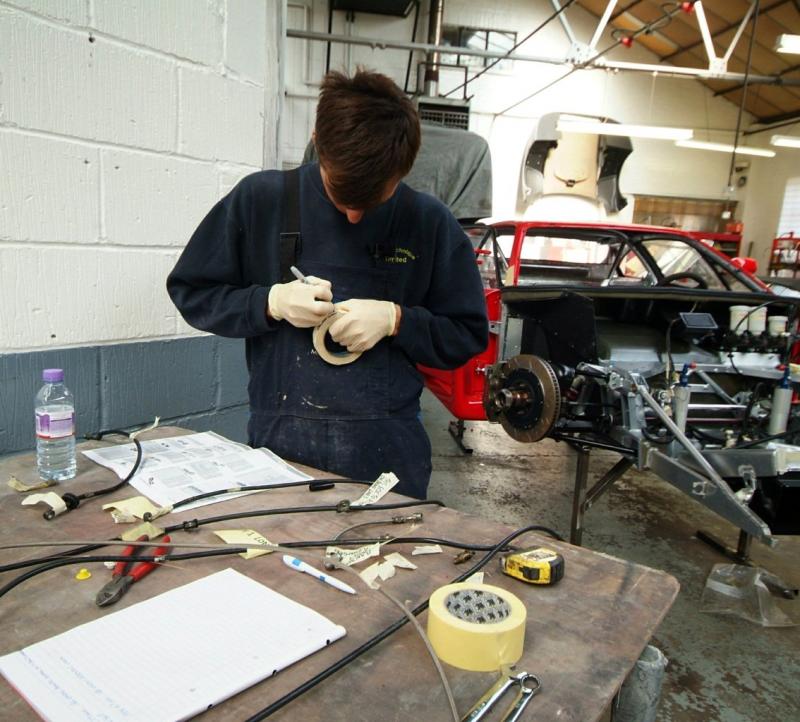
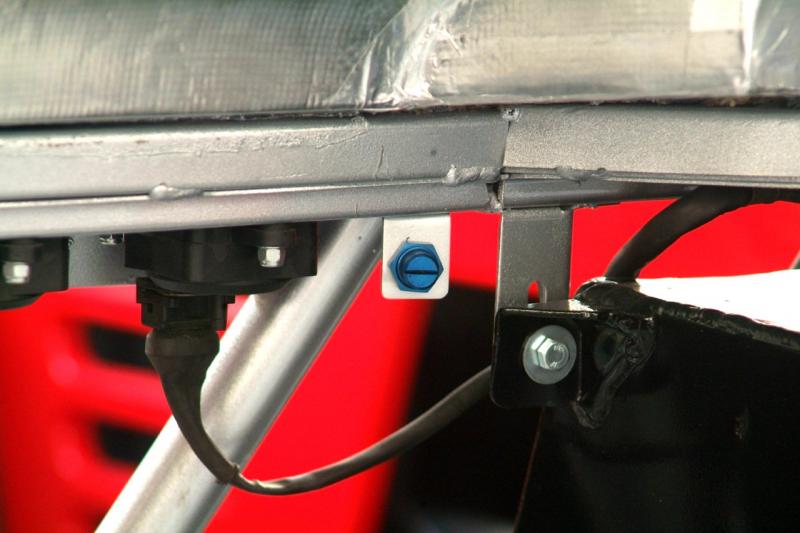
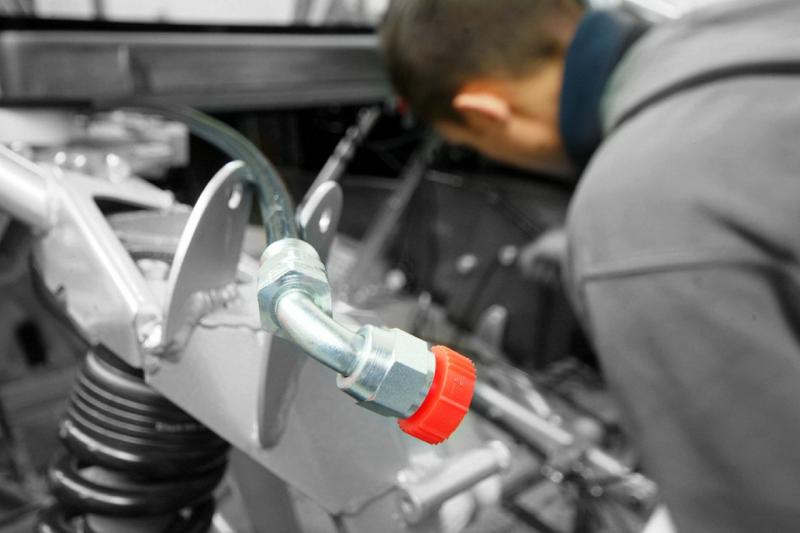
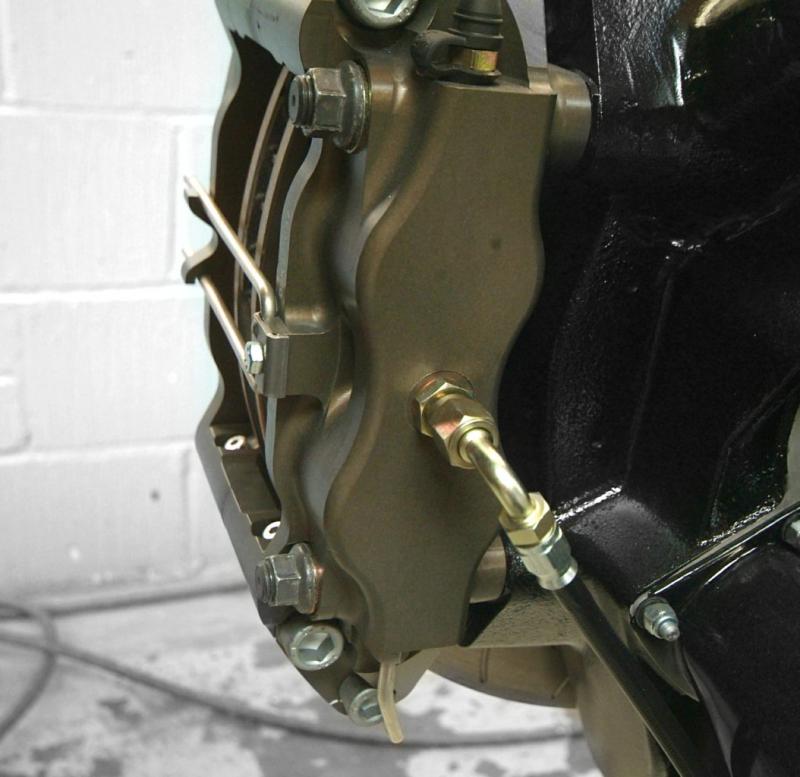
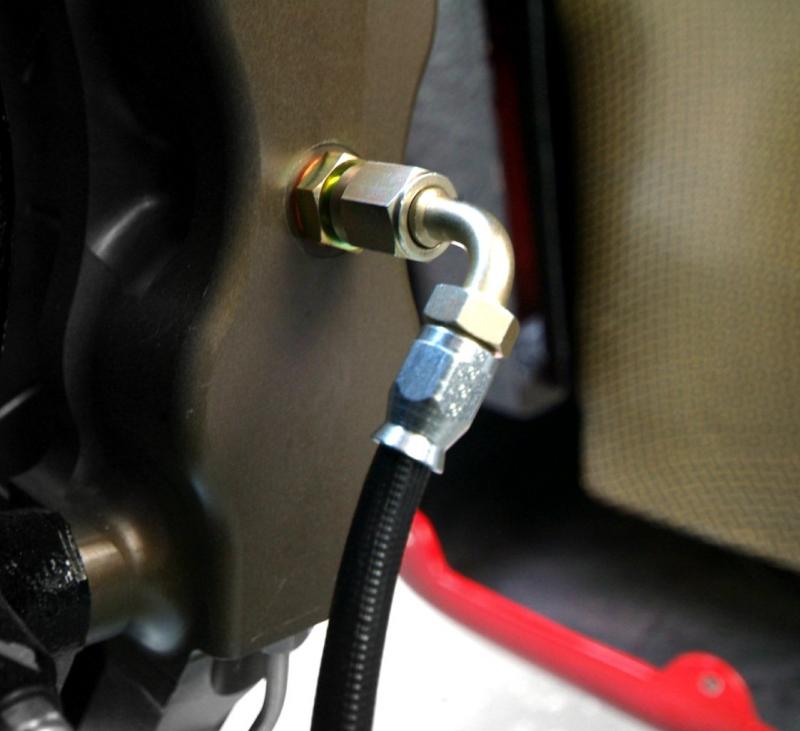
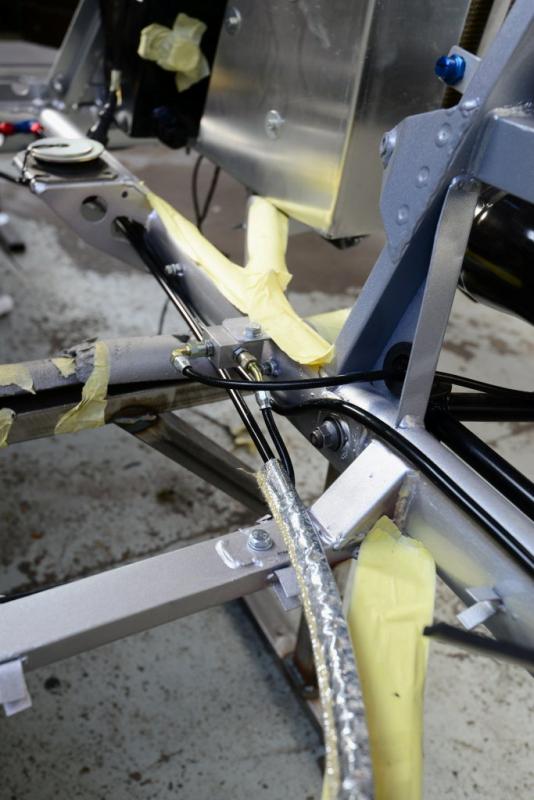
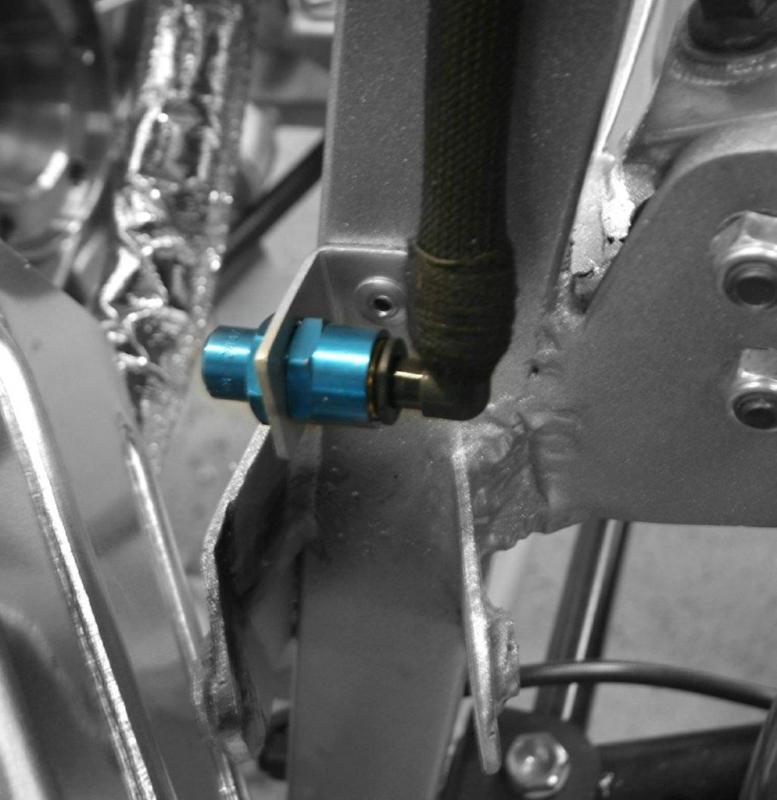
James busy measuring up all the brake line requirements as this coming week is all about plumbing having finished installing the fire extinguisher system which has four outlets in the engine bay, one pictured in second image, and two in the cockpit.Last shot is just a bit of red
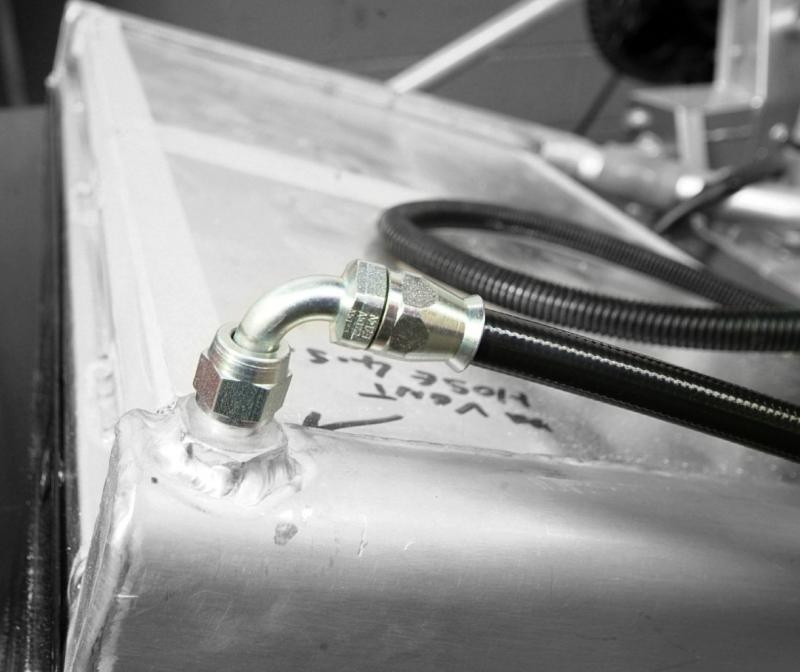
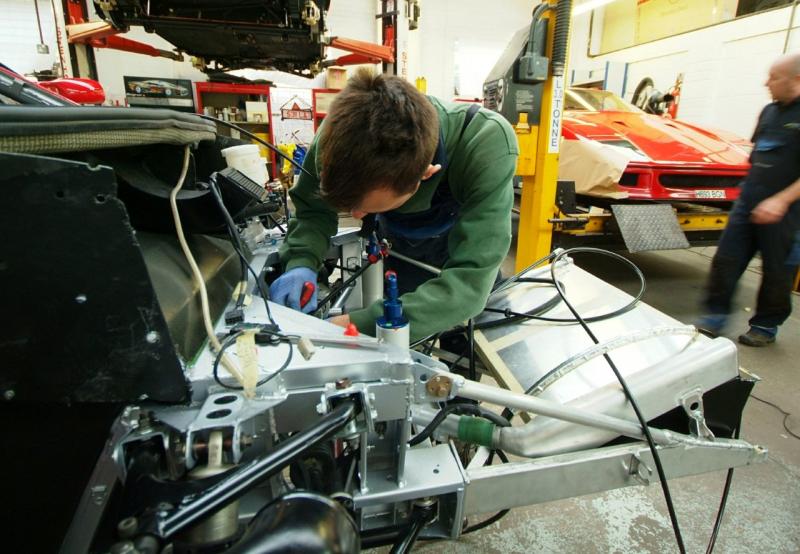
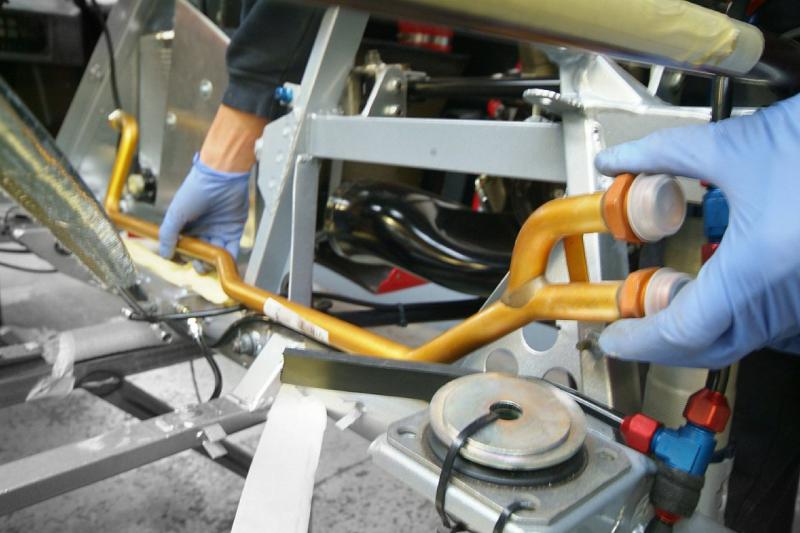
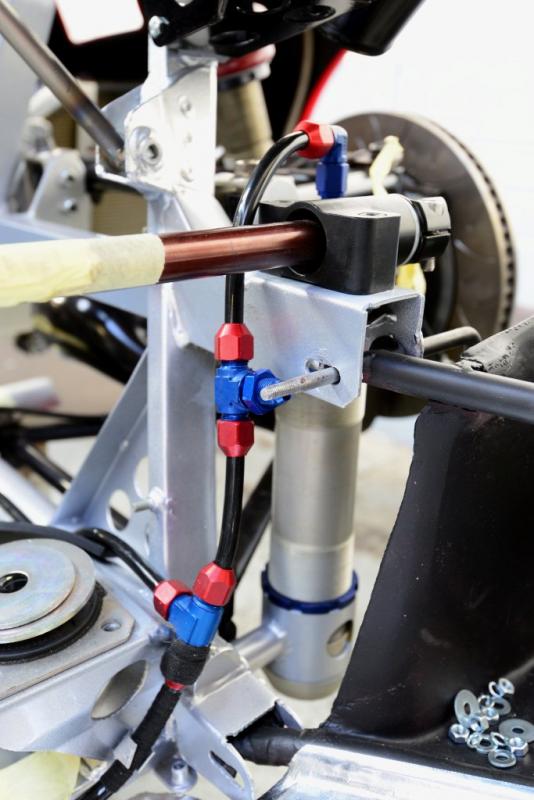
Now the plumbing starts. James starting work on the Air Jack system, radiator and brake lines. Second shot shows the line from the rad at the front to the coolant header tank. Once the plumbing is over the two major outstanding issues will be electrics and the engine where we are held up for a couple of parts.
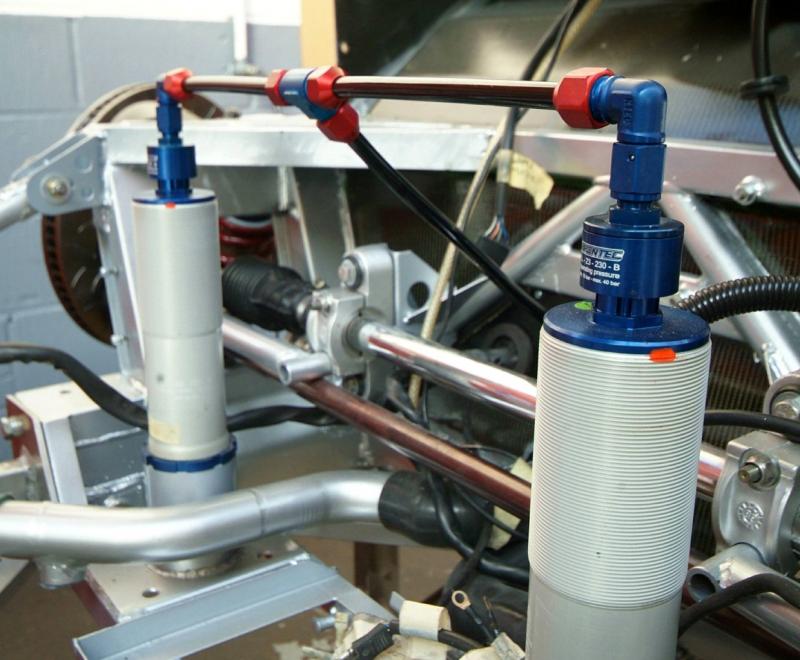
Krontec front jacks now plumbed in and James busy now on the brakes.
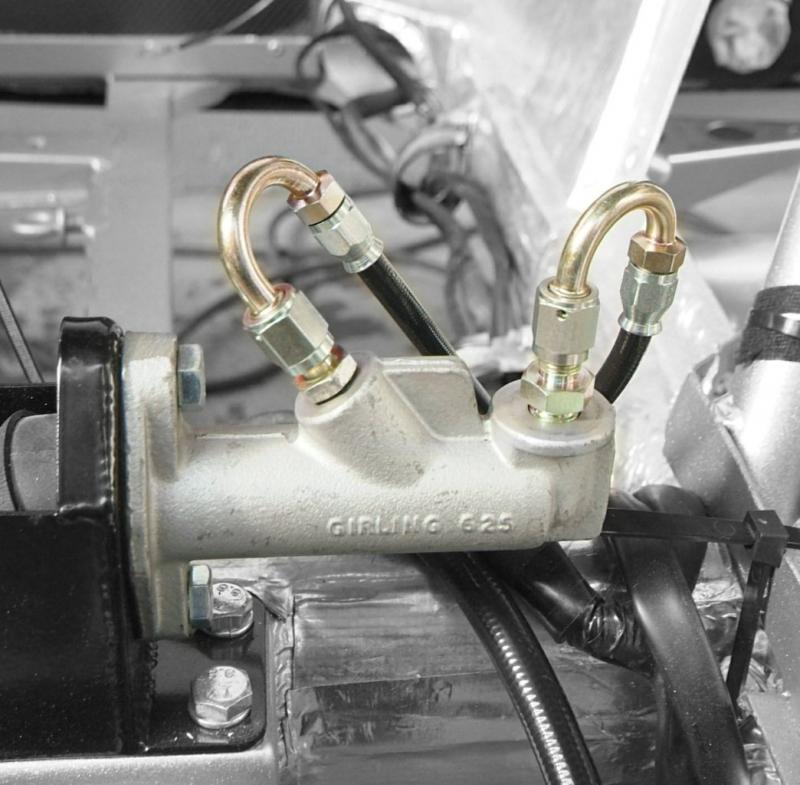
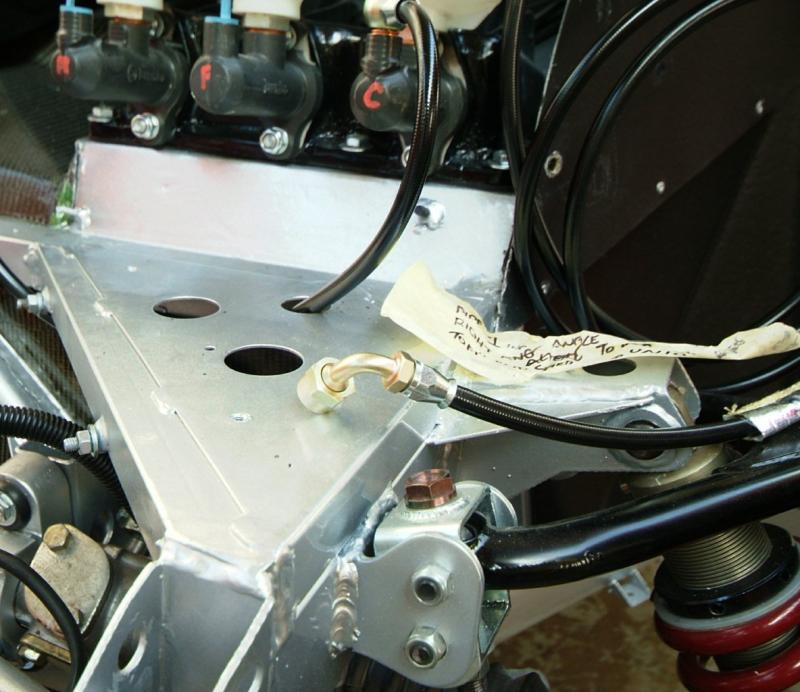
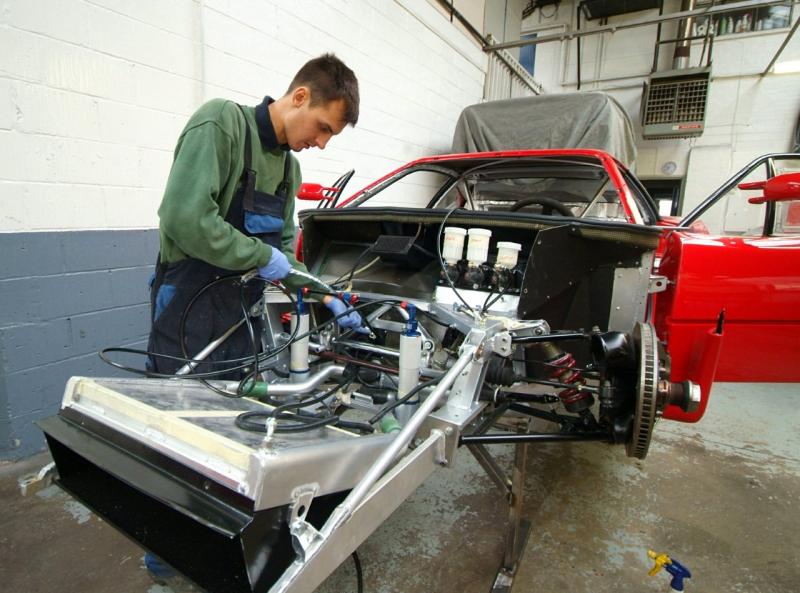
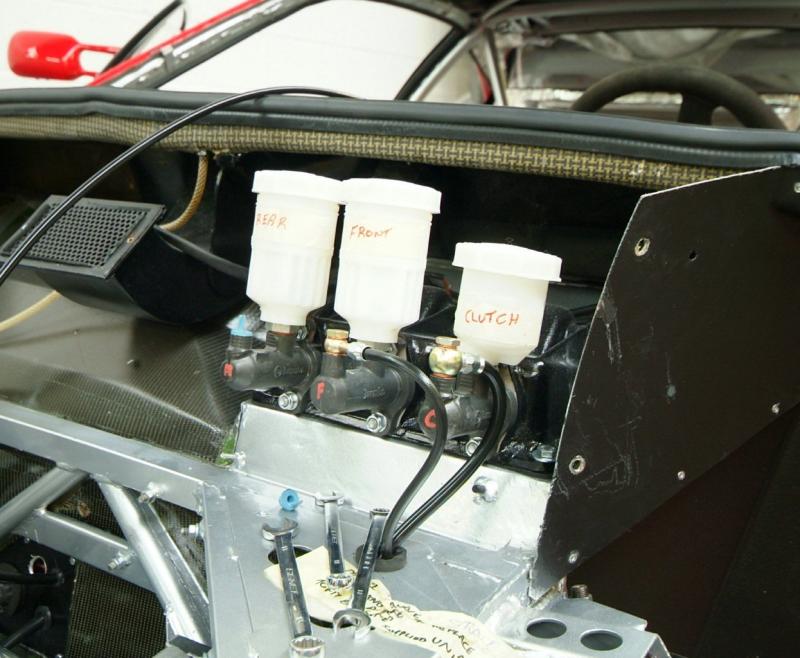
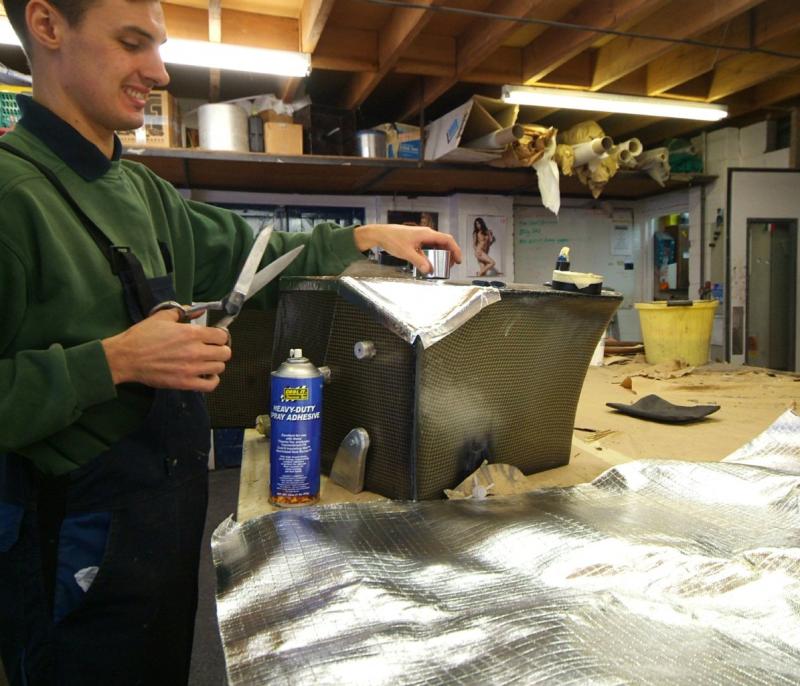
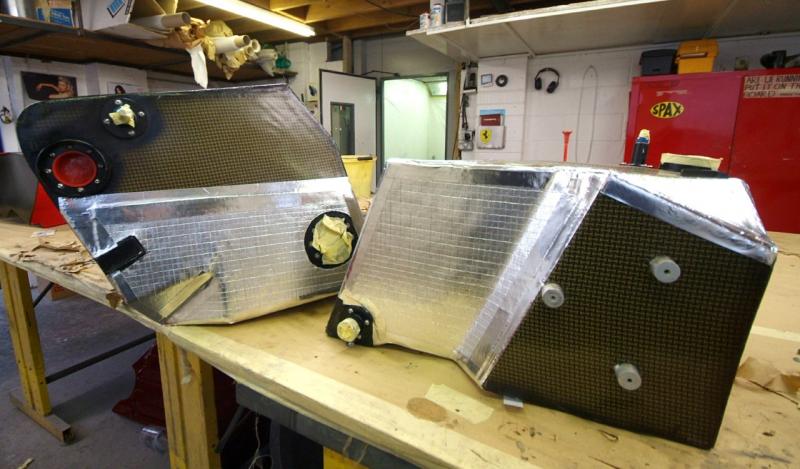
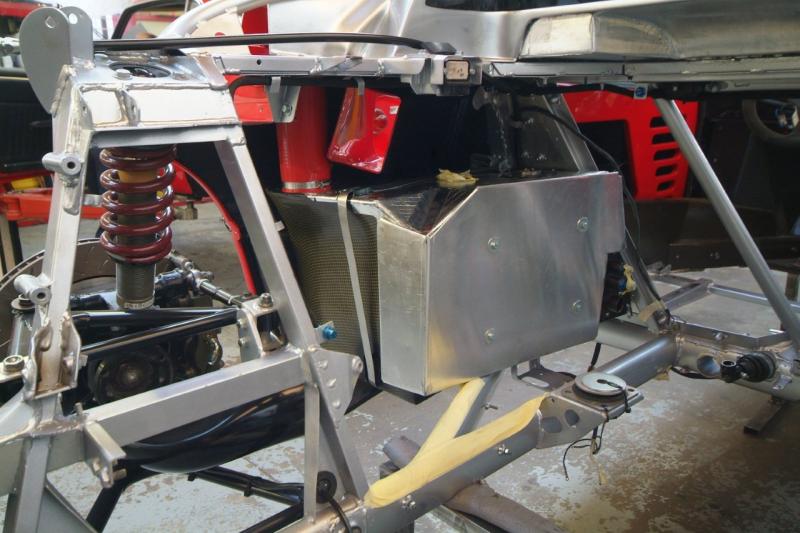
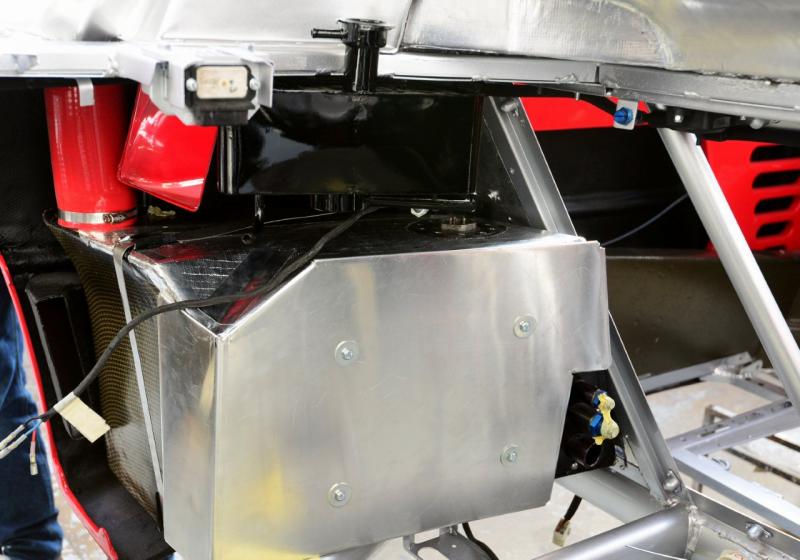
Brake lines now mostly installed as well as air jacks so now turning our attention to the fuel system. Kink in the line from the front master cylinder is being adjusted as lines not yet tightened. James clearly enjoying applying some more Zircotec insulation film to any exposed areas of the tanks before the heat shields are mounted. Should have them mounted in the chassis for the final time tomorrow. Quite frustrating, fitting, removing, fitting removing, makes one feel we are further advanced than we are when they are first fitted, but the only way to get a proper job in my view.
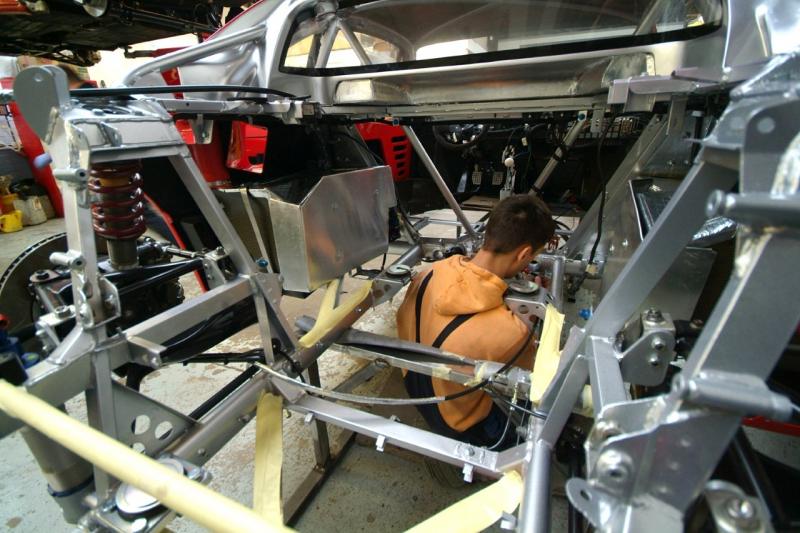
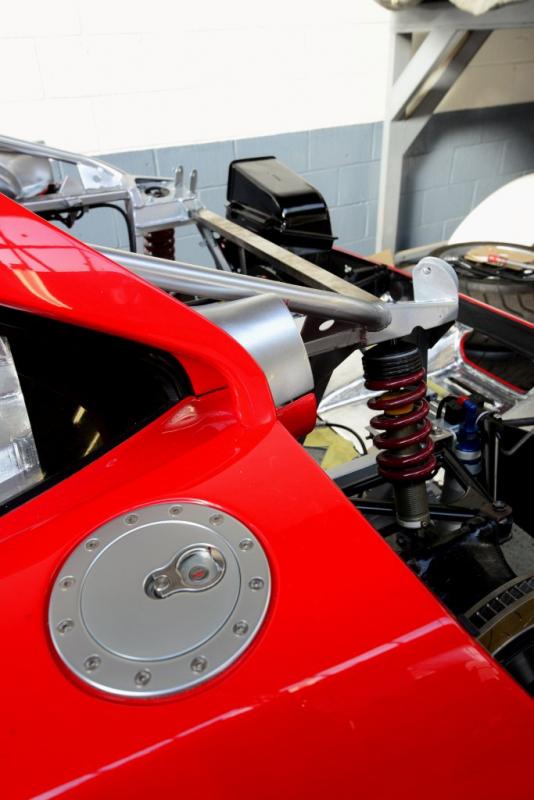
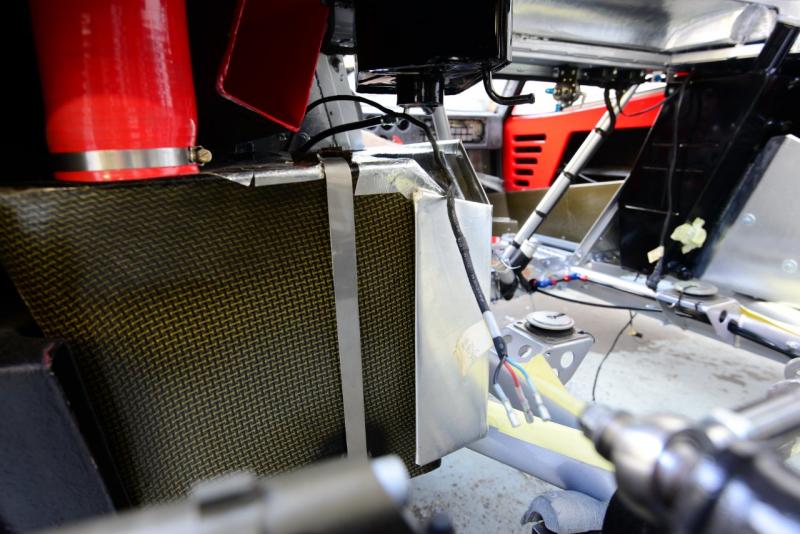
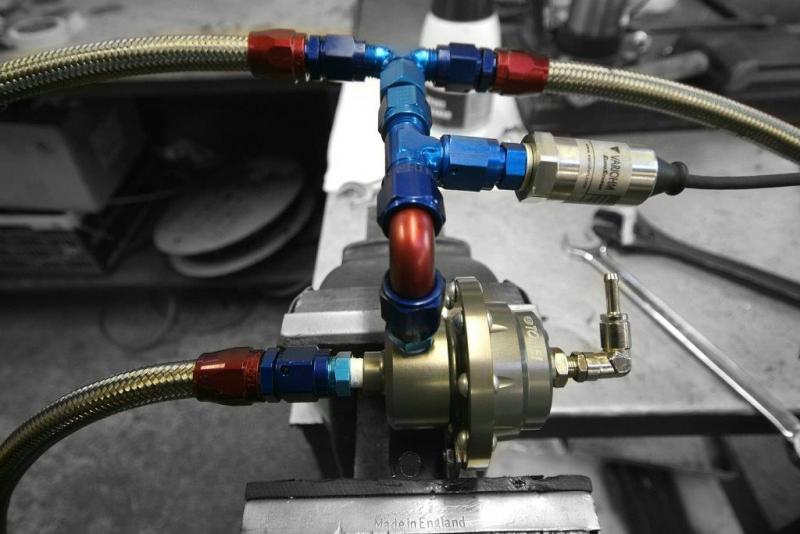
The fuel tanks complete with heat shields are finally in and this time we hope for good. In these shots you can firstly see where we came from, complete with Rasta style tank tie down, and where we now are and it makes it easier when I look at the bills. In these shots you can see the extinguisher outlets, the fuel pressure regulator, the air lines to the rear jacks, brake lines, in effect most of what will finally give the car life.
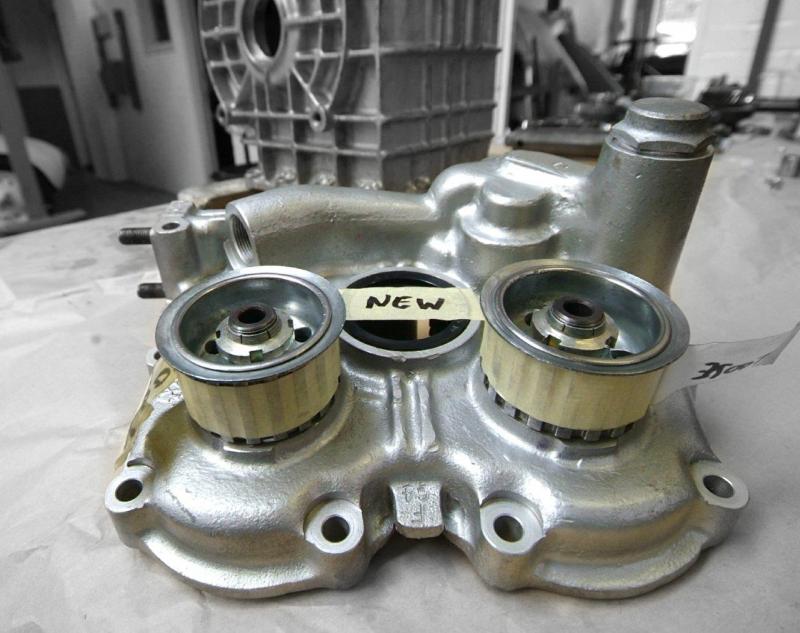
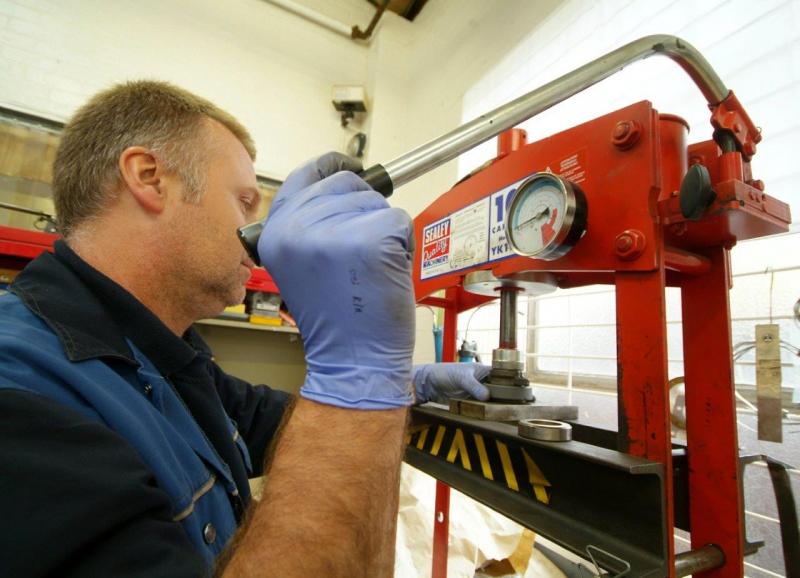
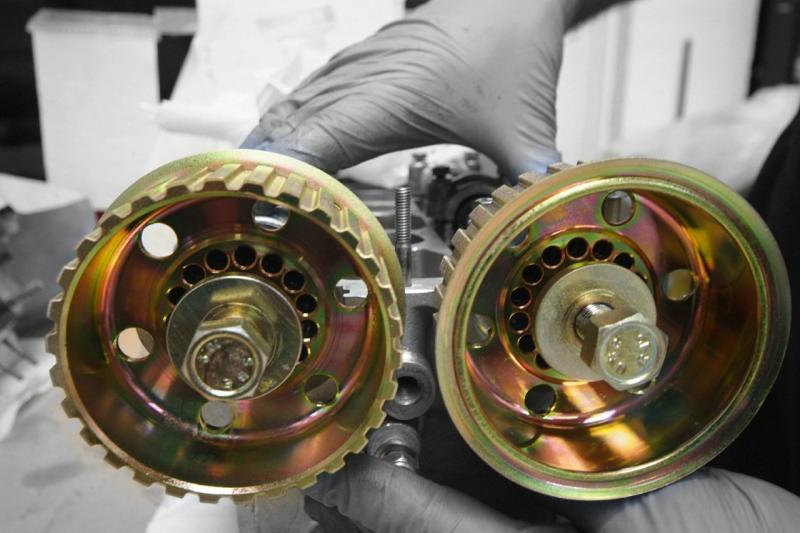
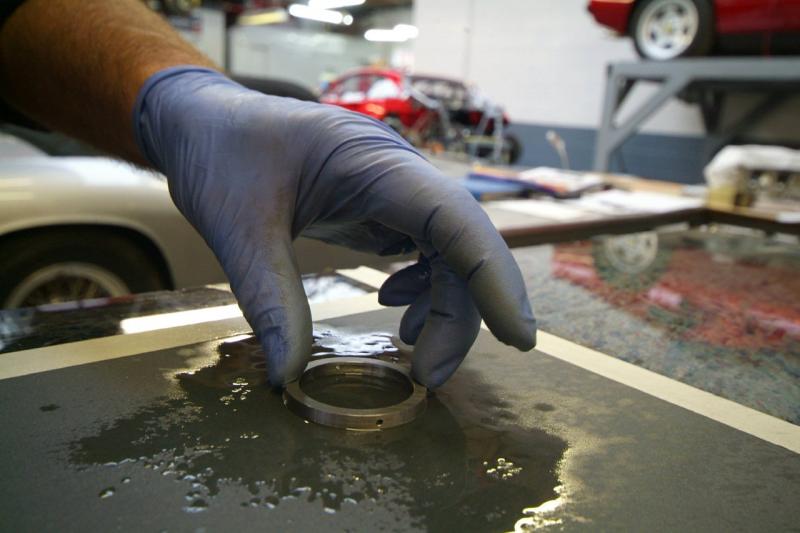
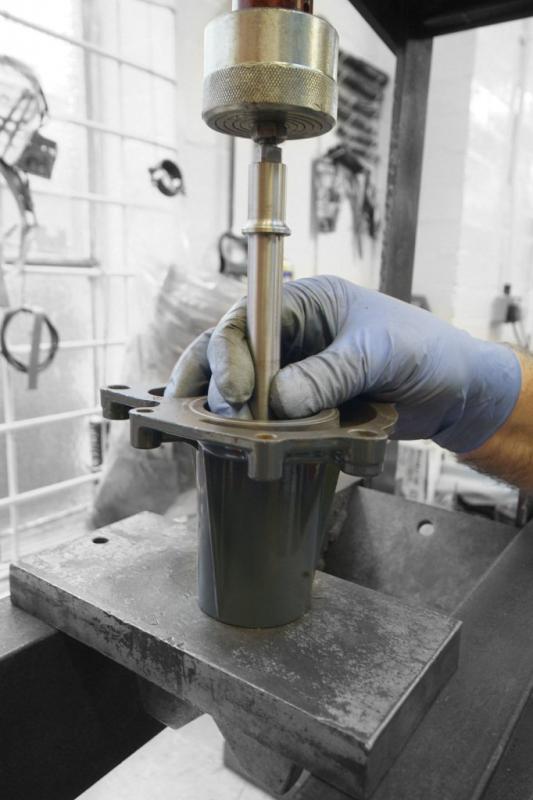
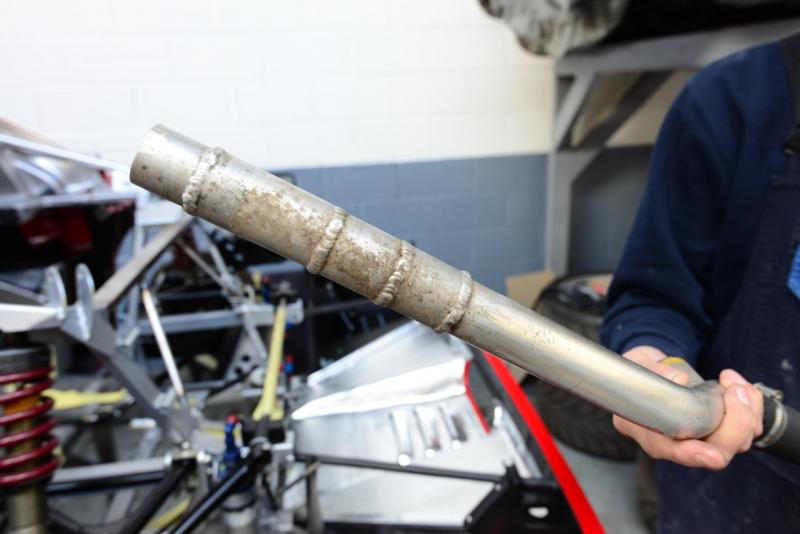
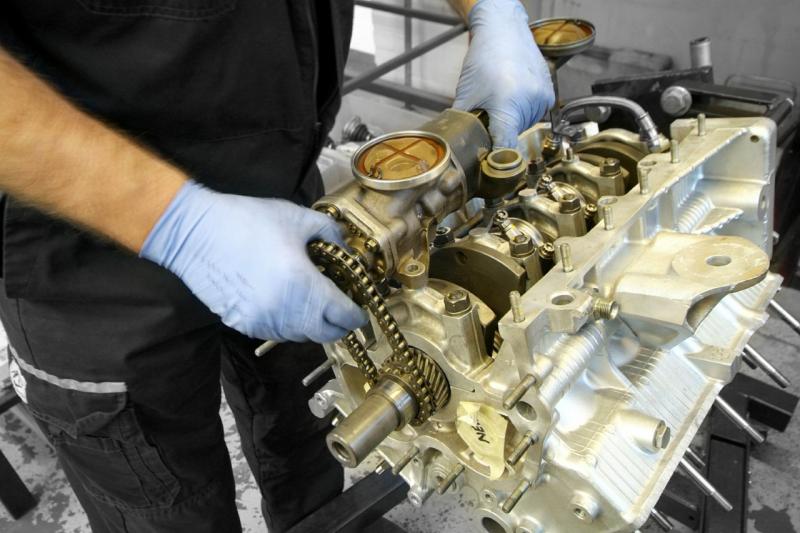
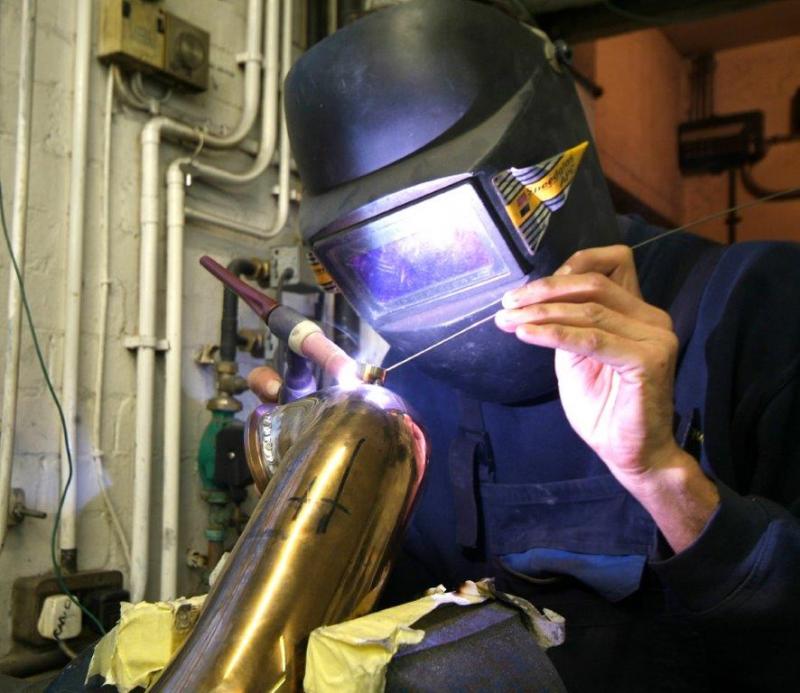
So, today’s helping is our restored cam drive sprockets in place on the end of the camshafts, oil feed pipes being trial fitted, water pump bearing being pressed into place on the hydraulic press, and Colin de-burring the new gear shim. Also a shot of some of the pipes we are replacing which look more like an Apprentices welding test!
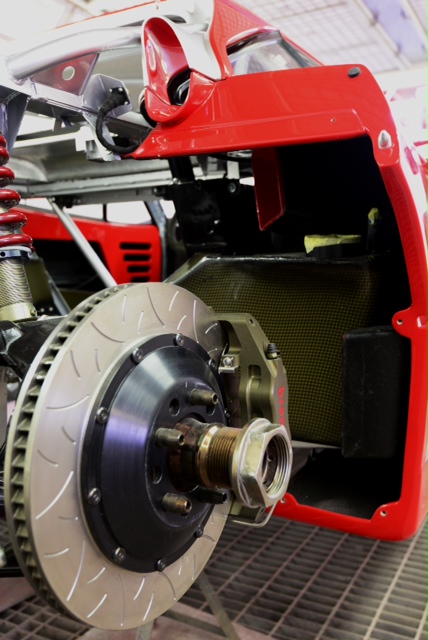
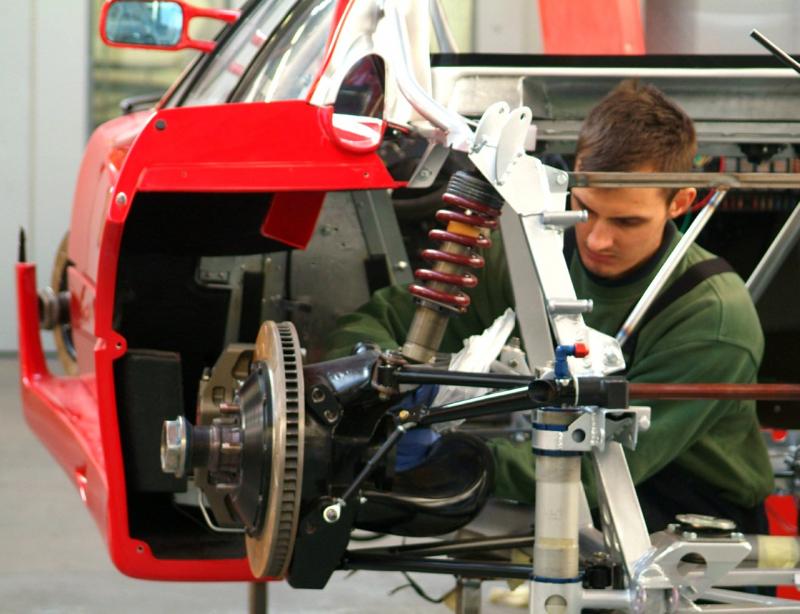
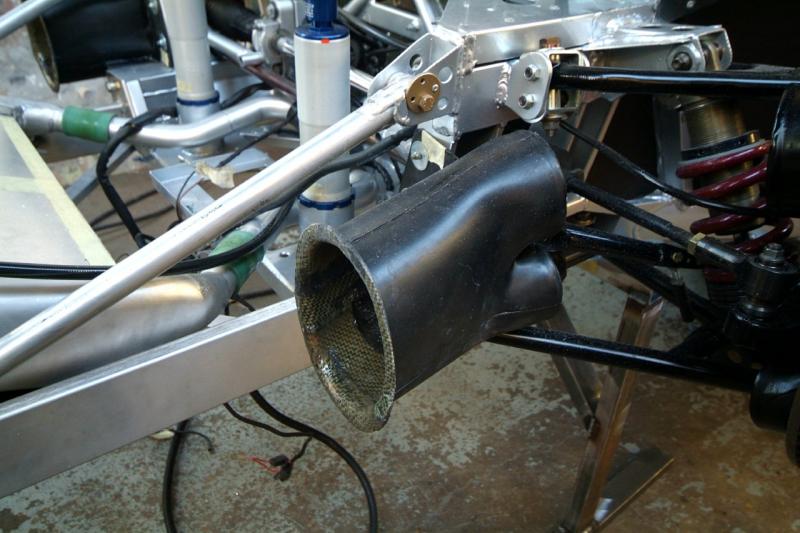
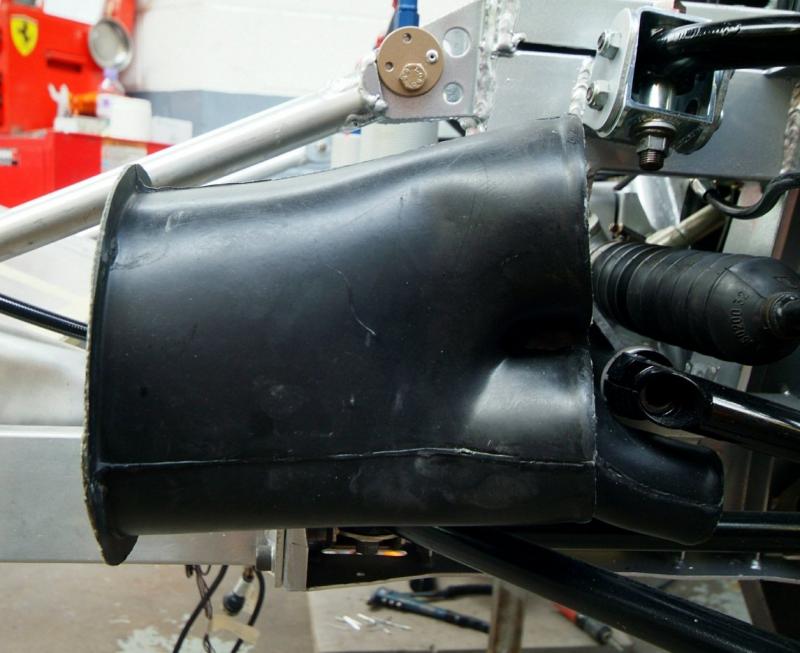
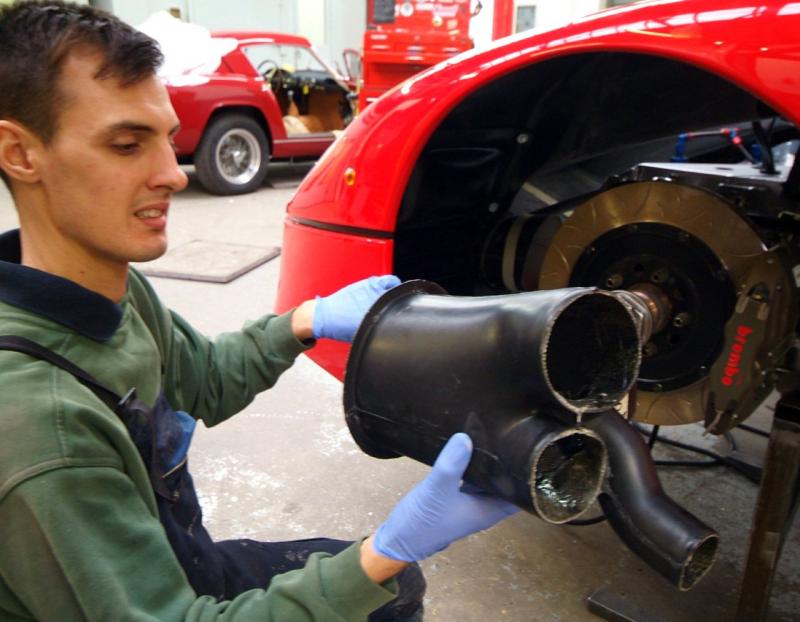
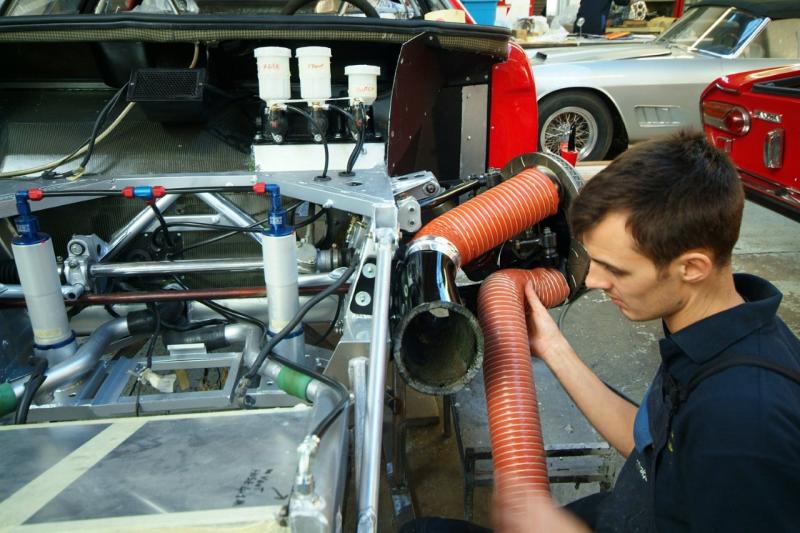
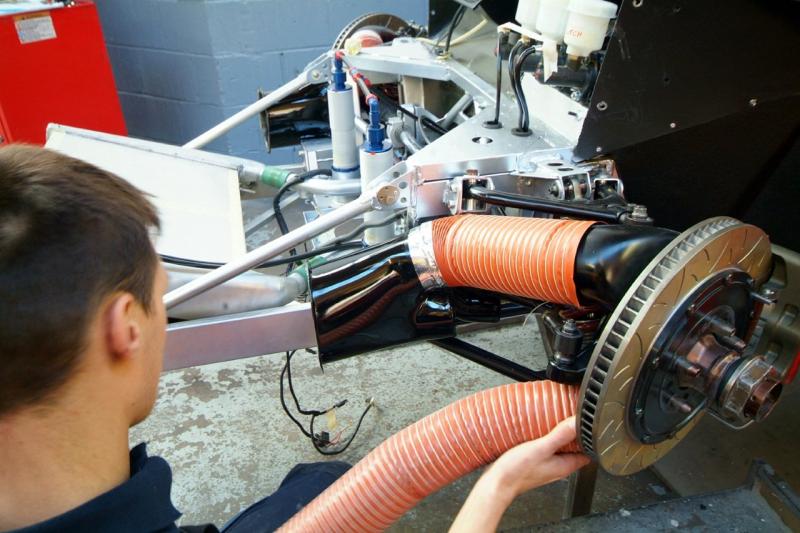
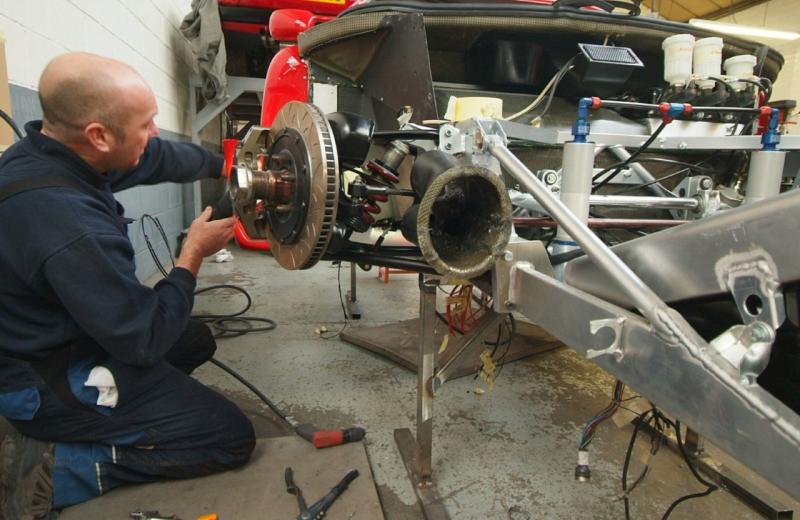
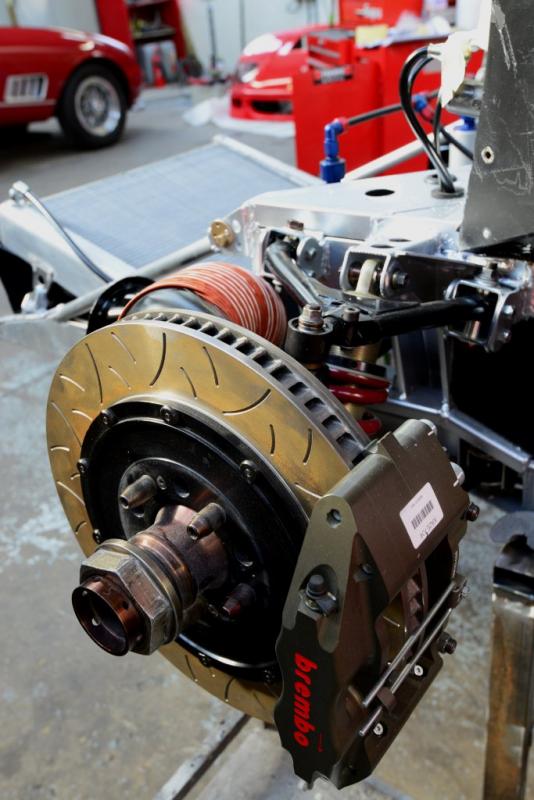
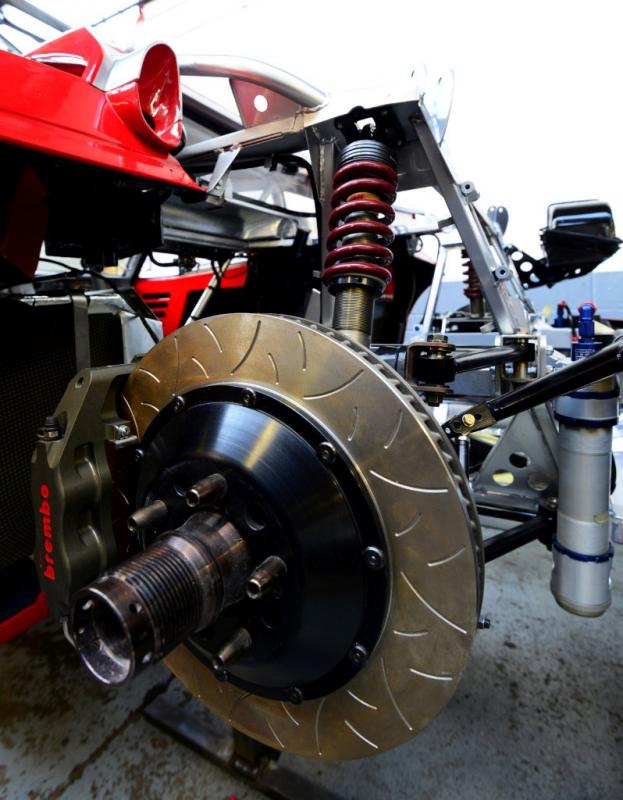
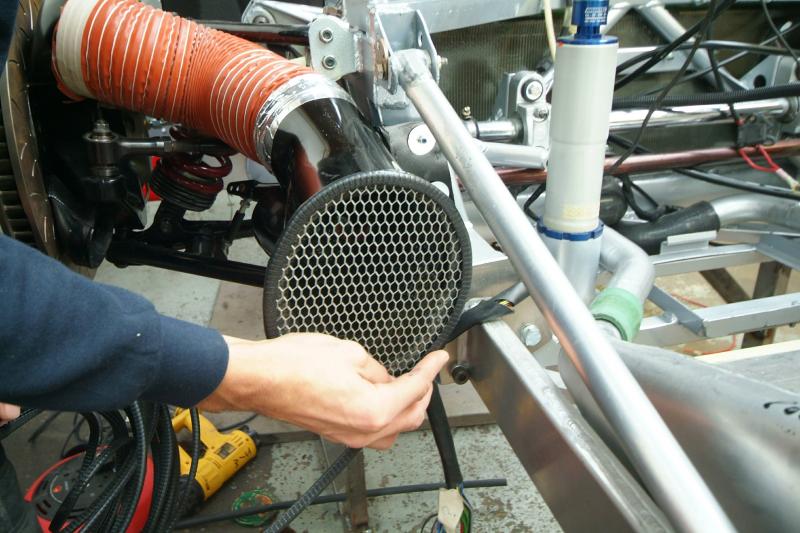
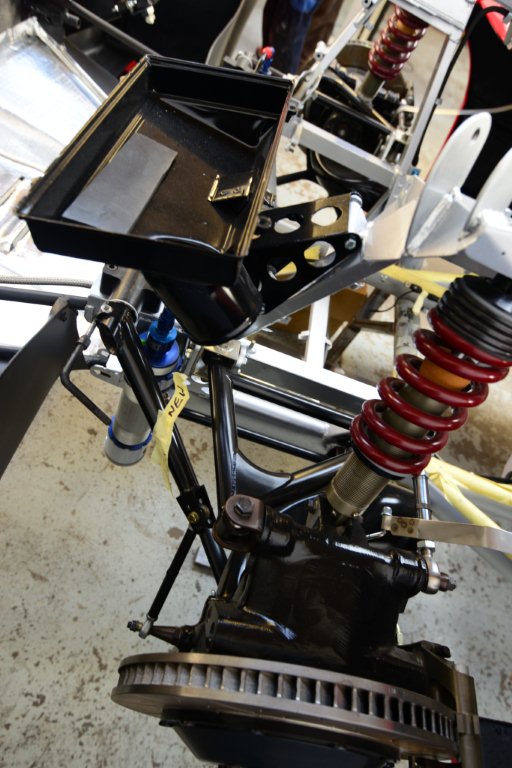
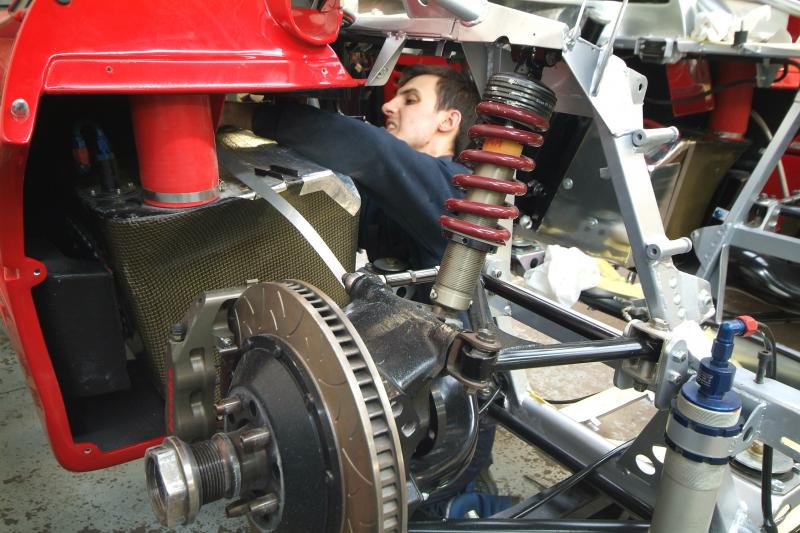
James now sorting out the front brake cooling ducts. Needless to say they are pretty simply cast Kevlar pieces so after adjusting they will be given the Mototechnique treatment which I will post later today. Only problem was that, true to Italian form, the diameter of the lower duct is different on the hub to the chassis element!
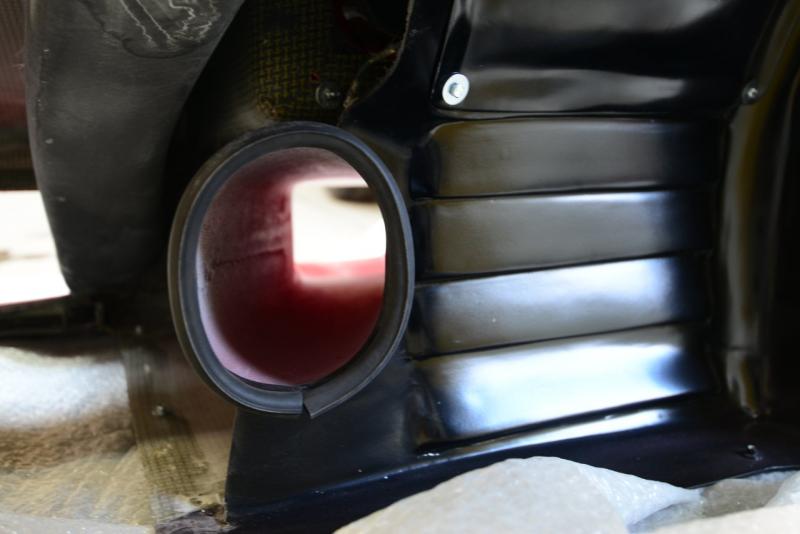
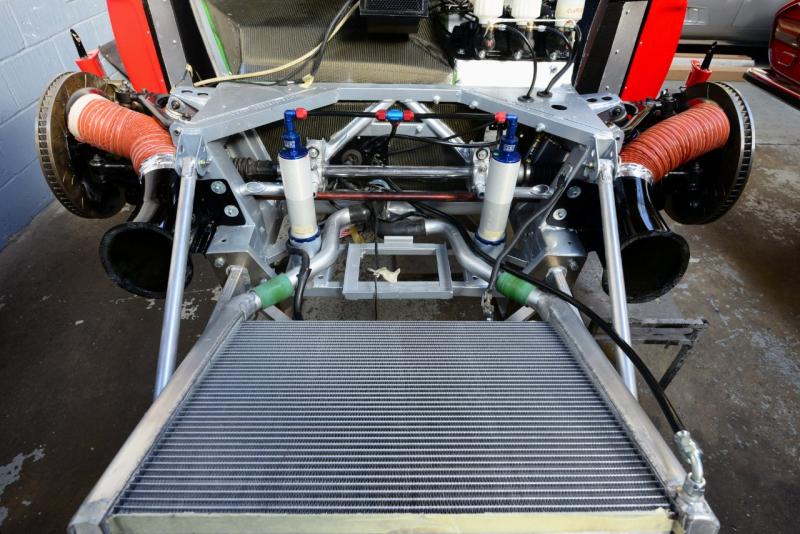
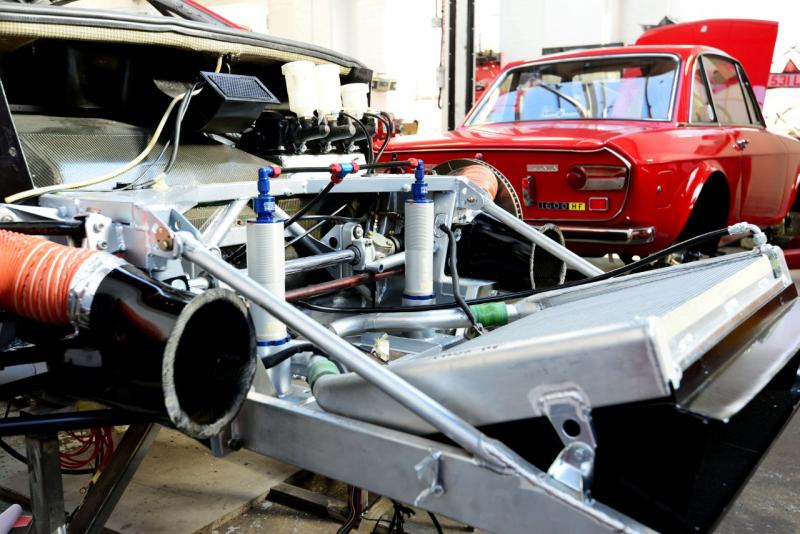
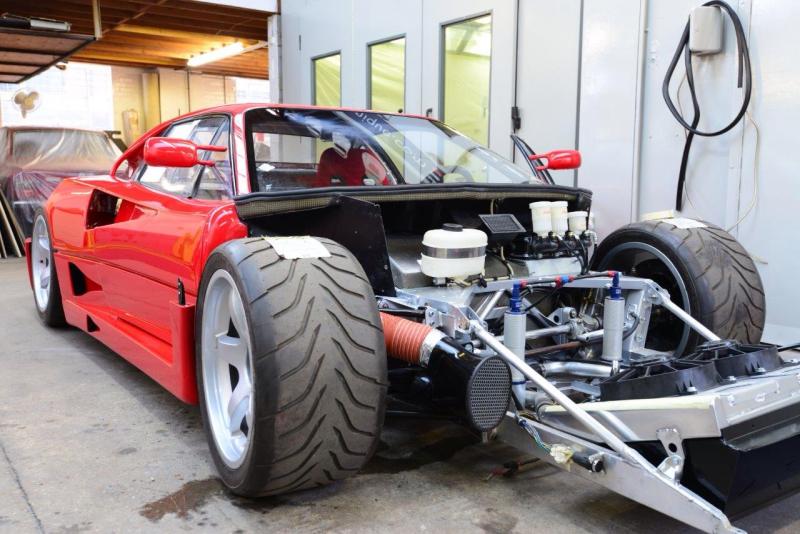
In this phase you can see James fitting up the Elephant trunk and trying his best on the bottom section but we are going to have to adapt. Also note the before and after finish on the duct itself. Certainly beginning to look the part. Front clam now mates perfectly with the brake cooling ducts and here you can also see the high pressure inlets either side of the rad driving that air into the low pressure area that is the front wheel arch.
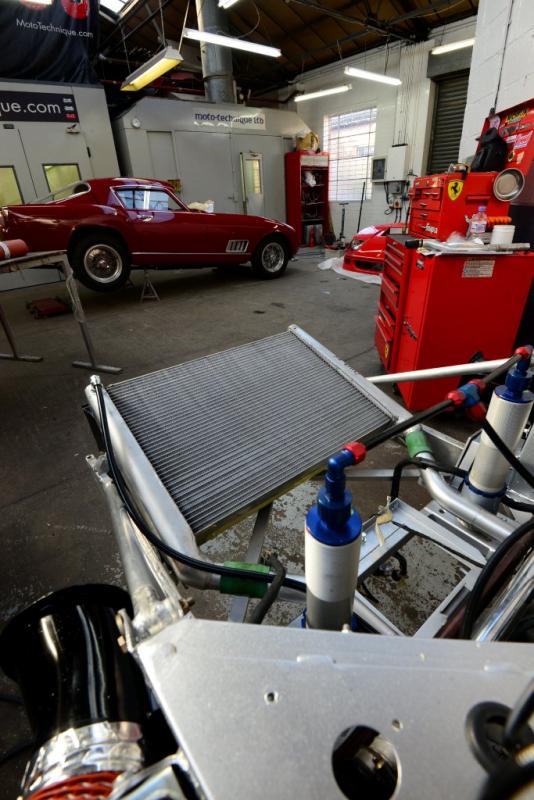
Missed a stage-A posts being fitted now, rad uncovered for the first time for these shots, and ductwork being taped into place.
A few more pics of the brakes, front jacking system etc. A very nice HF and a little bit of engineering art shot under florescent lighting forgetting to adjust white balance hence odd colour.
Now the oil tank is in, the brake lies run, the coolant header tank in, jacks etc and here are an assorted bunch of shots showing all the various details.
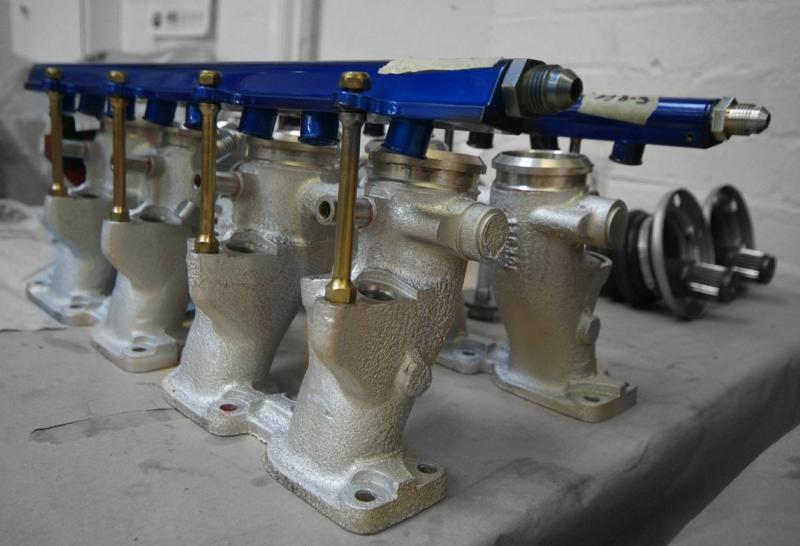
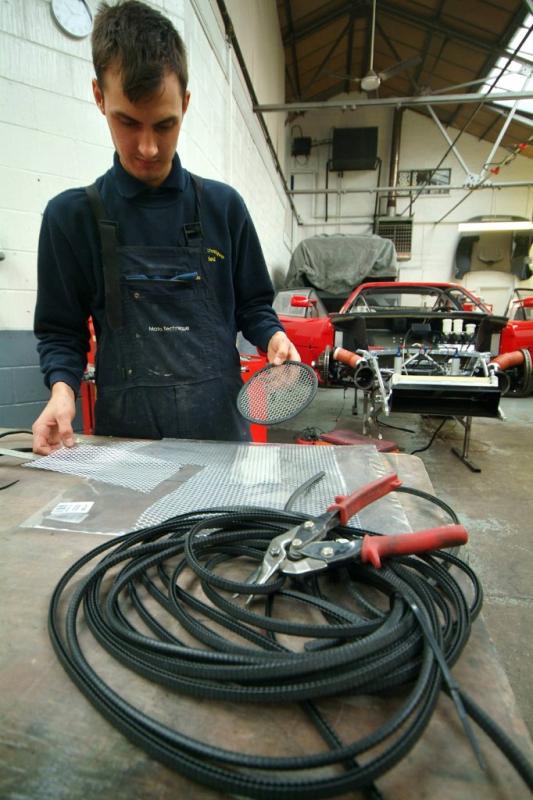
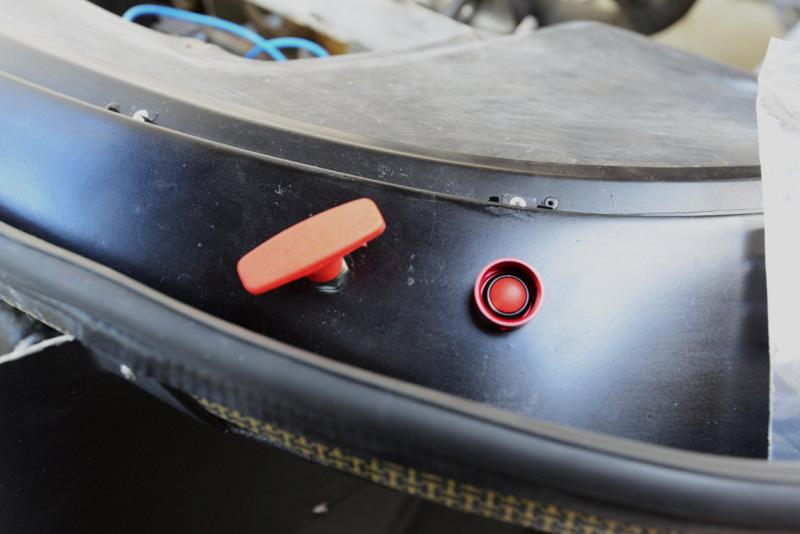
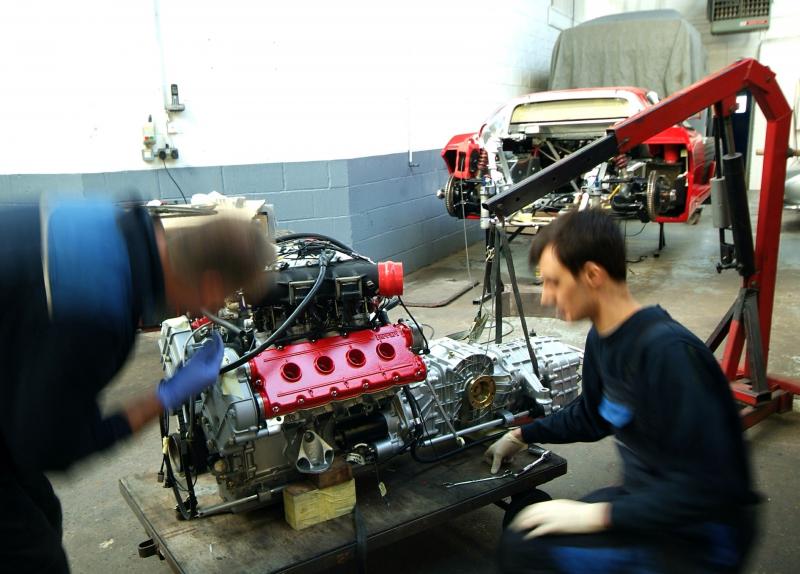
Gearbox etc now in one piece which is a major step forward. Work now progressing on the fuel rails etc, all stripped and rebuilt. James, with a very odd shaped head, has made up some screens to keep rubbish out of the discs. Finally, kill switch and fire extinguisher external buttons all now wired through.
A last few Red shots from the recent past to end on that I have not posted, but then its cold turkey for me for the next 10 days. Engine is the last big one and just waiting for our final parts so hopefully that should be my surprise as soon as I get to check on line.
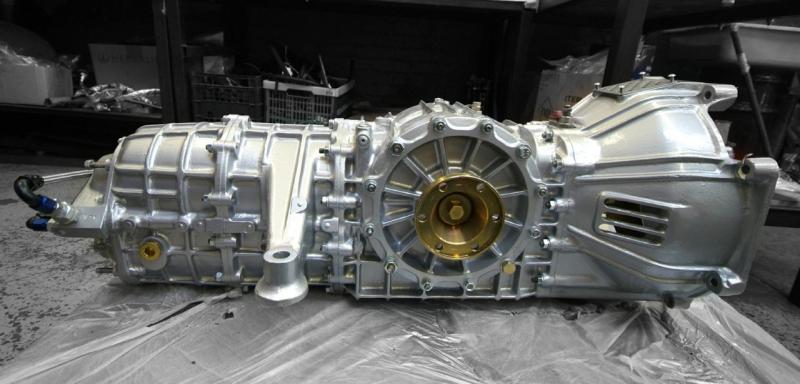
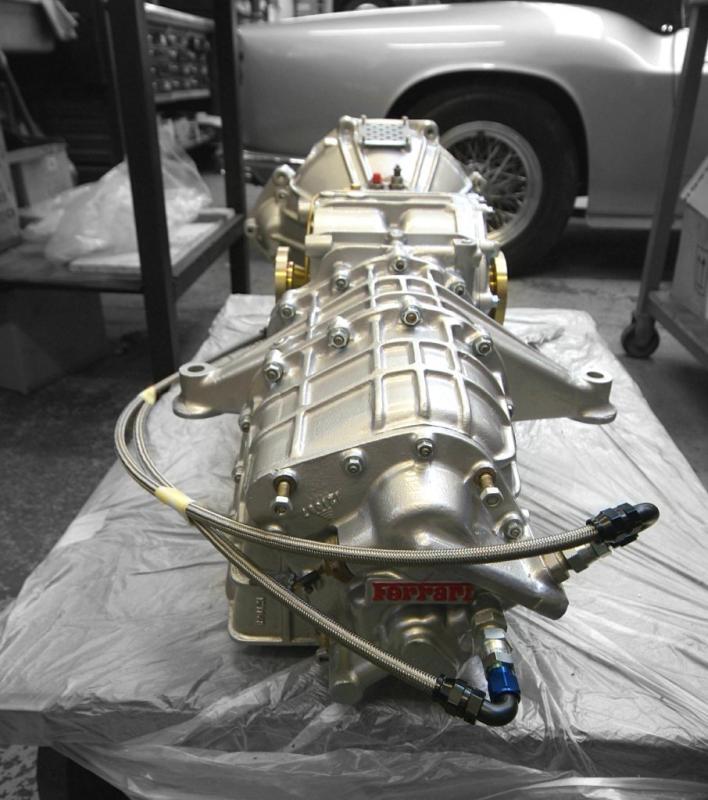
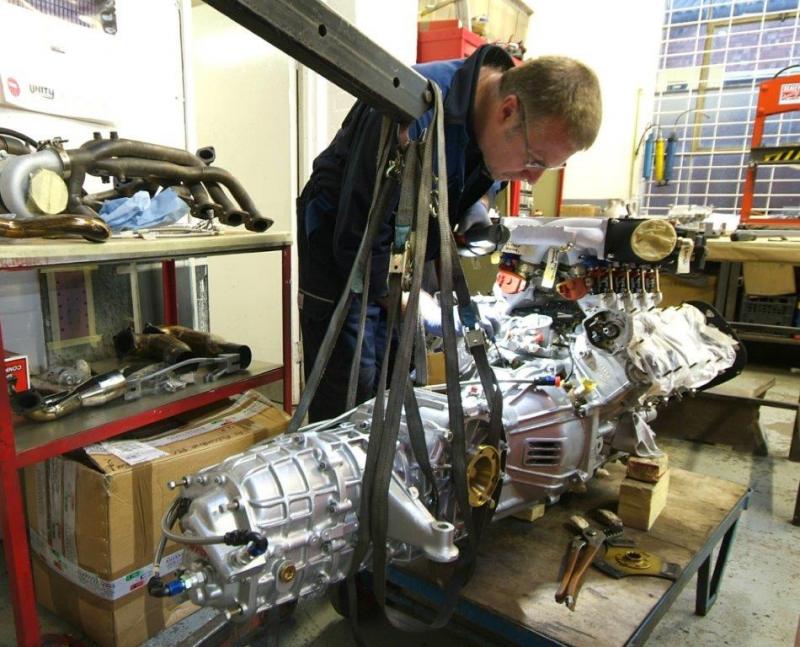
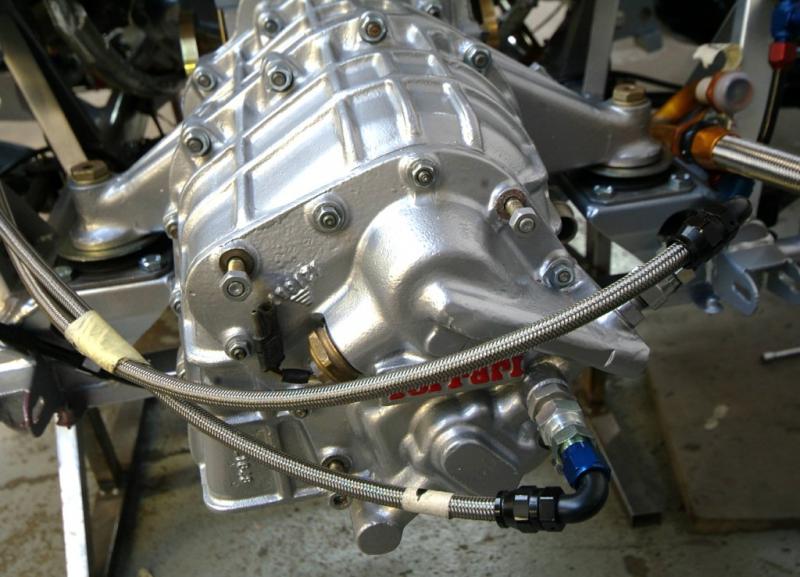
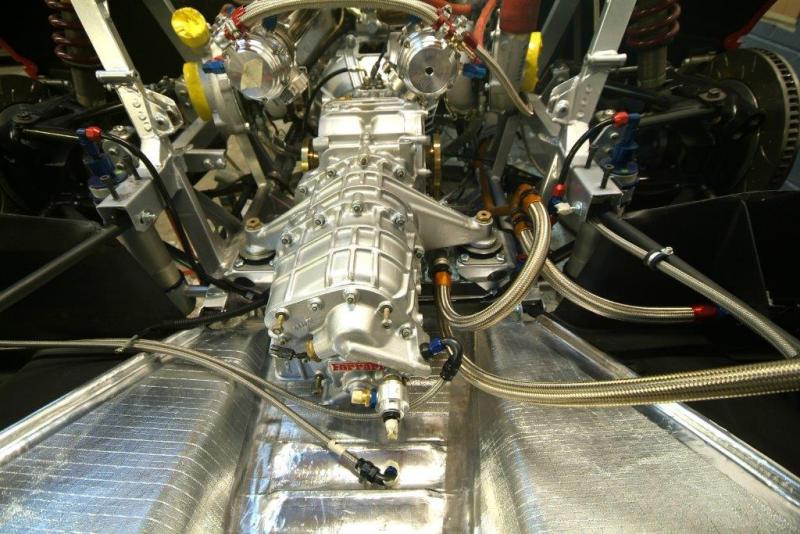
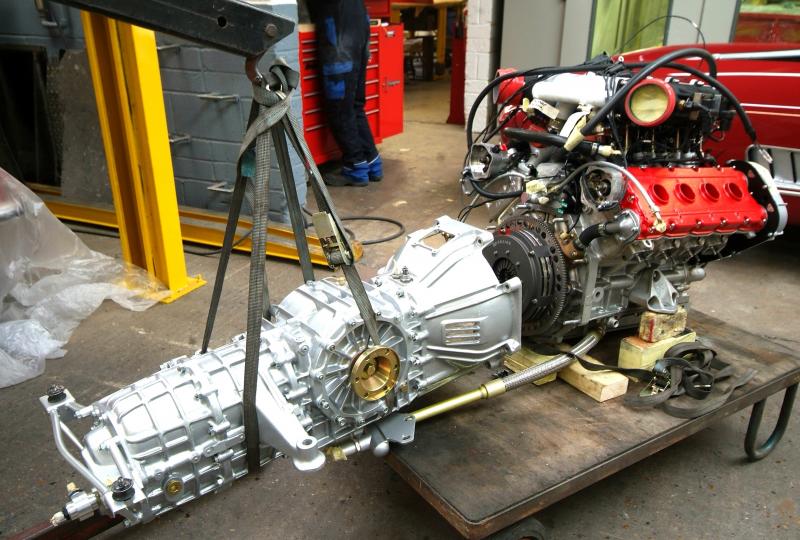
One major milestone in my absence, a totally complete and hopefully functioning transmission. How is it that Ferraris mechanical components, particularly engines and transmissions, just look right? You look back at any of the Enzo era cars and under the bonnet was as good as the rest, and I don’t feel you can quite say the same today. In this case, here we have what appears as an enormous and probably pretty inefficient packaging by today’s standards, but, to me at least, it just looks right; in fact it looks great, but maybe I am biased by ownership and relief?
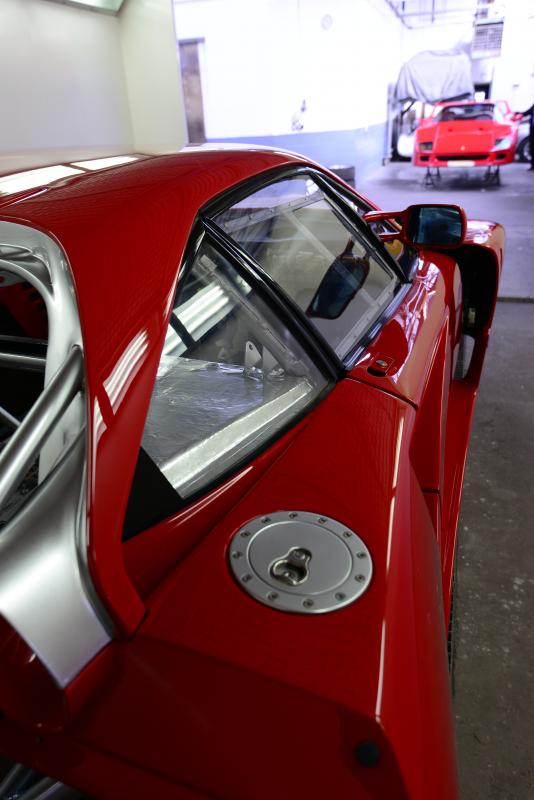
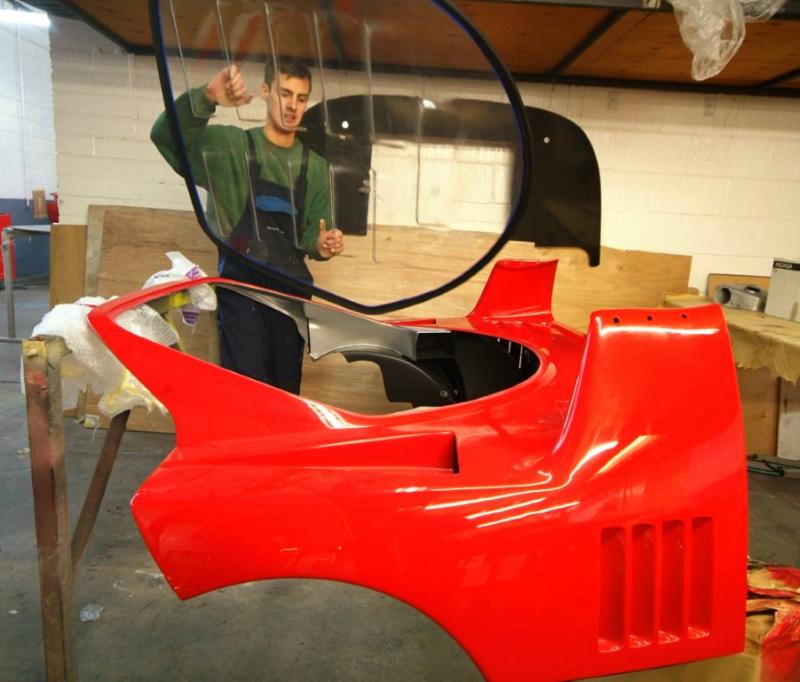
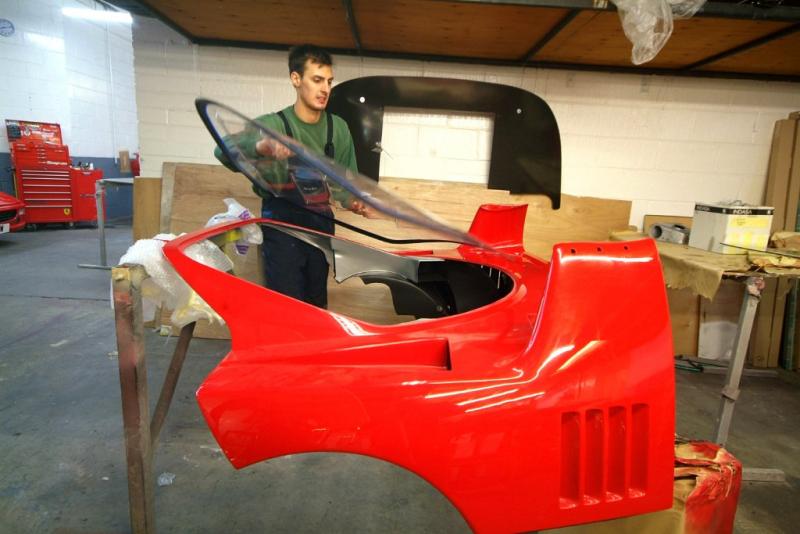
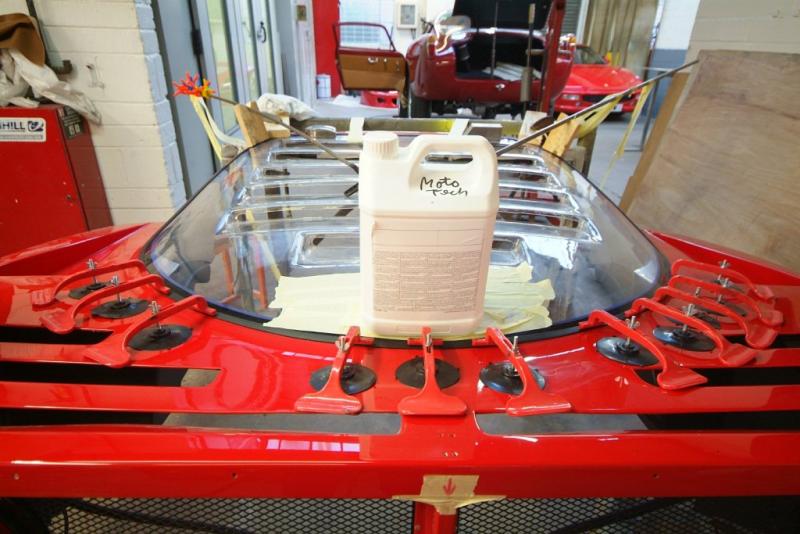
Rear screen all newly polished and finally bonded in place. I love the typical Mototechnique work arounds with rods, blocks and tape so as to ensure pressure is applied in every area.
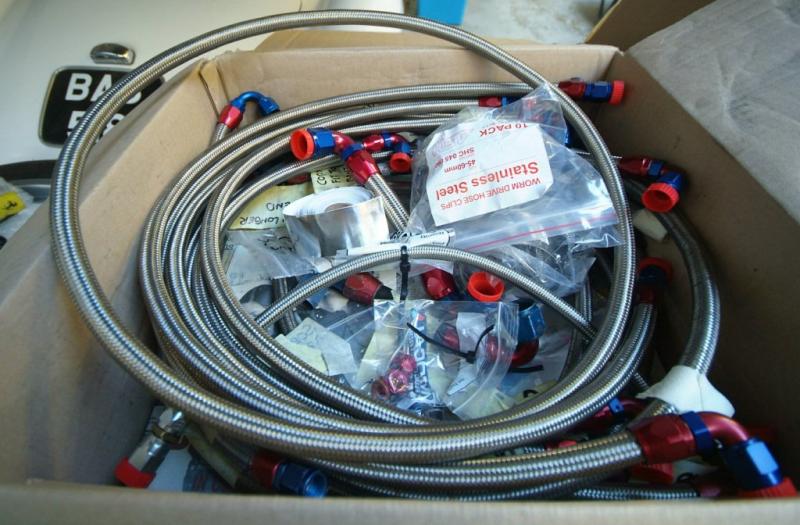
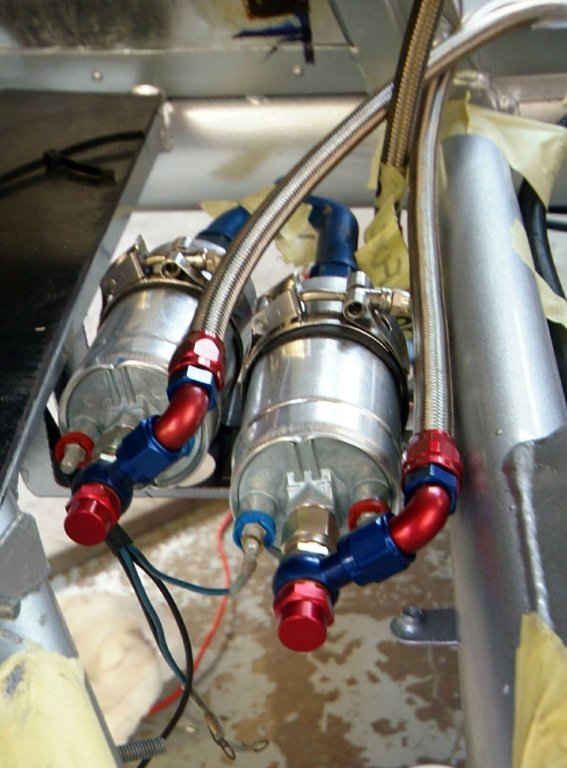
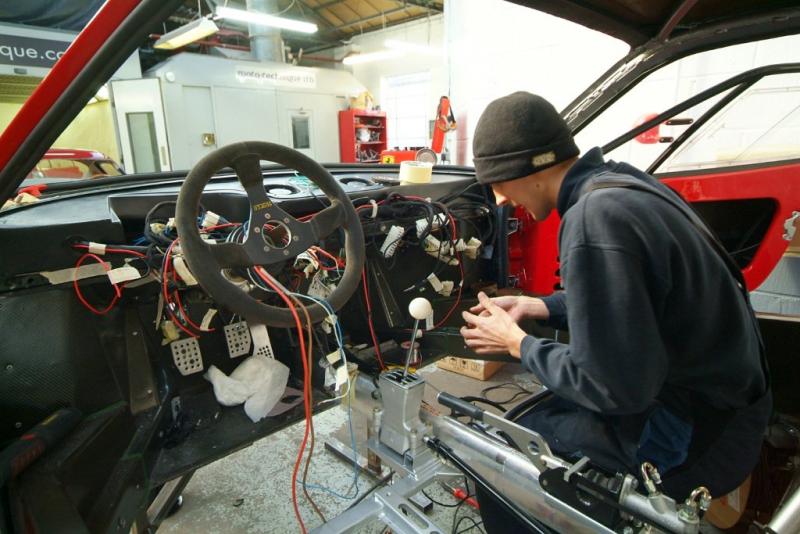
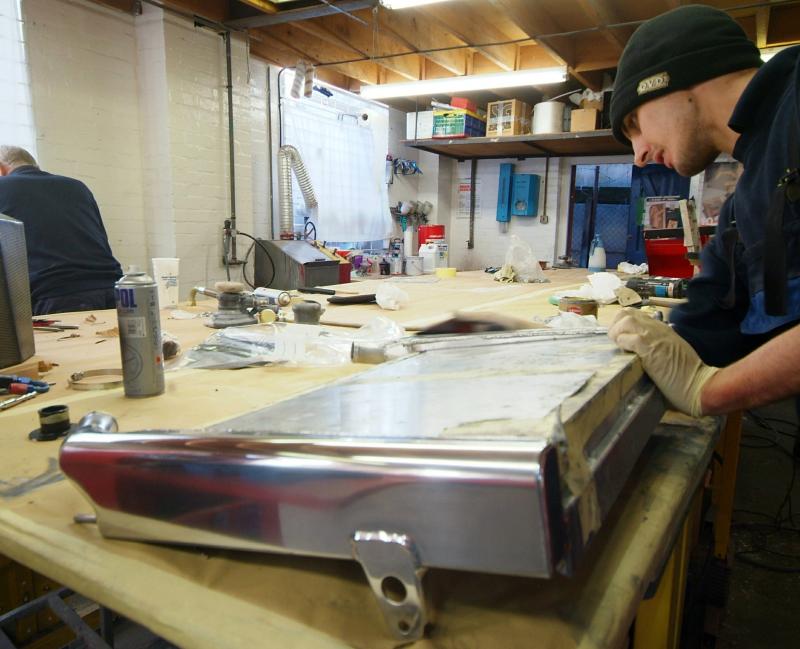
I was hoping we were just about finished with our parts buying but it just rolls on-another box of expensive hoses and ‘stuff’. Fuel pumps now back in and you can tell things have changed over here as James is out of shorts and back in his beanie to deal with all the minutiae of the wiring. Turns out that there was a lot of wiring which had just been terminated at each end whilst leaving the rest inert, so we have markedly reduced the loom. A lot of work on the electrical system has been ongoing but it is hardly photgenic. Finally the radiator has been out, pressure tested and so as to finish it off, has now been polished.
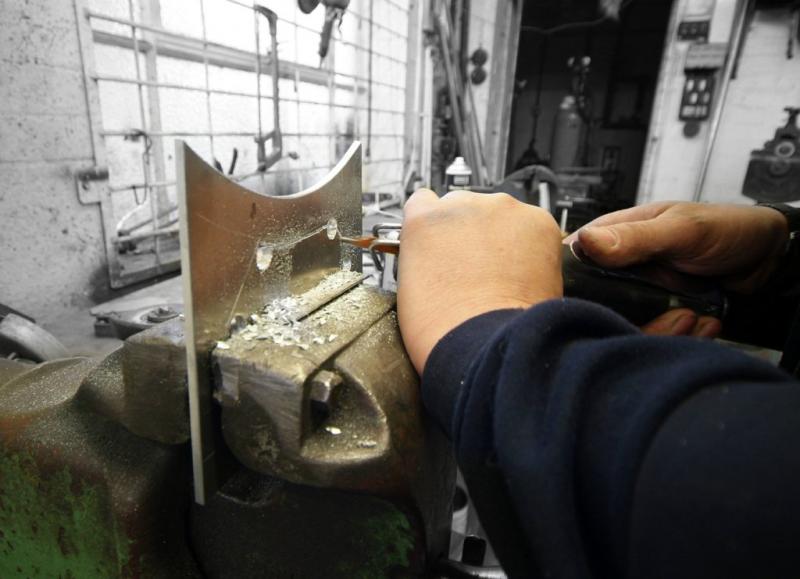
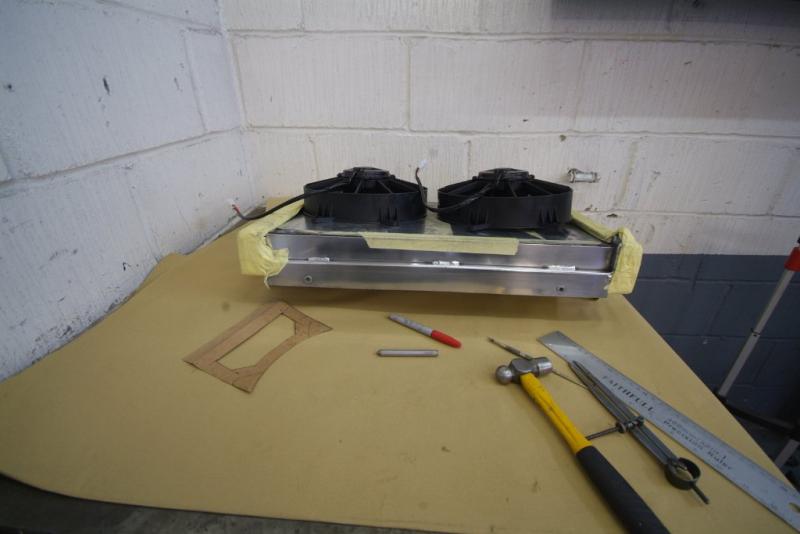
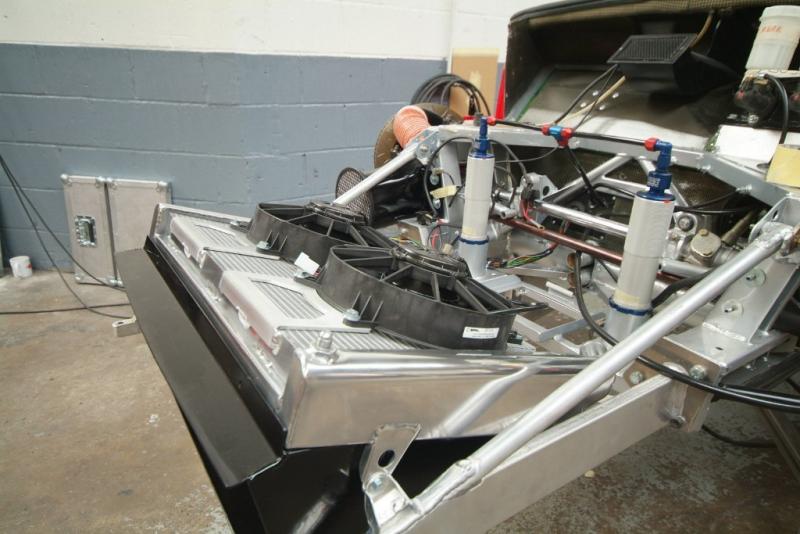
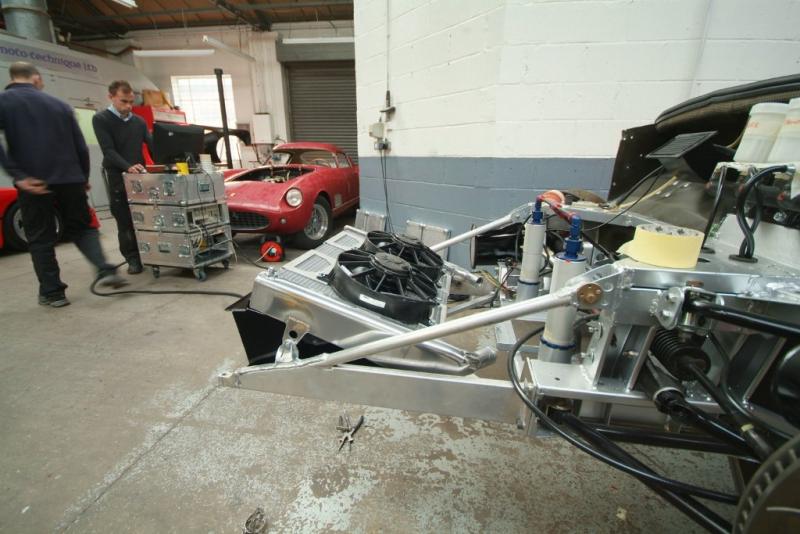
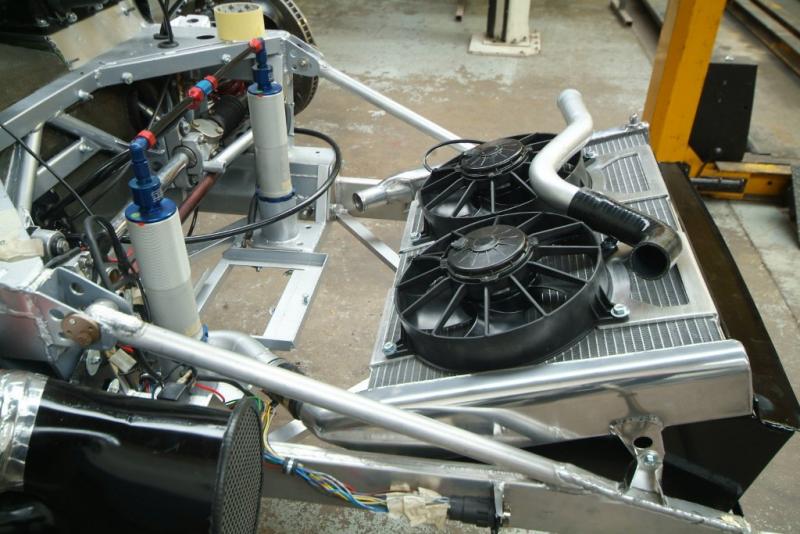
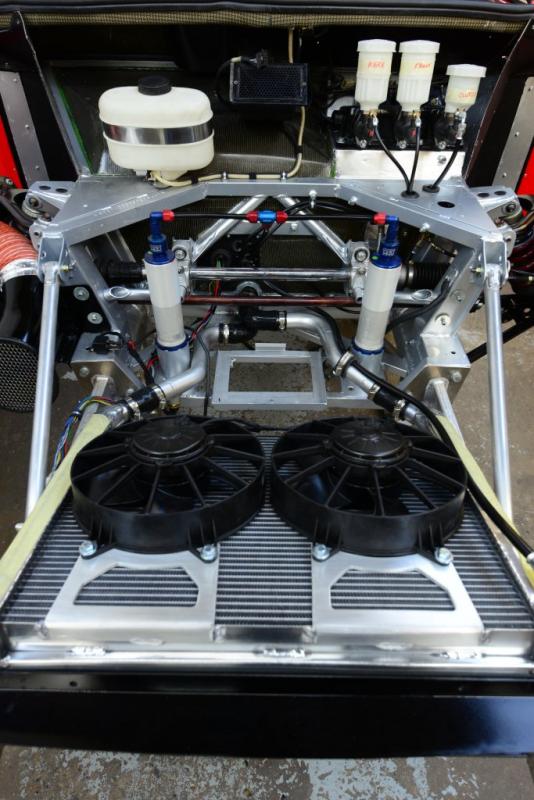
With the radiator tested and polished, time to fit the fans.Here you see another set of skilled hands making up the brackets and then the assembly back in place for the last time. I said that about the fuel tanks and as you will see from the next post , and that proved to be wishful thinking.
I thought the tanks were in for good but no, out they came for the umpteenth time so as to be filled with foam and fitting of the new “ VITON” tank gaskets. Now when they go back it really will be their final trip.
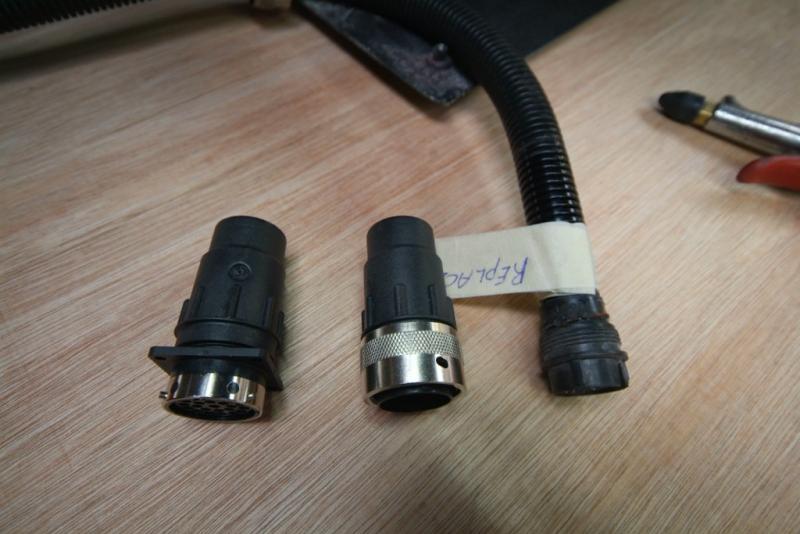
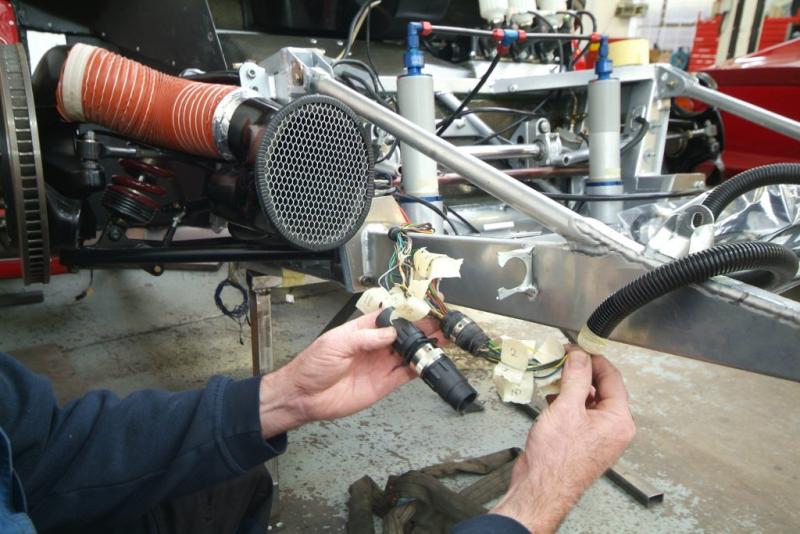
Mr Brown fitting the wiring loom to the front clam and replacing the “aircraft style “electrical connectors
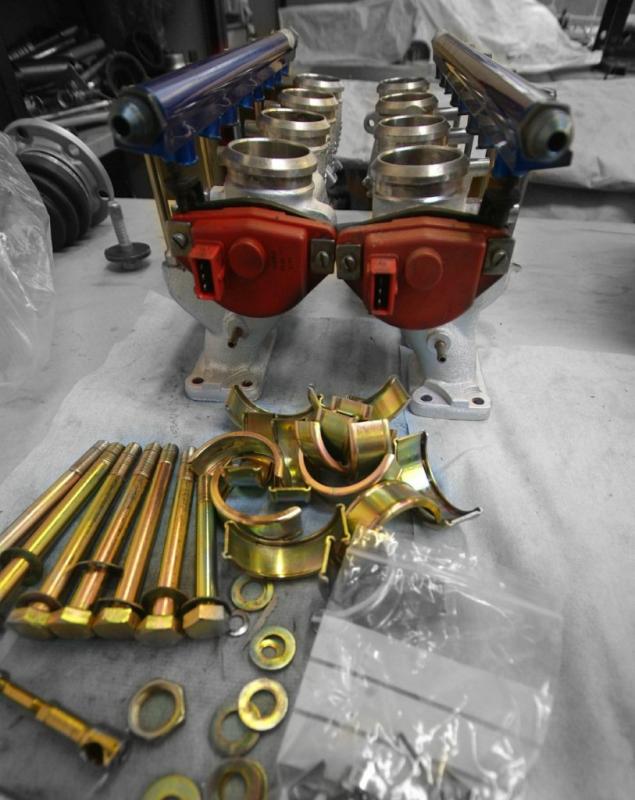
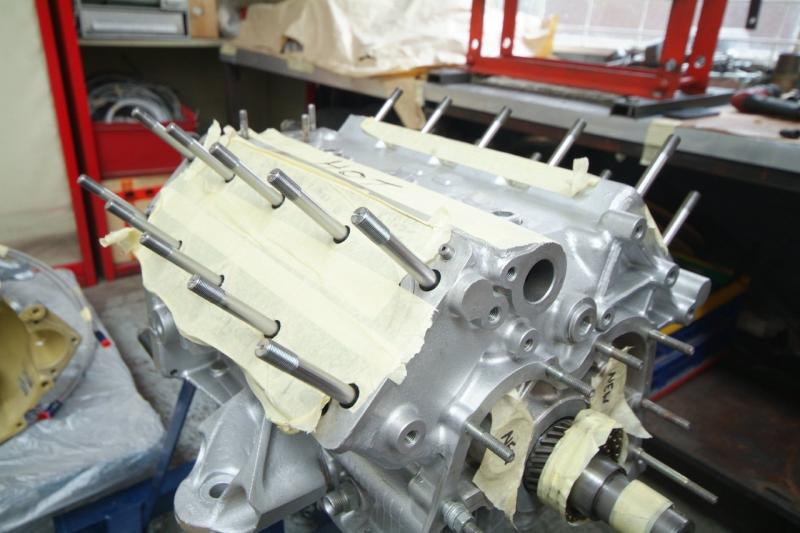
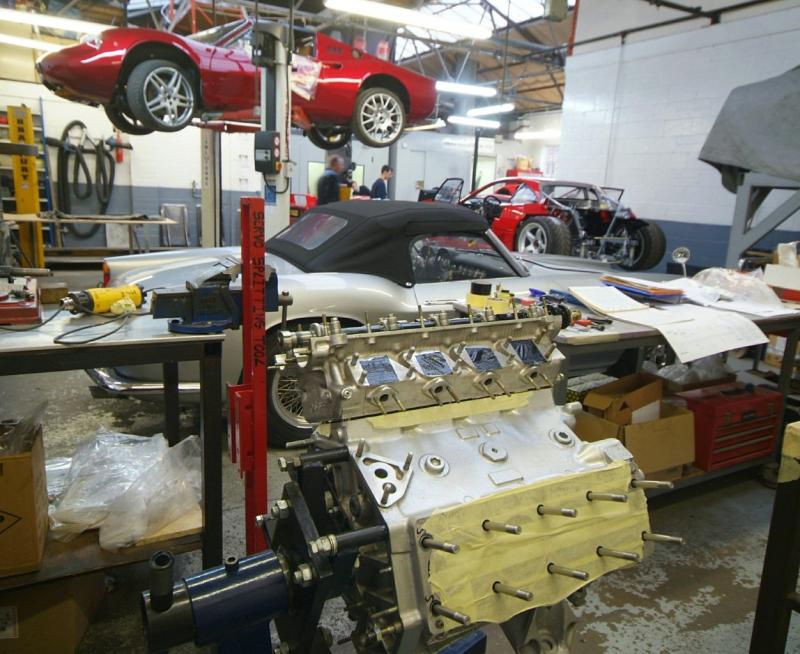
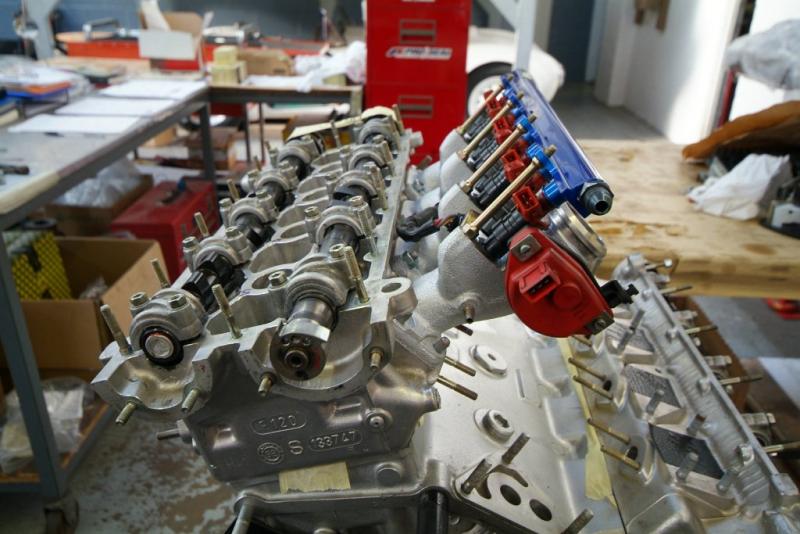
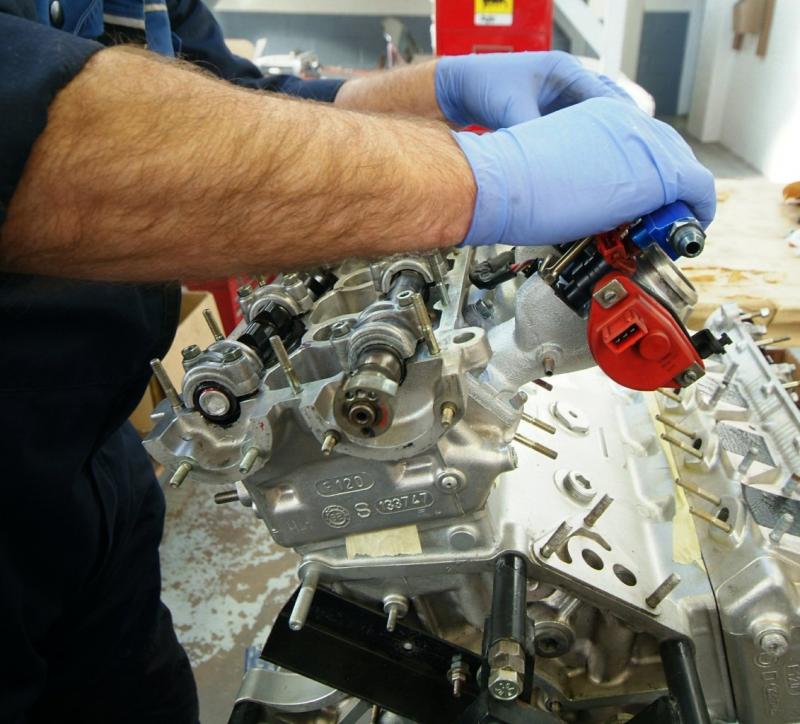
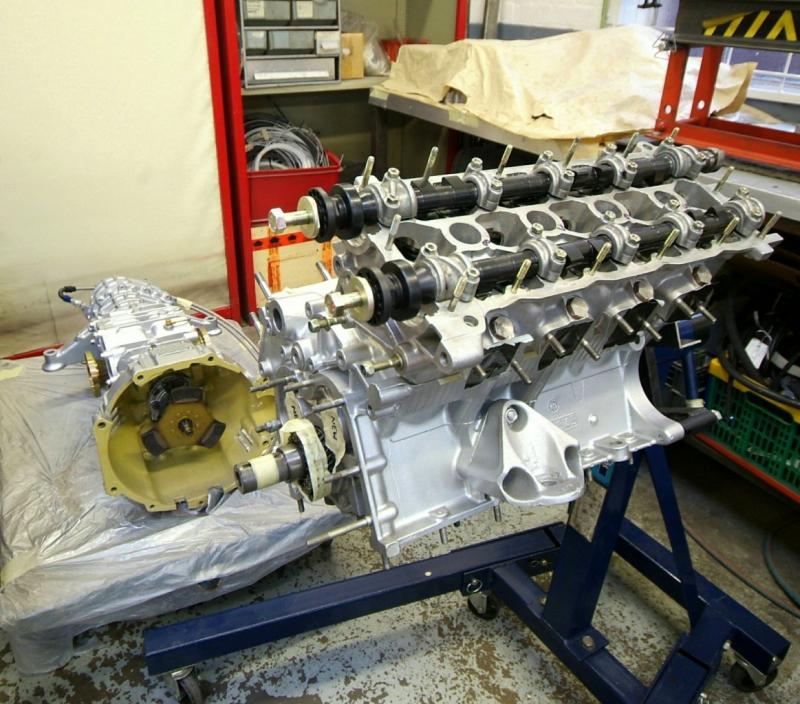
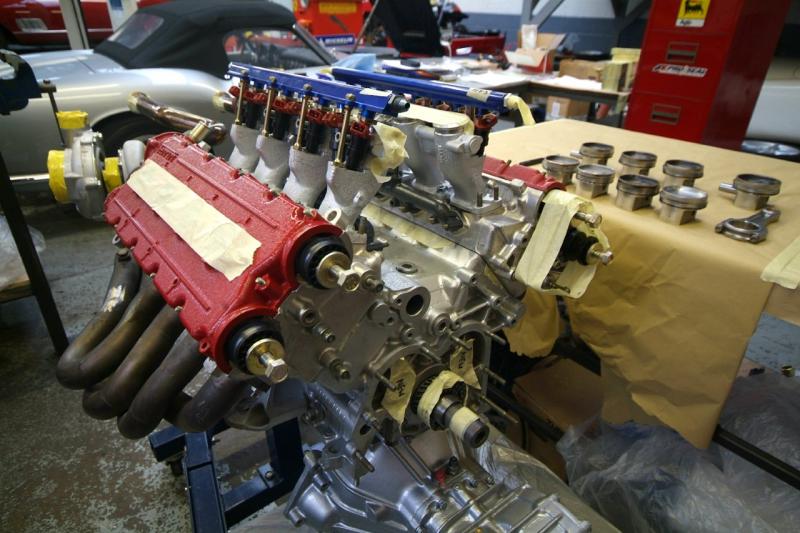
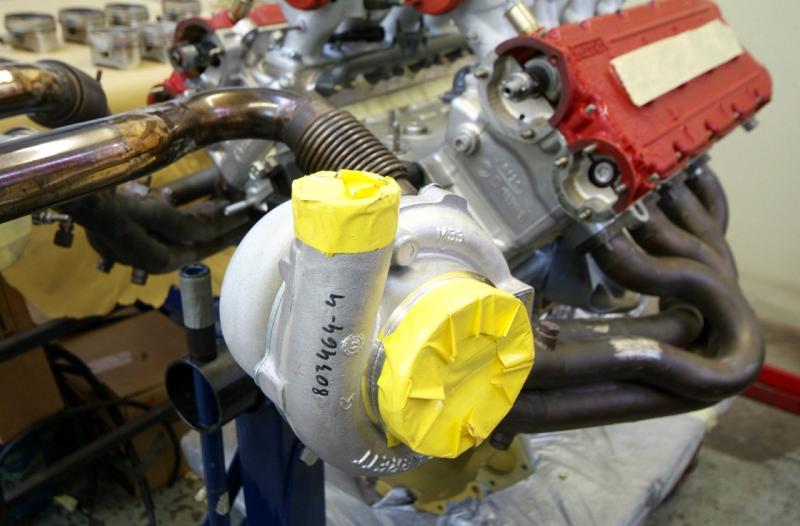
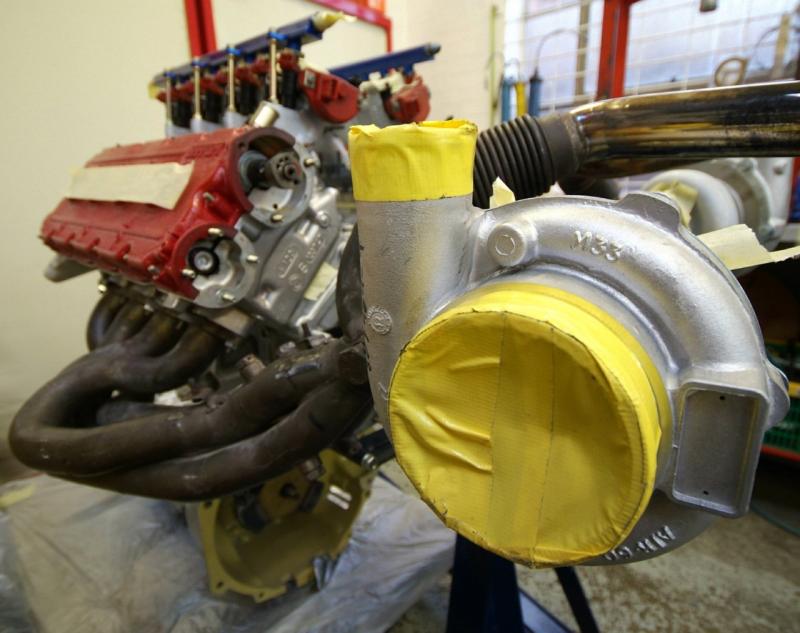
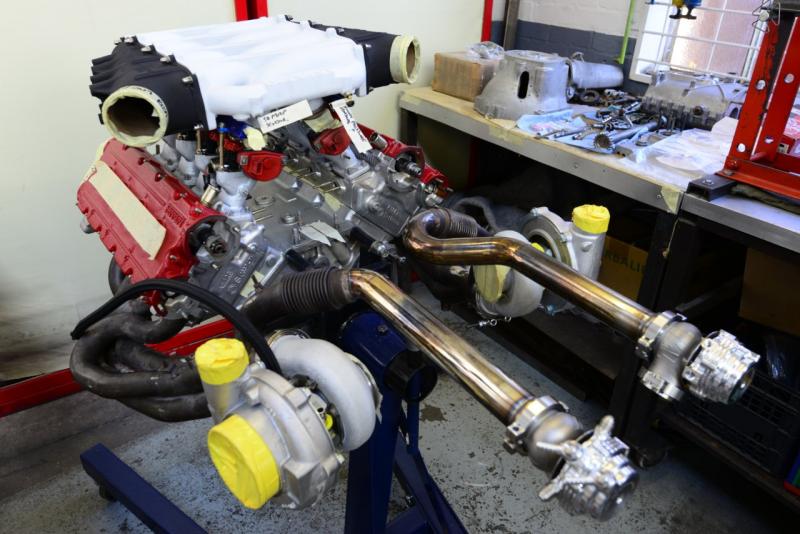
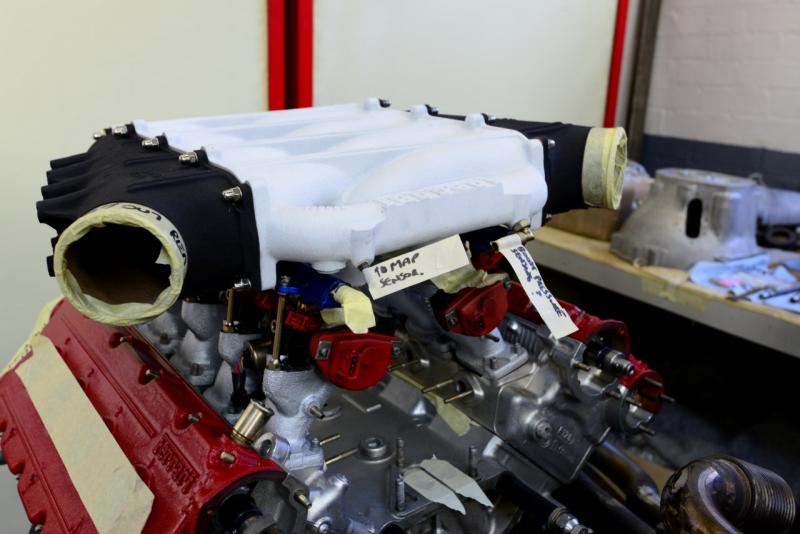
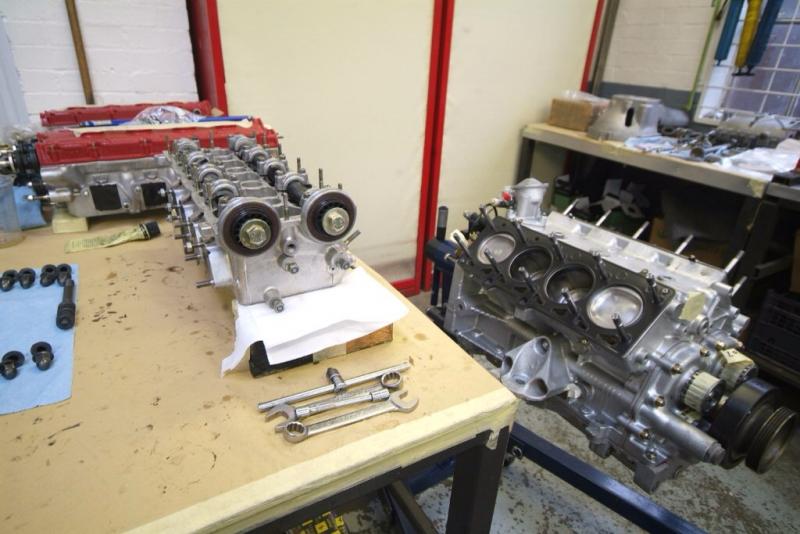
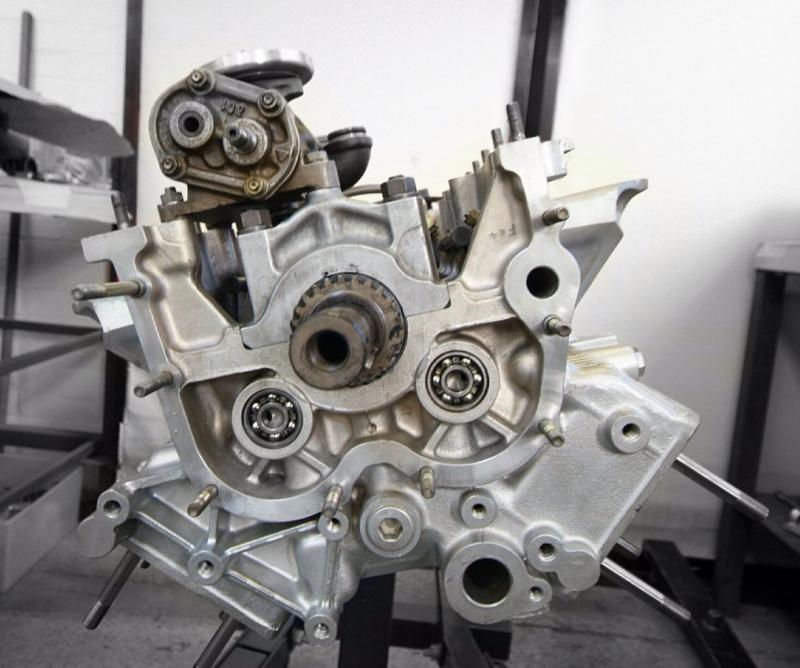
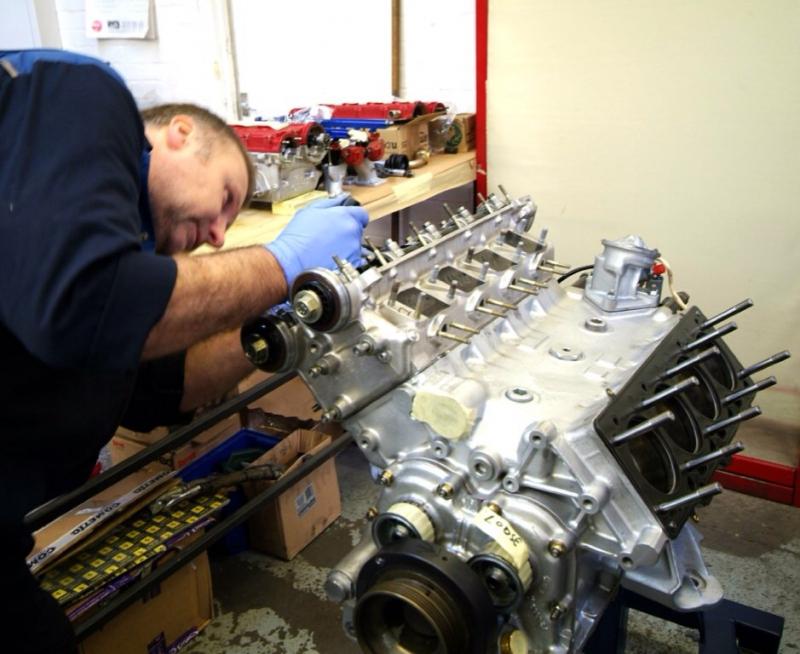
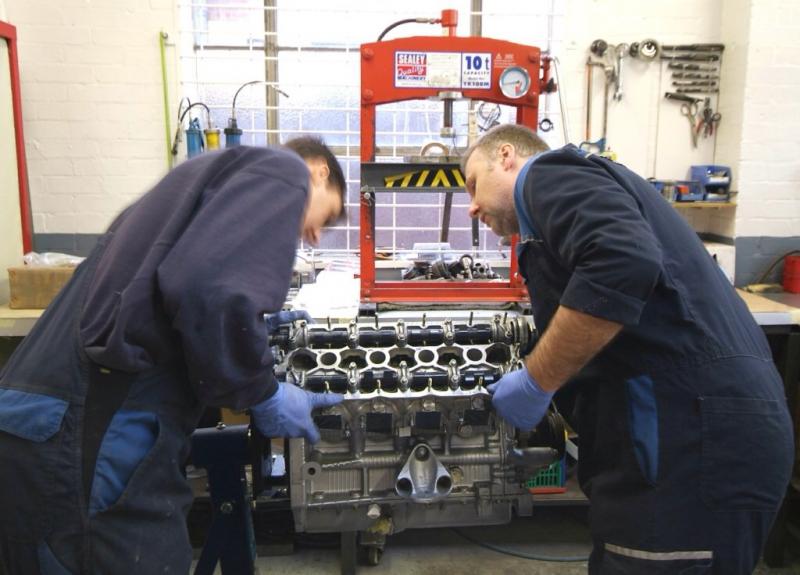
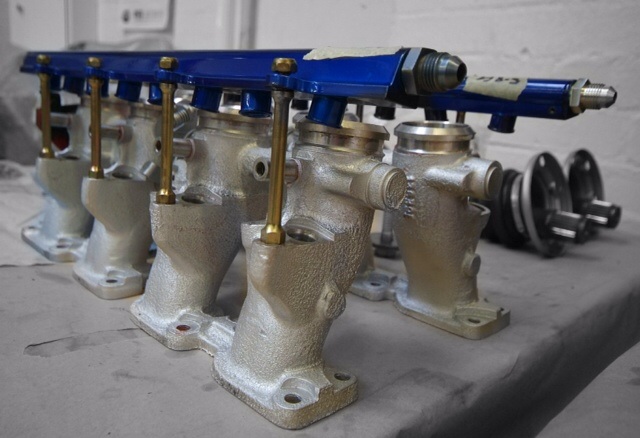
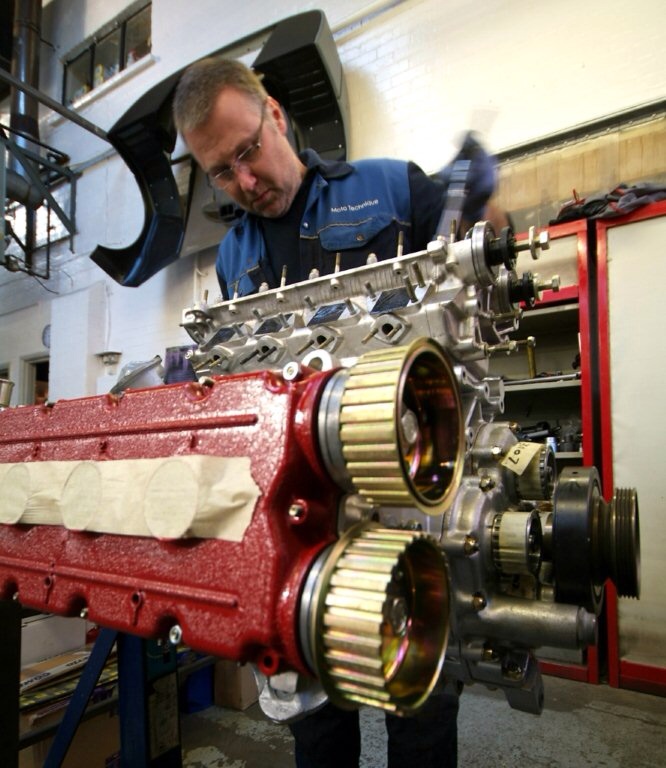
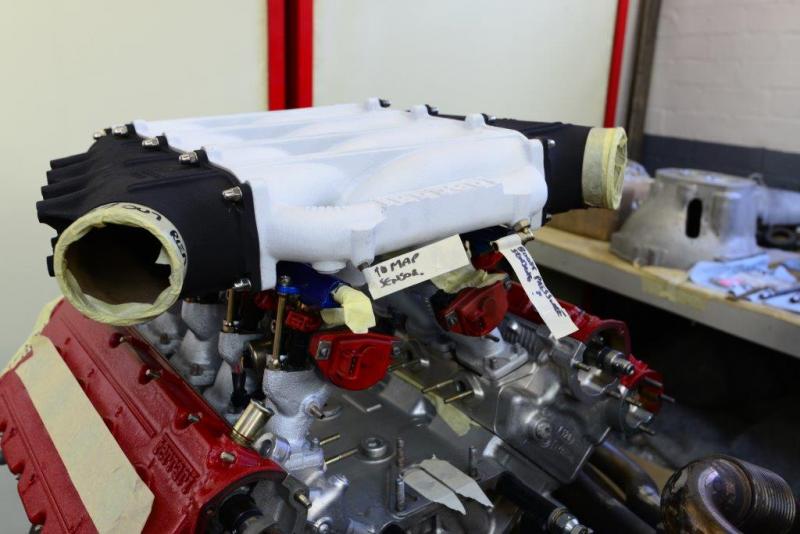
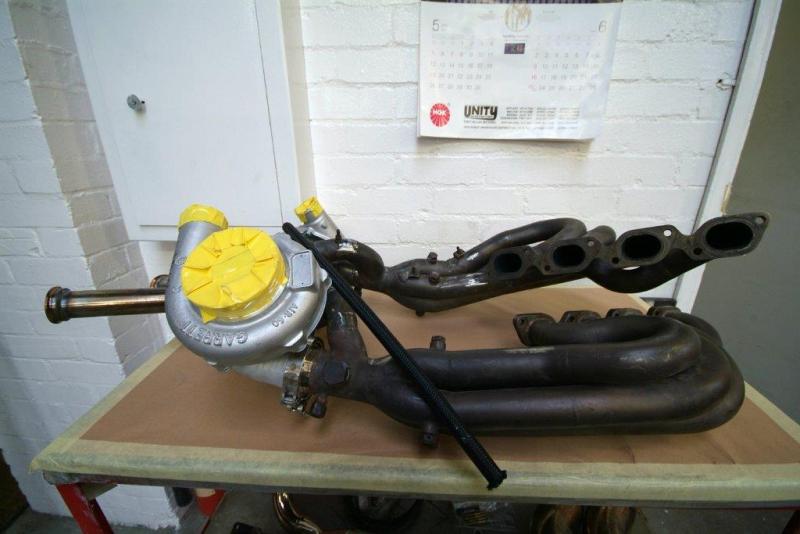
A bit of engine news.New stainless cylinder head bolts now in and Colin is dry assembling everything in normal Mototechnique manner, so as to check positioning of Turbos and to make sure everything will go together without any problems when he starts in earnest later this week. We also need to measure cable runs for sensors etc so we can finish the loom, so having the engine in sort of one piece is the only way to do it properly. Note rebuilt throttle bodies and injector rails with all newly anodised parts-I hope this too will be a work of art when Colin has finished with it.
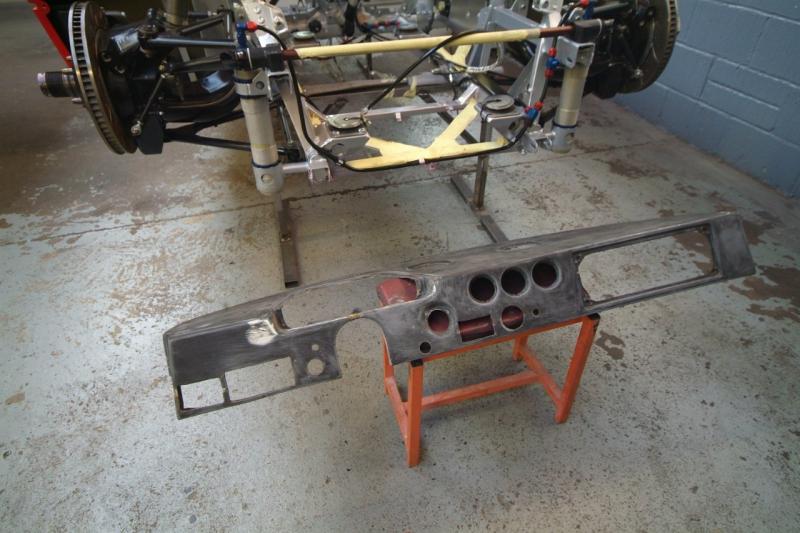
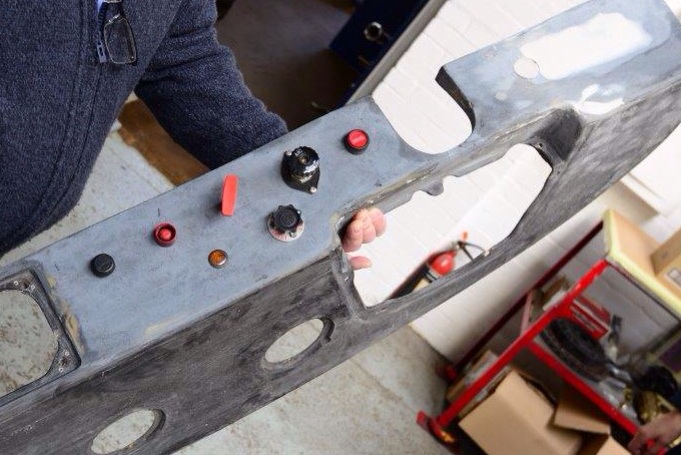
The dashboard starting its restoration journey.Massive aperture to the left of the steering wheel used to house a huge bright red fog light so there was no way the driver would miss the low oil pressure warning light. We are reverting to a more sophisticated and less intrusive LM system. An engine and gearbox shot and then the polished radiator back in for good but looks so much better all cleaned up. Hope to have most of the front finished up by the weekend with any luck. Appallingly, it appears Mototechnique have had their attention diverted by other customers who want their cars finished so there has been a bit of a pause in progress, and photos, for a few days, so off on Friday to collect some more updates and redirect their attention.
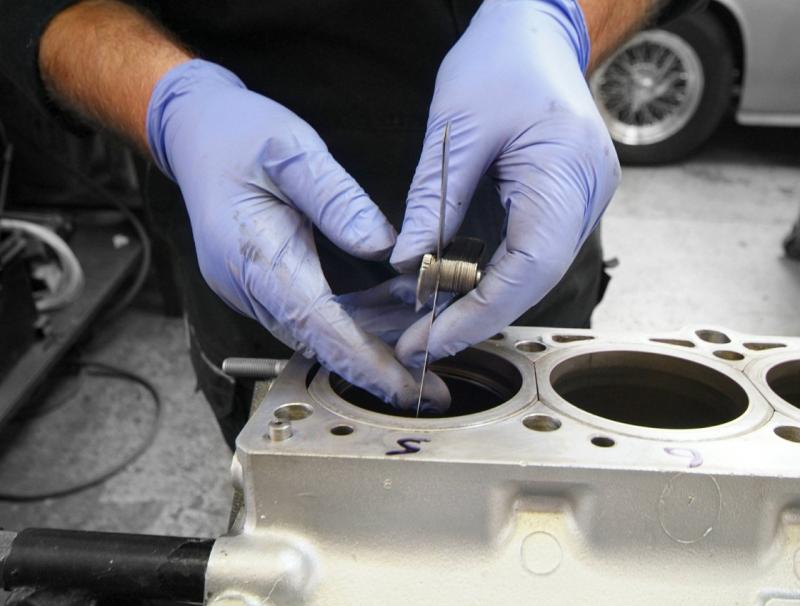
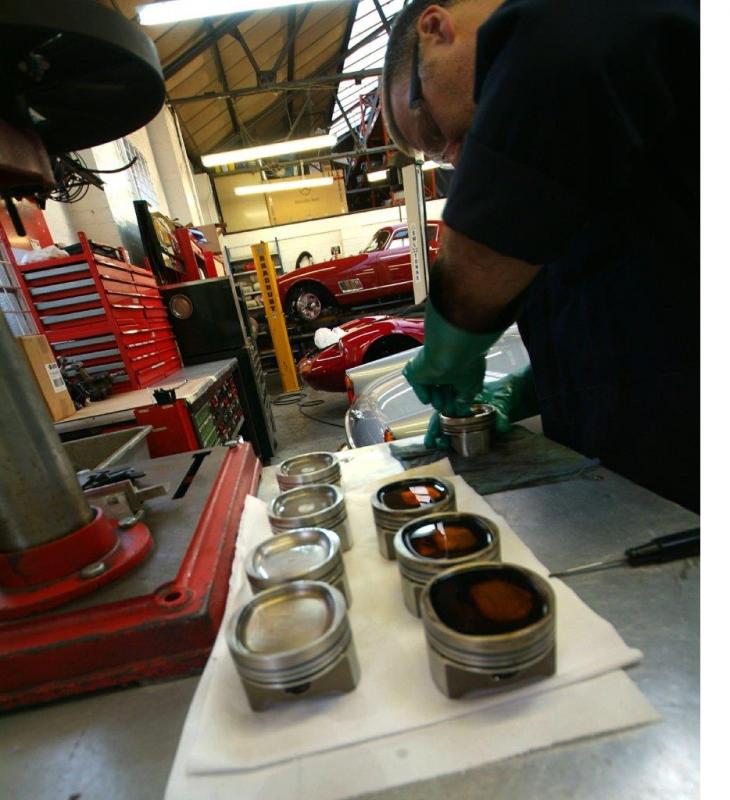
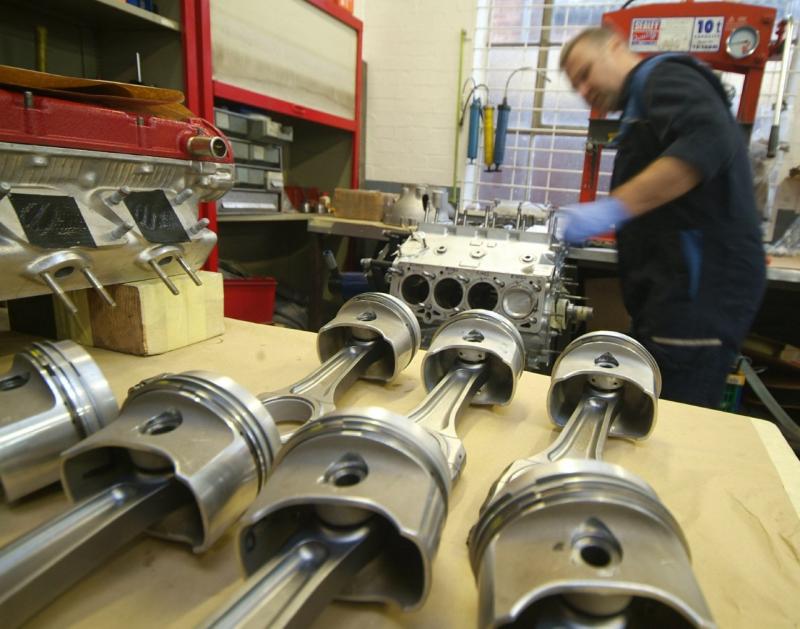
Colin is prepping the pistons ready for the fitting of the piston rings; here the pistons are being soaked in a mild solvent to loosen the carbon and the piston crowns and ring grooves are being de-gummed of any carbon deposits. Next stop pistons will be fitted to con rods followed by slipping into bores and connected to crank so with any luck we will have the heads on ‘for real’ shortly.
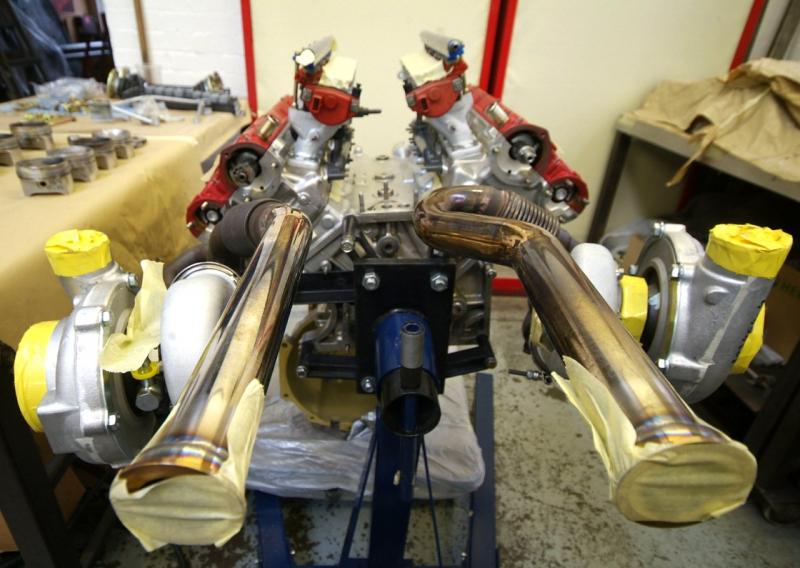
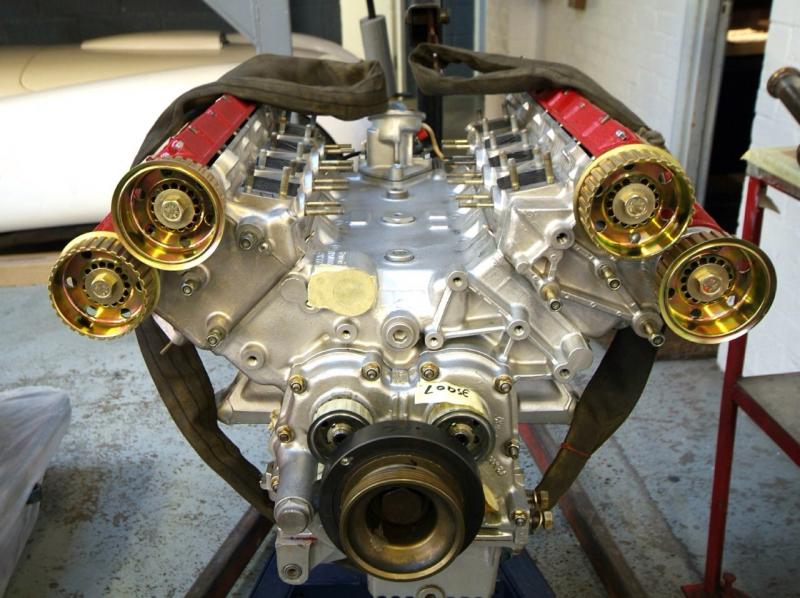
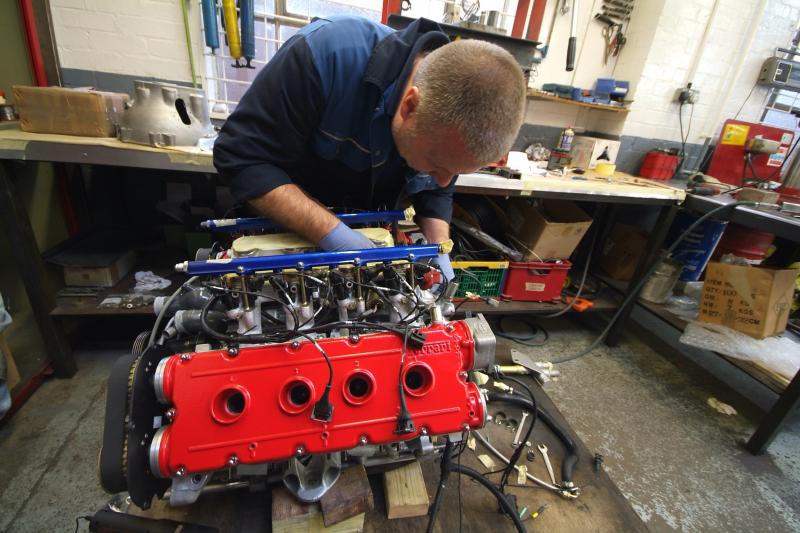
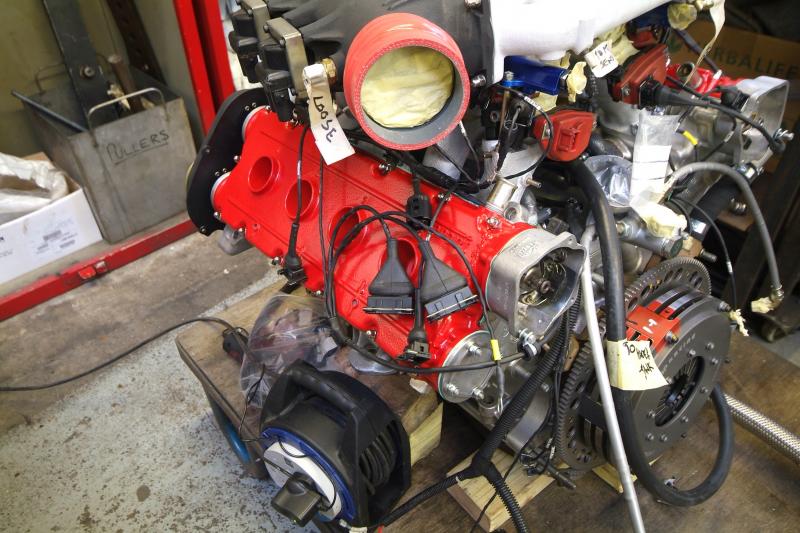
Engine now soft assembled so we can figure out all the sensor positions and cable lengths and hopefully warn off any potential issues. Cylinder heads resprayed and pretty soon, once we have fabricated some additional sensor mounts, the exhausts can be cleaned off and go off to Zircotec for their coating which will really complete the look, let alone help with efficiency and cooling. Hopefully tomorrow, the pistons will go in and we can get to where it looks we are now for real.
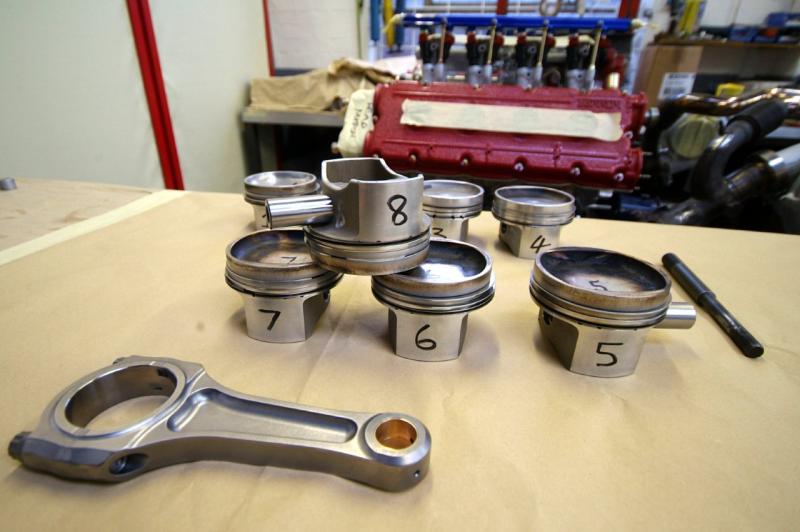
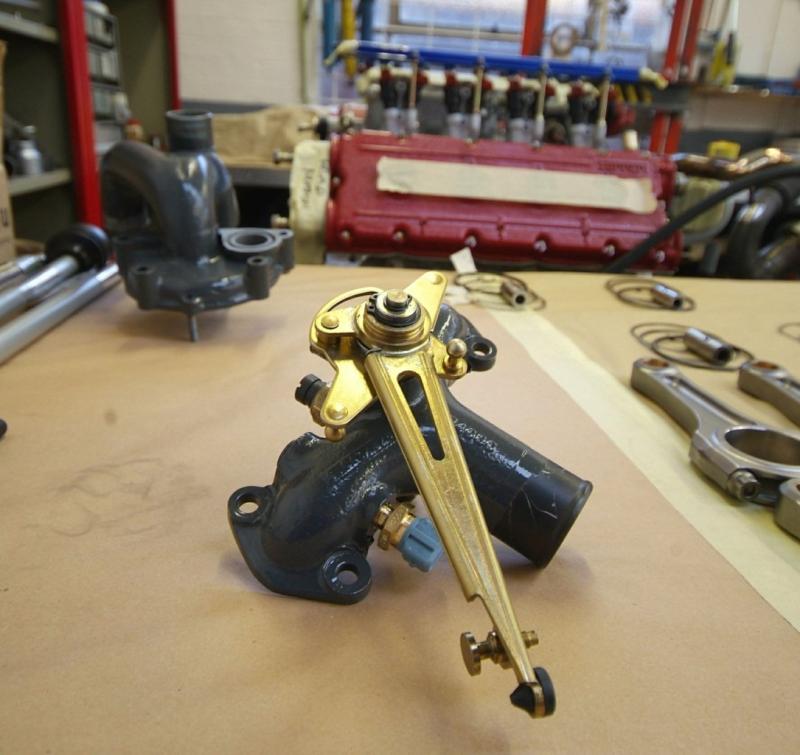
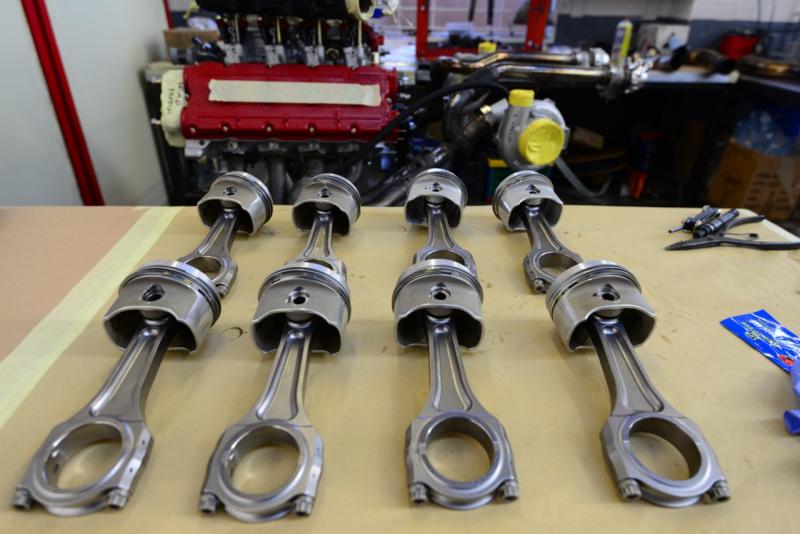
Off to the shop, but to bring you up to date for now. Engine assembly now starts in earnest after the ‘dry’ assembly. Here you can see the Titanium conrods all lined up in battle formation, pistons and gudgeon pins, numbered from the dynamic balancing, some of the sensors, gear linkage and finally the throttle linkage sub assemblies. I wonder if any F40 engine has received such a detailed and pristine rebuild?
A few more engine detail shots.Pistons and rods in battle formation ready for installation and the assembly starts for real here. Heads are all ready to go as are injector rails etc, so we should have the pistons and rods in imminently and then the build up can continue. You can also see the details of the injectors, rails etc, all rebuilt, plated and better than new. Wastegates all soft mounted, cable and pipe routes and lengths resolved.
A nice little detail. The front end, as I will show in the next post, is almost there. Bit of final work on the elephant trunking etc still to do.
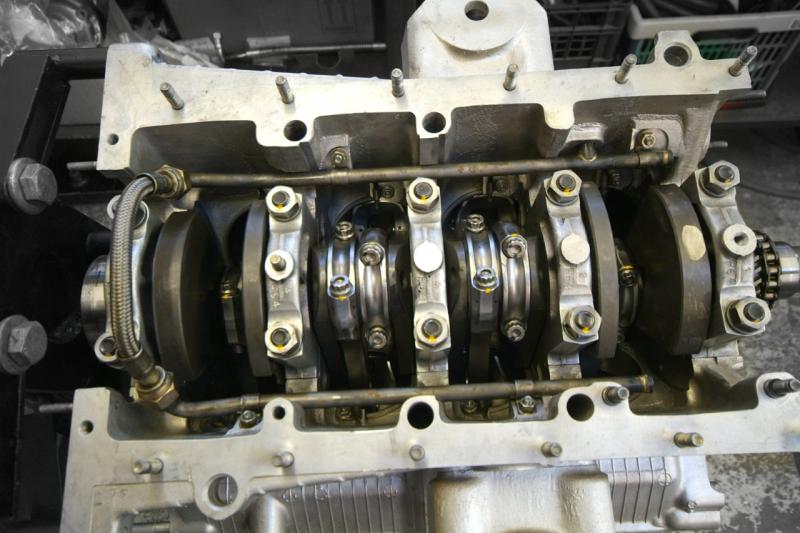
Finally, assembly for real, rods and pistons in and oil pump fitted.
As you can see now, most of the front is now finished. A bit of work on the Brake ductwork and final attention to the new front clam connector, but that aside now pretty much done.
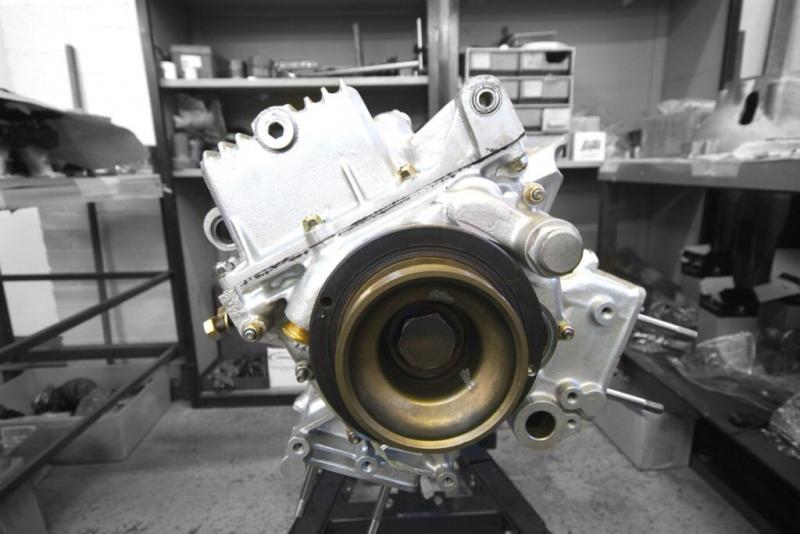
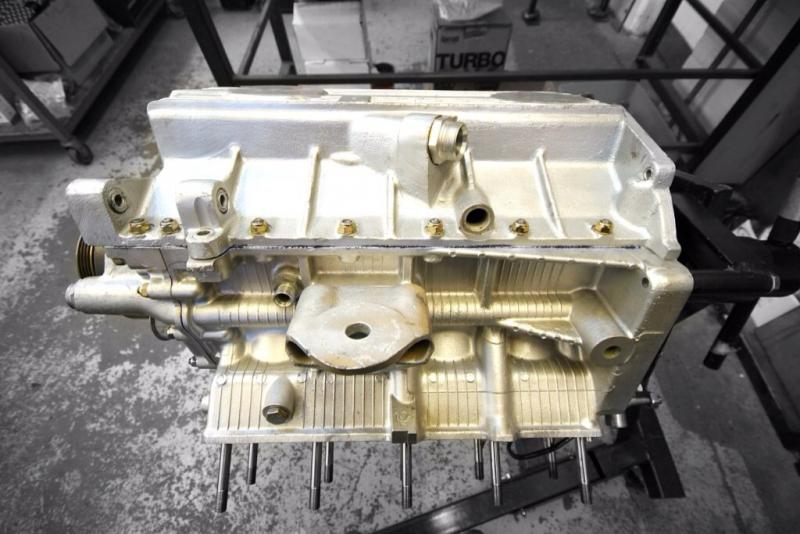
Sump on, cylinder heads on to upgraded gaskets.
A couple of images I missed of the injector rails etc being built up
Both heads on. Note cam covers yet to be finished.
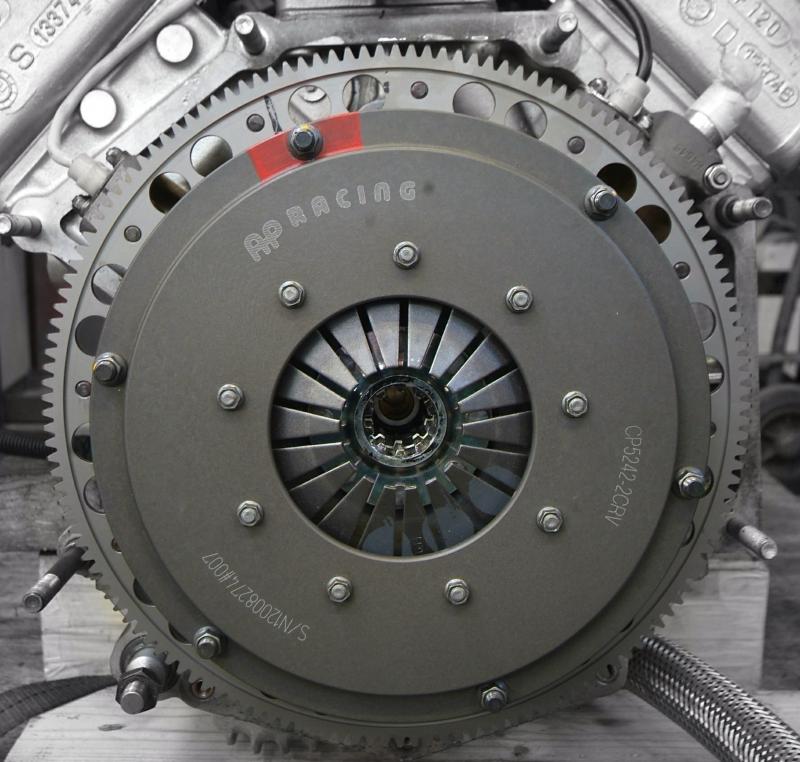
More AP
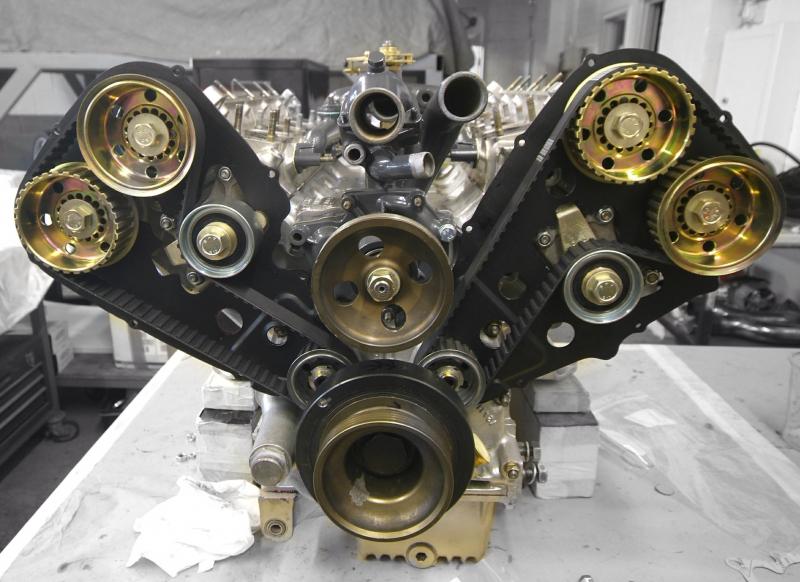
Quick update-belts on!
yes it has been quite a trying road but the end result is I end up with a genuine zero mies car, and I believe better than new. It started as a small refurb but once we dug deep, it was clear the only way to do her justice was to go back to the beginning as the issues were more than initially presented and at the same time resolve many other points. Dealing with CM was a struggle and that took us many many months longer than anticipated and tempted an alternative route, but I felt it was essential on many fronts and we finally got there.
Meanwhile, a further engine post today before we cut back to a bit of chassis detail.
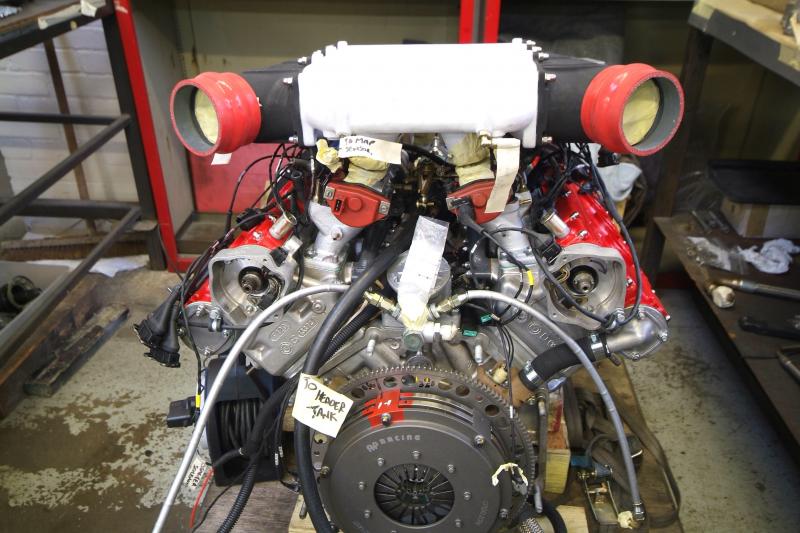
And currently the money shot. Seems a pity to hide all this under the bell housing.
WARNING: Not as good as it looks!
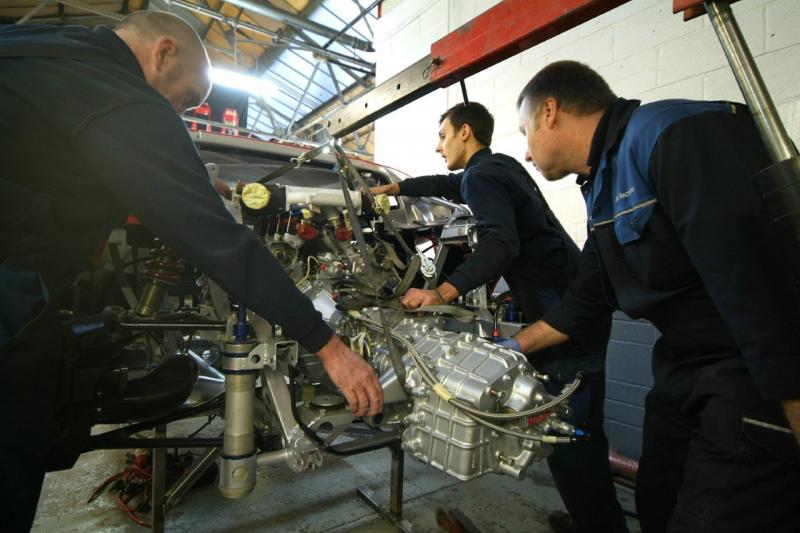
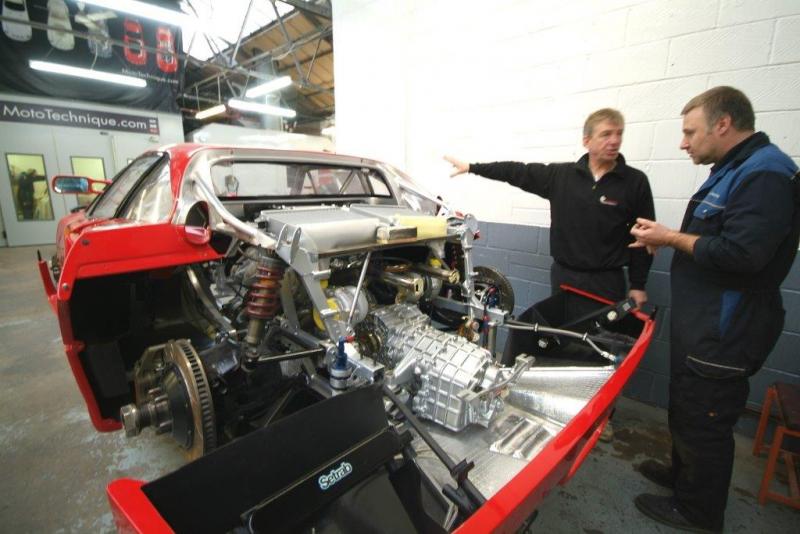
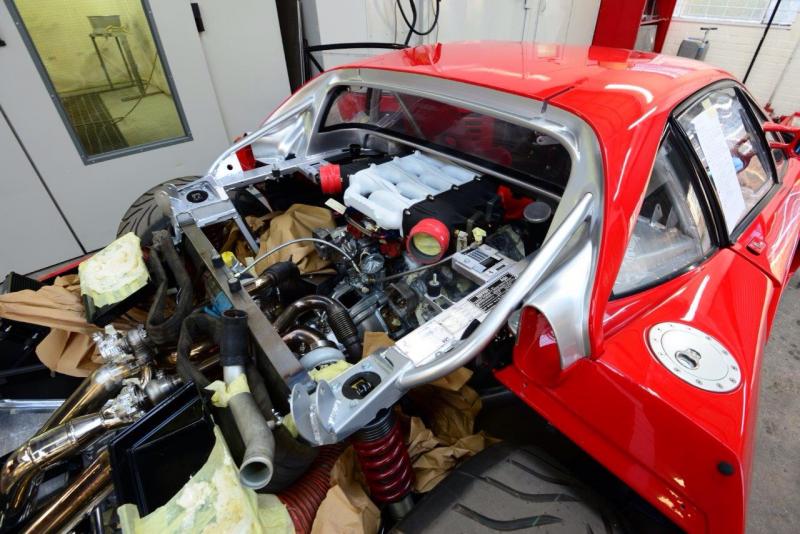
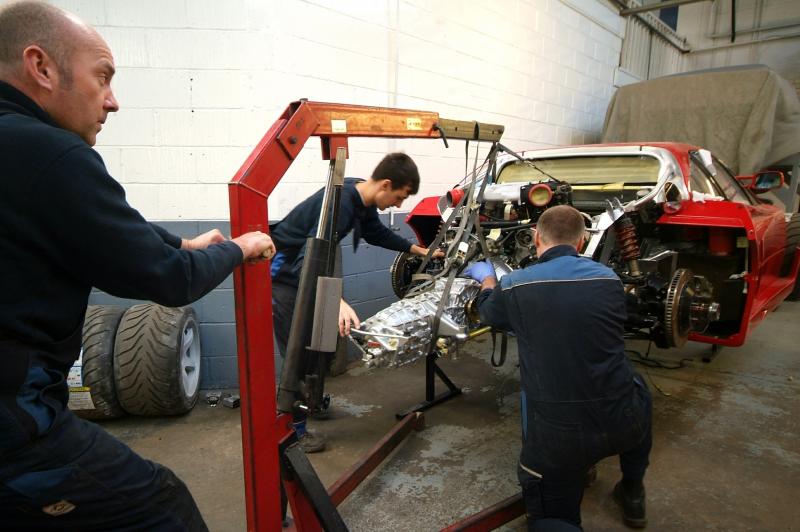
The boys are finally installing the lump, but not really. Yet again, this is a visual three steps forward two back as it will certainly be coming out again. Once in position it will enable us to sort out all cable runs, check manifold and exhaust routing etc etc, all of which we have to do as this is not a standard car and we need to check that everything fits such as anticipated.
Still encouraging to see.
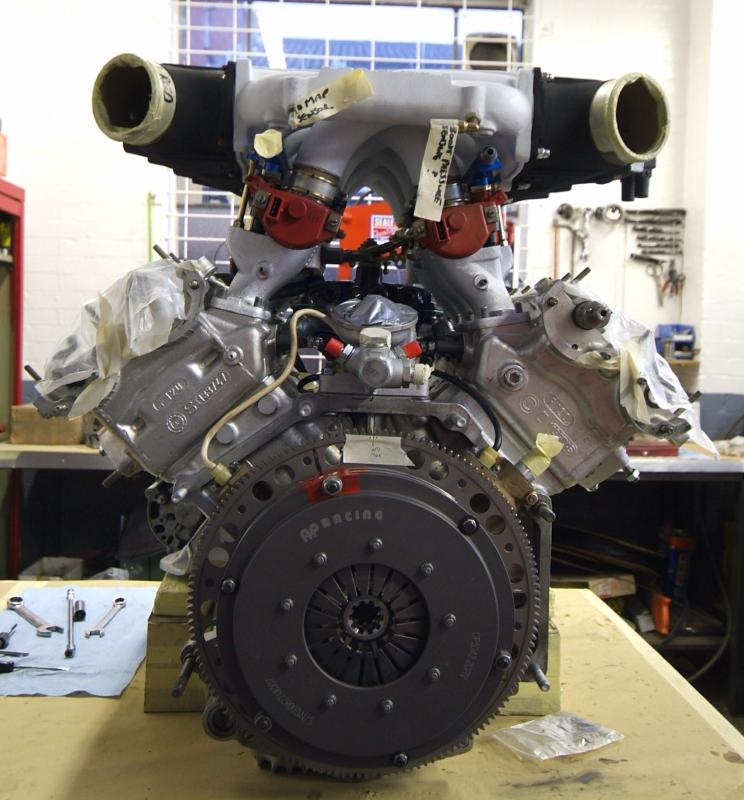
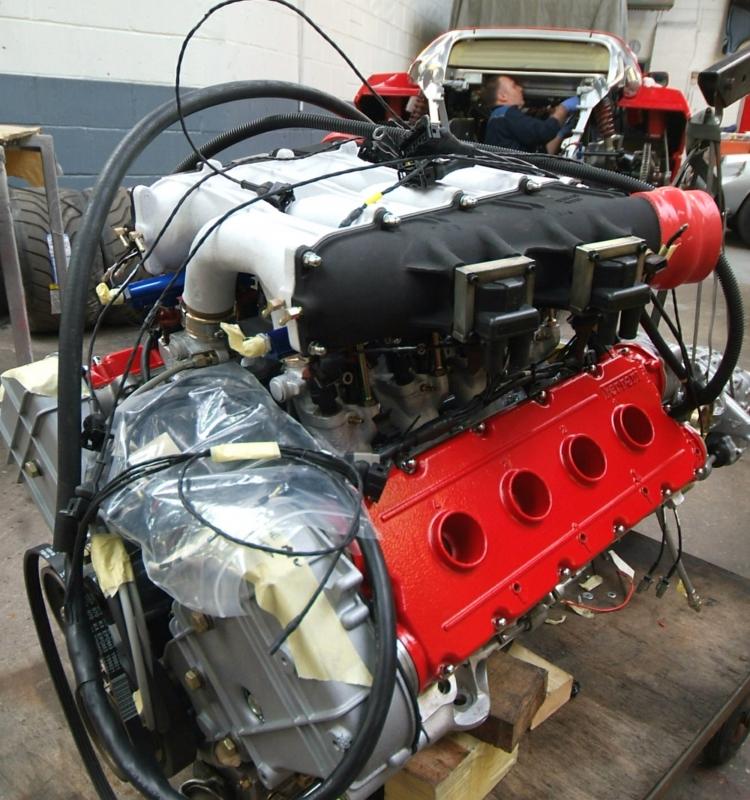
A few missing pics of the engine pre installation which, beautiful as it looks carries a few issues we have yet to fully resolve As I said, this is a soft install only at this stage and hopefully today it will be properly mounted in the car and then wiring and plumbing can begin in earnest. Then it will be out again, hopefully for the last time.
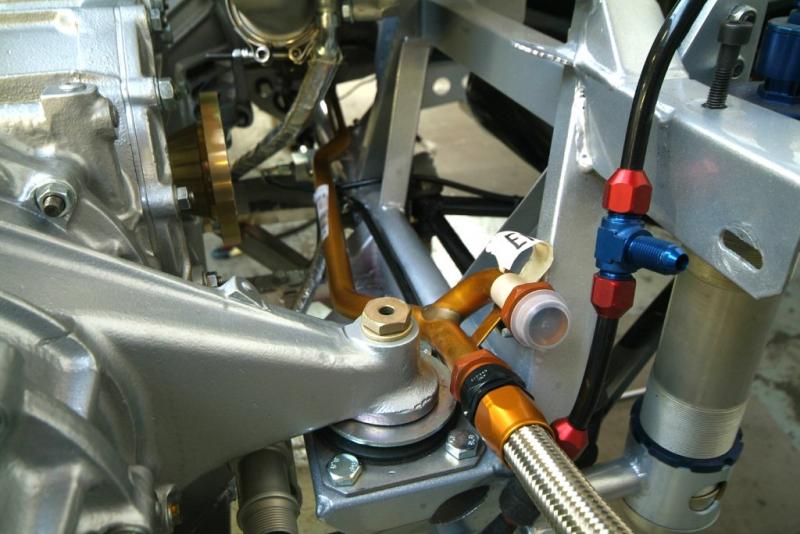
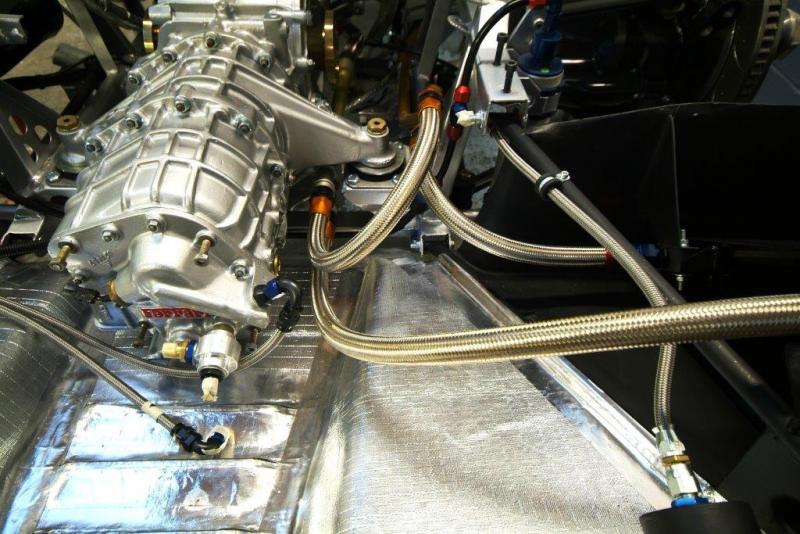
A couple of other out of sync images. This one the gearbox oil cooler. Interestingly Ferrari were so unconcerned with the gearbox oil temp they did not even bother to fit a temperature sensor. We are.
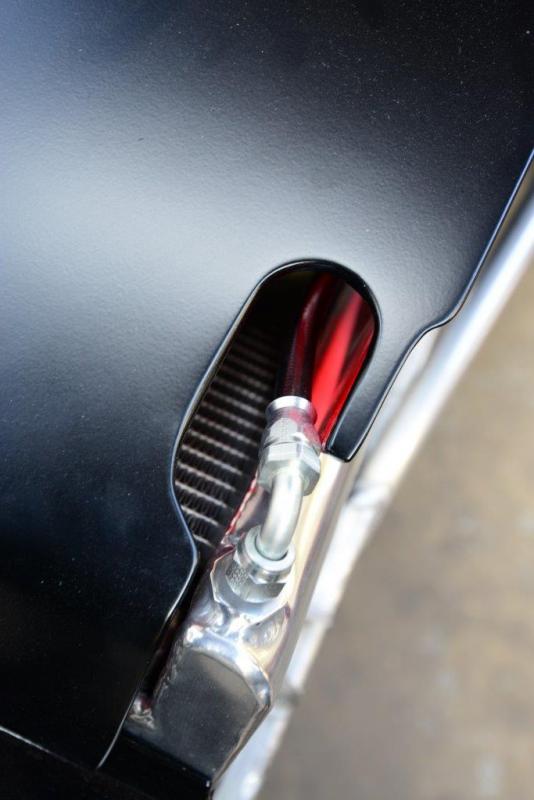
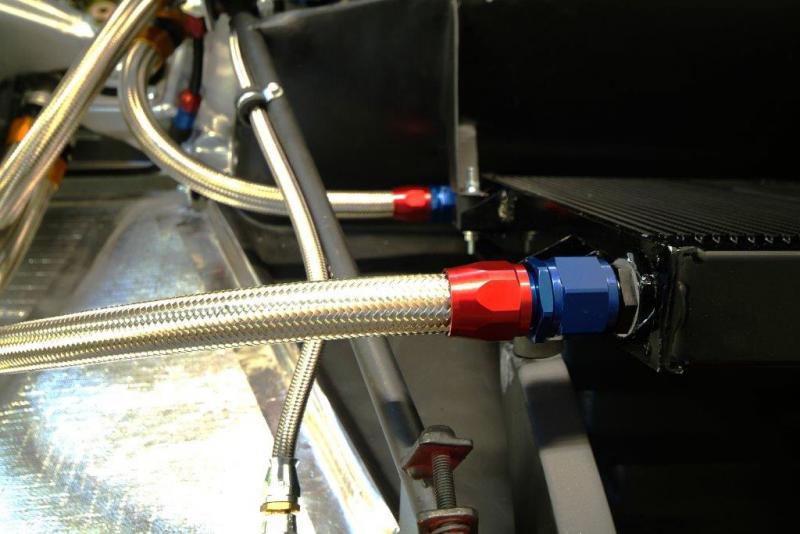
And on the other side, the engine oil cooler and here you can also see the air line to the jacking system, in this instance recessed to comply with road legislation.
A bit of recent history and will catch up with the install in the next post.
Expectant engine bay now temporarily filled, and details of air jacking point.
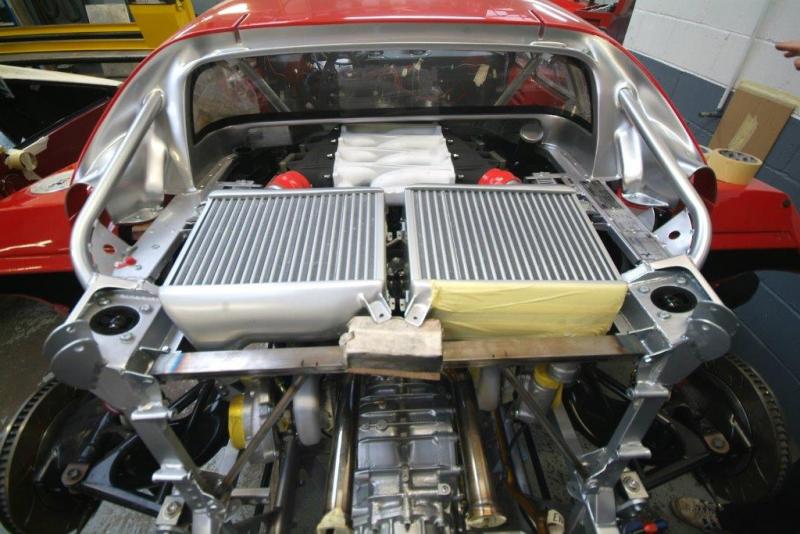
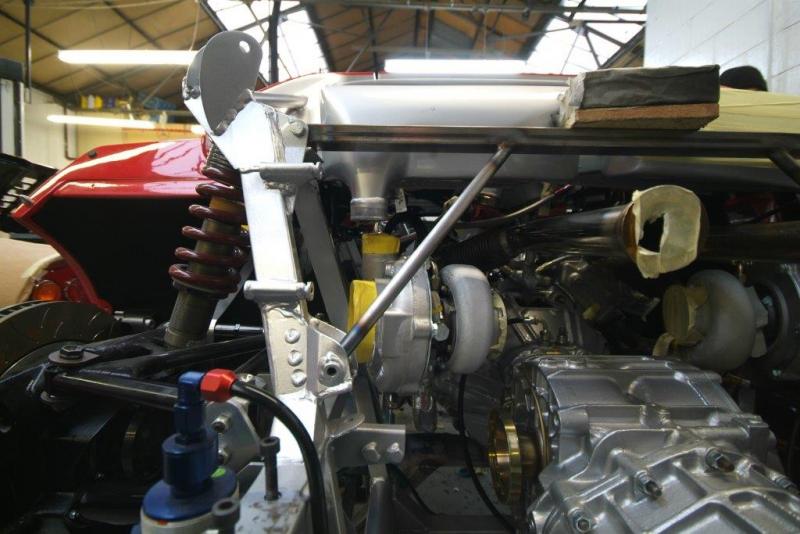
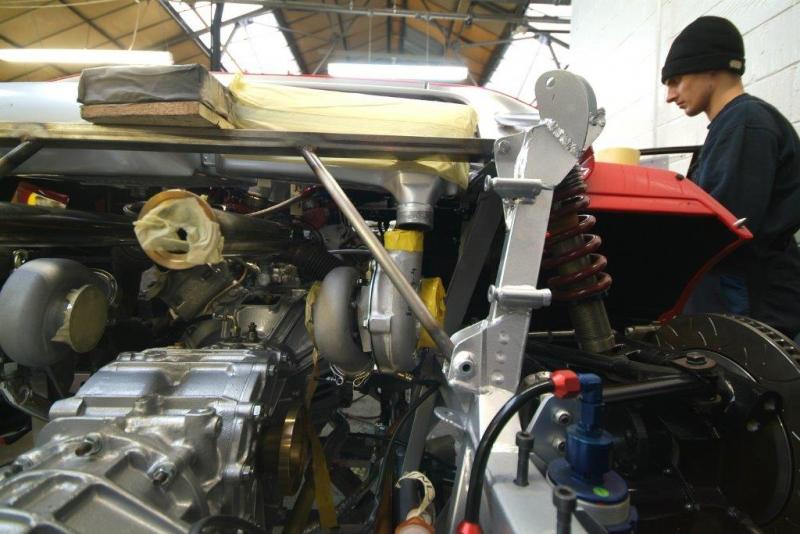
Next up is to trial fit the oversize intercoolers which will finalise the position of the turbos.
A couple additional shots from last week.
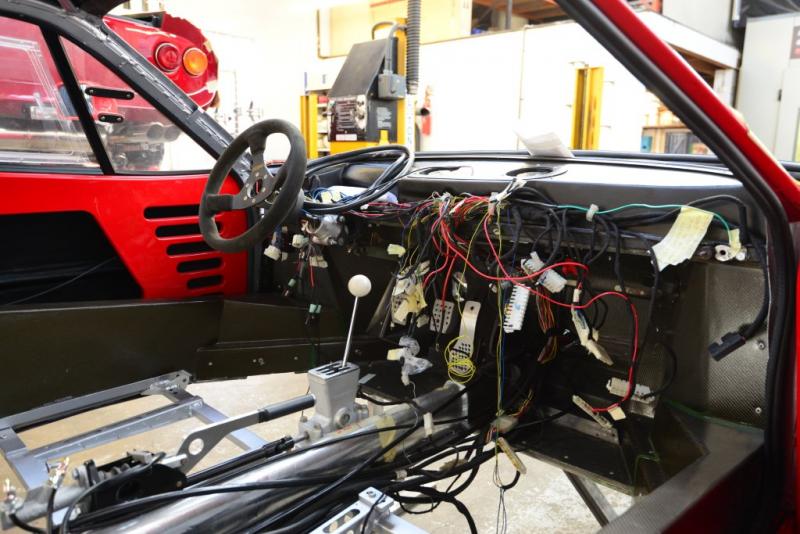
As you can see there is still much to do electrically and we are just about to begin the Motec wiring.
Currently thinking I might keep the standard recessed and covered fuseboard rather than exposed and prominent as it should be as seeing as how this car will quite often be carrying passengers, not what you would want to come into contact with if it all was to go pear shaped?
A few detail shots as we measure out all the pipework and settle all the routing so that when it goes in for real, it all fits. As PSk said two steps forward, one step back, but, painful though it is, that is the proper way IMHO.
Next stage, fit the wastegates and try and line up the intercoolers
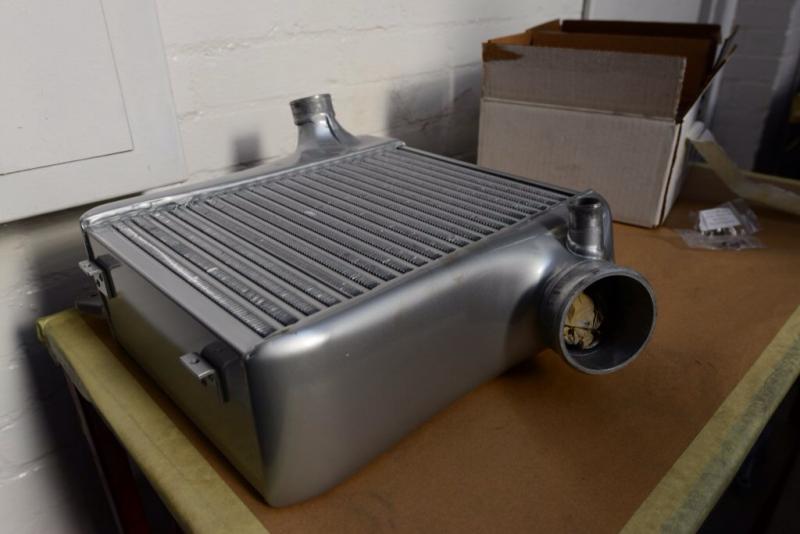
Prior to tomorrow’s post a missing shot of our refurbished oversize intercoolers, their size really noticeable when in position
Looks better than it is as I have to keep on reminding you (and me)that it all comes back out again soon. Nevertheless beginning to look the part with the Intercoolers now positioned and as you can see we need to adjust the turbos to line up.
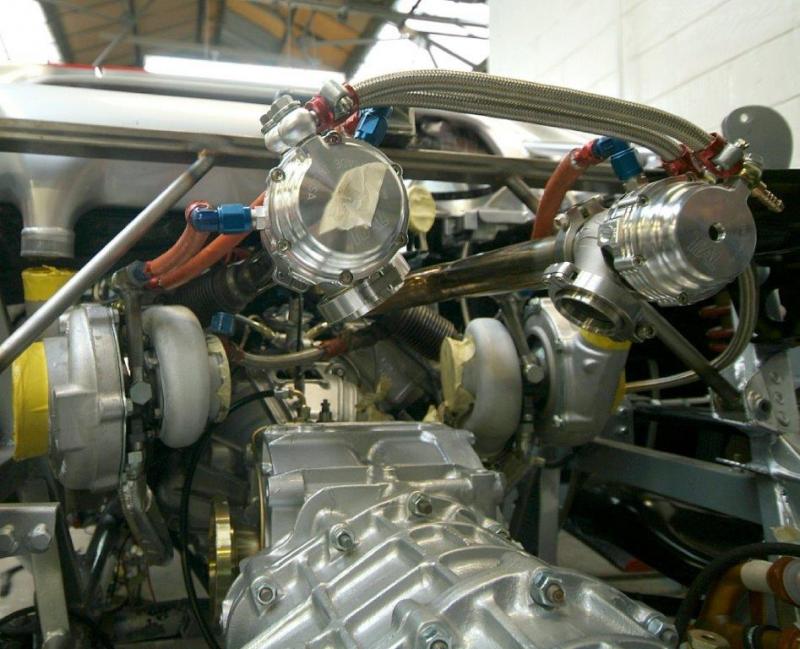
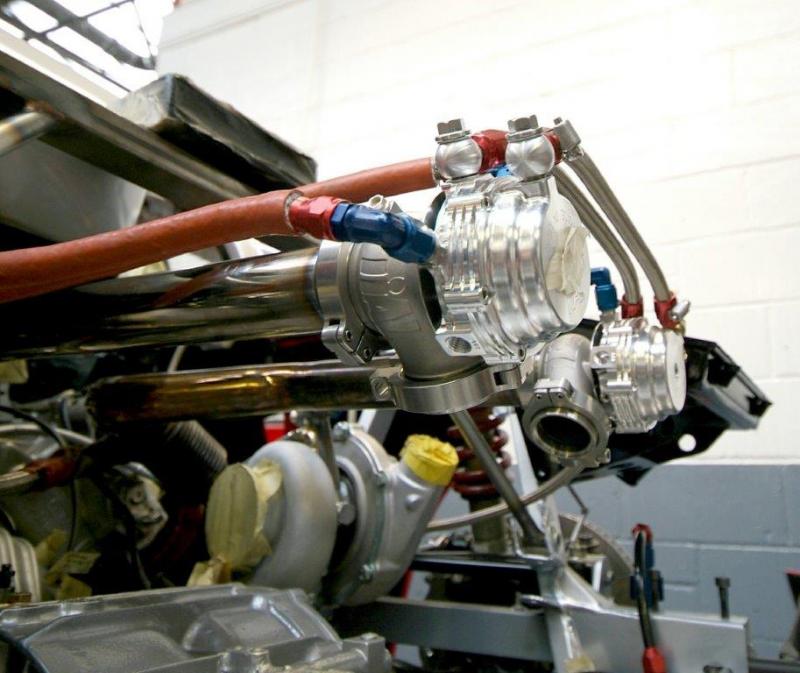
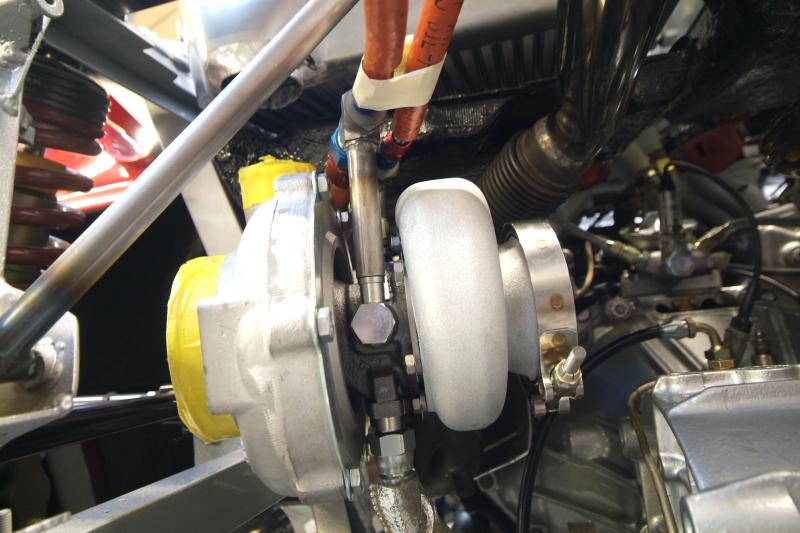
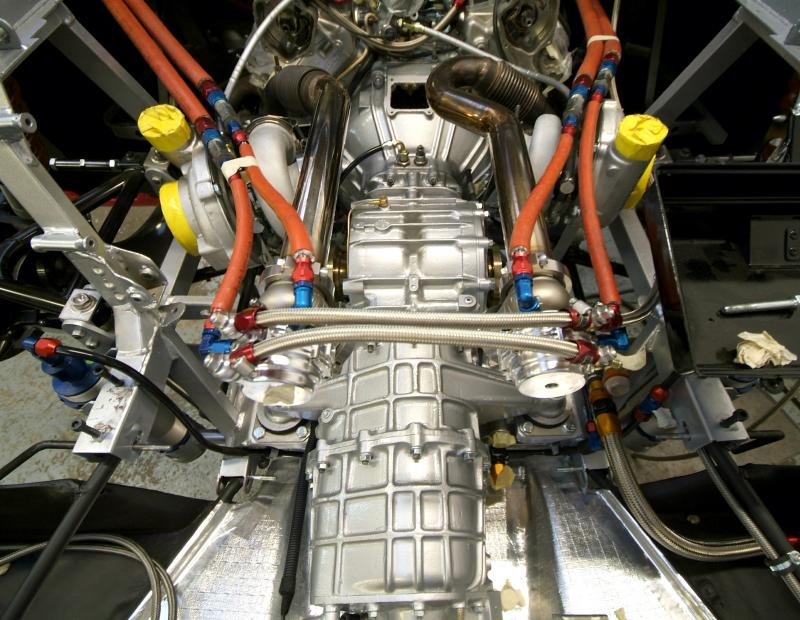
Water cooled wastegates fitted. We are thankfully not reonventing the wheel here as there are a couple of race LM’s running this set up in the UK which is helpful, indeed said company will be doing all tuning and dyno work in due course.
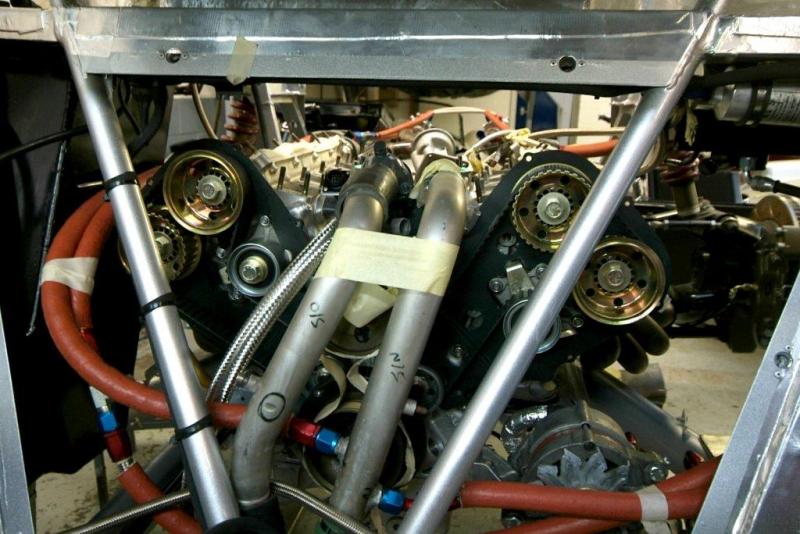
The red pipework is Hi spec water pipe covered in a stainless steel braiding and the additional orange / red heat proofing is “Aeroquip Firesleeve” the routing of the pipes is not final, it is work in progress.
Next up we go round the other side to see where all this links up.
Now from the drivers end of the lump.
First shot shows the fuel regulator having all the hoses finally tightened up and the sensor that runs to the ECU being mounted before reinstallation.
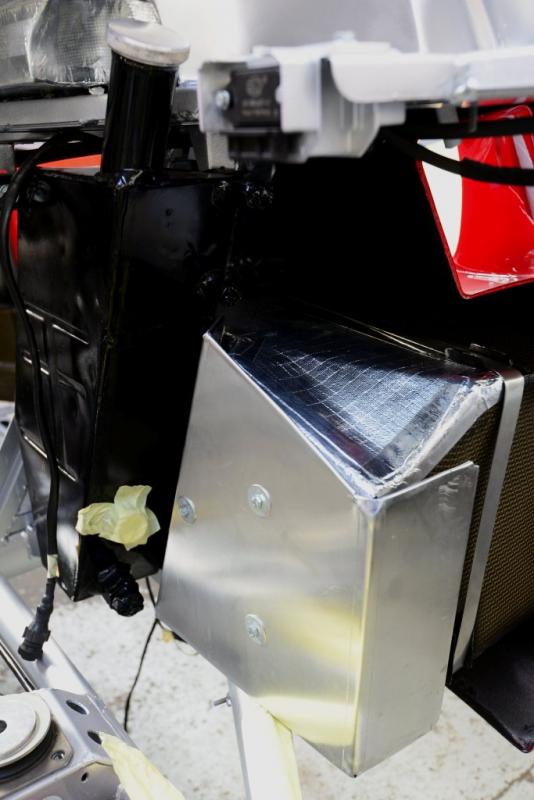
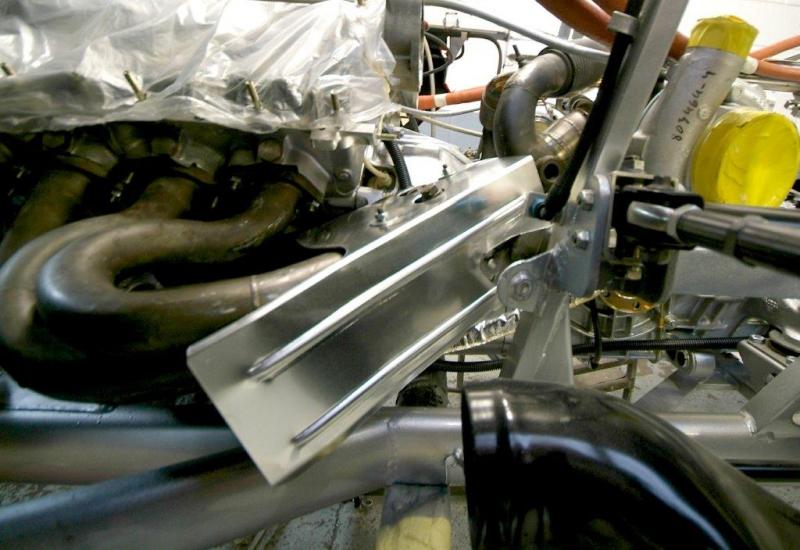
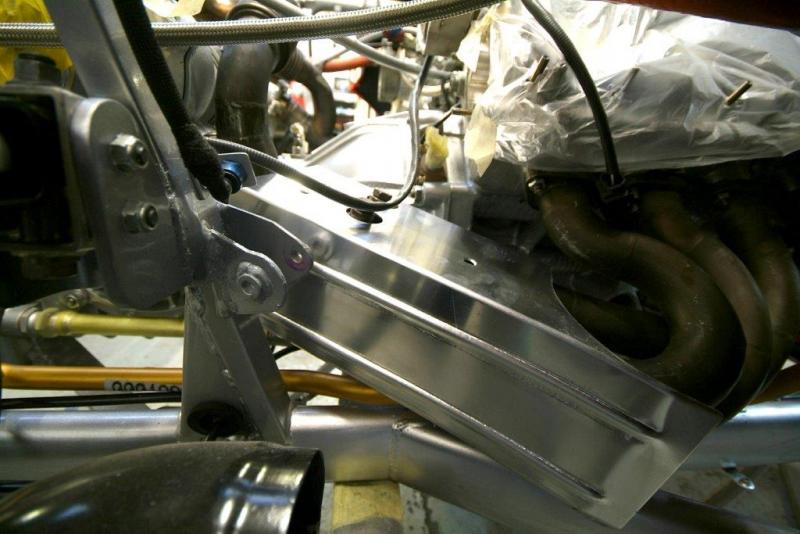
Next up are the two heat shields, the old ones being in poor condition, which will protect the tanks from the exhaust heat. Note, exhausts will be going away shortly for refinishing to match the rest.
Last shot shows details of all the radiator and ancillary water hoses.
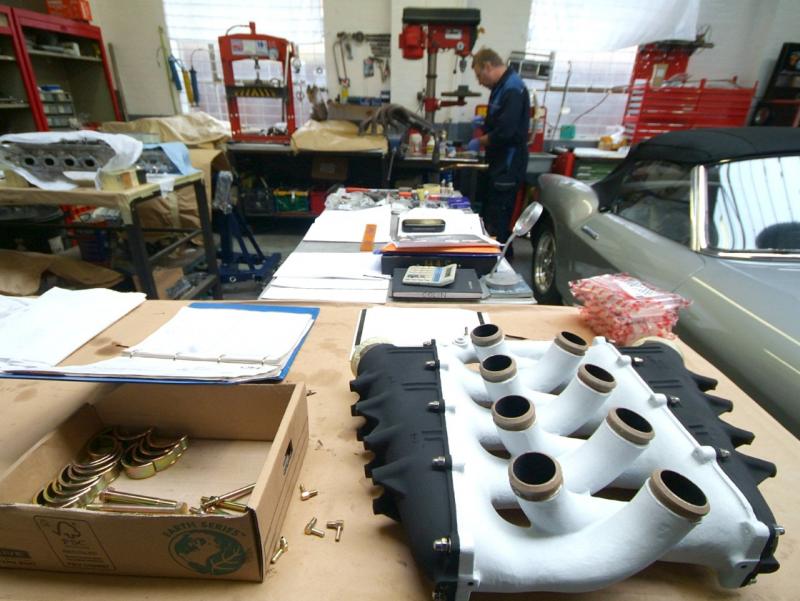
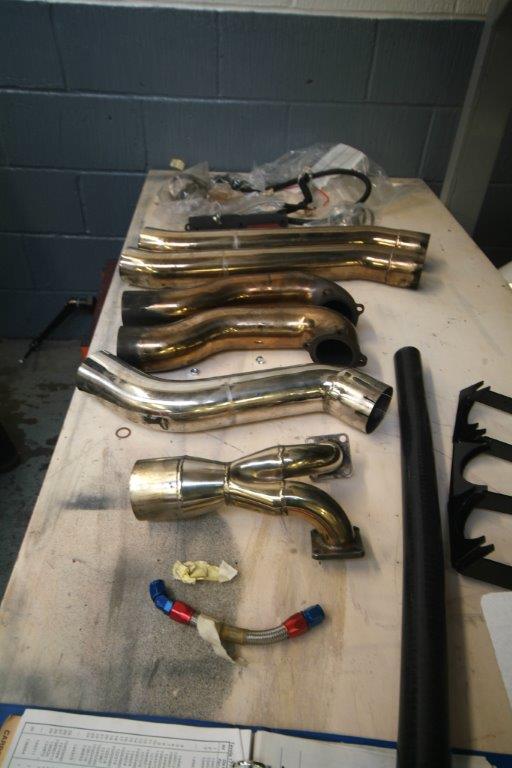
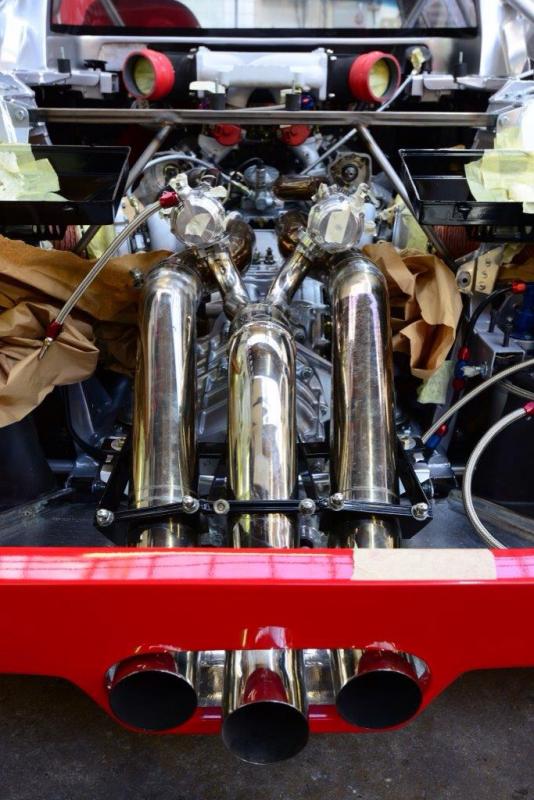
Seeing as how we are on the subject of exhausts, here is what we currently have and are cleaning up. Plan is to zircotec the lot, including the manifolds, in white as a nod to the P cars and indeed as a few LM’s were.
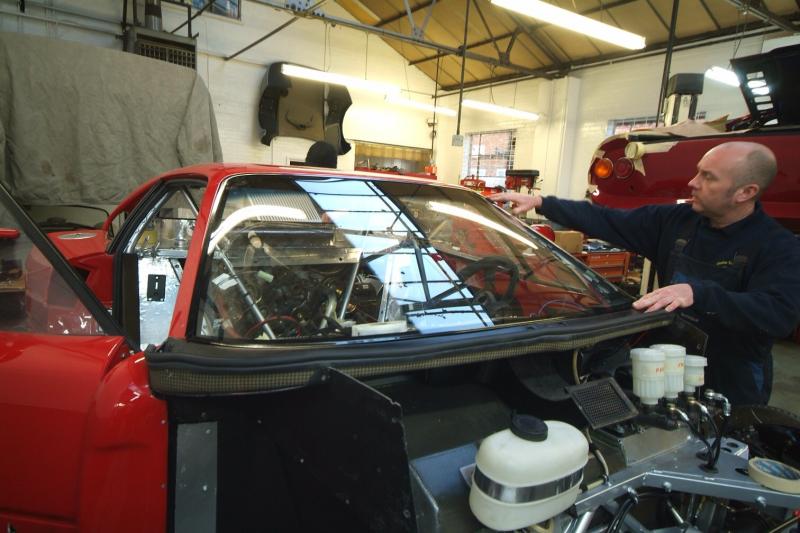
Perhaps not the most exciting of shots but somewhat of a landmark none the less. Turns out the existing screens heating element was not working so seemingly inevitably a new one was needed.
A few detail shots showing the various oil lines all correctly sized and fitted. All looking very neat and tidy.
A detail shot showing the supports for the wastegate coolant pipes so as to provide better heat tolerance as well as a stiff location to support them. Once they are welded we will Zinc / Passivate them to a gold finish.
Another shot showing all the plumbing. Next up exhausts.
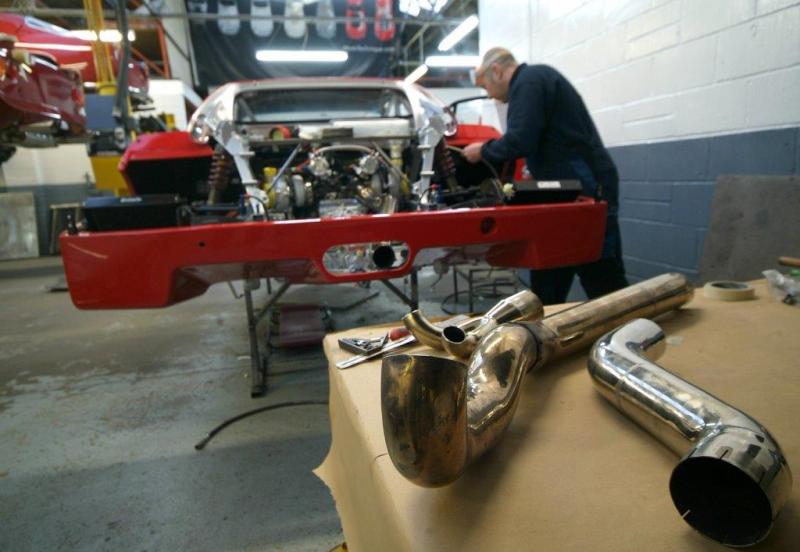
Work now underway adapting our exhaust system and a further shot of the transmission etc.
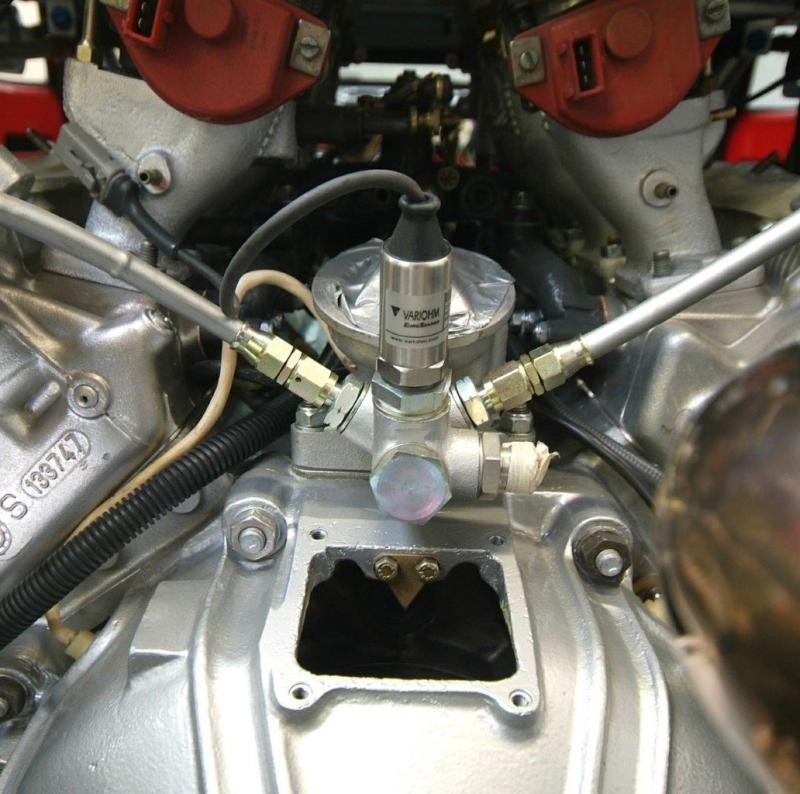
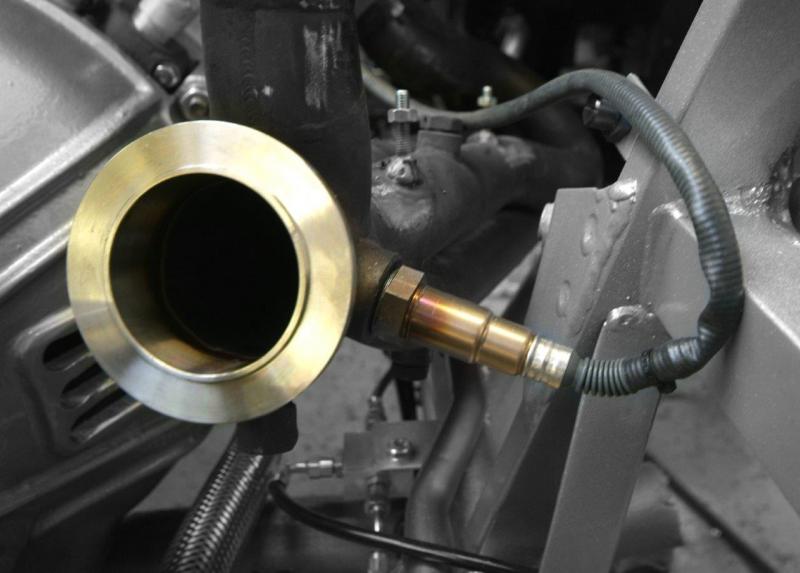
A couple of detail shots showing the oil pressure sensor and a Lamda sensor
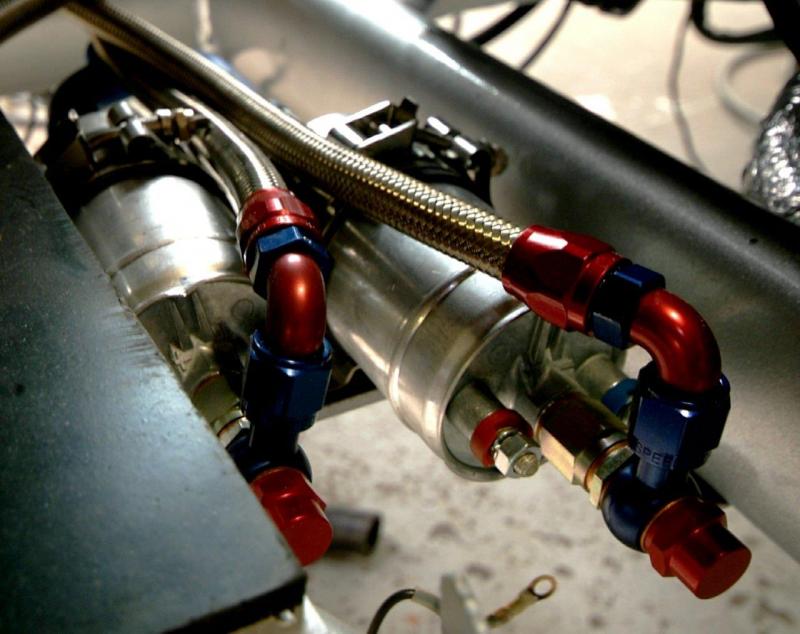
Close up of fire extinguisher outlet and fuel pumps. Fuel pumps are a different set up on the race car whereas I believe they are internal, certainly in USA cars.
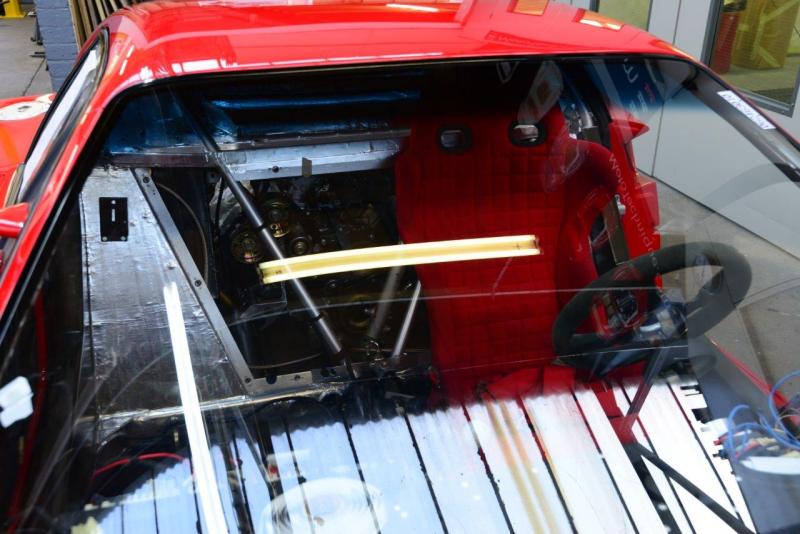
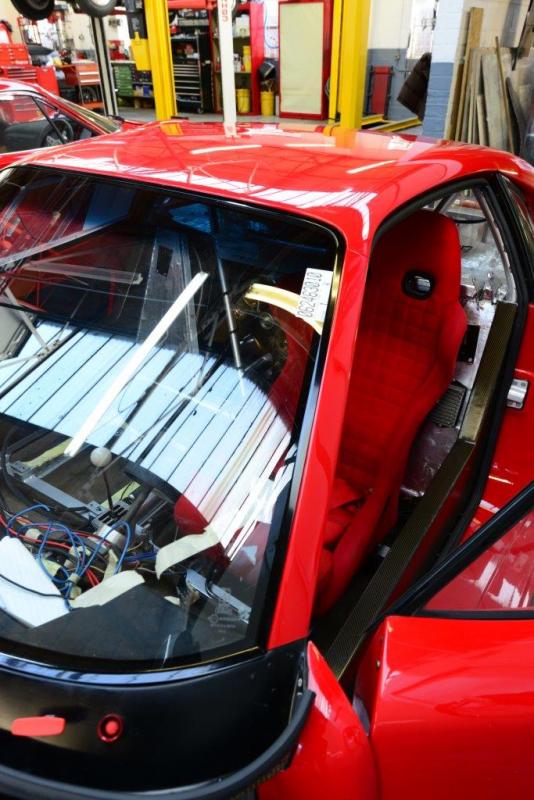
New windscreen with heating element now bonded in and seat temporarily fitted to check out positioning for mapping controls etc. Note the Michelotto LM seats which will either be cleaned or recovered in due course.
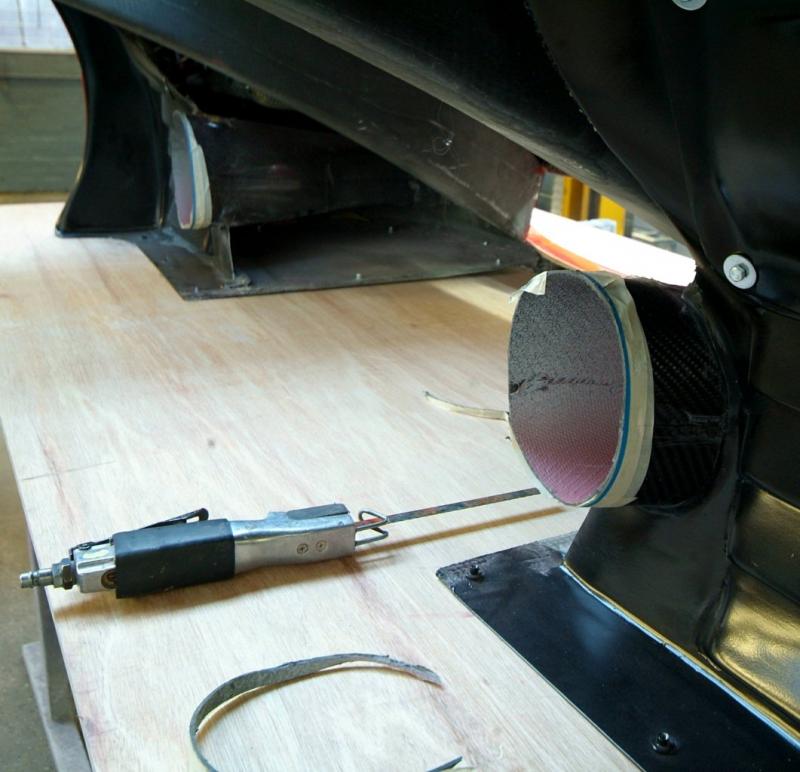
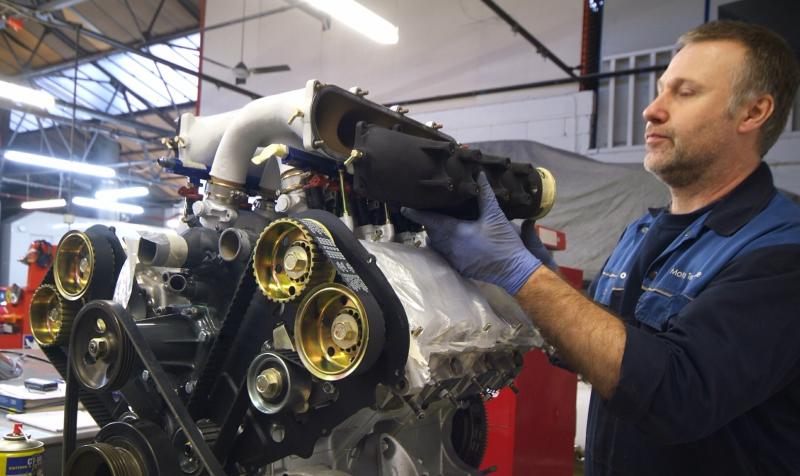
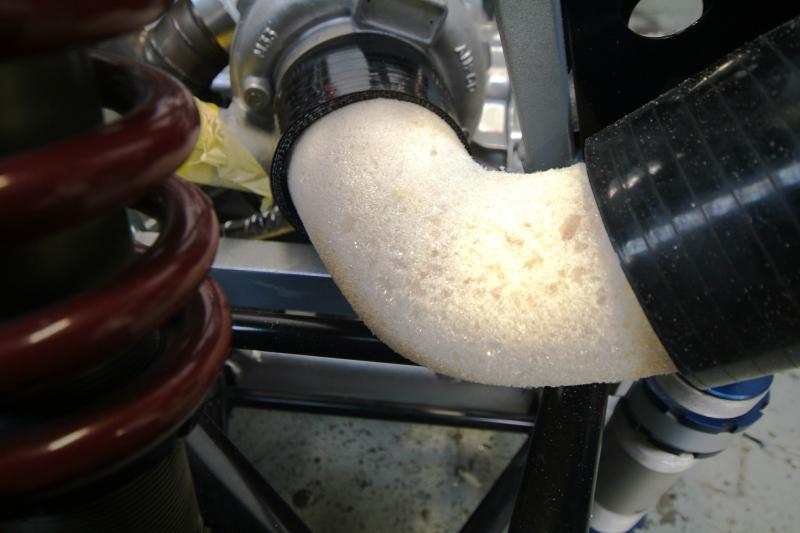
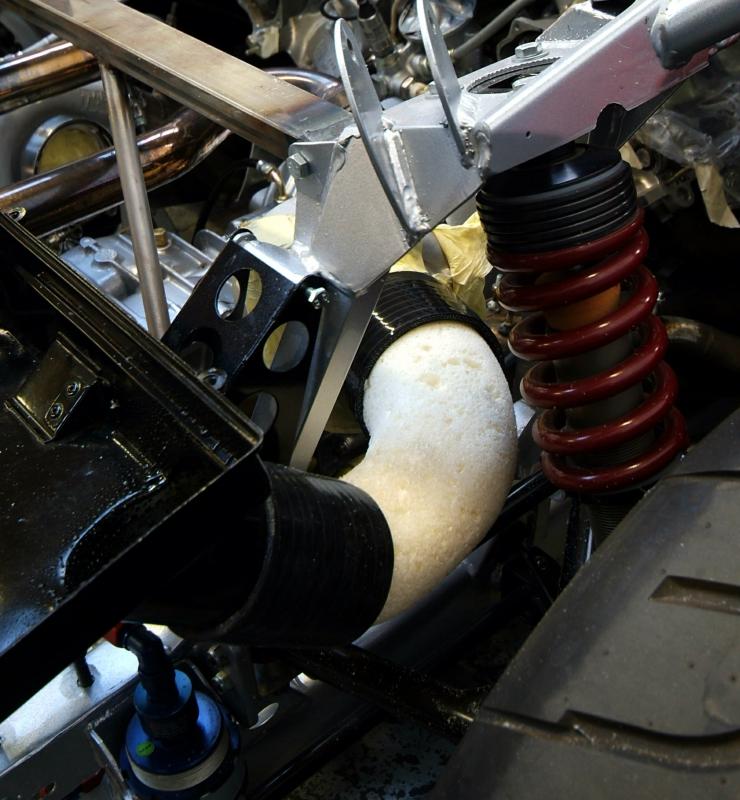
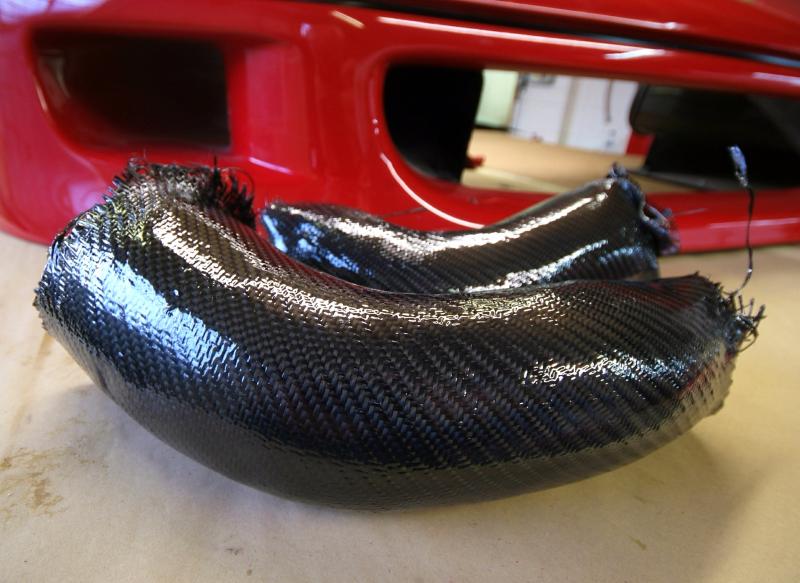
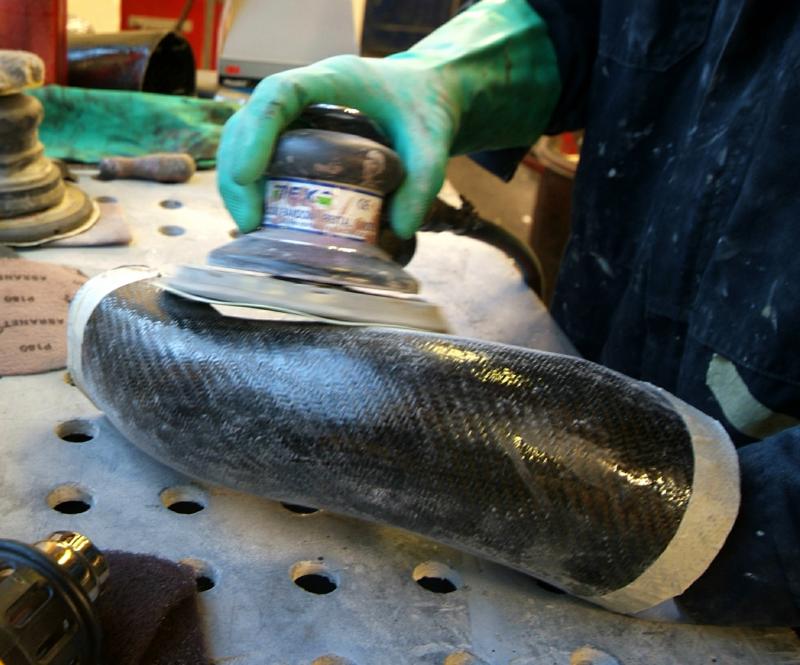
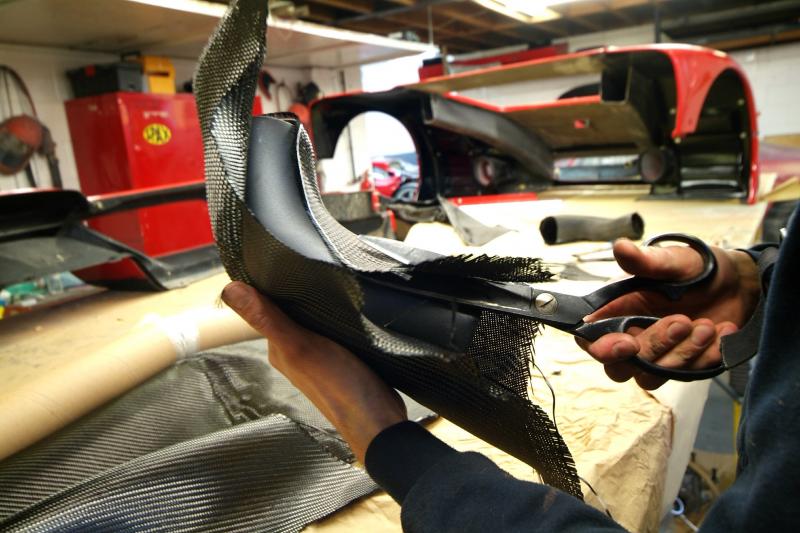
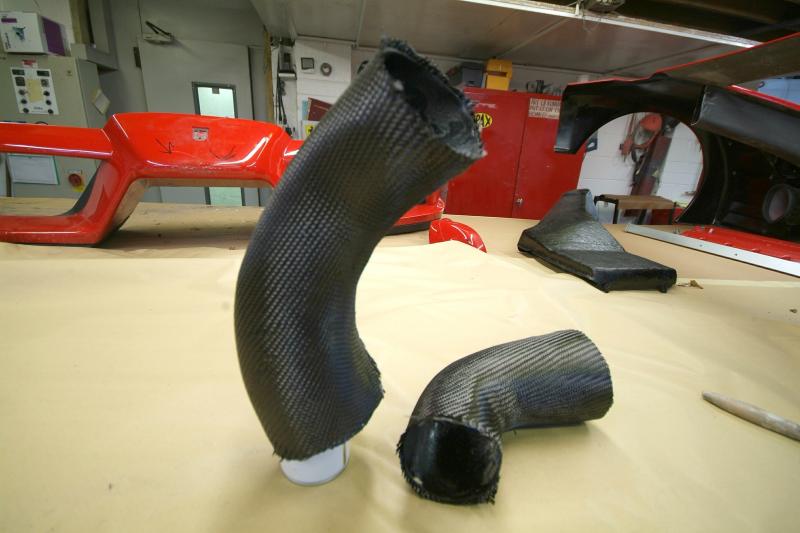
One further part needing modification and renewal, the inlets from the air boxes to the turbos. Here you can see some elephant hose being sacrificed. Filled with foam, stripped off and the foam core then used as a former for laying up the carbon.
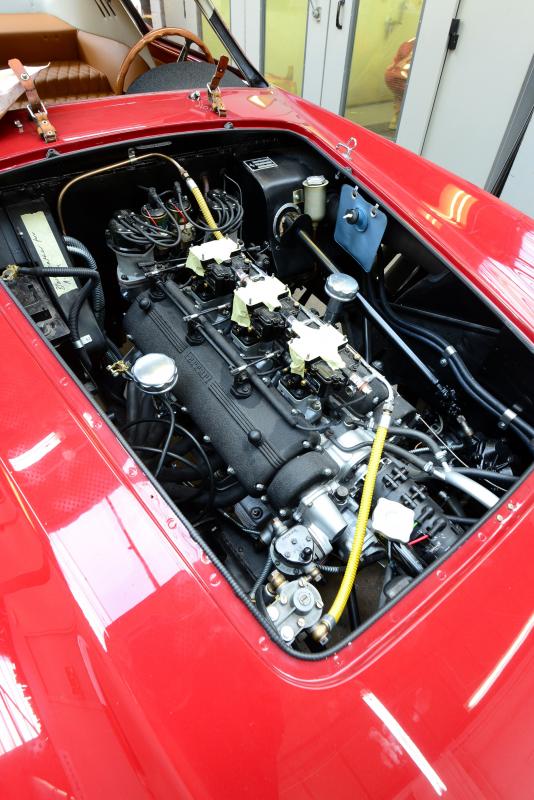
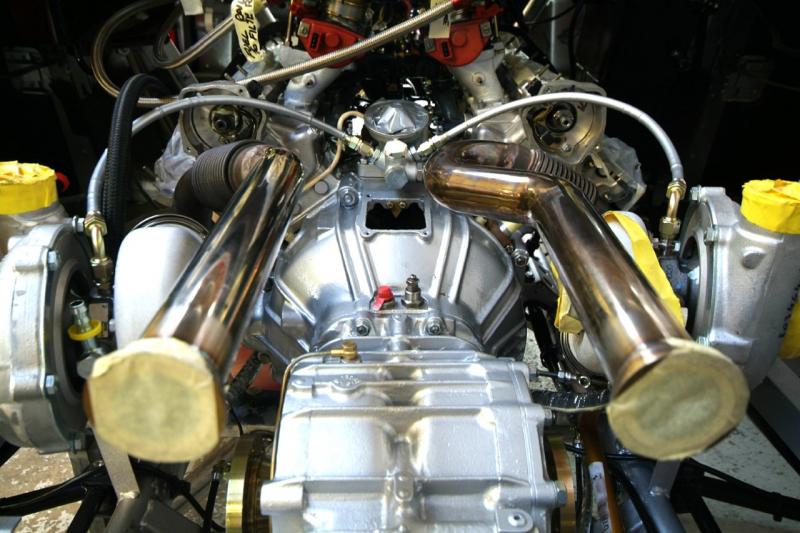
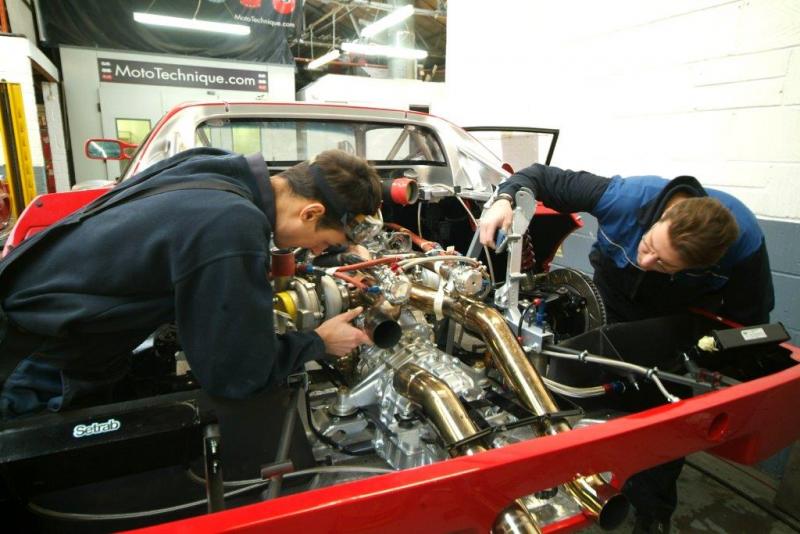
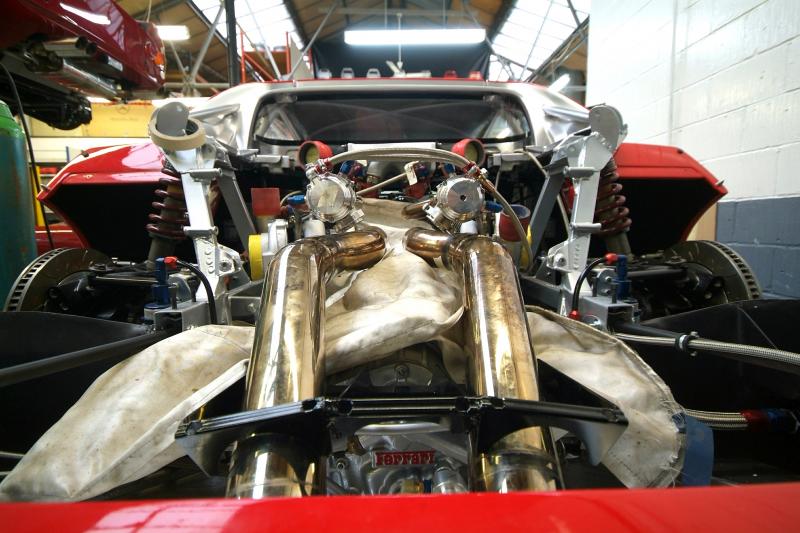
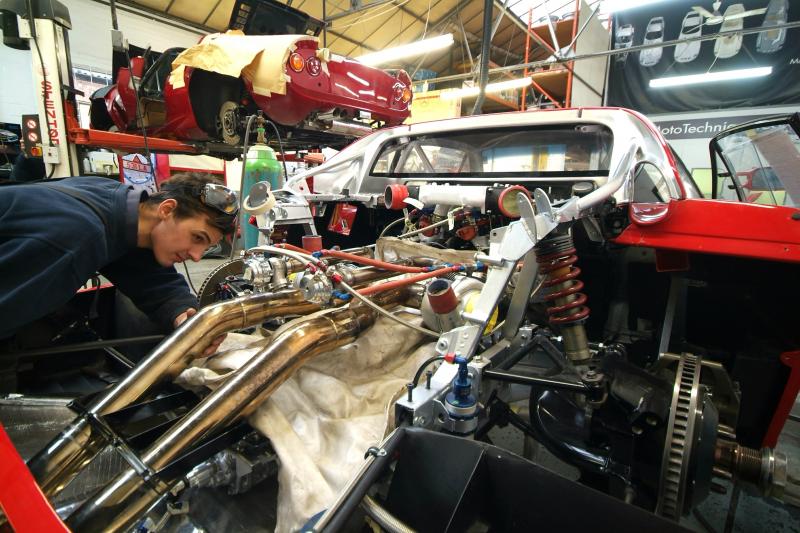
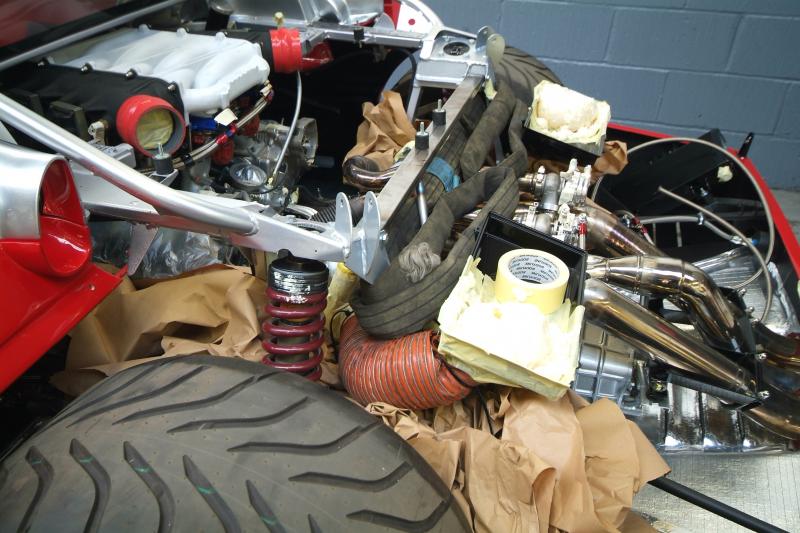
Exhaust installed and I have to ask if there is a better engine zone in the automotive universe? And I do mean zone rather than bay, with the suspension, tyres, exhaust, oil coolers etc etc; just classic.
Cannot wait until it all goes together for real inc intercoolers etc as it should really look quite something.
A drip feed of shots up to Christmas as clearly work is over for now…..
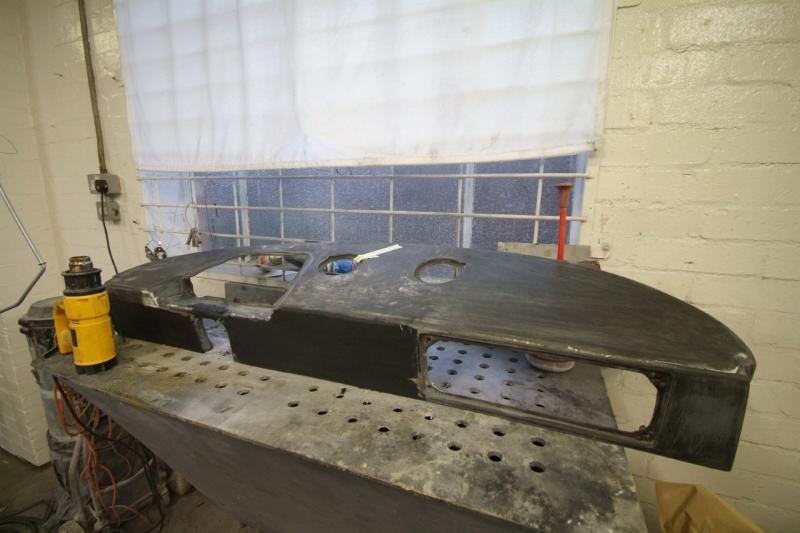
Upside down shot shows Dashboard now well on the way. Right hand side of the dash all sorted, left hand was dominated by the giant red oil pressure warning light which ensured there was no way the driver could claim he never saw it, as covered earlier in the thread, so that has been filled in and will now be arranged as it should be.
Not quite sure why the wastegate pipe appears a bit longer. We plan to even up.
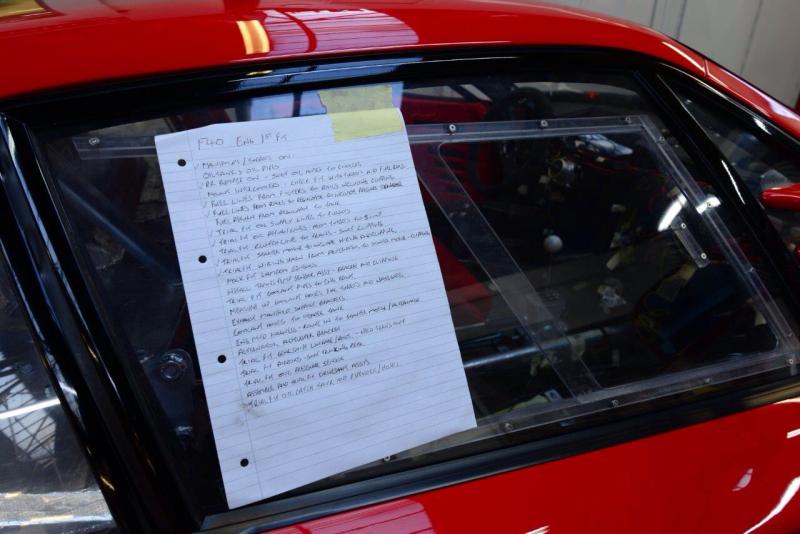
A few shots before the strip down and the final haul. A small list…..
Front just missing the lower brake ductwork and a bit of wiring to tidy up.
Yes, I know about the tyres!
Engine prior to strip out after we have made the carbon turbo trunking coming next.
They begin to take shape….
Beginning to look better…
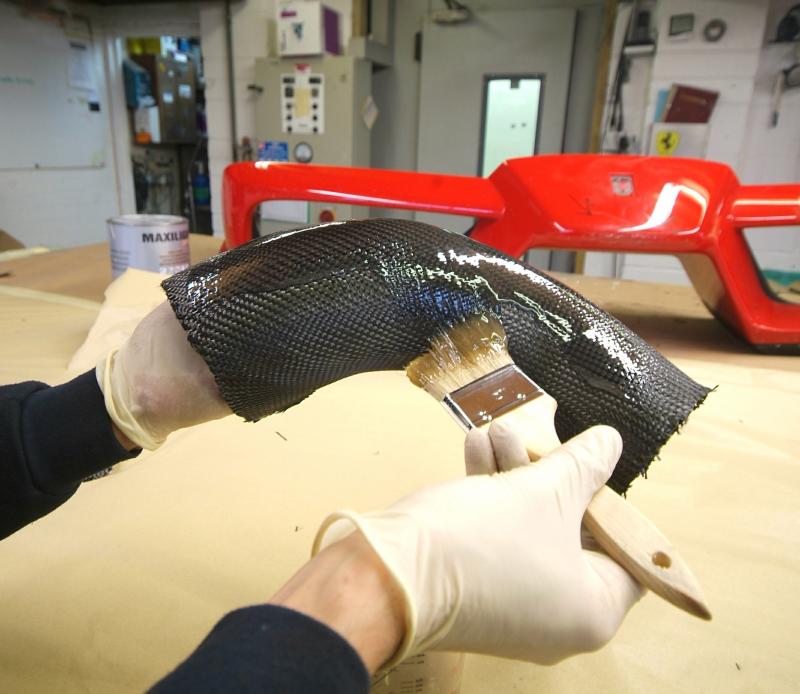
And finally the resin and you begin to get an idea of the finish. Note the traditional Mototechnique back drop!
OK, final assembly for real, really.
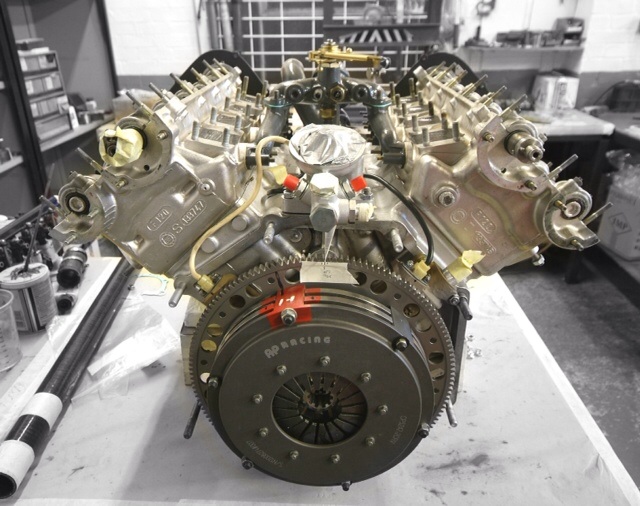
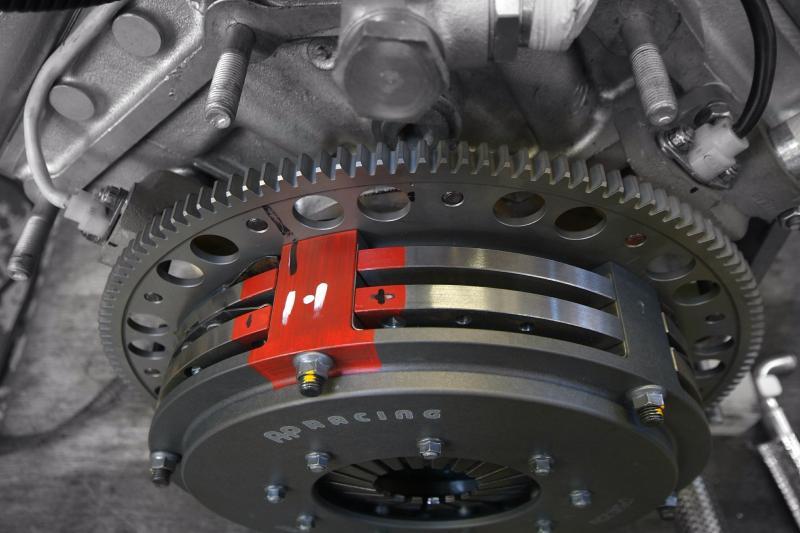
Clutch and lightweight flywheel shown here with marks indicating position as balanced
All slightly Groundhog Day.
Next up final detail assembly on the engine to include all electrics etc as the ‘lump’ as installed was short of detail and being used to check positions of everything, those turbo inlet pipes included.
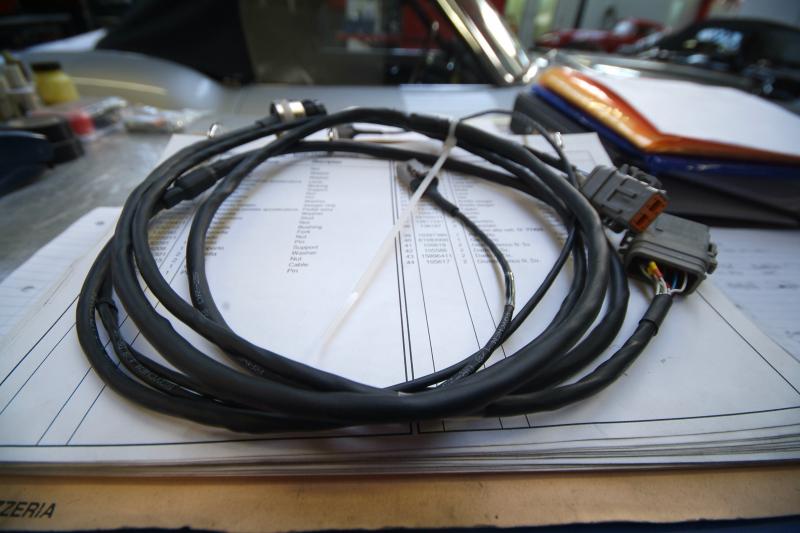
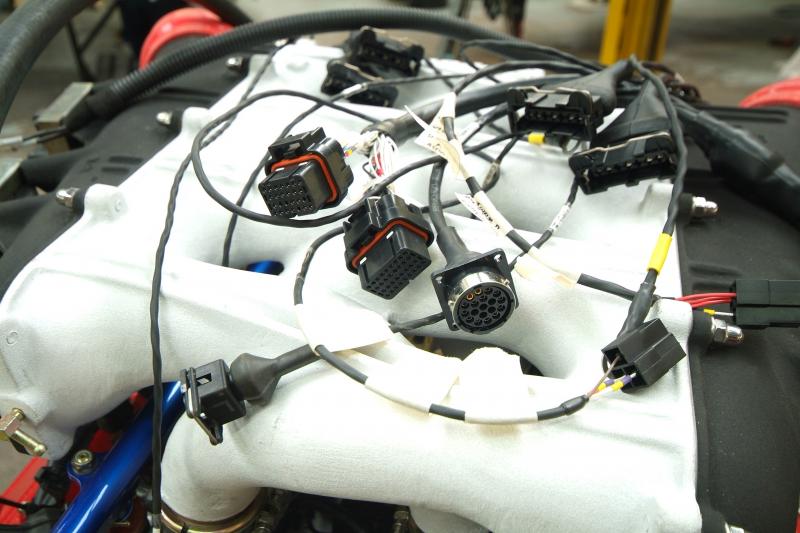
New custom Motec wiring harness now arrived and ready for the install.
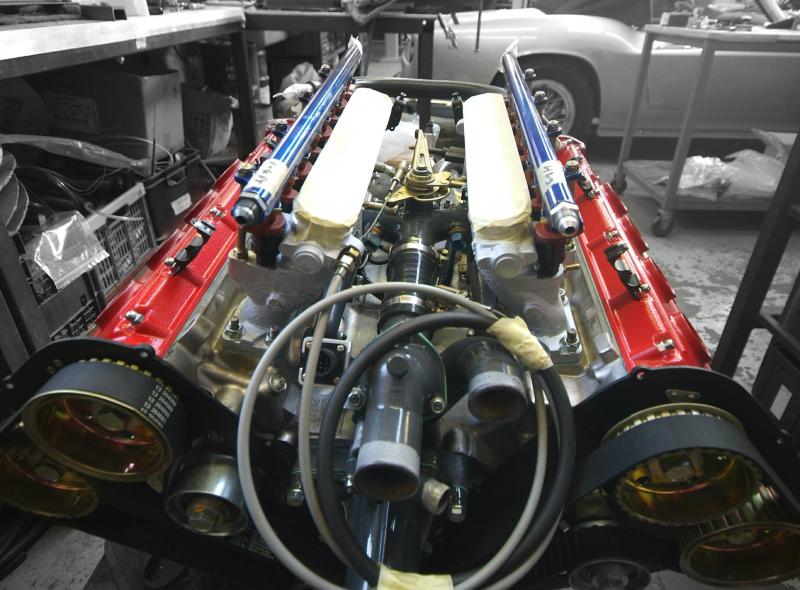
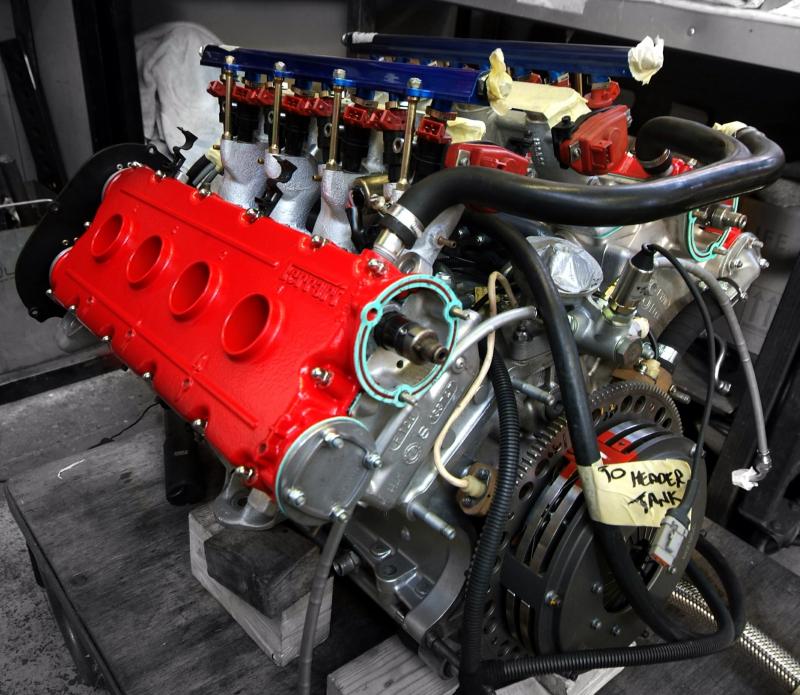
And all the detail work on fuel rails etc now well underway and our new crackle cam covers in place-that was a story in itself but finally we have the correct finish.
Fuel tanks back in for final time, really, next week, and then the lump back in and we can start to wire her up.
The mating
Meanwhile, fuel tanks now in for good, all plumbed up so next we can return the lump to its natural home now that hopefully all clutch issues resolved.
Meanwhile, back on the front, we are moving towards insertion again…..
And in she goes…
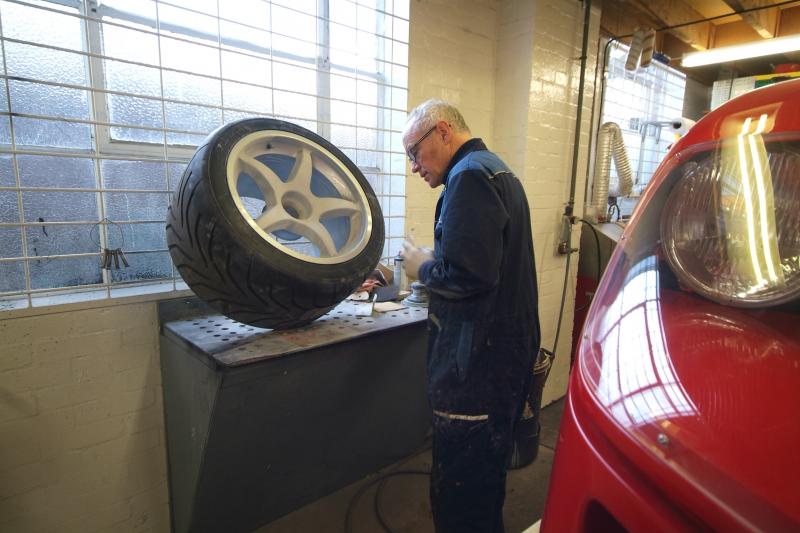
New OZ rims from Michelotto all pitted and poorly finished so now being refinished.
And this little not now needs plugging in….
Original: Build Threads

