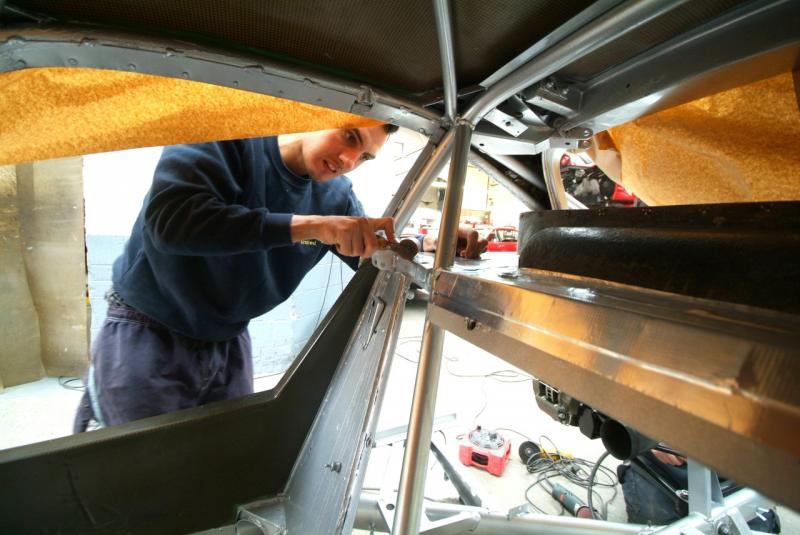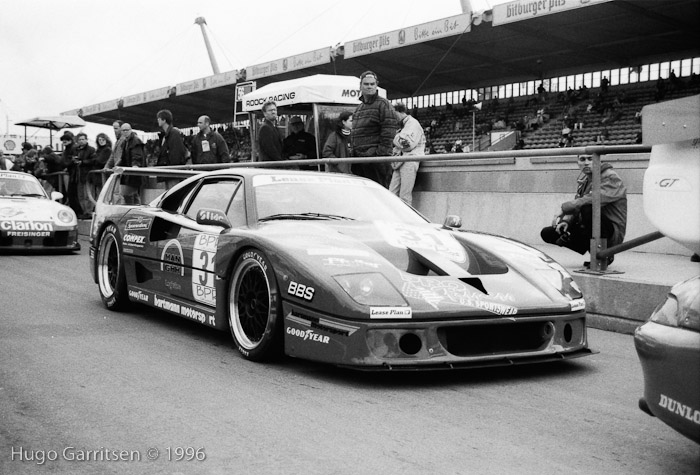
Ferrari F40 LM Restoration
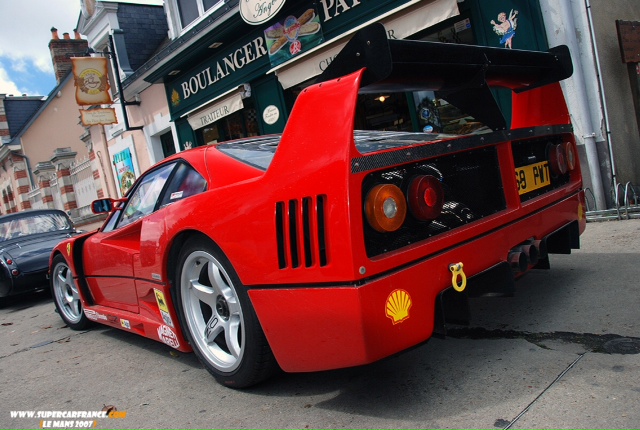
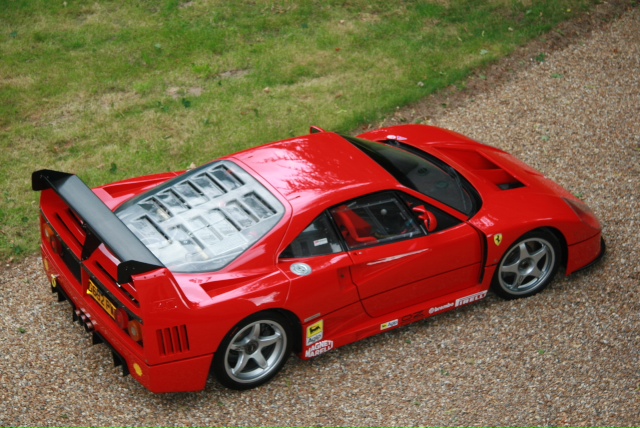
Could this be the holy grail? The best car ever featured on Build-Threads.com? For those of you who are keen followers of the Facebook page, you’d be well aware that I’m quite the Ferrari tragic, and that as far as supercars go, I’d have a hard time deciding between an F40 or a Lamborghini Miura (if the opportunity ever happened to arise). I’m that much of a tragic, in fact, that I signed up to Ferrari Chat a long time ago just so I could view images that are restricted to members. This build comes from that very forum, but I’m not about to make you sign up to view it. Instead, I have personally asked the owner of this car, Tim, for his permission to re-post the entire thread on these very pages, and thankfully he said yes. I think this build is so incredible that it should be shared with a greater audience, so I’d like to thank Tim for allowing me to post it here.
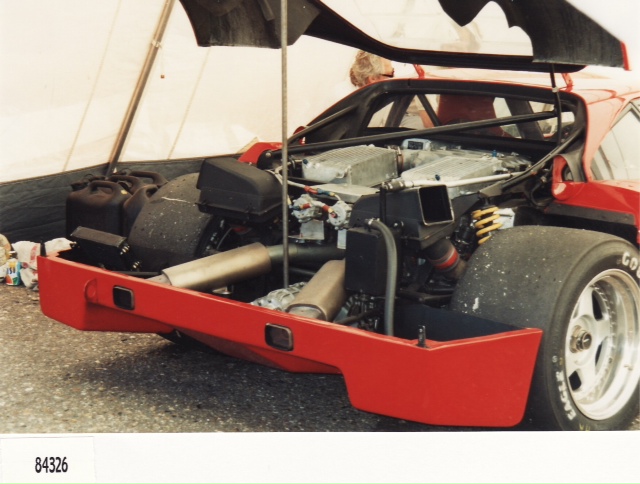
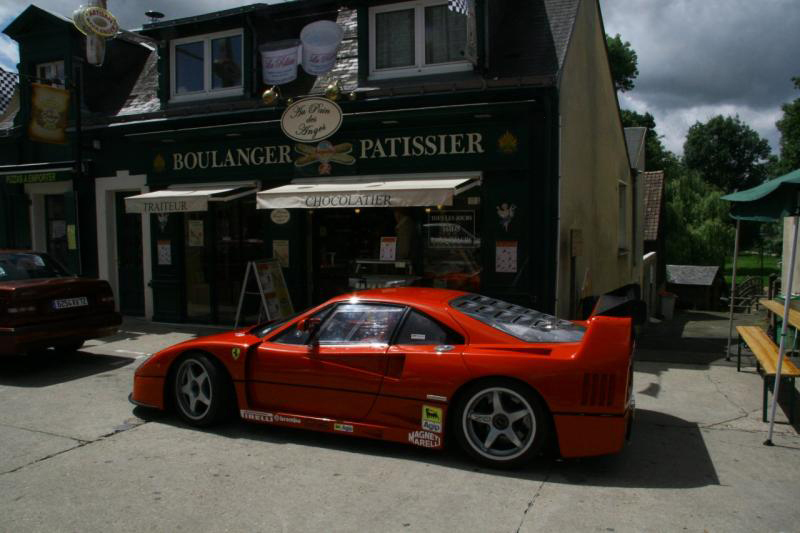
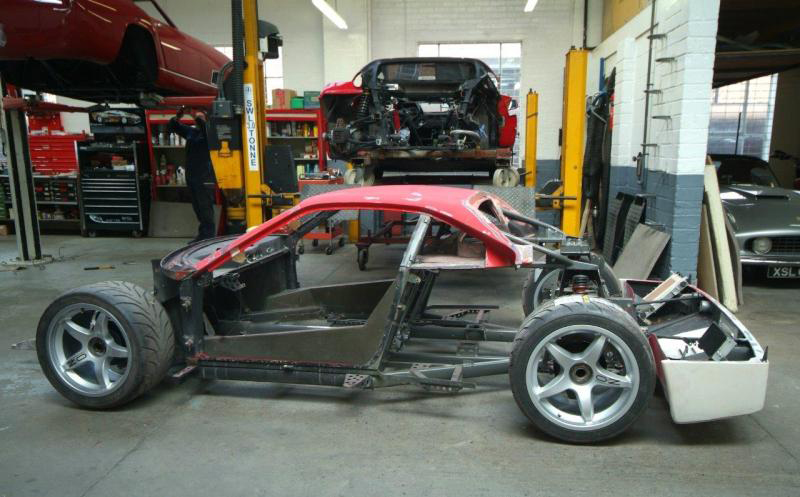
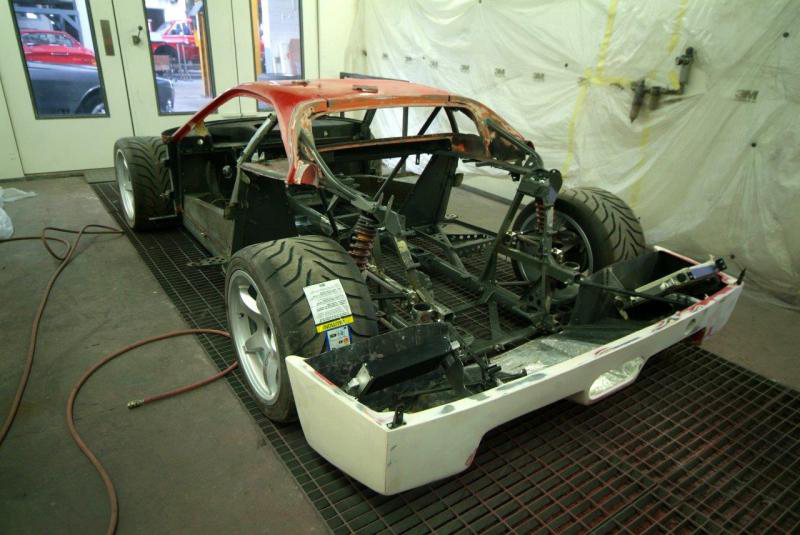
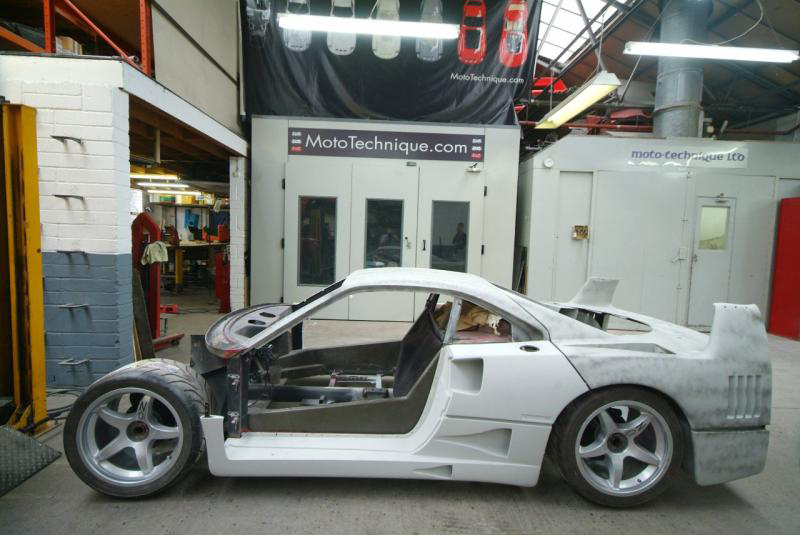
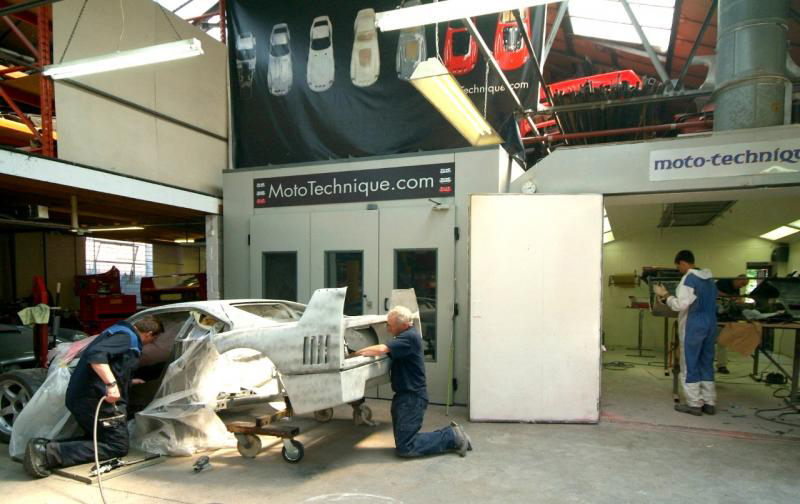
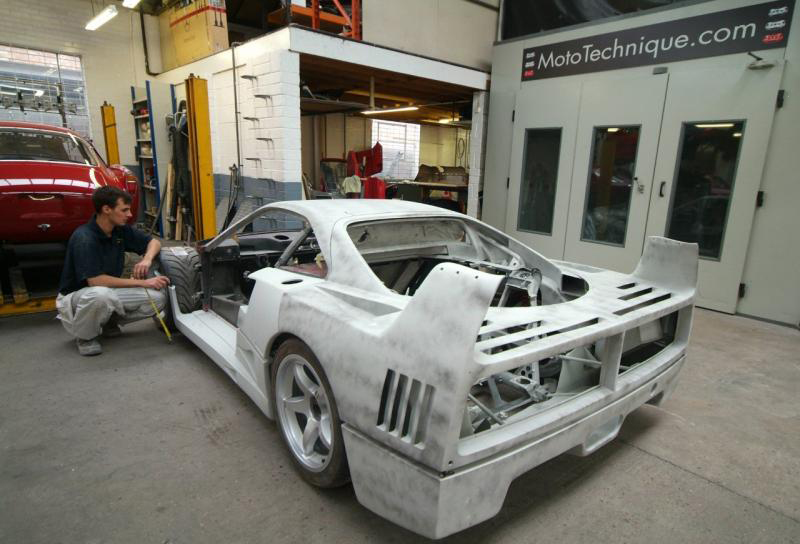
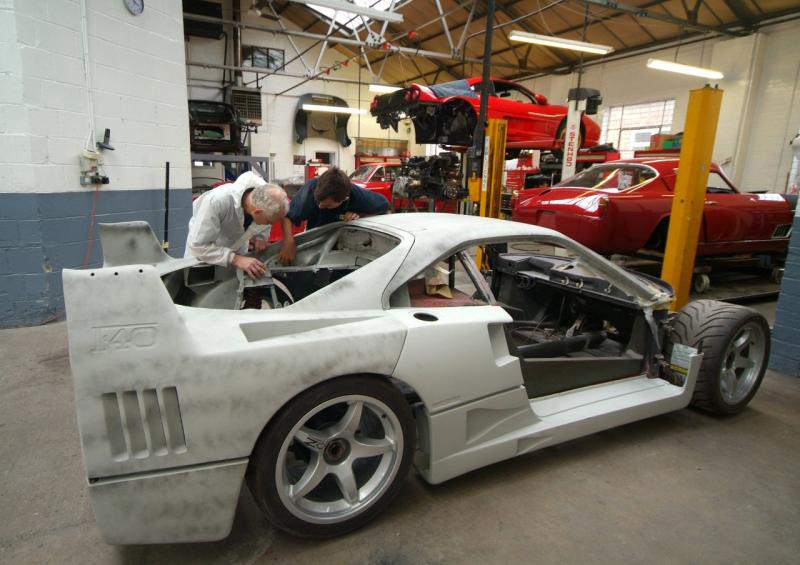
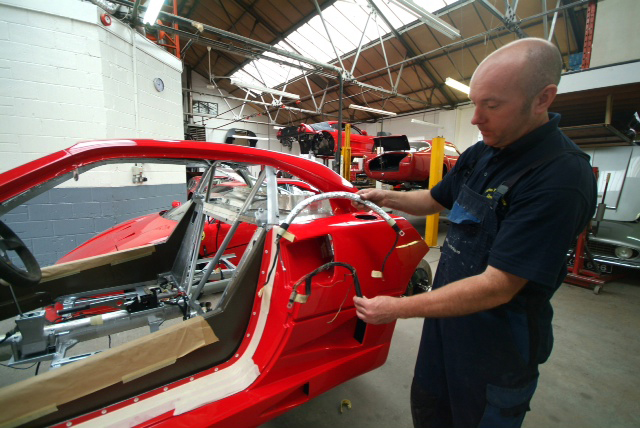
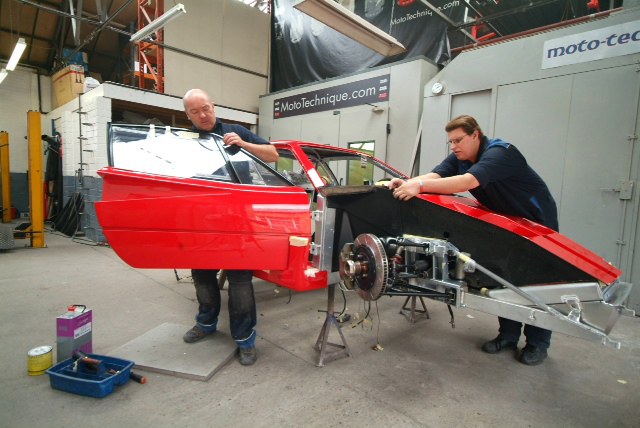
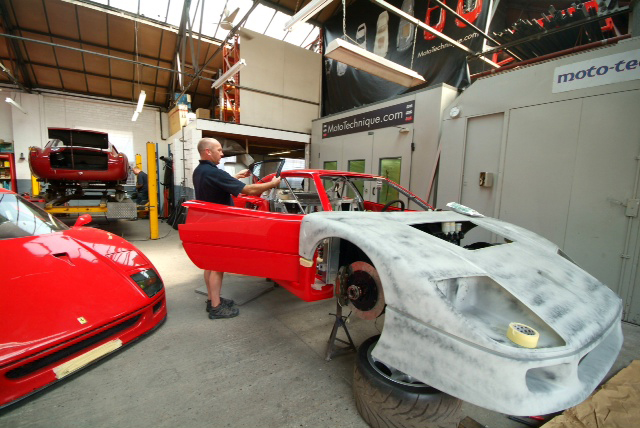
This F40 is listed as Chassis No 84326, and was rotting away in a garage for 8 years before Tim snapped it up and sought about having it brought back to better than it’s former glory. This isn’t a made-for-TV hack job, this is a no-expense-spared restoration of one of the greatest supercars of all time. I’m so used to seeing F40′s in their finished guise, carefully polished with gleaming paintwork, but to see one in various states of undress has given me a whole new appreciation for both the shape and the engineering behind it. I hope you enjoy this build as much as I have…
All text and images below are taken from http://www.ferrarichat.com/forum/288gto-f40-f50-enzo-laferrari/396915-f40-lm-restoration.html
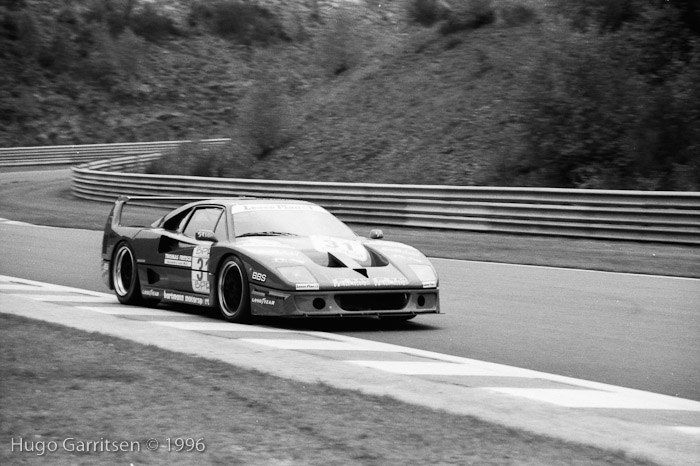
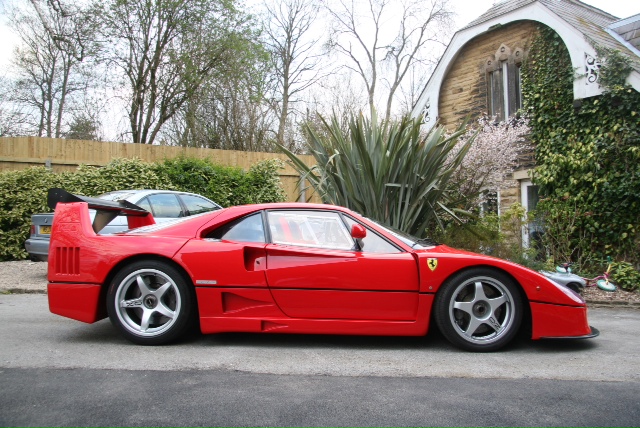
As some of you may have read the thread about chassis 84326, a non Michelotto F40LM which raced in the BPR in 96 and which had been rotting in a garage for 8 years and I bought a few months ago. Described by Mike Sheehan as LM/GTE it is one of 27 non original cars converted by privateers.
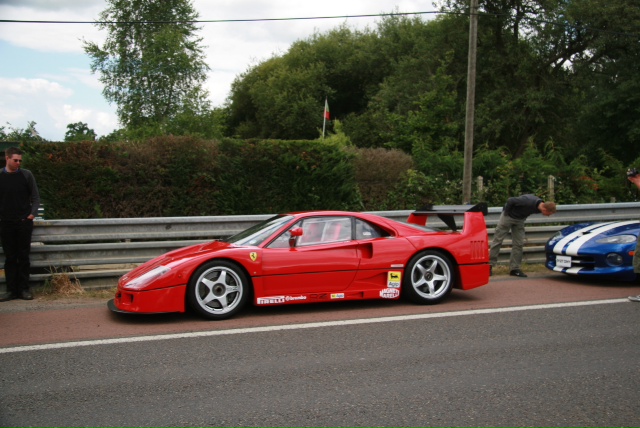
Aside from the original Michelotto LM’s, the 27 other cars as listed by Michael Sheehan in his definitive article on the LM, all started their life as road cars. 84326 was no different and finally ended up in an unusual configuration running twin KKK turbos with twin waste gates and adjustable boost putting out approx 720 BHP. It competed in some races in the 1996 BPR without any distinction and probably it’s greatest claim to fame was that it lapped Hockenheim quicker, just, than a Maclaren FI GTR, so it was no slouch. It is also featured in the book covering the series.
When I bought it, it looked good as per images I will post in a next instalment, but once we got into the detail, it turned out it was a real mess, and 8 years in a damp barn had taken their toll.
The real issue has been whether to restore or continue its evolution and I eventually decided that I would continue its evolution seeing as how it achieved no great success on track in its original format and has continued to evolve during its life so might as well continue now. Consequently, as it is described by Michael Sheehan as an LM/GTE, I thought I might as well continue updating it accordingly.
So, we have stripped her down to almost a bare shell, and the aim is to upgrade all areas to full spec whilst leaving the engine as it raced, and we are lucky in that Michelotto has agreed to supply us with parts, specifically brakes, hubs, suspension etc which he is normally not happy to do unless for an ex race car.
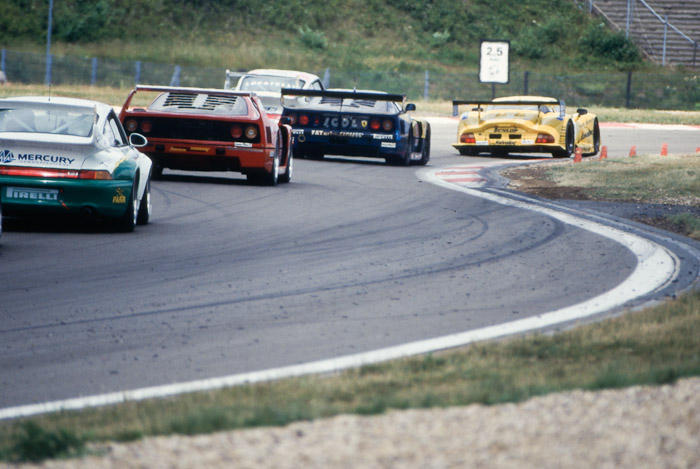
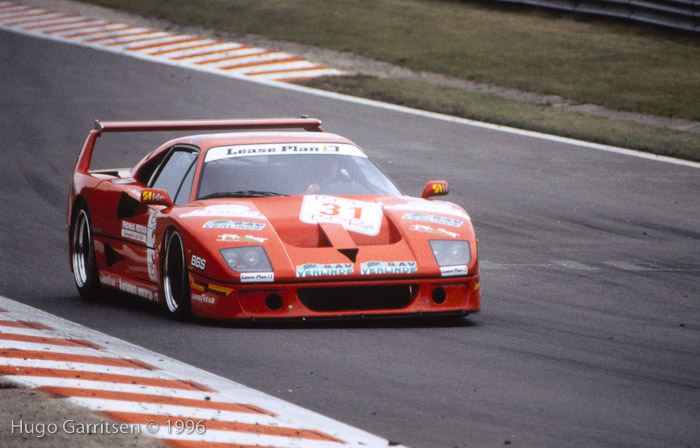
Thanks to our Dutch friends on F Chat, I have managed to unearth its history and as chronologically we should start there, here are some great shots courtesy of them during the 1996 BPR.
Next up a few more race shots and then where we started, somewhat of an illusion.
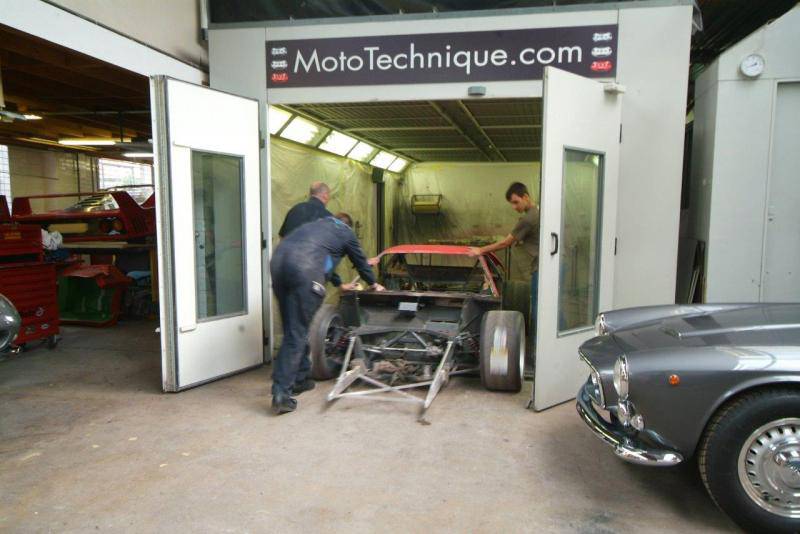
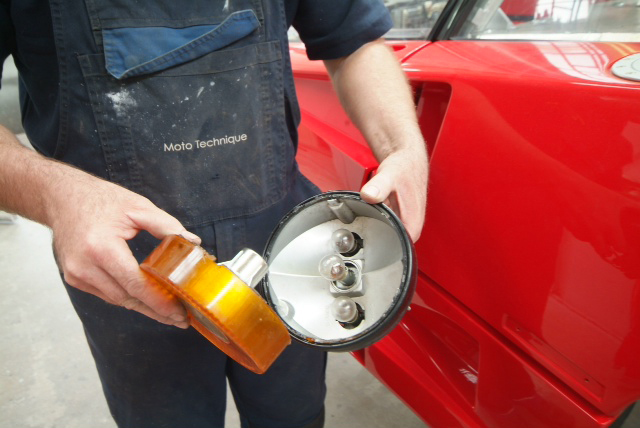
No, I won’t campaign her but use primarily on the track for fun. Hope to follow the Mille Miglia in the Ferrari parade perhaps and do a few events. Work is being done by a small shop in the UK called Mototechnique who I know from old when they rebuilt my 365 Spyder and they recently did a full ground up on a 250 GTO, so they know their stuff-real old fashioned artisans.
A few more images as was
Car was delivered to a small restoration company, Mototechnique in Surrey England who restored my old Daytona Spyder 25 years ago and seems to have got even better having recently done a ground up 250 GTO restoration.
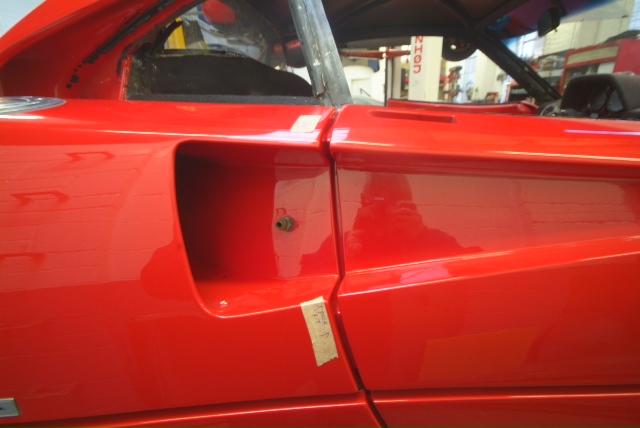
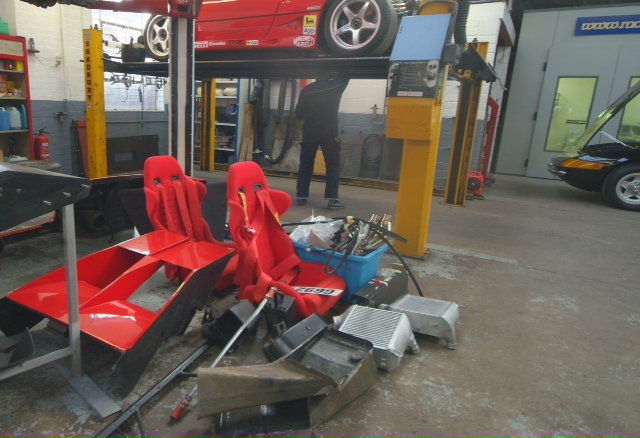
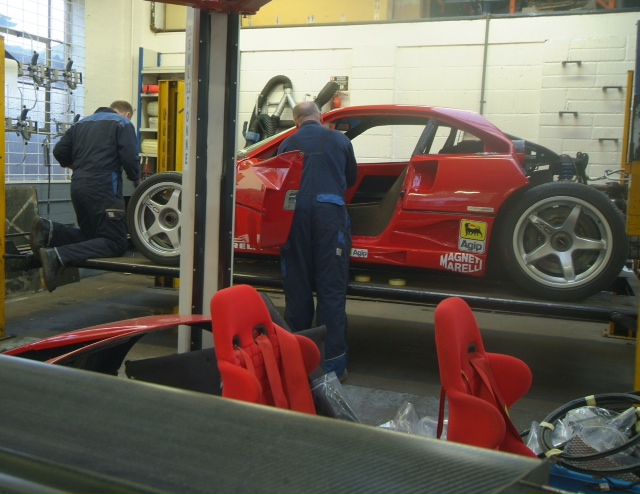
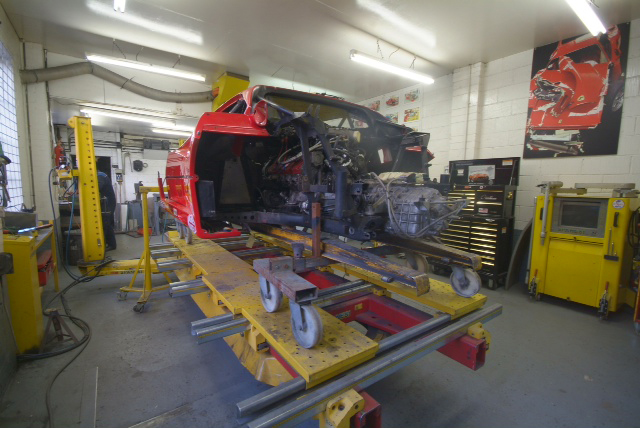
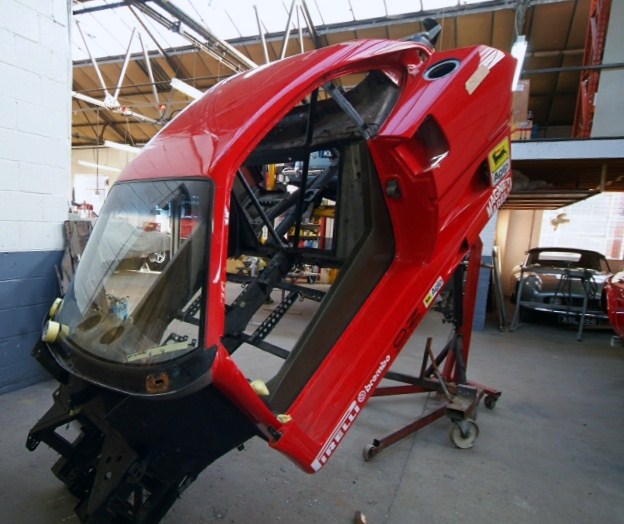
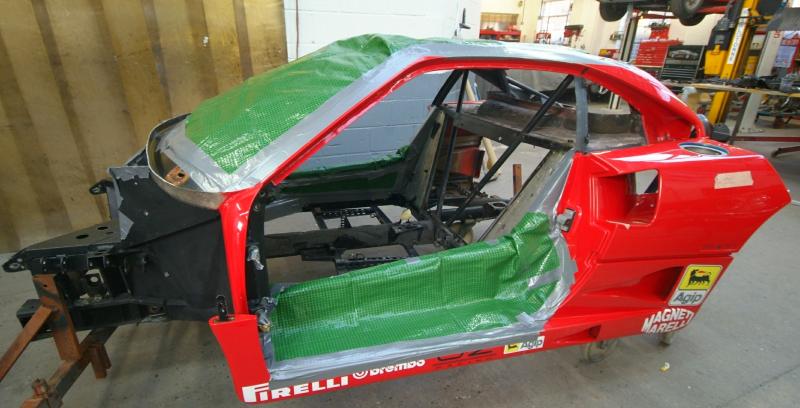
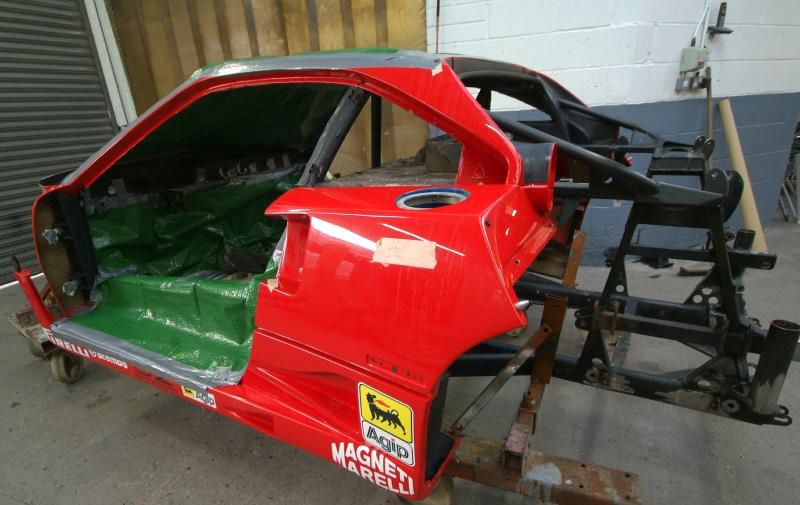
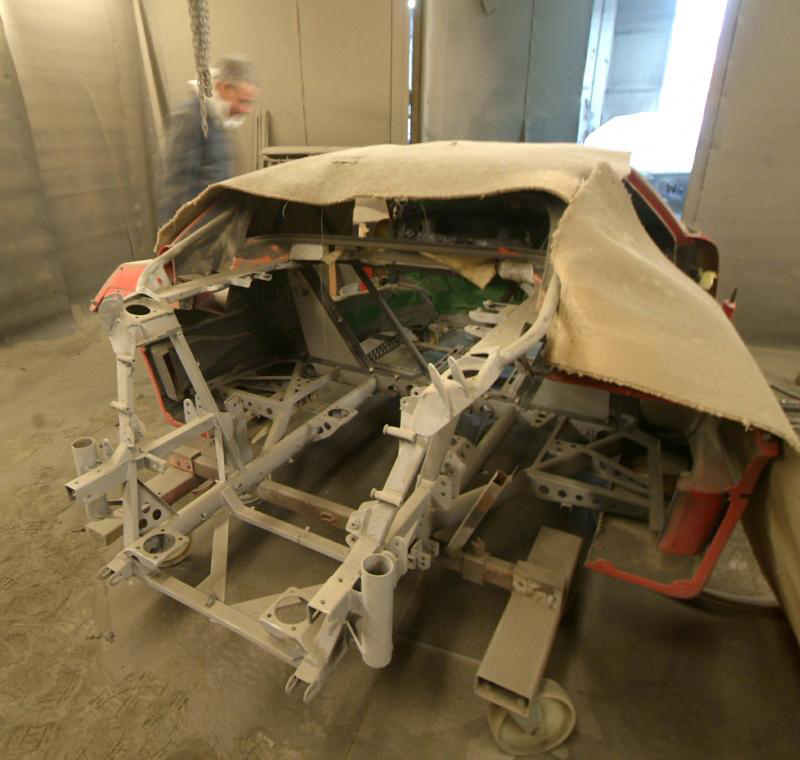
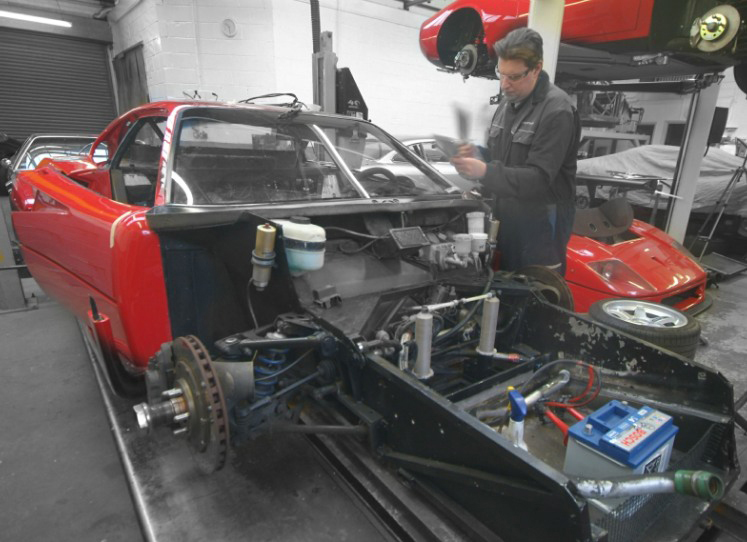
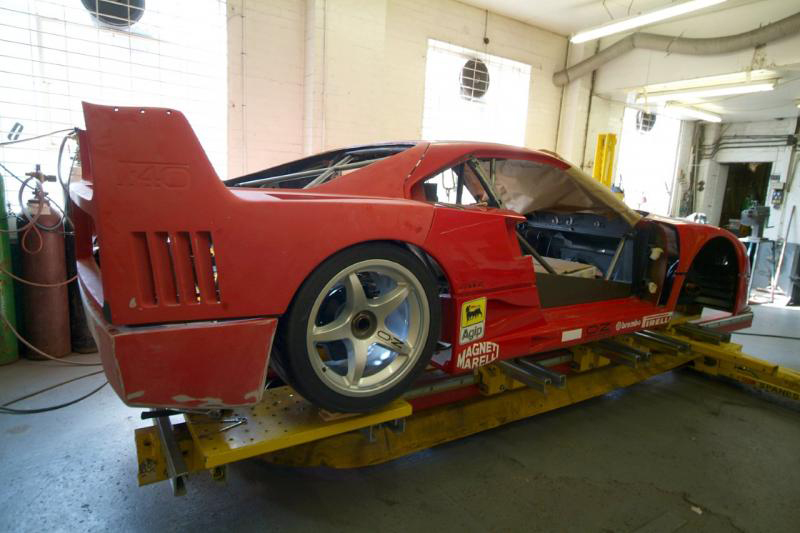
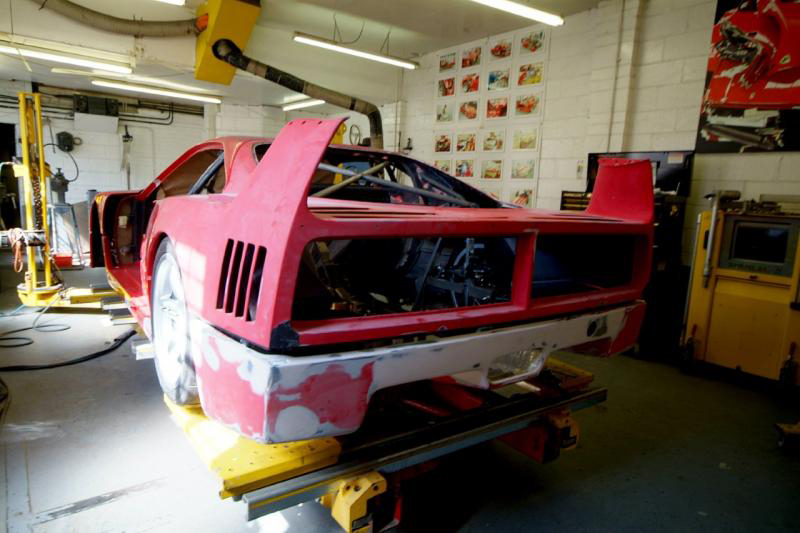
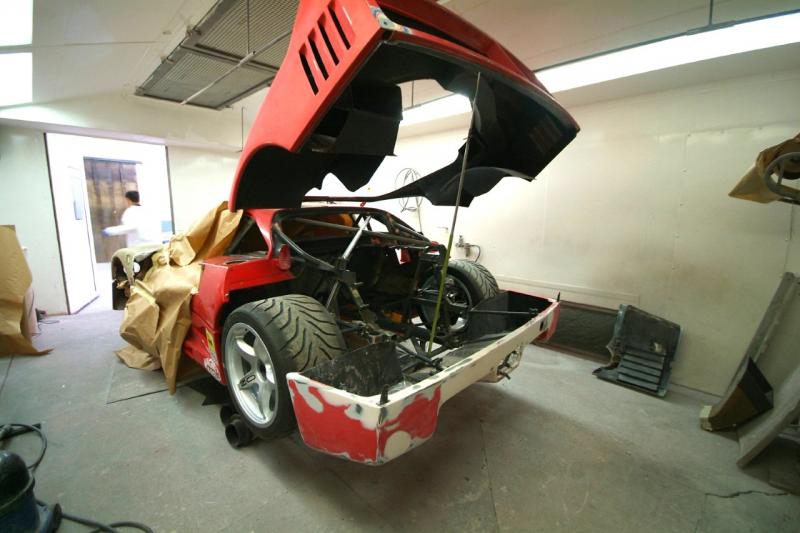
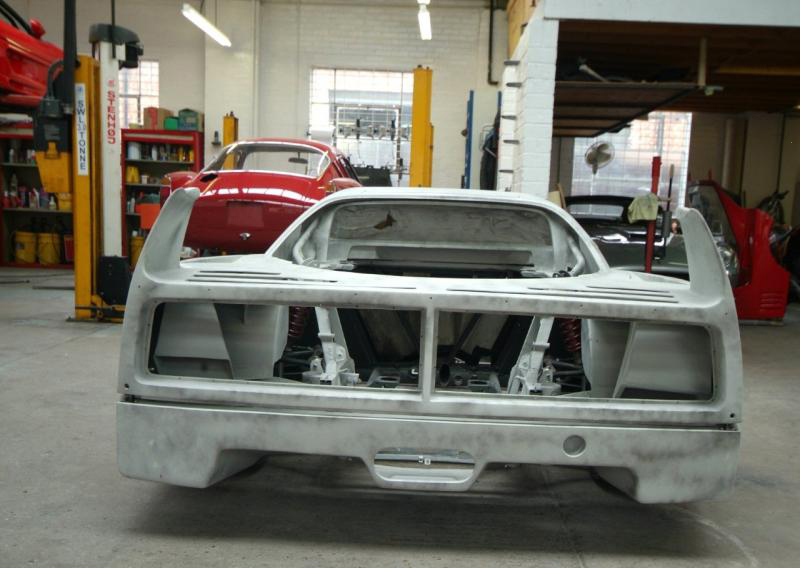
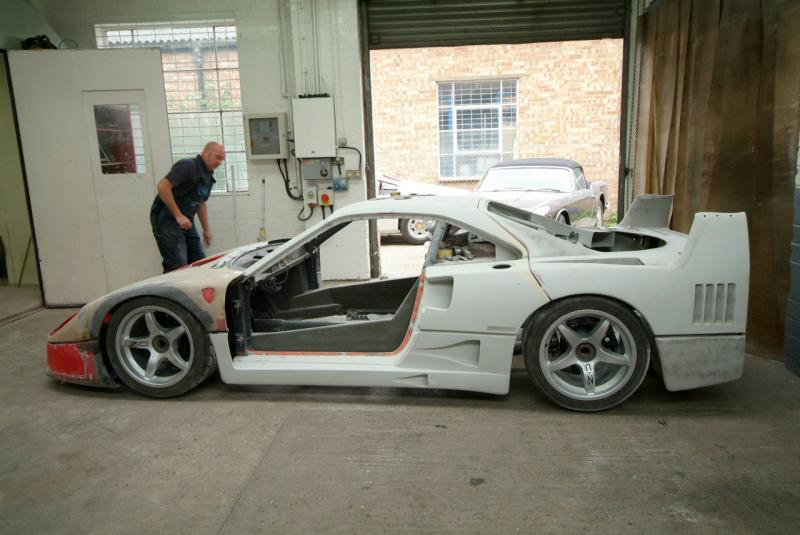
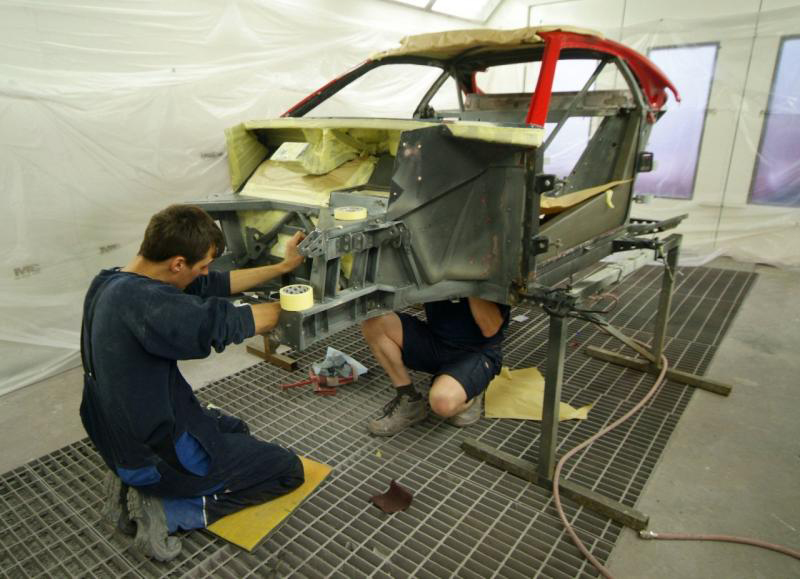
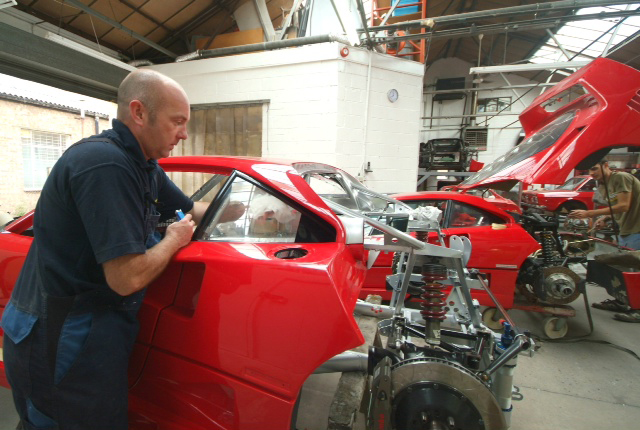
The strip down begins and note the Air Jack inlet just behind the door which we will recite in the lower rear clam as well as sorting the shut line.
Also, now the intercoolers are out, they are somewhat deeper than at first glance.
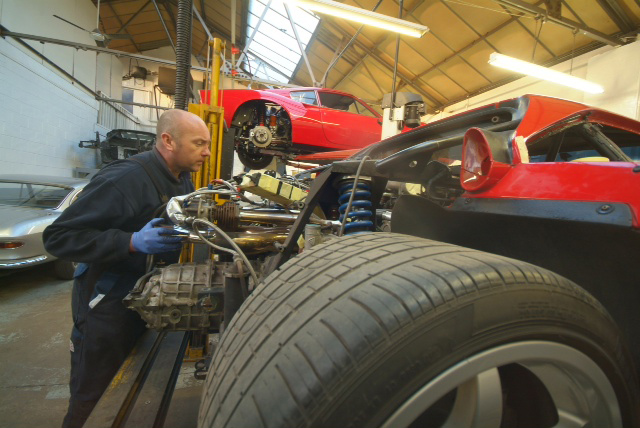
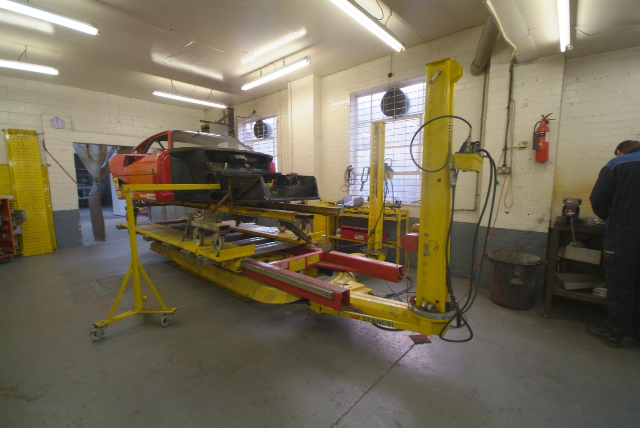
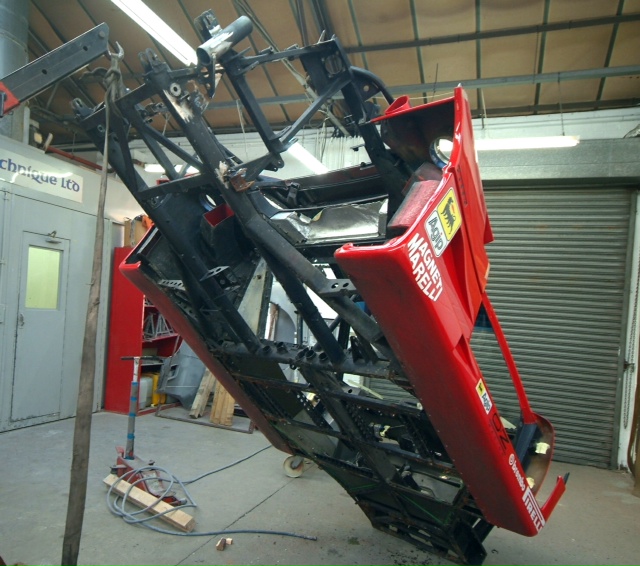
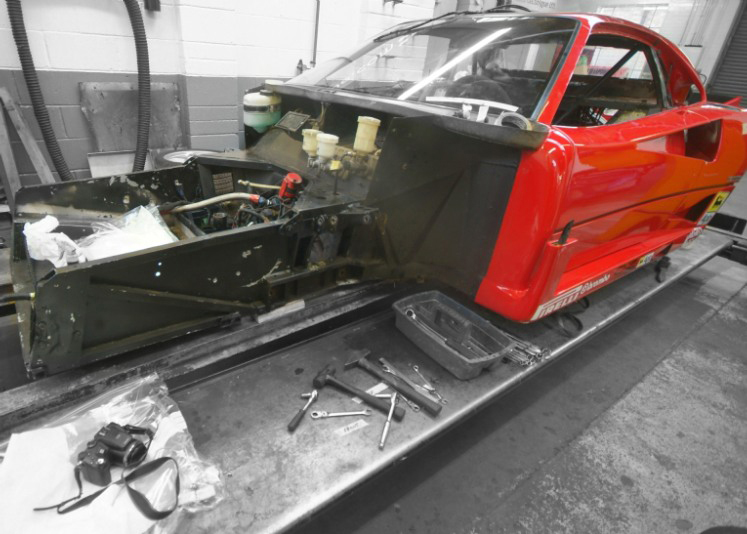
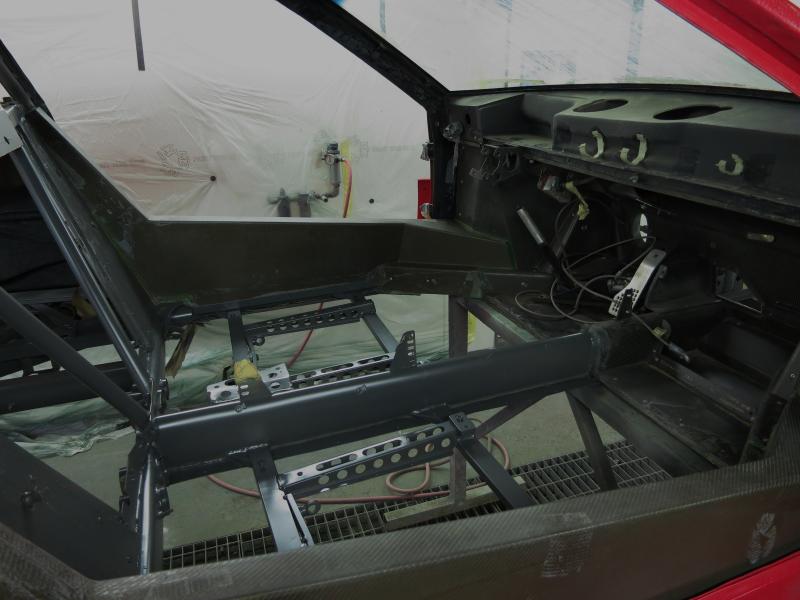
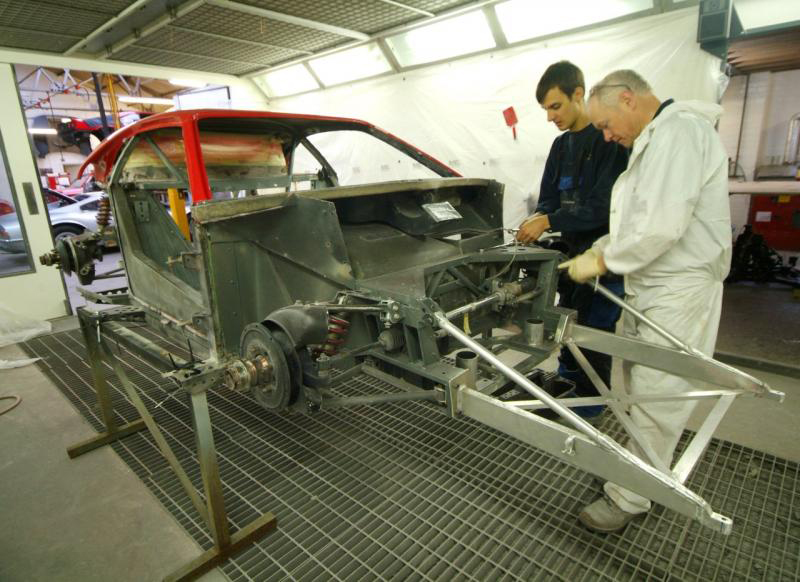
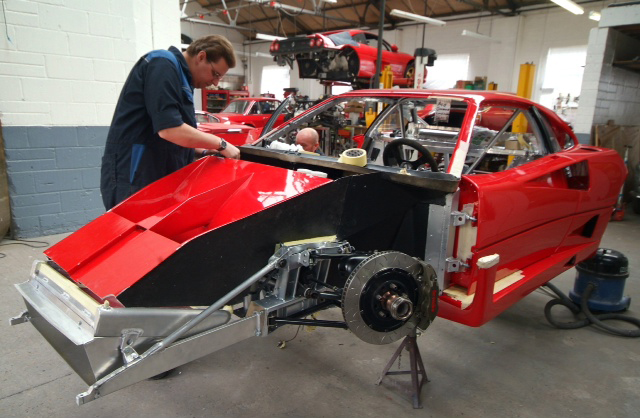
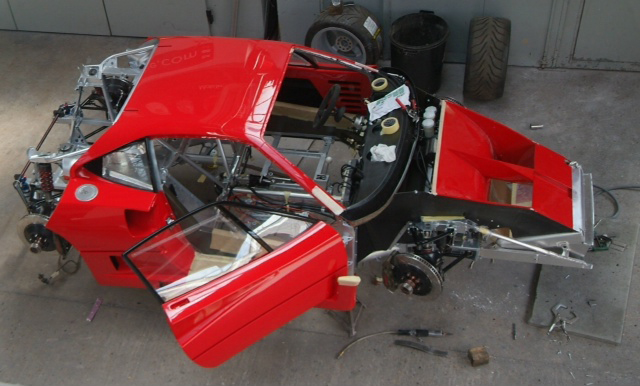
A few more images as the beautiful body is removed to show the mess beneath.
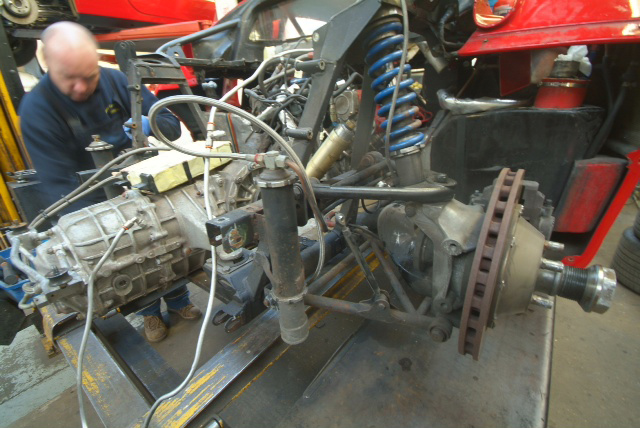
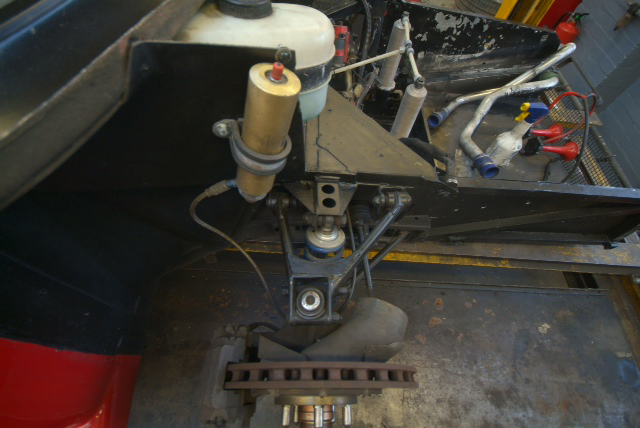
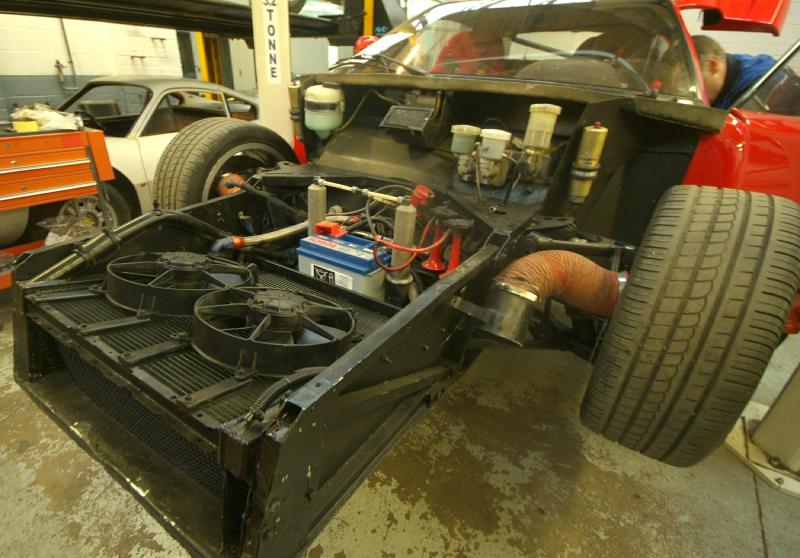
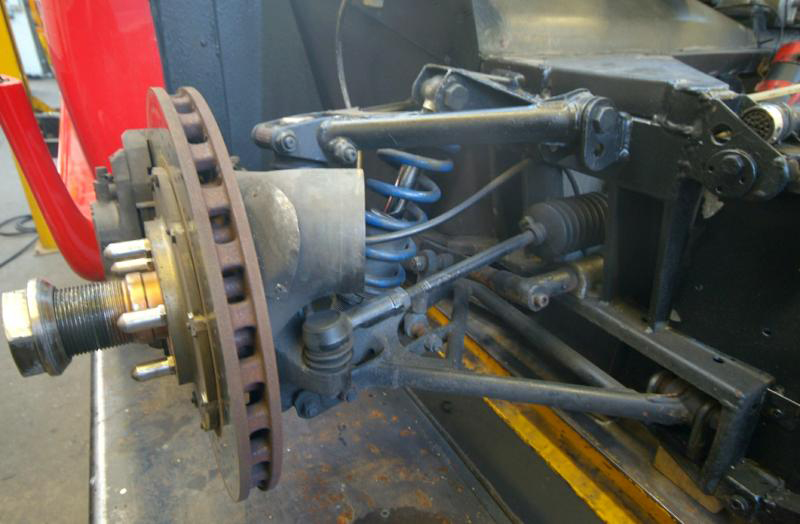
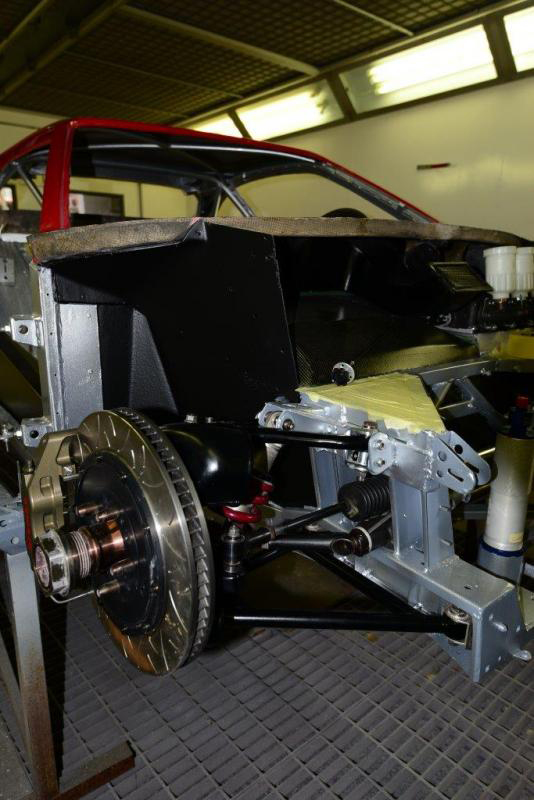
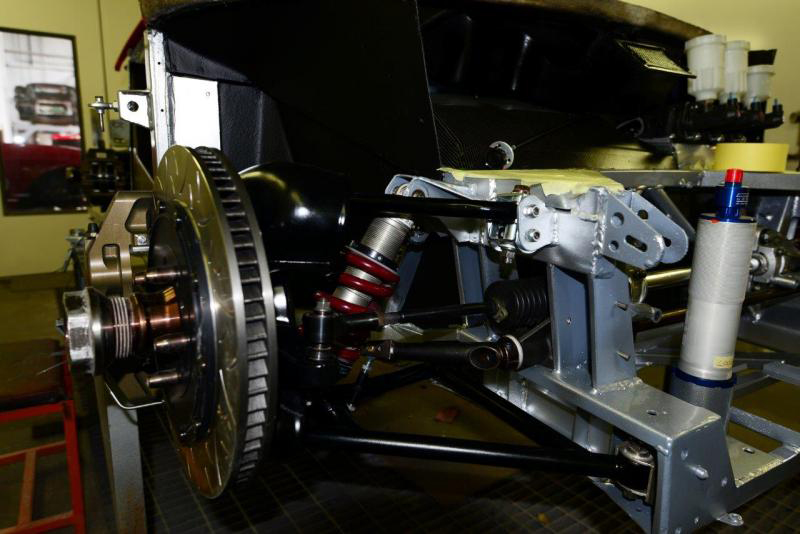
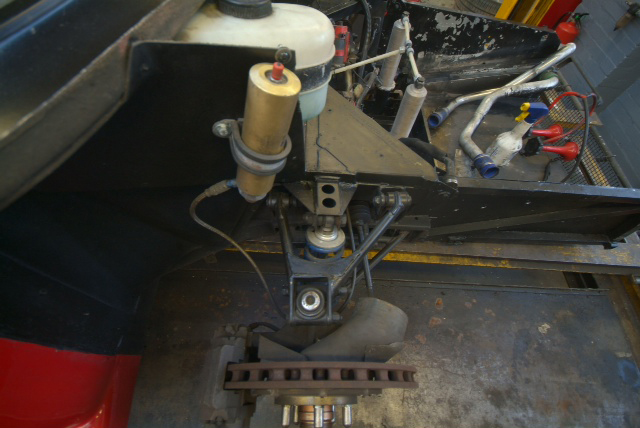
The strengthened wishbones which now are to be replaced with all new Michelotto ones, the modified front assembly still with its vestiges of road car use, the oil rad which had been bizarrely resited to the front, all headed for the bin!
More images of suspension and brakes, all heading for the bin. Apparently in 96 these were genuine Group C but in my mind have no place on this car. All very interesting but off they come.
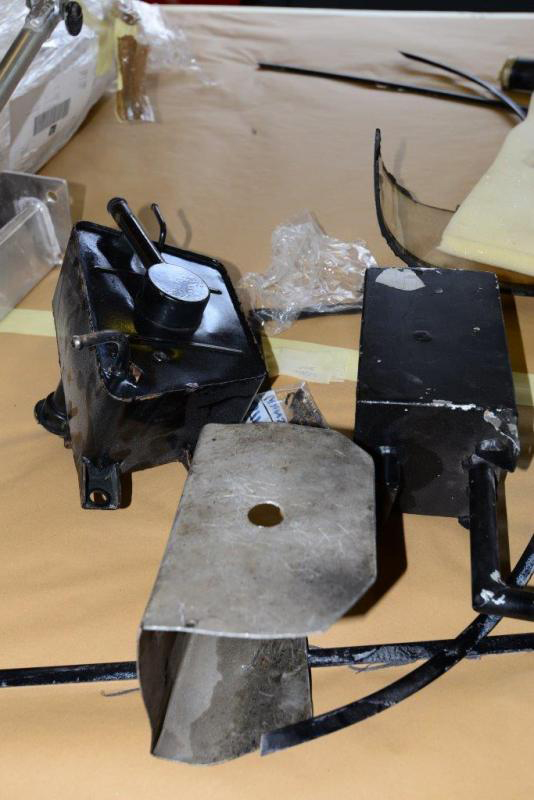
You can also see the disaster that are the old fuel tanks which also join the growing scarp heap. More about those later.
Afraid the next few posts are all going to be about stripping before we can focus on rebuilding and evolving this car as it would have been, had a team had the interest, and money, to do so.
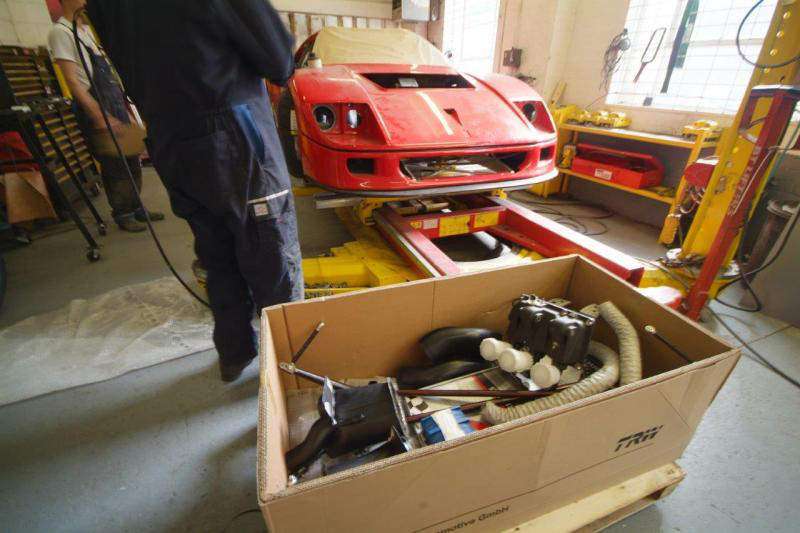
4 weeks to get the chassis prepared before a large and very expensive package arrives from the delightful and hugely knowledgeable Cristiano Michelotto. About the most exciting birthday present (mine is in March)I could imagine opening.
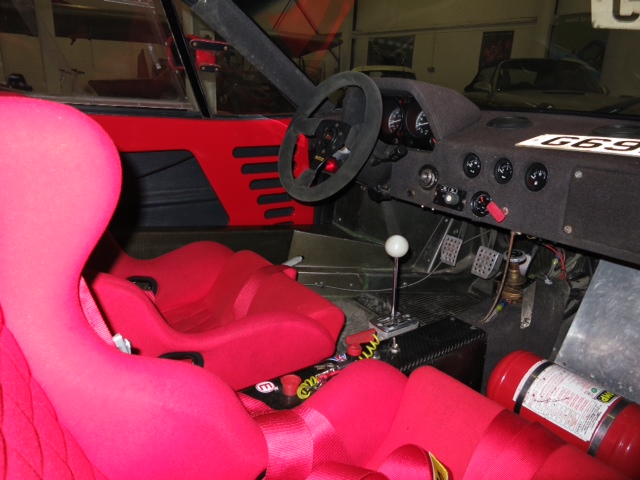
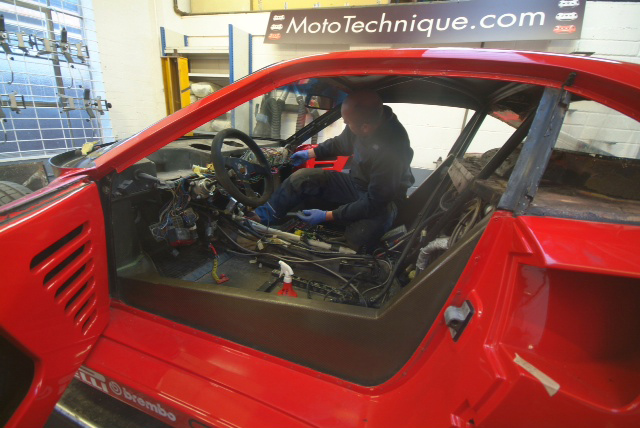
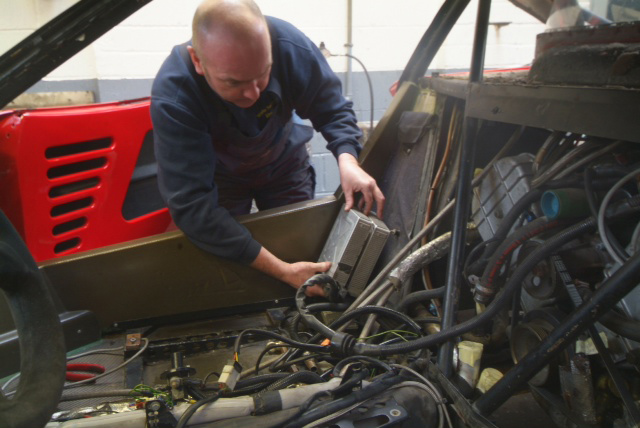
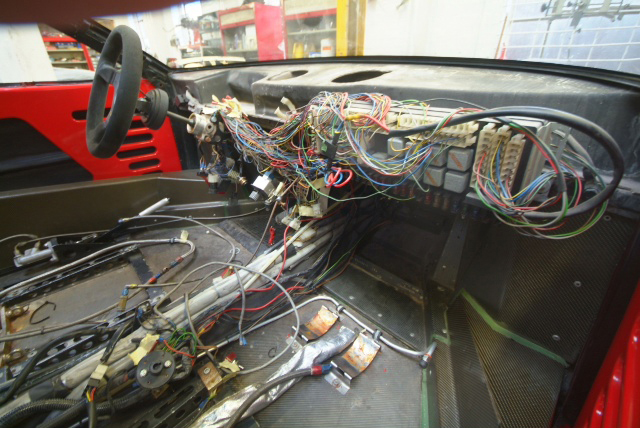
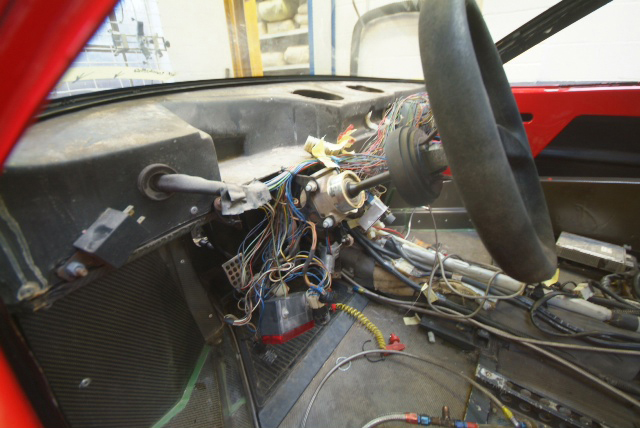
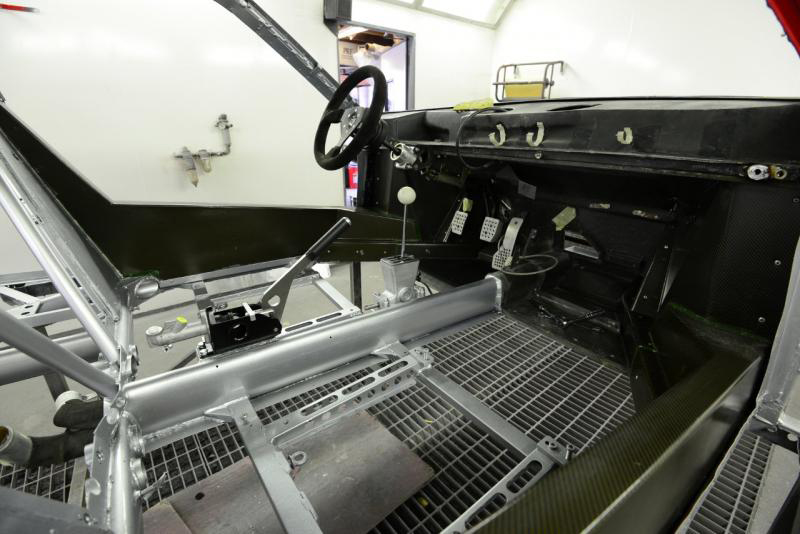
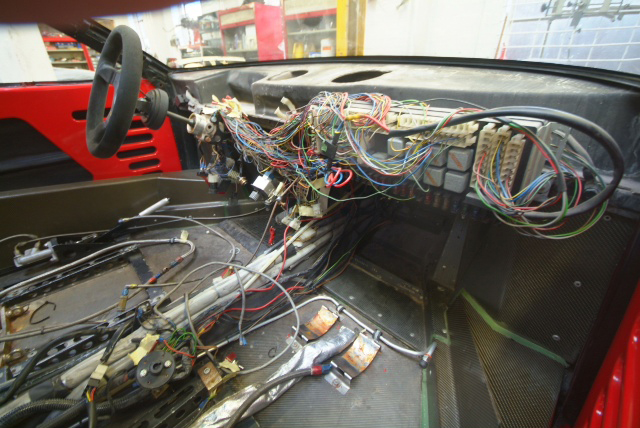
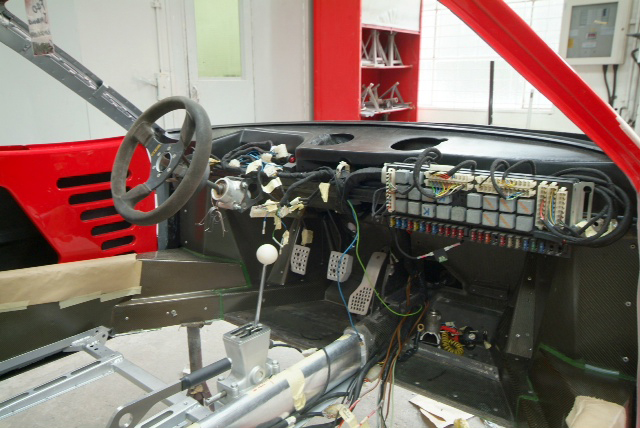
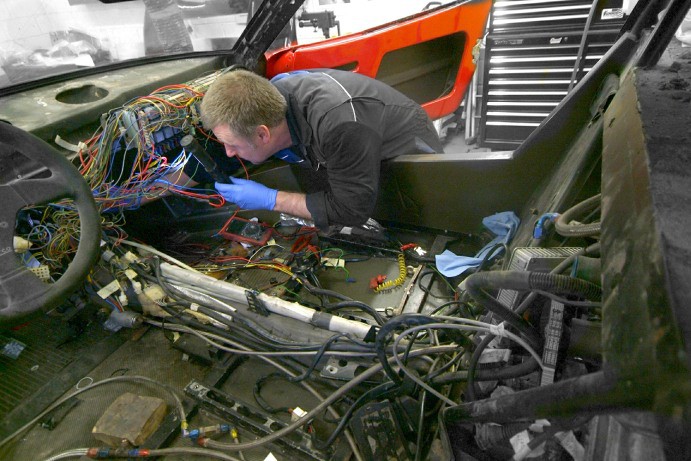
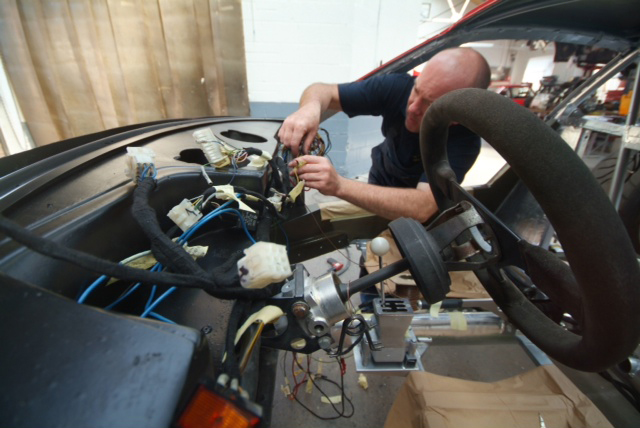
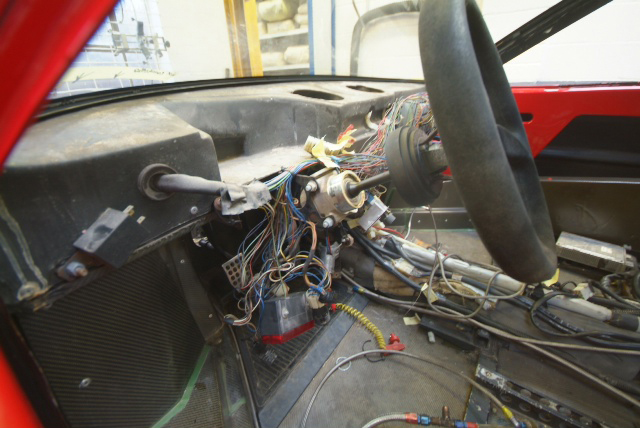
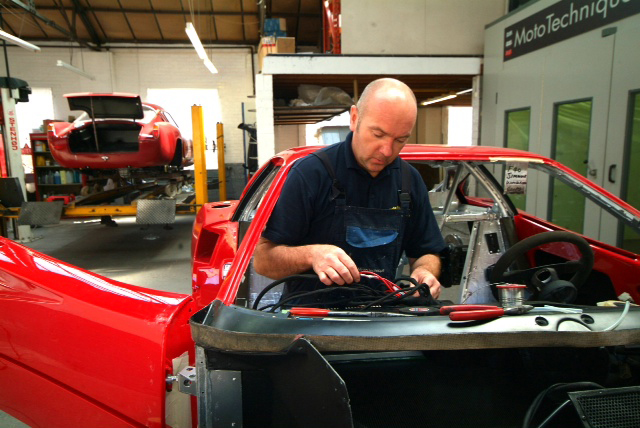
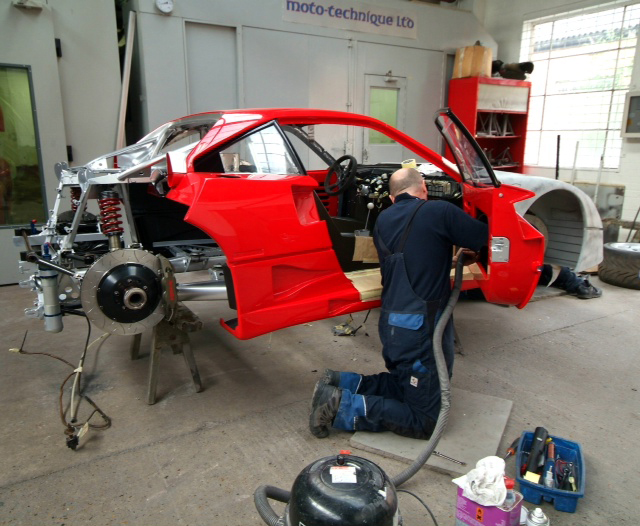
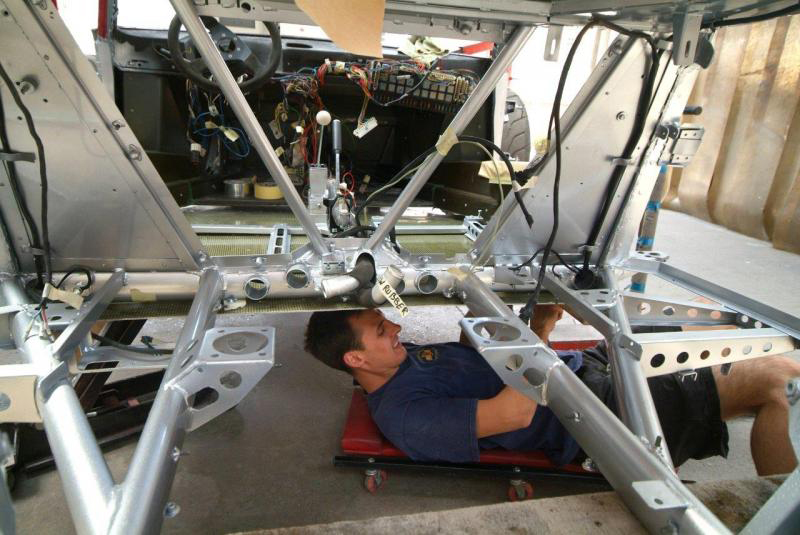
A couple more shots of the interior as it all comes apart. The wiring was a mess, added to and cut out with no logic-German engineering? Hardly. Note the large red fog light in the first image hanging down to the left of the wheel. Believe it or not that was an oil pressure light. Clearly the driver was going to have a hard time explaining if he had grenaded the engine due to low oil pressure. Simple, ugly, effective but now history. Remains of the Fire extinguisher system on the floor which will also be replaced. Given what we found and to be revealed in a future post, it could well have come in handy. Had it been charged.
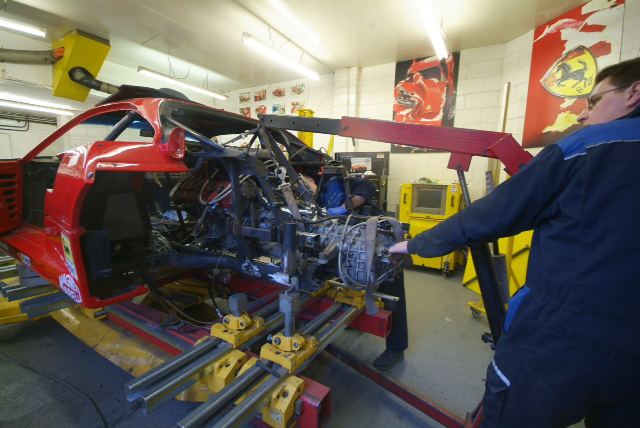
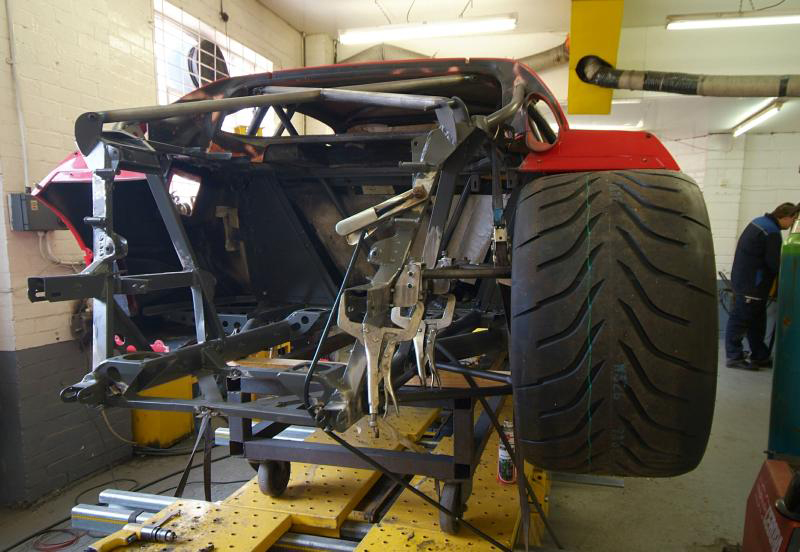
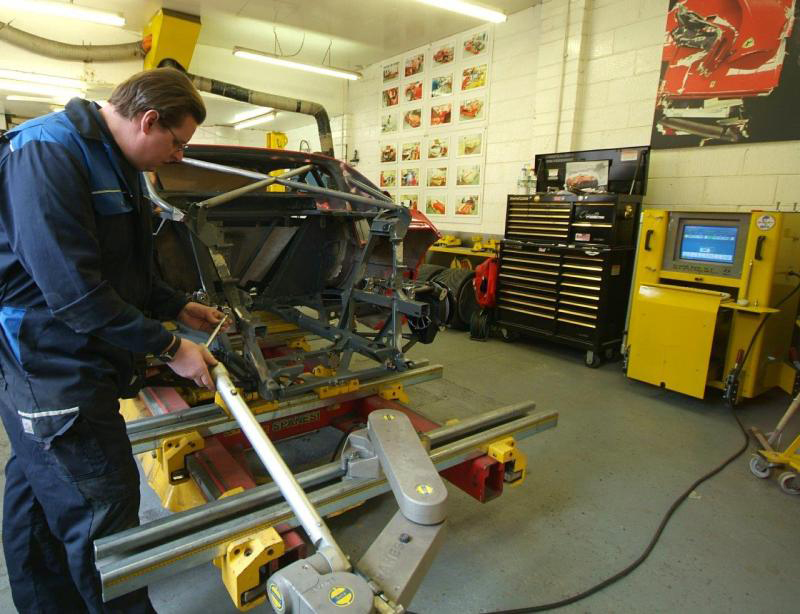
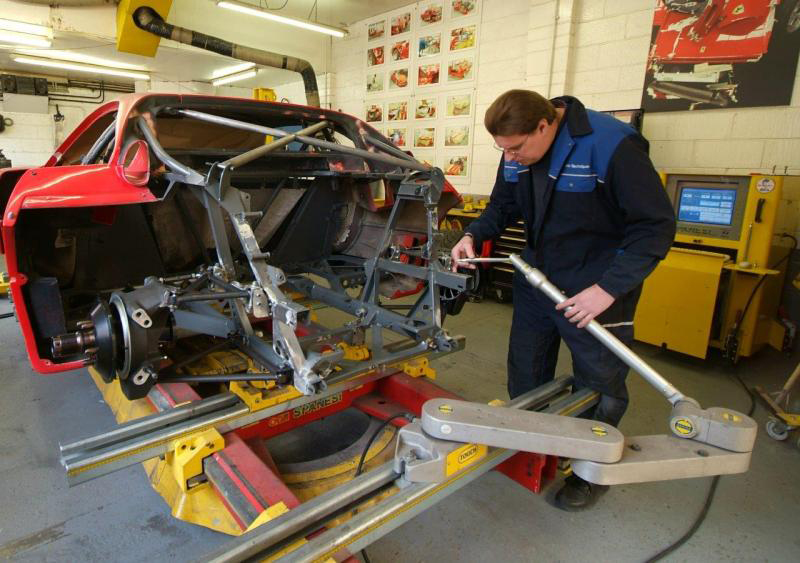
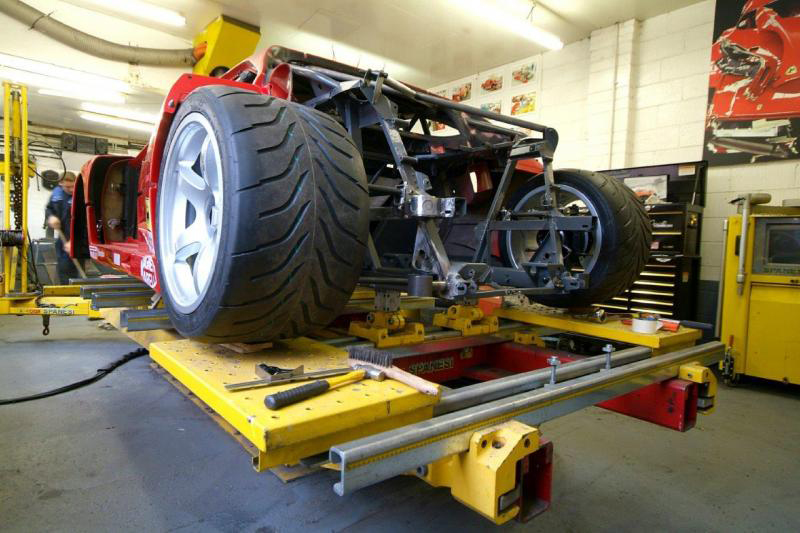
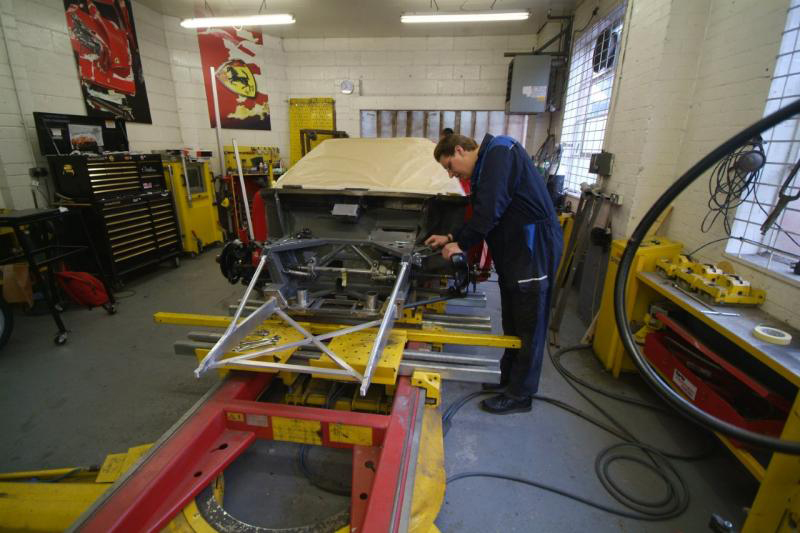
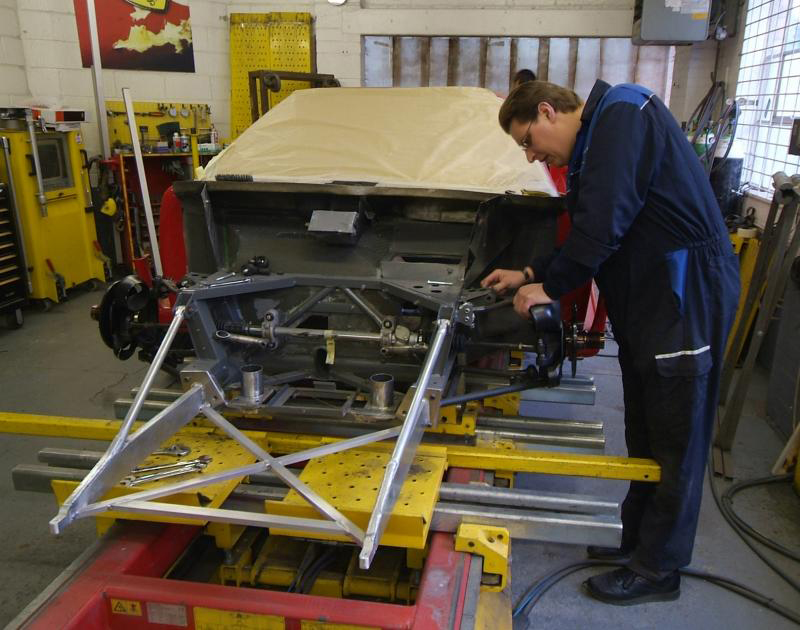
We then got the chassis on the computerised jig to set all our minds at rest and amazingly it was good news for a change: ‘the straightest F40′ they had ever come across, and they have done a few. Great to know we have a really good undamaged and true base to build up on given the history and the time and money being invested. All measurements have been recorded for the future as in due course I will put a book together on the history and the journey from start to finish as a permanent record.
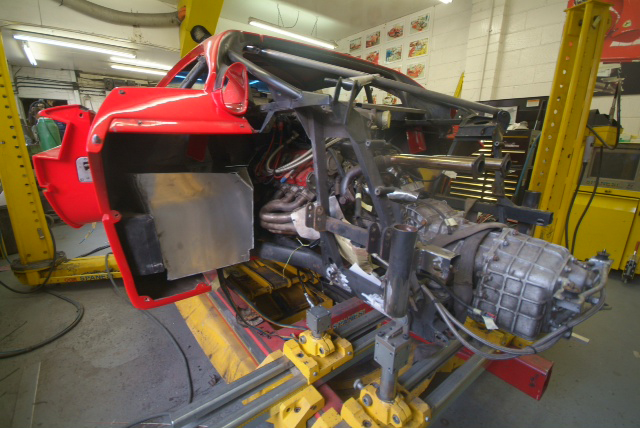
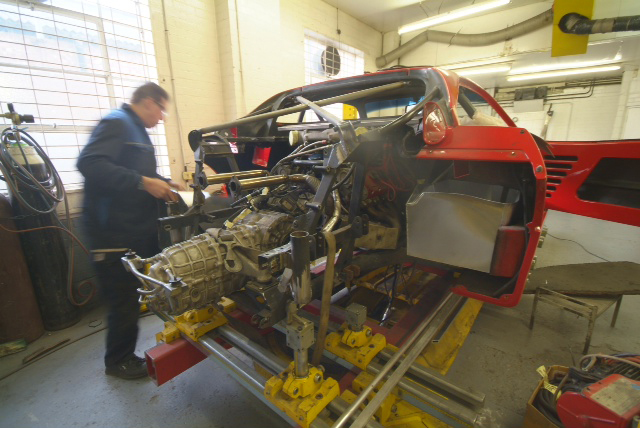
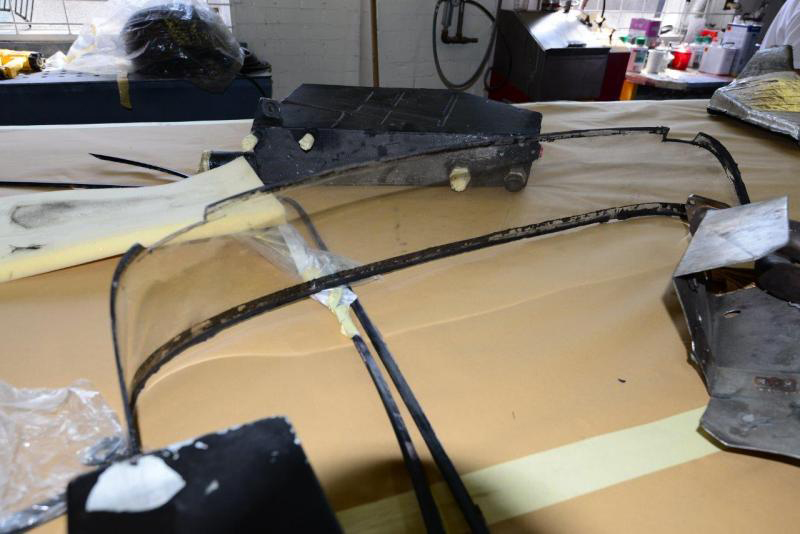
Engine and gearbox still in situ at this stage as needed for checking panel clearances in the body shop so they are correctly stressed as well as ensuring we get the right clearances on the fuel tanks as they are very close to the manifolds. More on the fuel tank saga with the next post, as that was another discovery, but here, as you can see, we have now got them out and they too have gone to the bin.
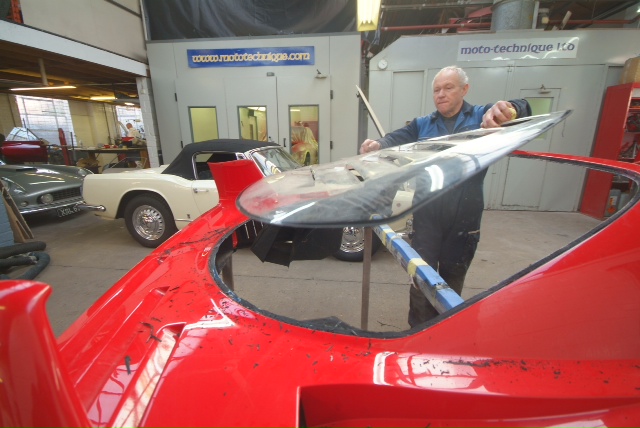
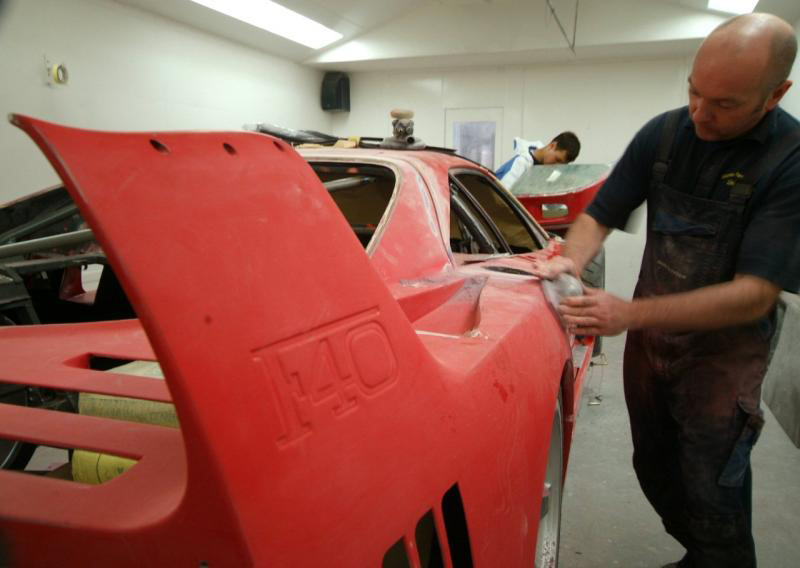
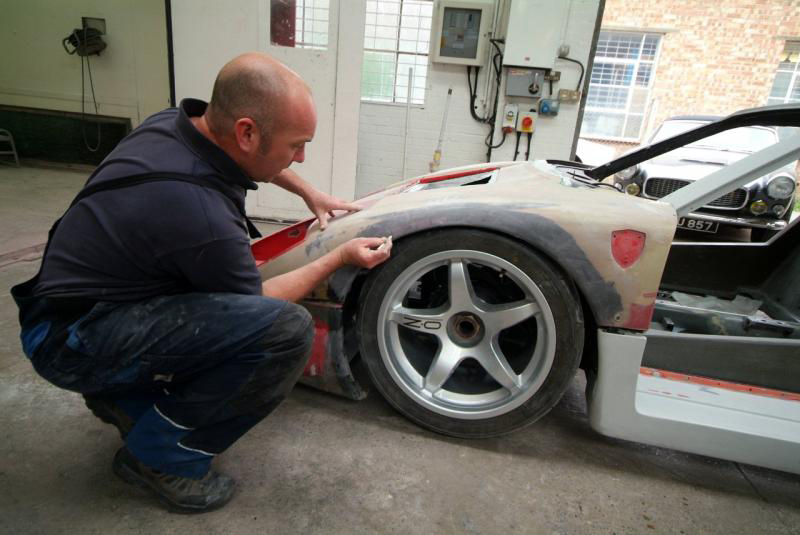
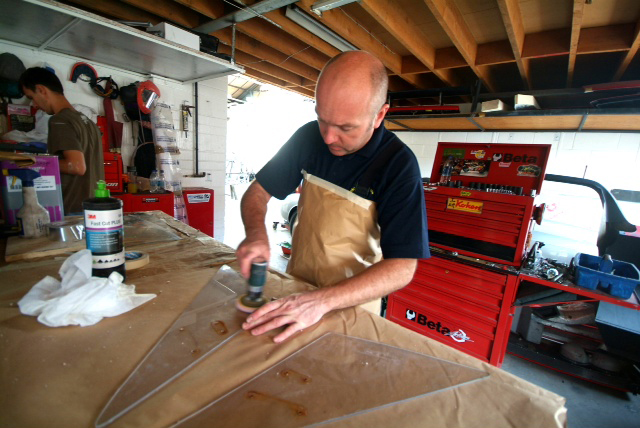
Whilst all the mechanicals get stripped out, a bit of work has started on the bodywork. All LM addenda removed and the prep works starts. Perspex out for repolishing.
For a mad moment I thought of changing colour and then realised that was insane. She stays red.
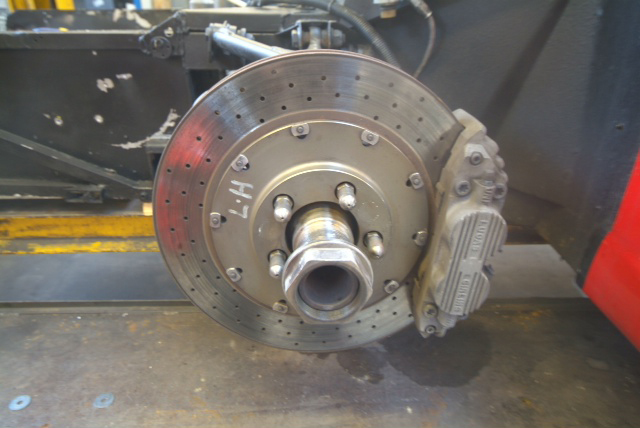
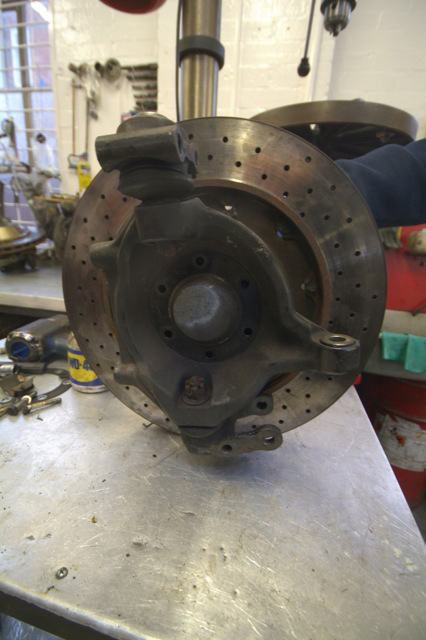
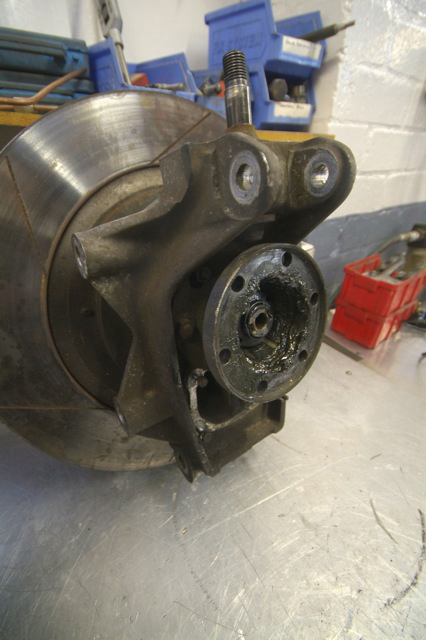
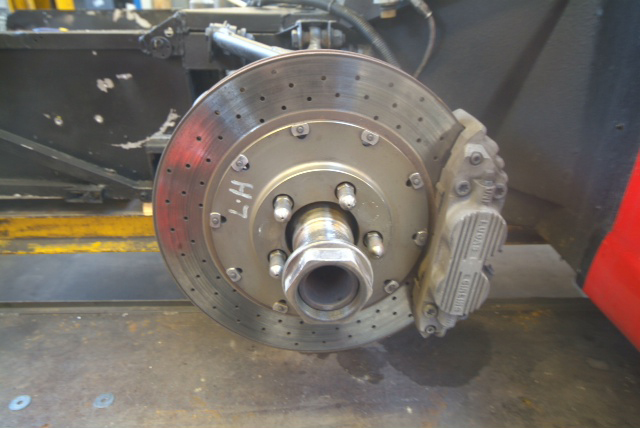
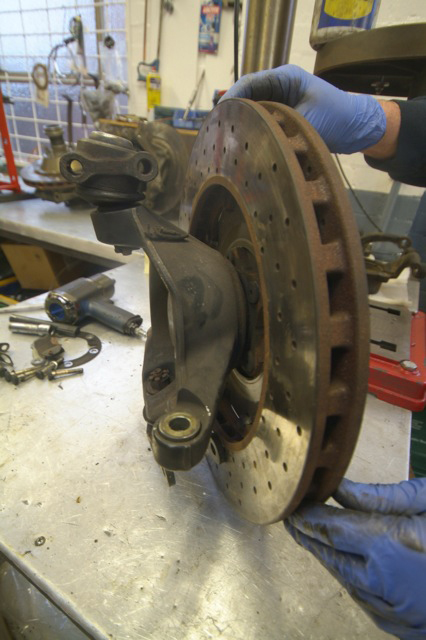
All the discs have spider cracks after hard racing so they are gone. Both hubs and discs will be replaced with beautiful lightweight Michelotto LM discs and hubs. One hub also totally finished so just as well.
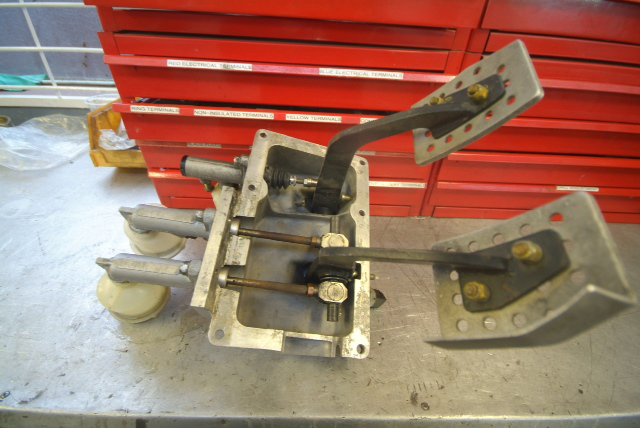
Pedal box en route back to Michelotto for some minor adjustment pending a brand new full magnesium LM one which will take a few months, so at least we can keep going. Apparently they are producing some new ones for a customer who has their cars in inclement conditions and need replacing and so we will wait for that.
Once fitted, this will include the in car brake bias adjustment facility.
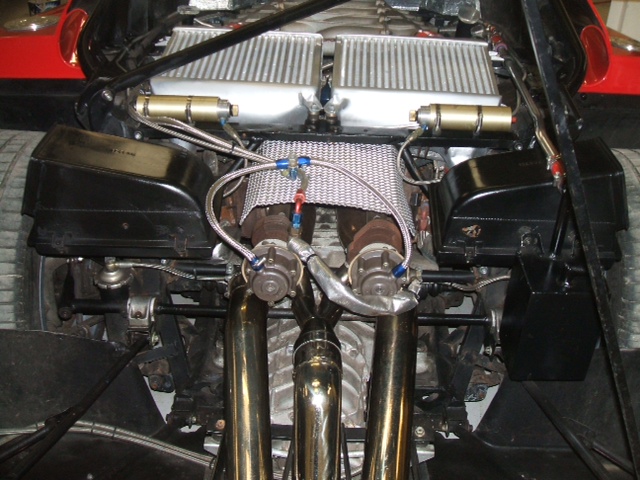
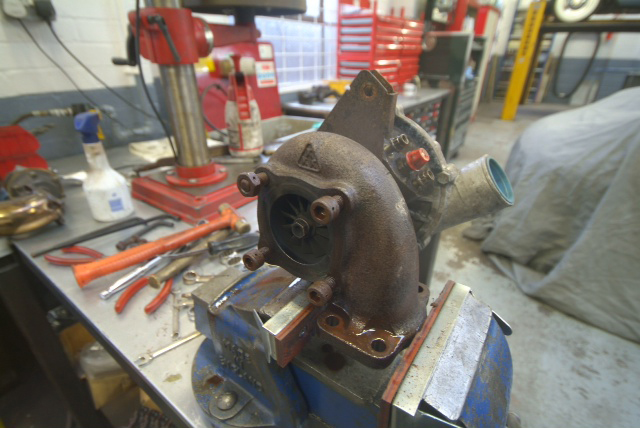
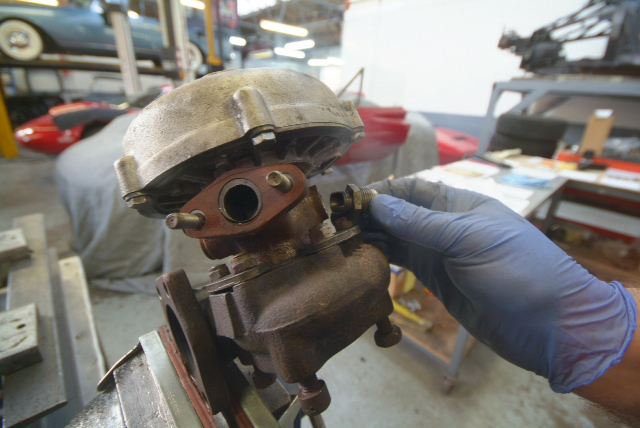
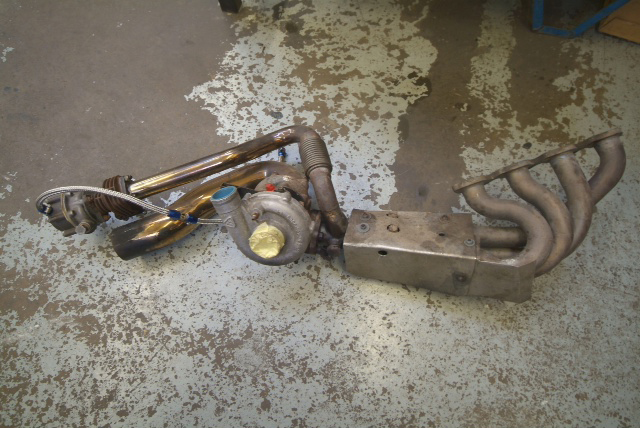
Well we now have the manifolds and turbos out. Unusually this car ran twin KKKs with twin waste gates and produced about 640 BHP before it was fitted with adjustable boost which apparently took it to 720.
Anyway, no surprise that this is all in as bad condition as the rest of it. Turbos and wastegates off to a specialist for rebuilding and refinishing, the wastegates needing to have specific care taken so they dont blow off even slightly early. Everything will be cleaned up and probably ceramic coated.
The destruction continues.
Finally a first sign of some construction, limited though it may be.
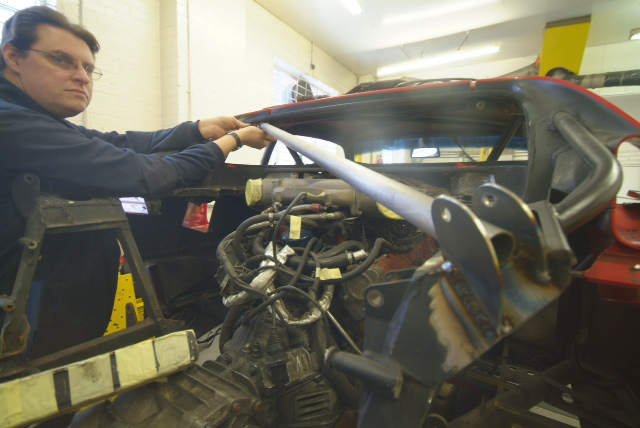
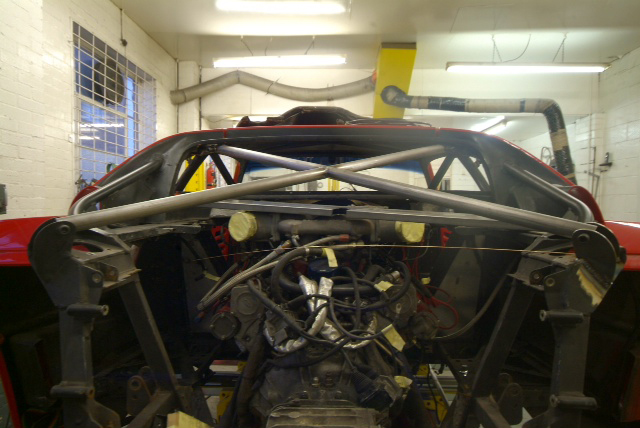
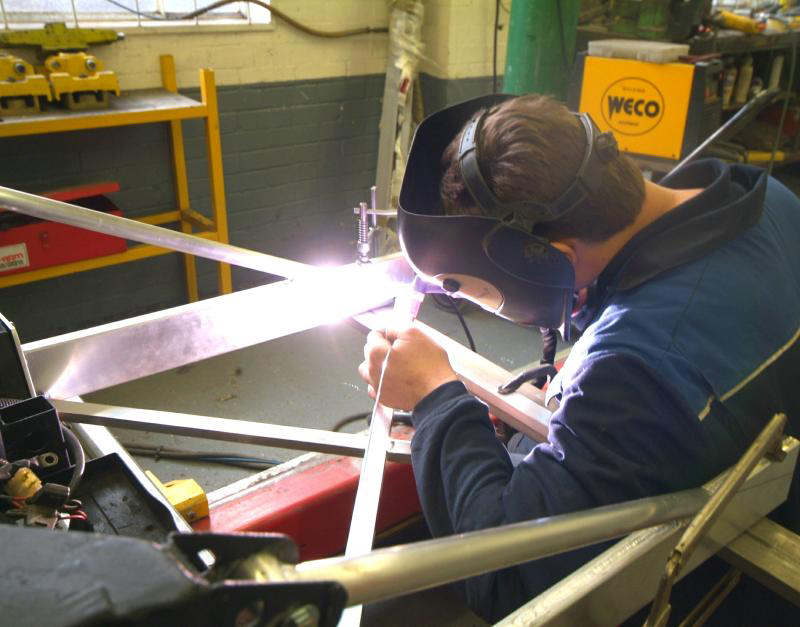
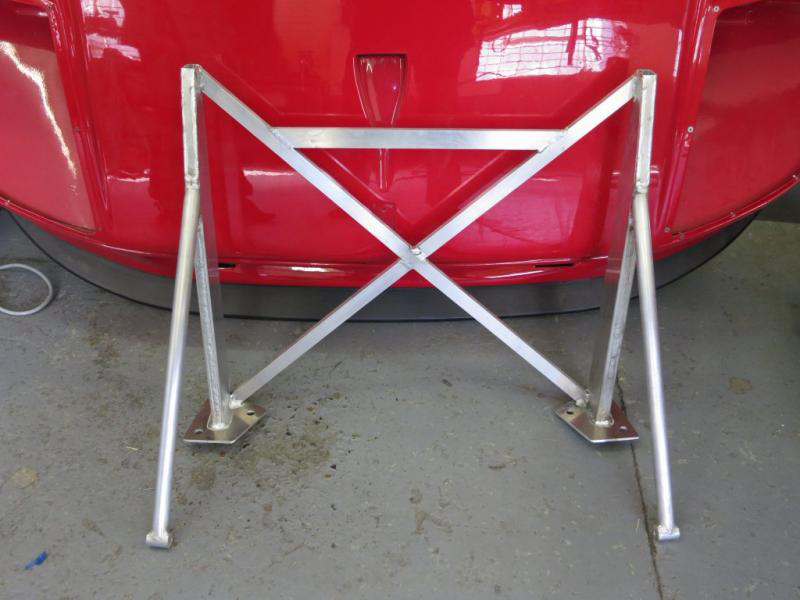
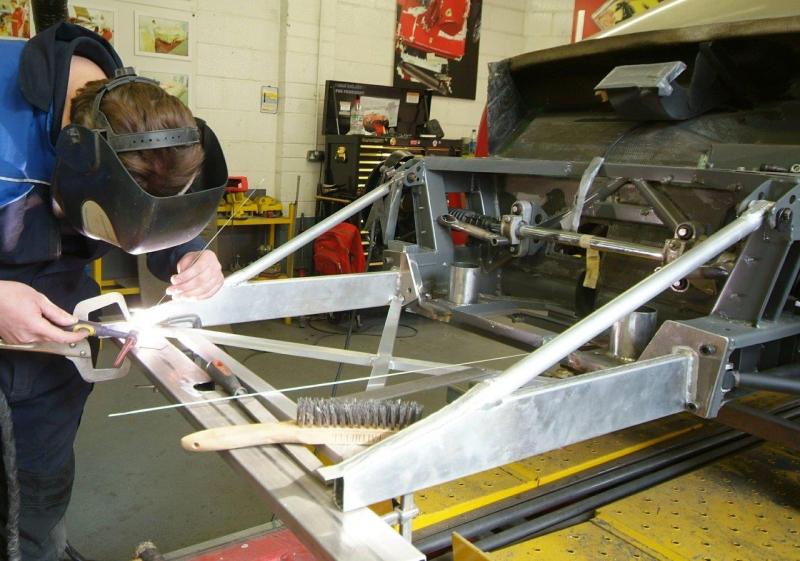
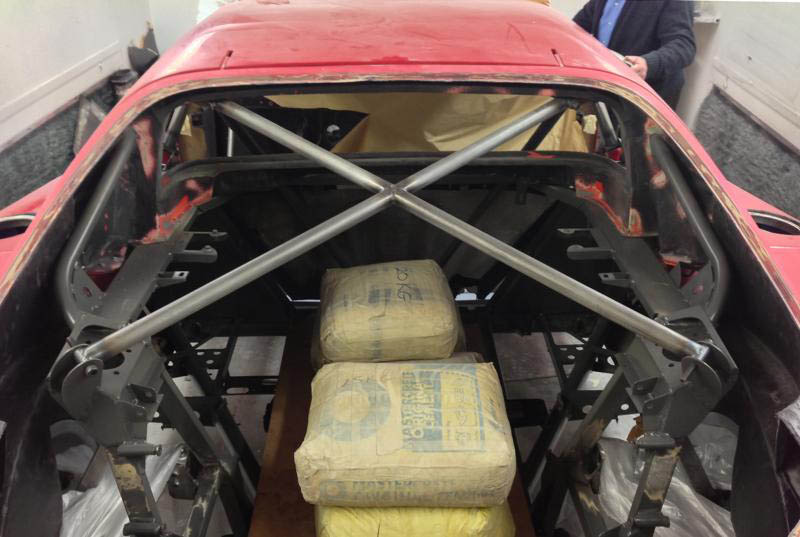
Whilst we have the chassis on the jig and importantly the engine still in, we are changing the single LM cross brace to the more rigid GTE style.
Construction again!
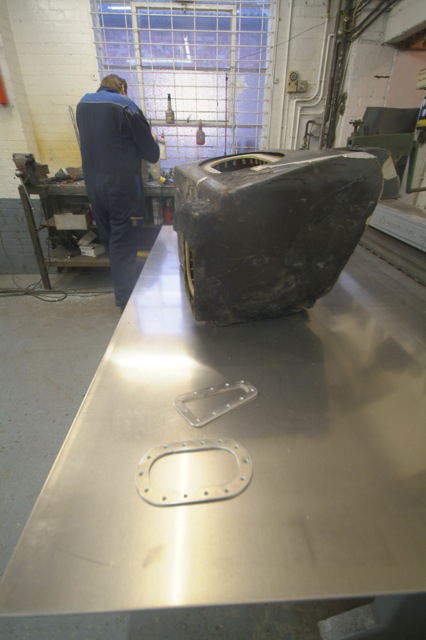
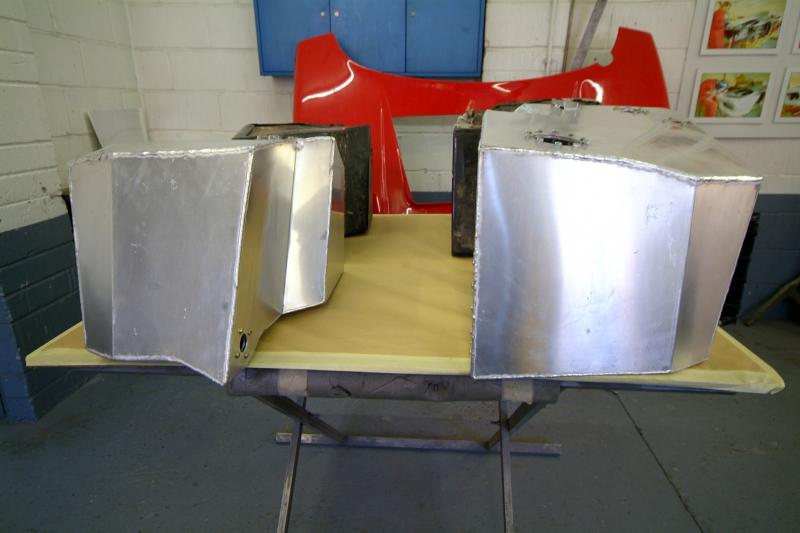
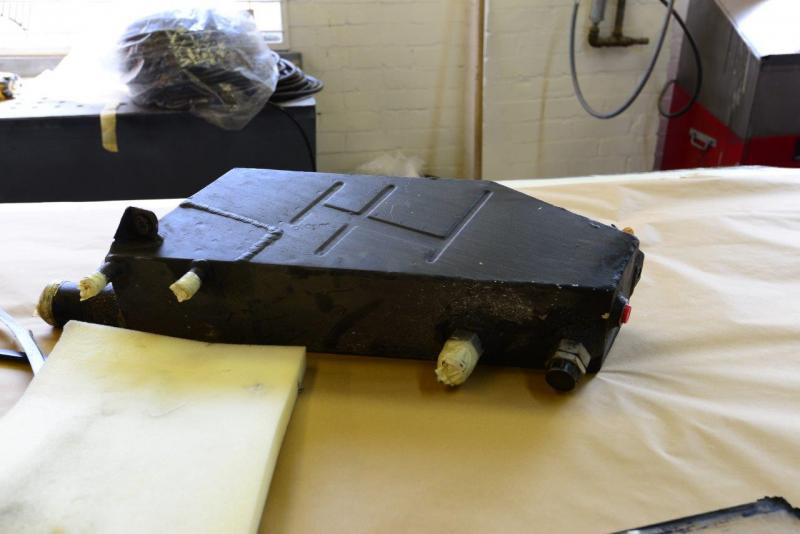
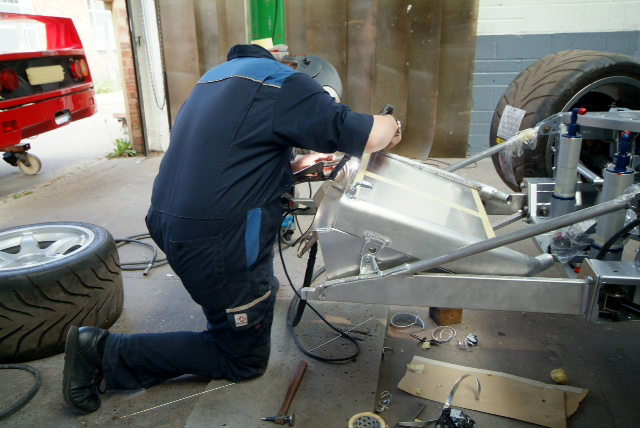
This is the fuel tank saga. In short they very badly needed replacing.
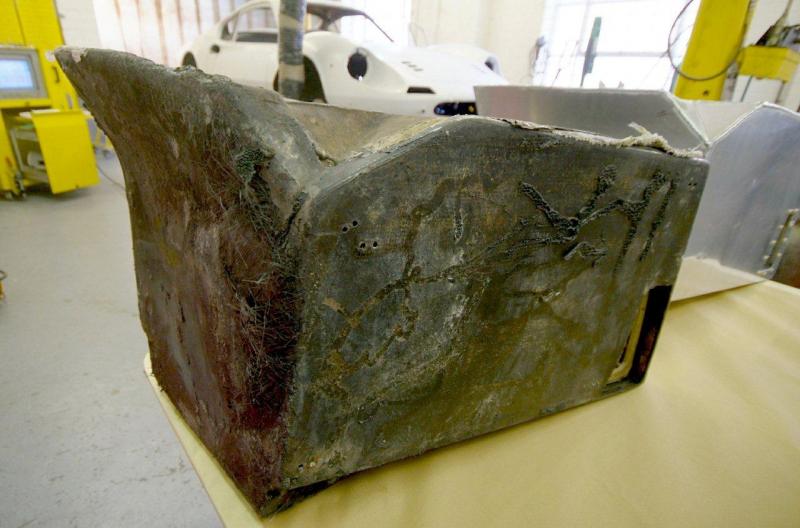
Original car ran with tanks cloaked in a sort of rubberised paint and were well past their sell by date. They are different to road tanks as fuel pumps etc are external for racing. We looked at fitting new cells which only have a 5 or possibly 10 year life(jury seems to be out on this) and as I plan on keeping this car a long time, we decided we did not want to have to take her apart again in a few years time, so we wanted to do better and evolve. Also as the US cars had alloy tanks, this was hardly stepping into the unknown.
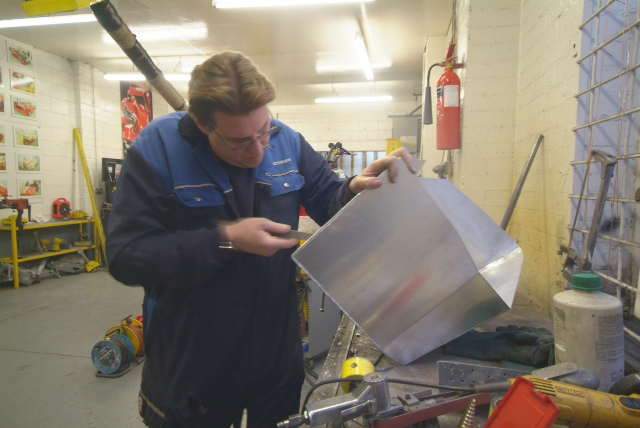
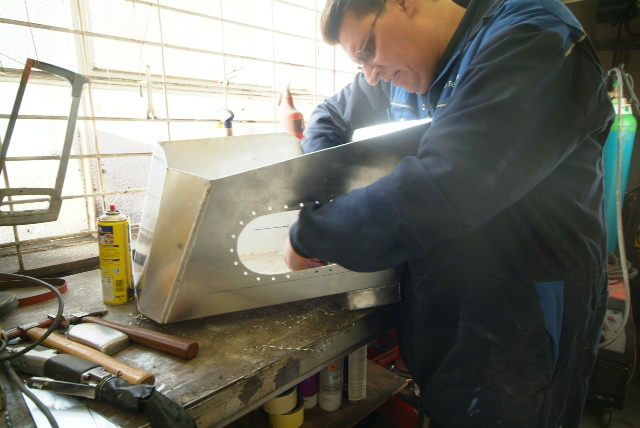
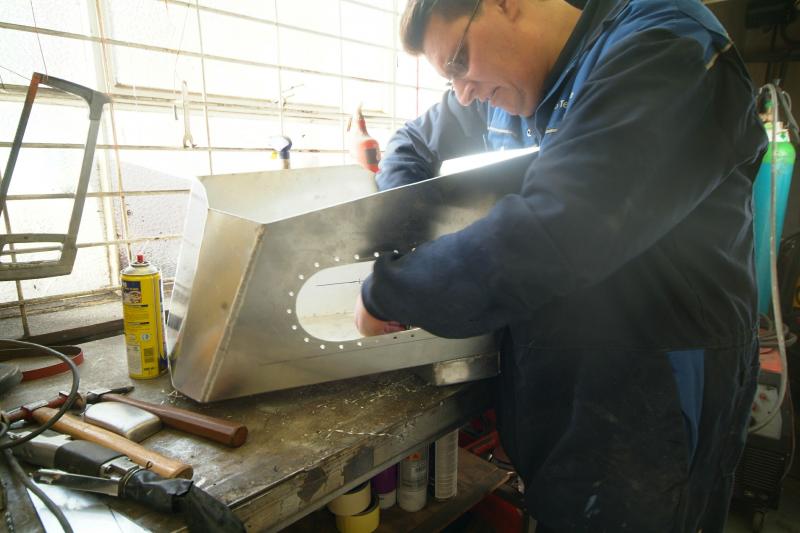
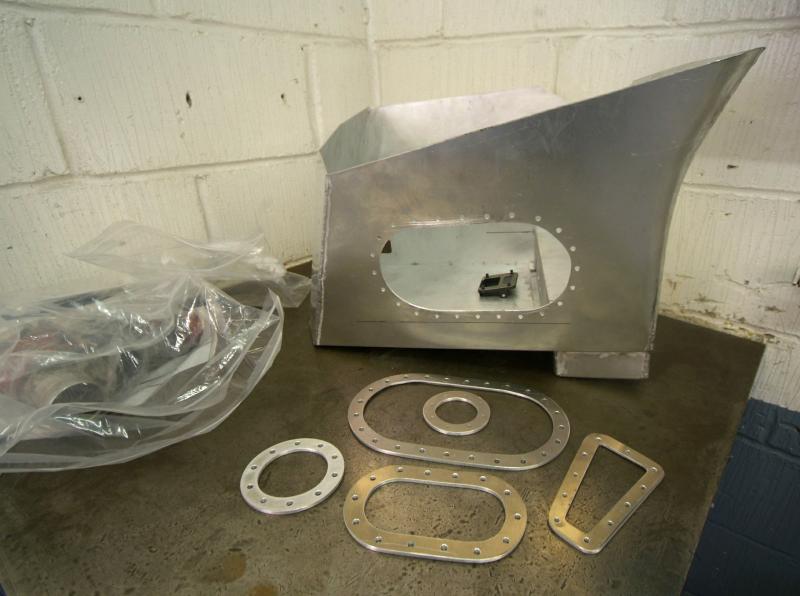
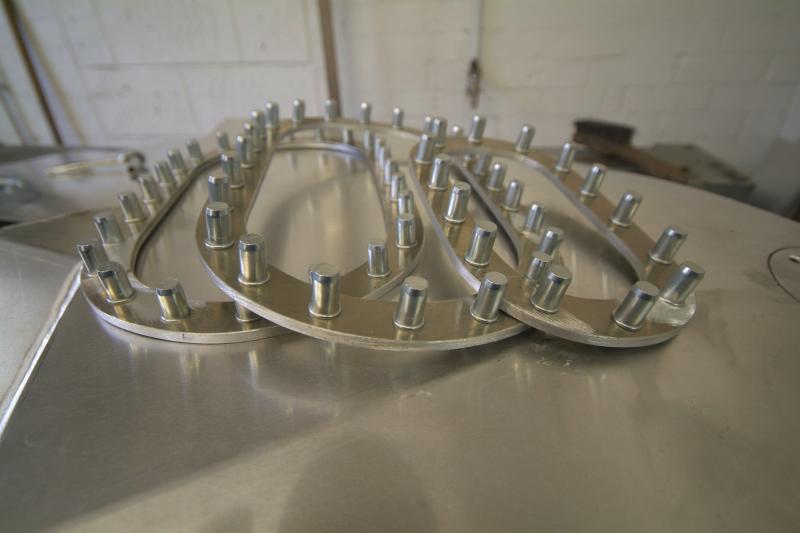
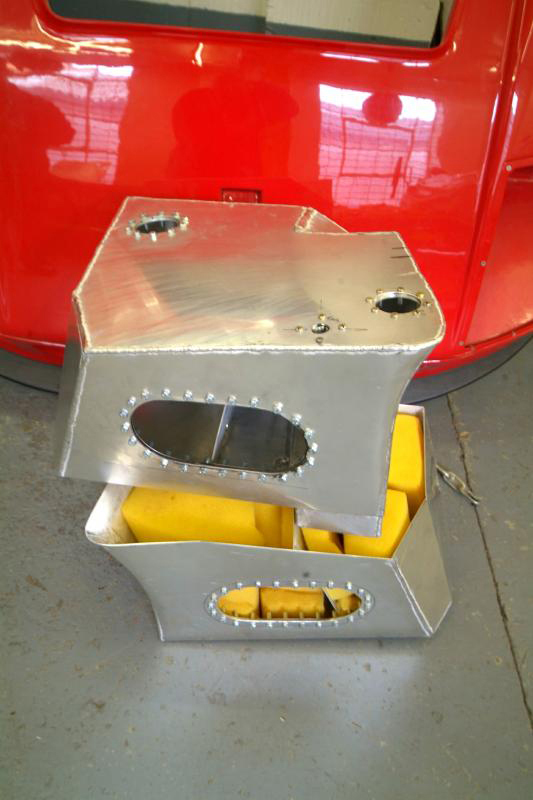
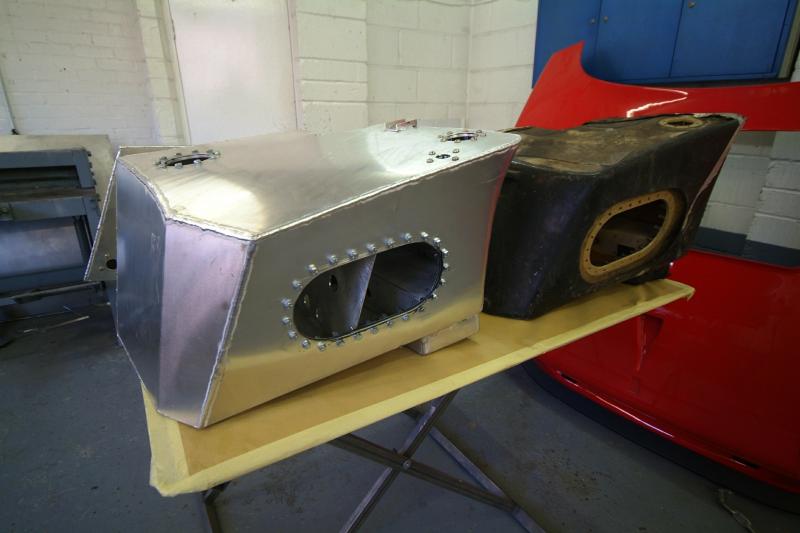
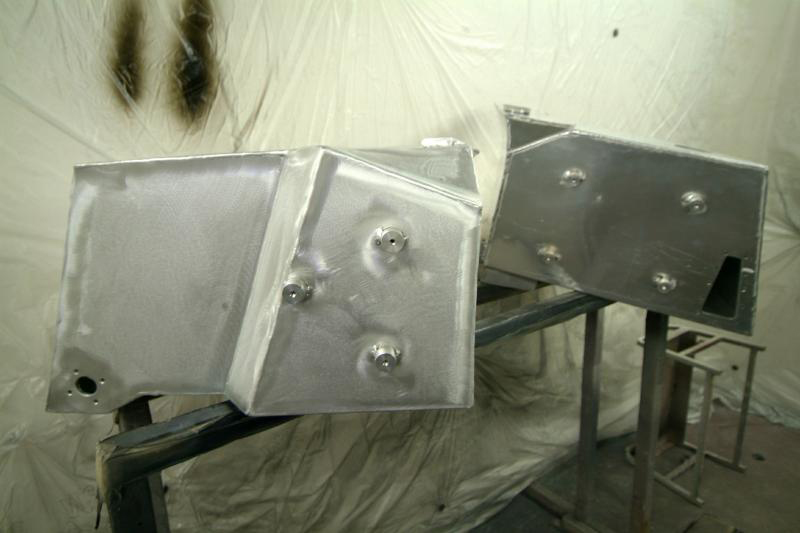
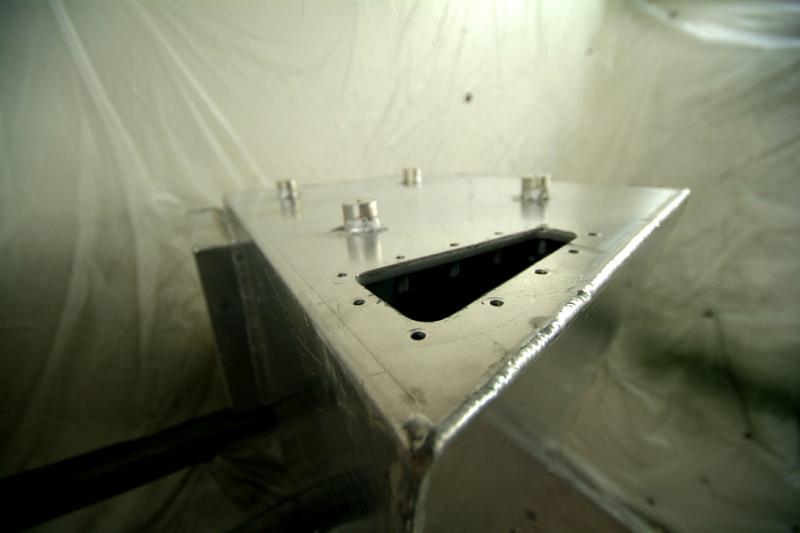
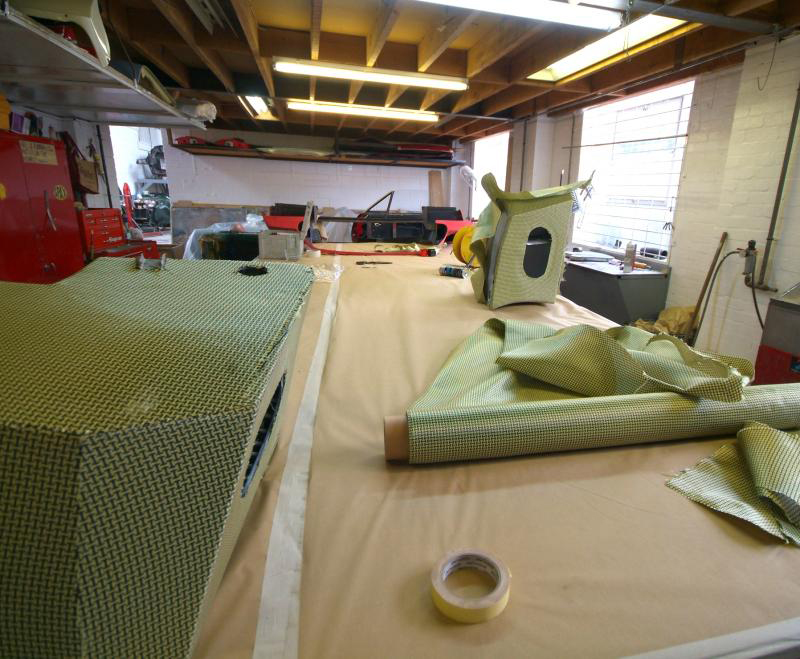
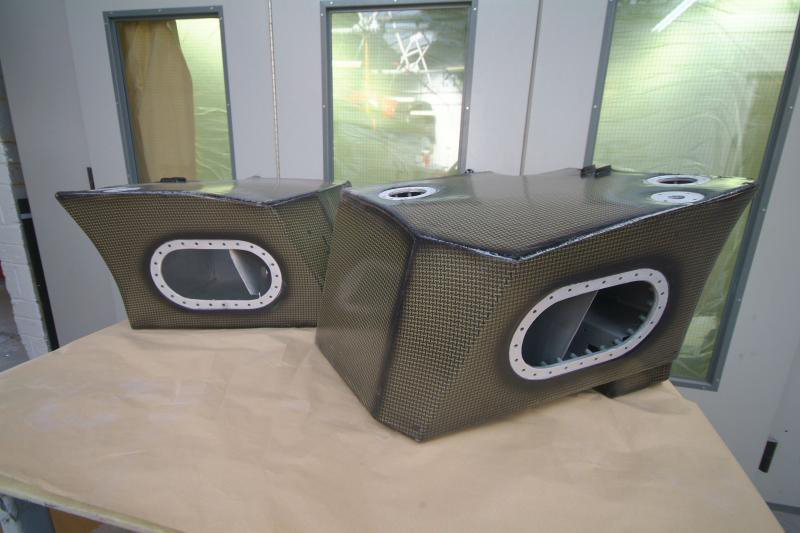
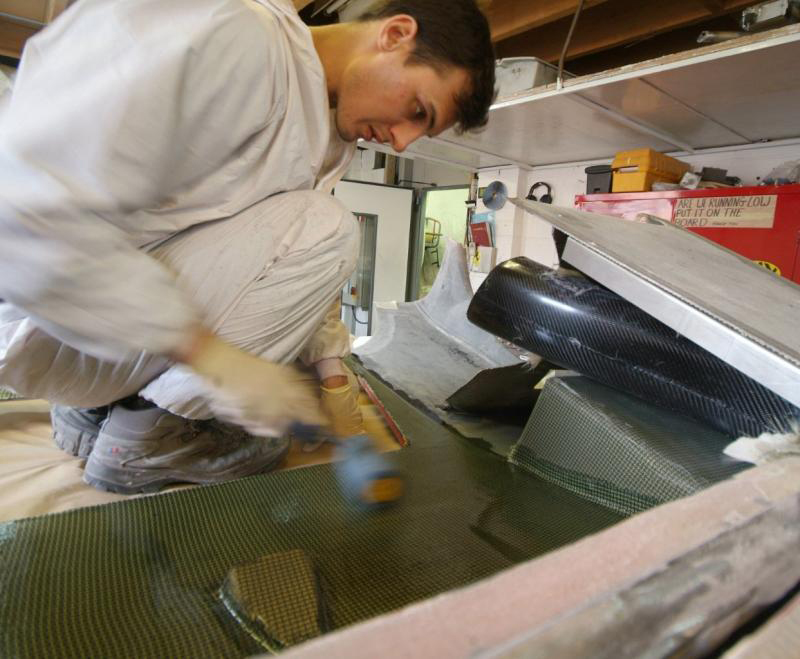
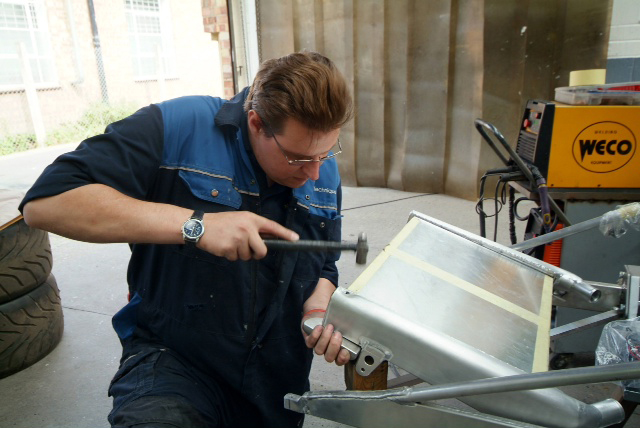
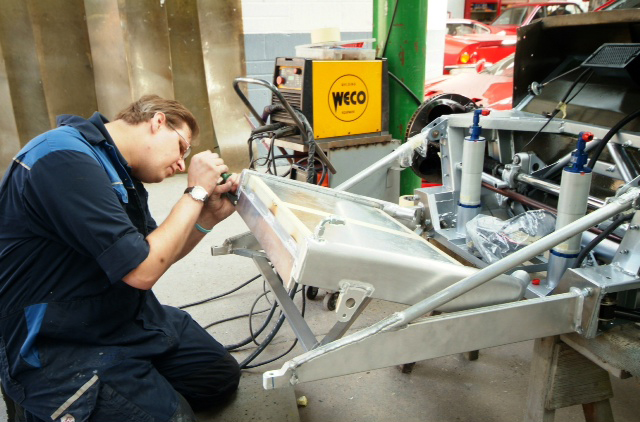
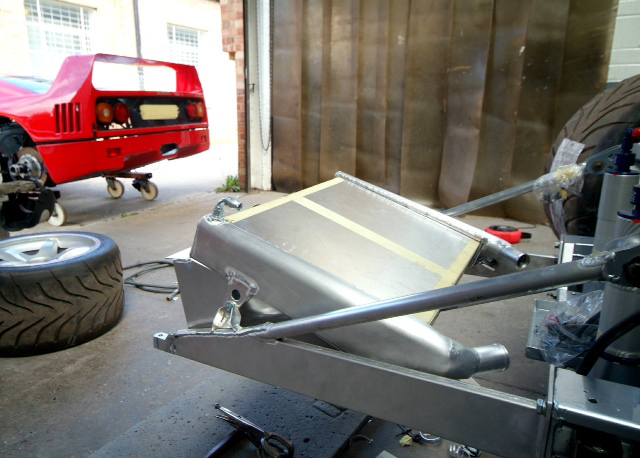
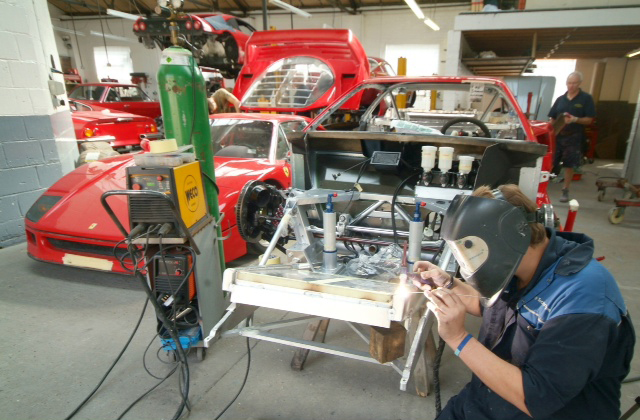
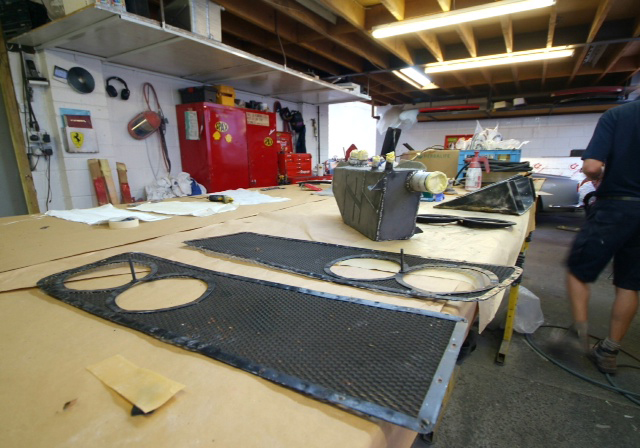
Consequently we decided to avail ourselves of Mototechnique’s metalworking skills and fabricate our own. The interiors are being sanded to provide a key for a sealant, and then the tanks themselves will be clad in carbon fibre and then filled with foam. This solution is FIA approved so the car can still race if we ever wanted to and yet provides a belt and braces solution which takes advantage of modern developments in materials, has no weight penalty (possibly a small saving), and will hopefully last the life of the car. More detail as they get built up but here you can at least see the start, together with dry fitting in the chassis as they go along.
If, in years ahead when I am gone and the car is with a new owner, anyone who was totally hung up on originality can always revert to the cells, should they still be available.
Always amazed at the skill of someone taking a flat piece of metal and teasing it and cajoling it into complex shapes. I could not even do that with paper.
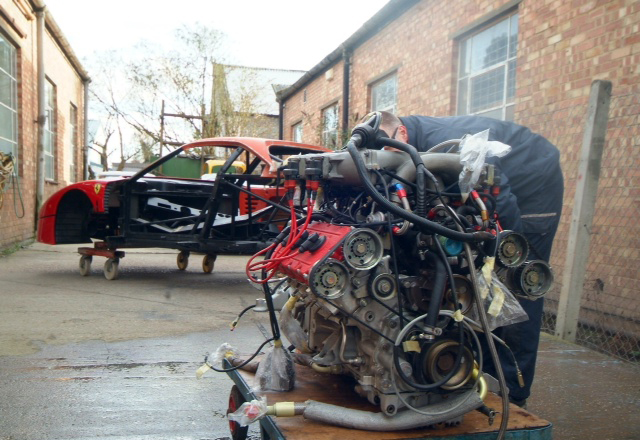
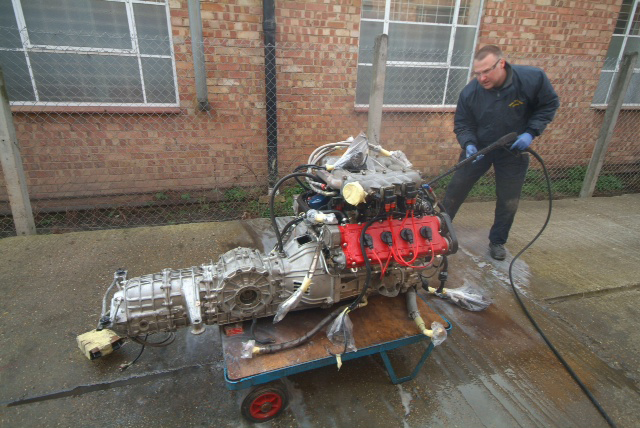
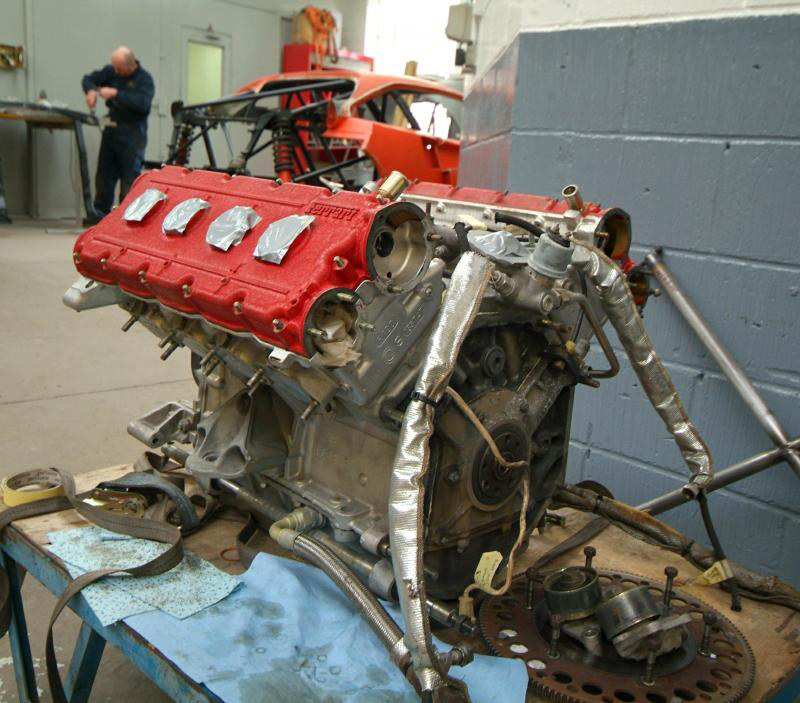
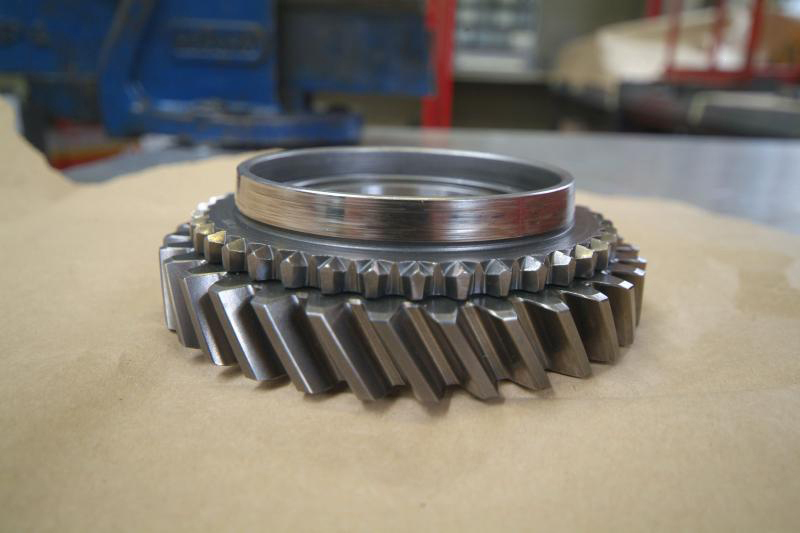
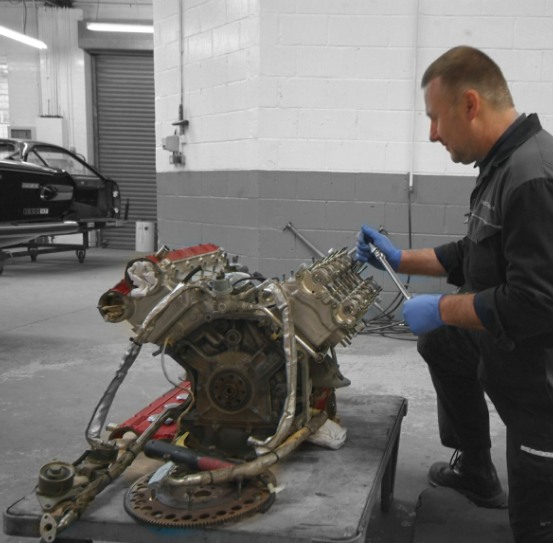
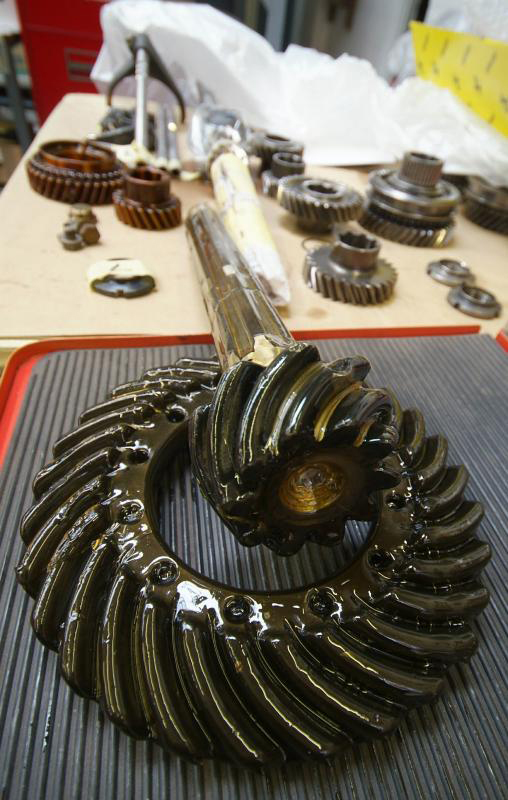
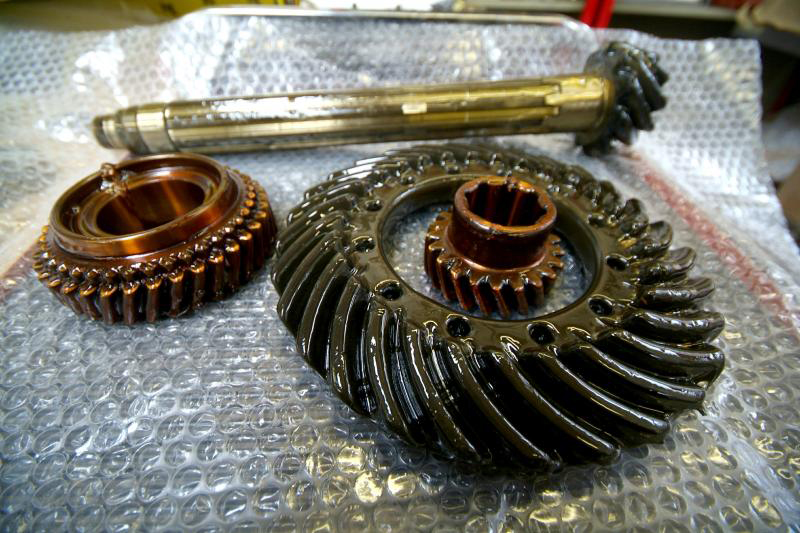
Finally a filthy engine is released. 24 years of road and racing grime removed in a few hours and what a result. We then will break down the gearbox and on Michelotto’s recommendation, replace second gear as it is apparently a known weak spot when you start pumping more power through it, especially when used in anger as in racing. Also considering changing the crown wheel and pinion as apparently this car ran in excess of 220 and again on his advice, he suggests a reduction to give us a top speed of about 190/195 which is what he gears his current race cars to, even at Le Mans. The gain, obviously, is in acceleration.
Note still dry fitting the tanks as they are gradually made up, but in a week or so they should be all clad in carbon and good to go.
Whilst we have the engine out and broken down, thinking about pulling the heads just to check as it would be a shame to go this far only to find some problem later. Apparently recently rebuilt but after what we have found so far, it might be nice to see for ourselves.
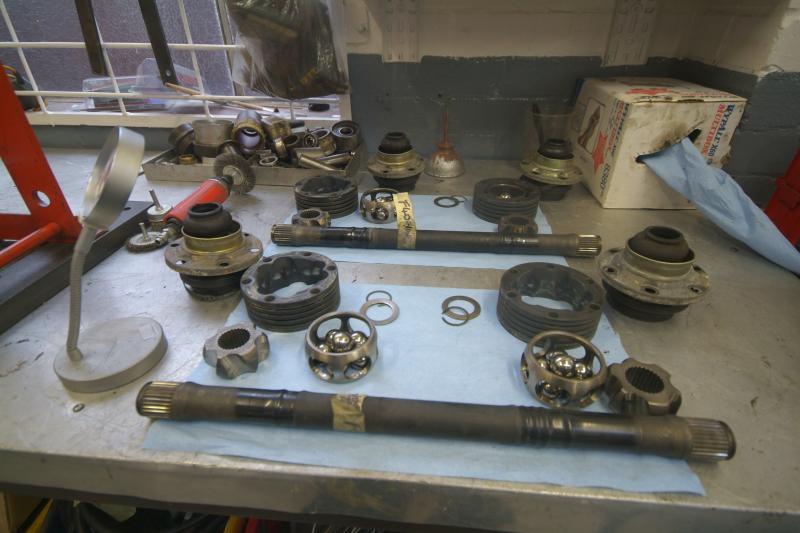
Universal joints needs sorting but drive shafts are good
A few more shots of fuel tank artwork.
Slowly reducing the car to individual pieces! At this rate I can see the house going, but doing it right is becoming more addictive than drugs.
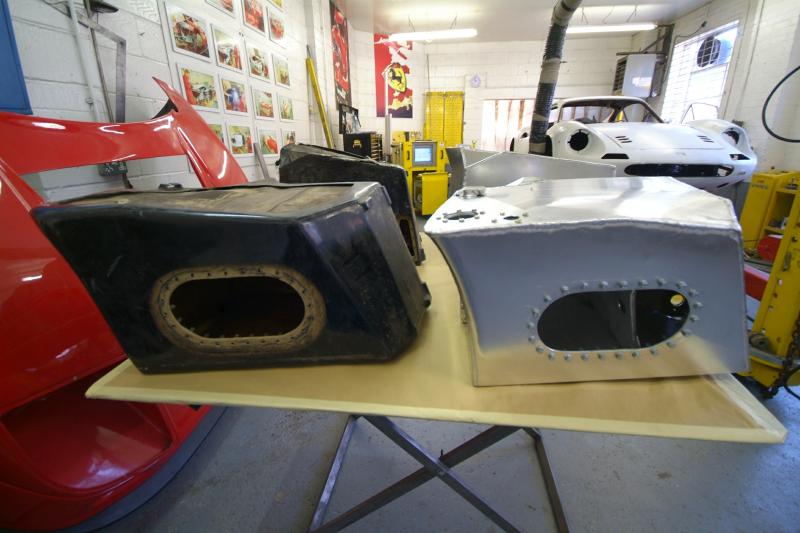
Well, the alloy tanks are effectively finished save for some lugs and heatshields, and shortly, thanks to this forum, we will start to dress them in fibreglass and then the Carbon. You can see one old, slightly singed tank and the new one alongside. Cannot wait to seem them wrapped and finished but suspect that might be a week or so away.My outrageously priced birthday present, well hardly a present, from Michelotto should be shipping at the end of next week so that should really prove to be a turning point when we get our hands on that stuff. Big box opening moment when that arrives. All in all I am hoping that in a couple of weeks or so we can start proper construction and begin to assemble.Generally progress has been slower than I would have liked due to pressure at the shop, but we are still moving forward and learning every inch of the way.
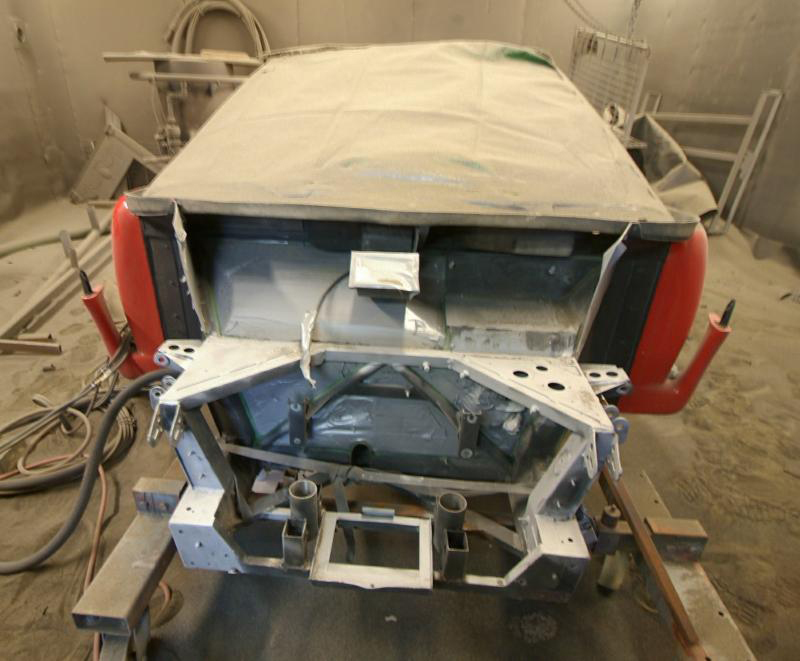
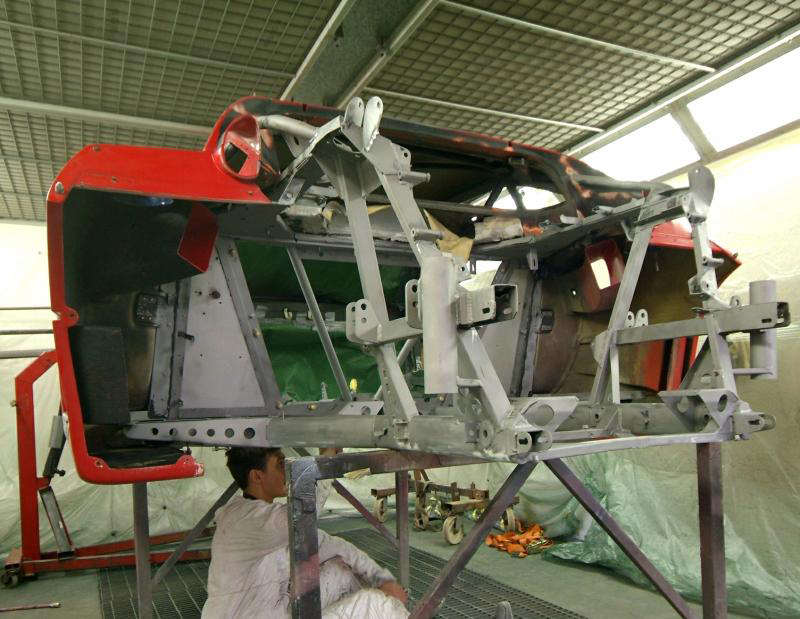
Well, a last gasp for attention for a week or so before the F70 launch when there will be only one thread to follow.I wont bore you with the ongoing work to the fuel tanks for now but we are almost getting to the bottom of the destruction phase. Here she is, down to basics, shortly to be masked up and off to the sand blasters who will strip off all the old chassis paint so we can get back to bare metal, prime and recoat in the correct Michelotto silver. Considered doing it manually and then came to the conclusion that the only way to get into every nook and remove all the grime was to blast it and that way we will get a perfect finish.There is that word again, ‘Perfect’ which normally equates to $.
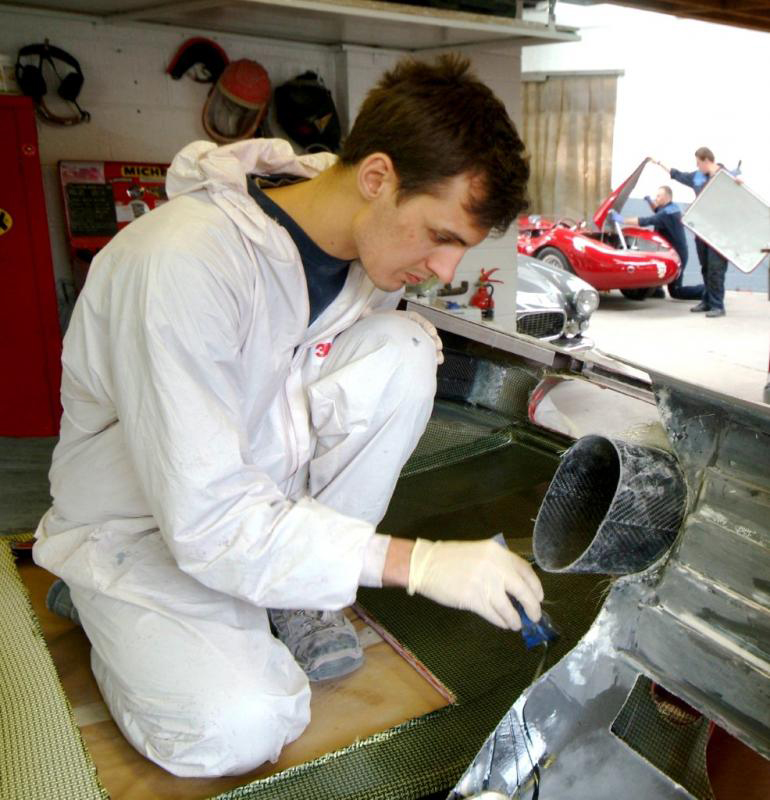
Here are the heat shield lugs that have been attached to the tanks now and the very start of the laying up process.
Shell now all masked up and ready to have the chassis back to bare metal so should be the last time I see that in black. Meanwhile gearbox tear down has revealed that reverse gear is now useless and that has created a whole bunch of issues as Ferrari want to sell you reverse, Ist and the main shaft for $15K, so we have to find our way round that which may mean getting the part made up. More on this to follow.
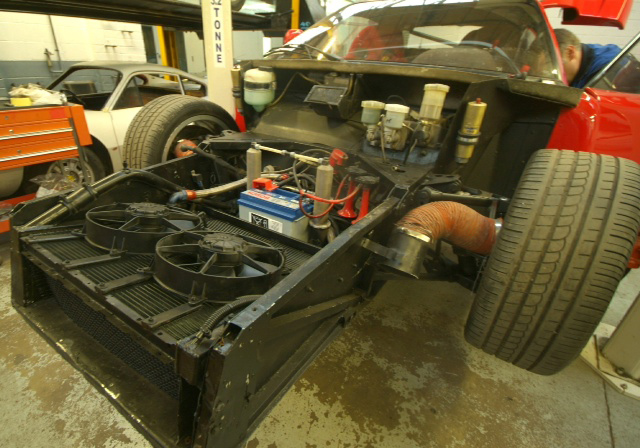
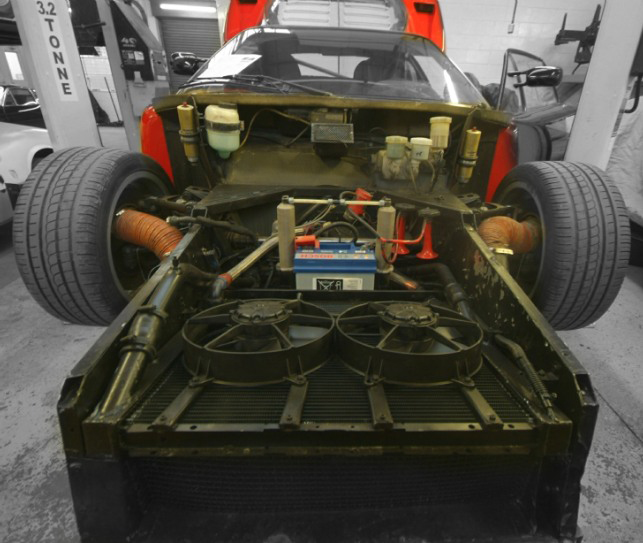
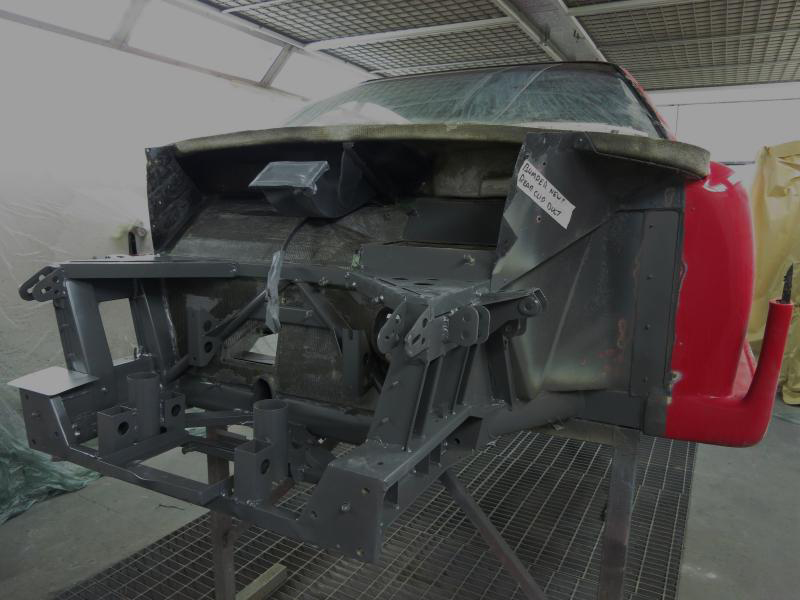
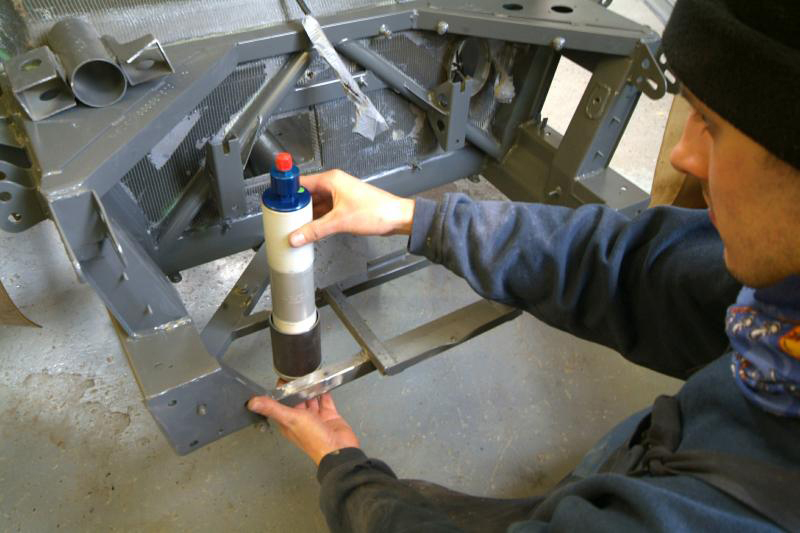
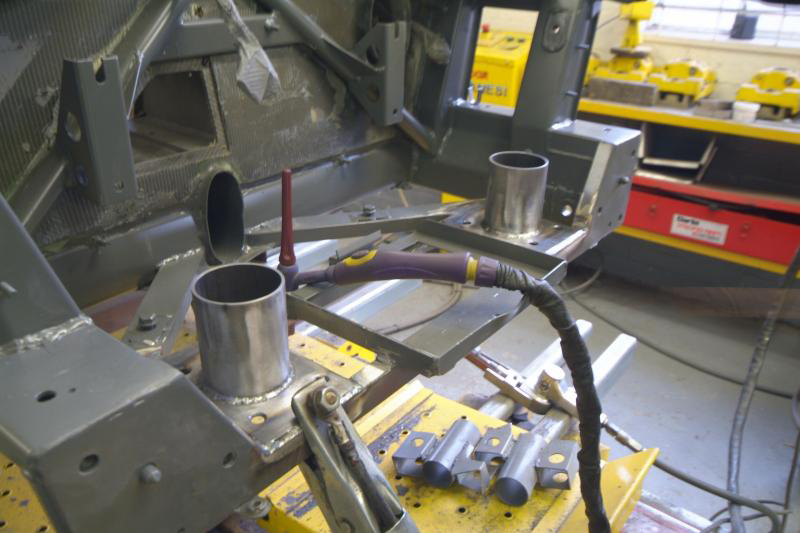
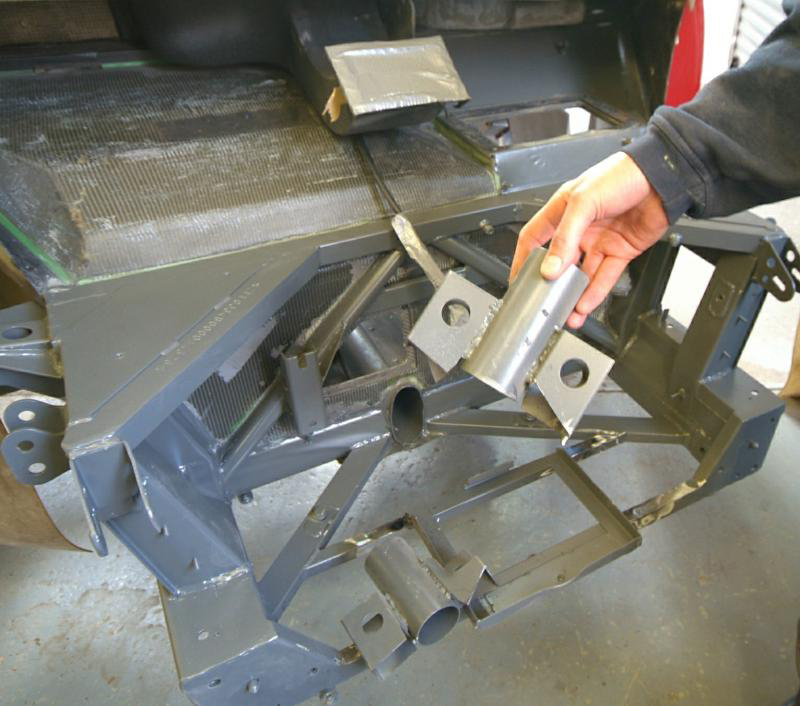
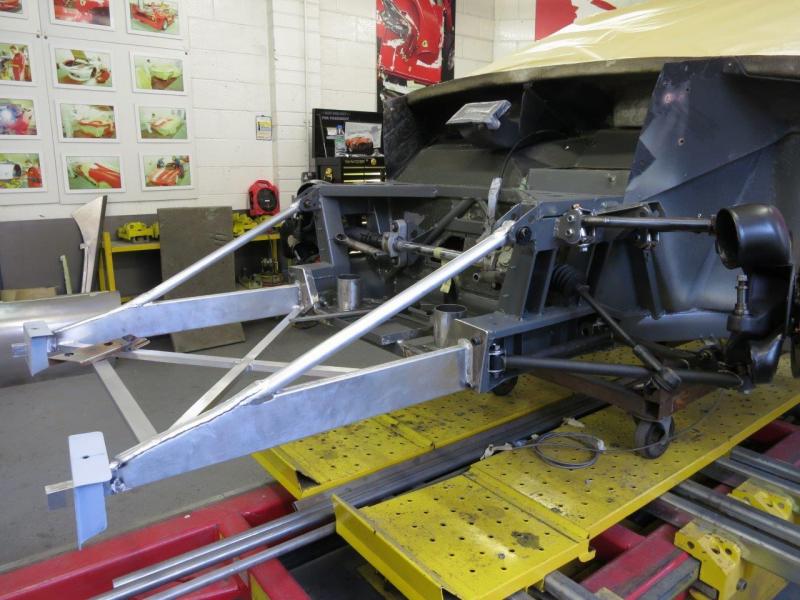
We have now just about finished the front structure save for the locking pins etc and to remind you here is a photo of what went before. The weight saving is dramatic, the new unit being mere ounces.Interesting to note the modified central battery position and twin jacking points of the original. We are maintaining the battery position and replacing the jacks with Krontec units as used in F1 and most top end GT cars.
Well, this really is as low as you can go. From where we were to where we are and given where we are my time frame has gone out of the window as like all restoration jobs, this one has ballooned! Bear in mind this car recently went to the Le Mans Classic twice, driven in both directions and apparently never missed a beat.In conditions reminiscent of a Victorian workhouse the chassis is now being blasted back to bare metal and from there the build up can hopefully start in earnest. Interesting to see the central battery position. Suspension parts still being fabricated in Italy by Michelotto but we hope to have them within a week or so but he missed my birthday. Biggest issues remain on what we are to do with the engine etc but more on that to follow.
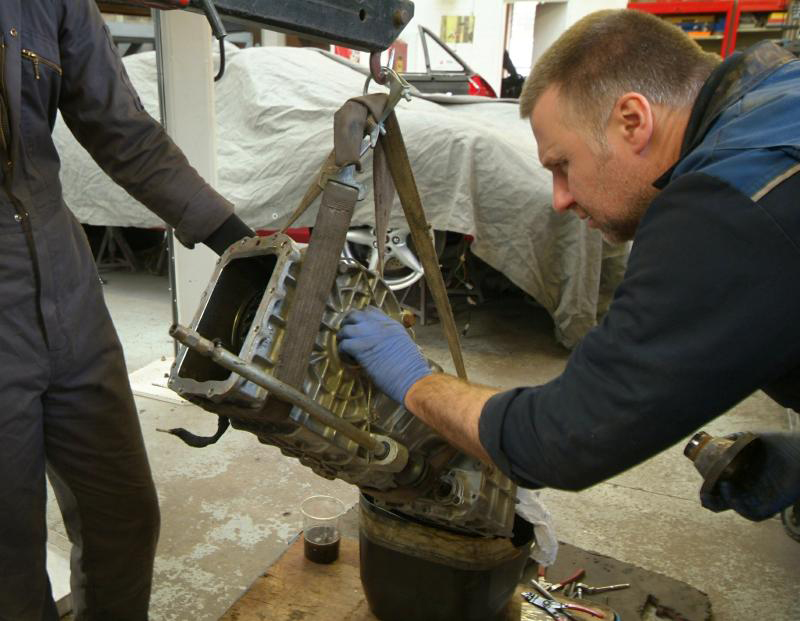
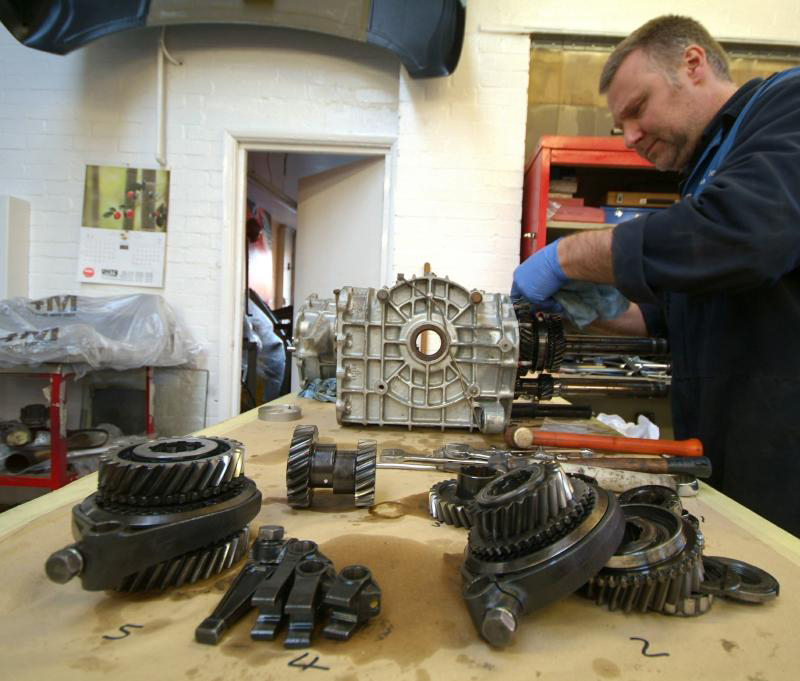
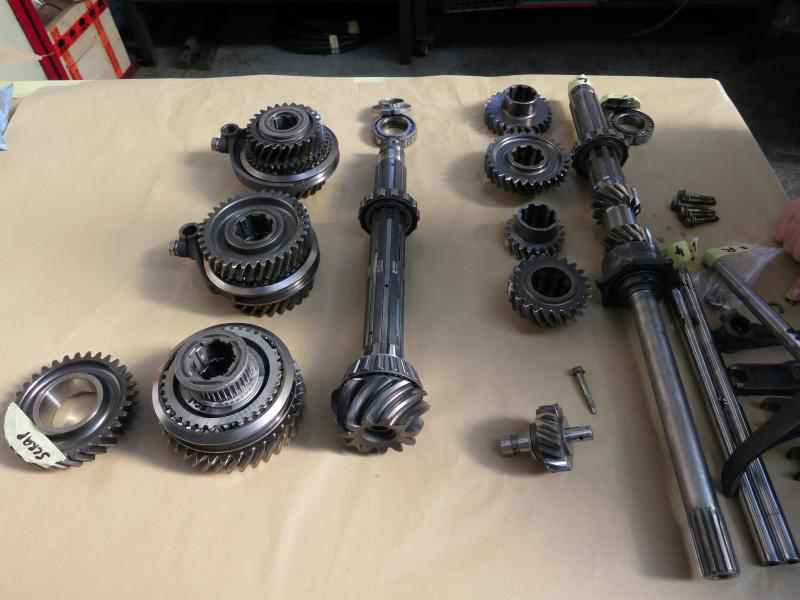
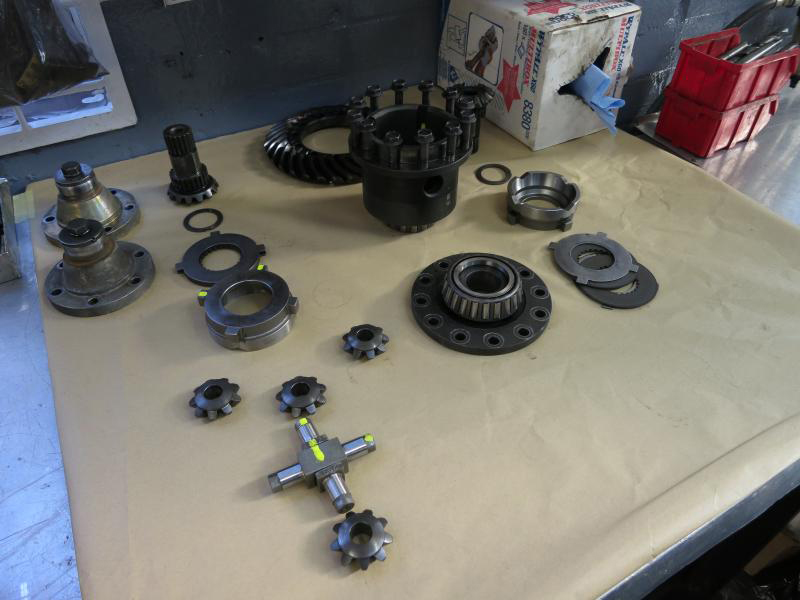
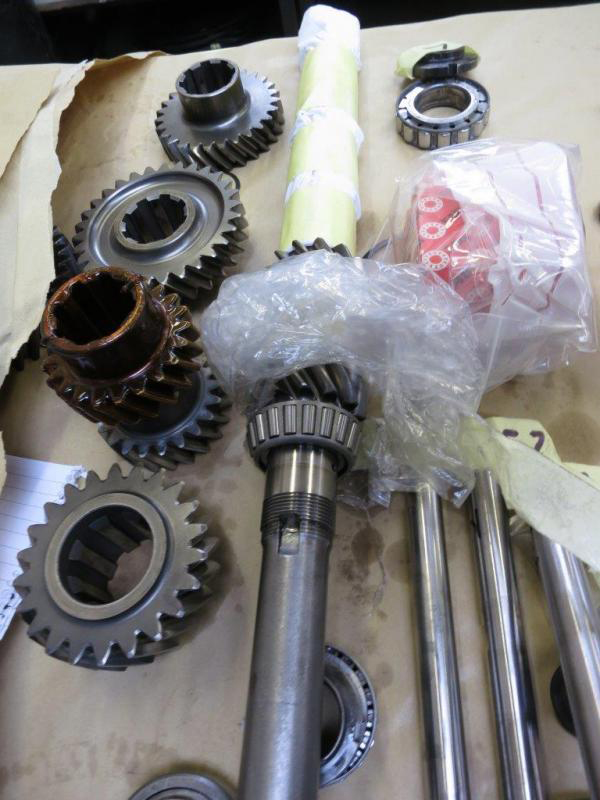
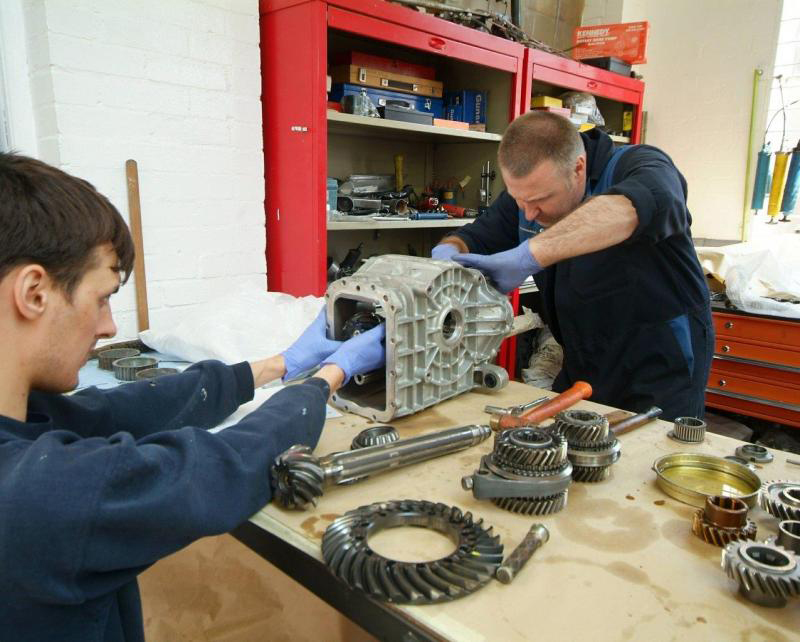
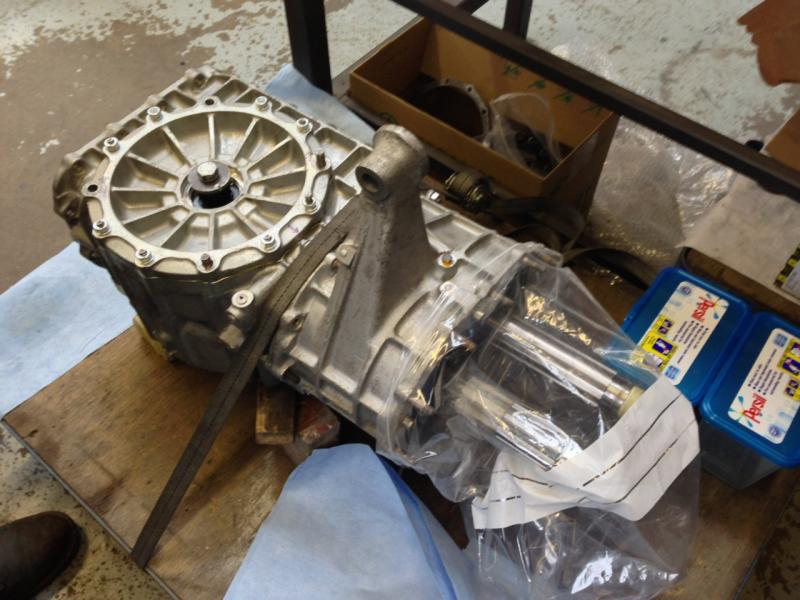
OK, well here is the gearbox all stripped down and unfortunately reverse has developed evidence of heat cracking on the synchro ring. As I mentioned earlier, $15k from Ferrari as that includes first gear and the shaft but we are lucky in the UK to have one of the world’s top restoration companies, Crosthwaite and Gardiner, who, if you can credit it, have recently completed manufacturing, from scratch, an Auto Union D type for Audi complete with V16 as well as a pair of Mercedes W125′s. Check out their website Crosthwaite & Gardiner Fascinating. Consequently reverse gear, I suspect of a rather higher quality than factory, for my little effort should pose few issues. I think we will also be coming back to them for some further engine work but more about that later.In these images welcome to the workings of the F40 gearbox and as I said we are taking the precaution of replacing second gear as that was a weak spot especially with all the extra power.The other picture is off the LSD which was not working properly so we have stripped it down to find the friction plates are worn and useless. Ferrari don’t offer friction plates as replacement parts and prefer you to buy an entire diff so we are examining our options.Is this too much detail?
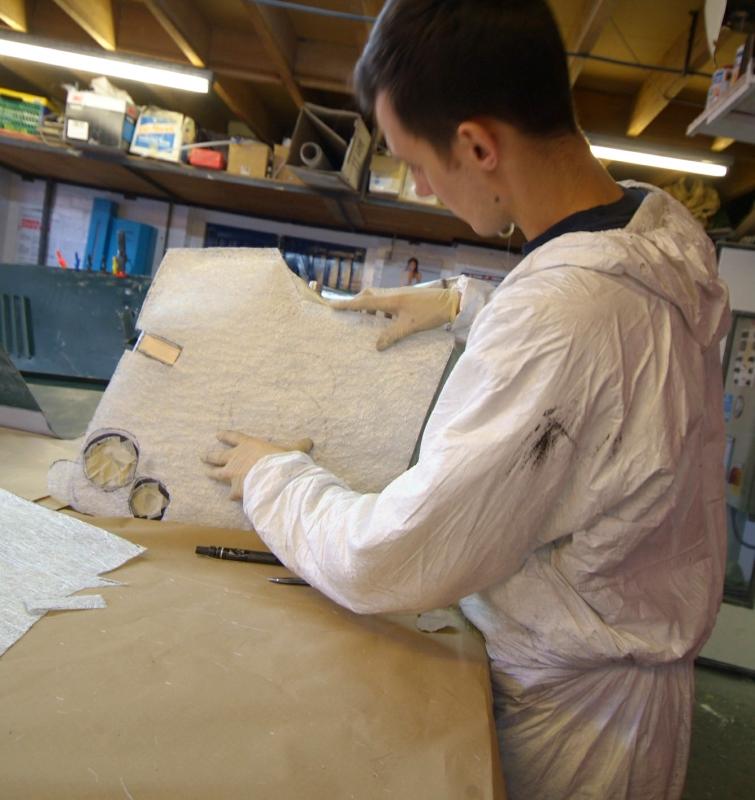
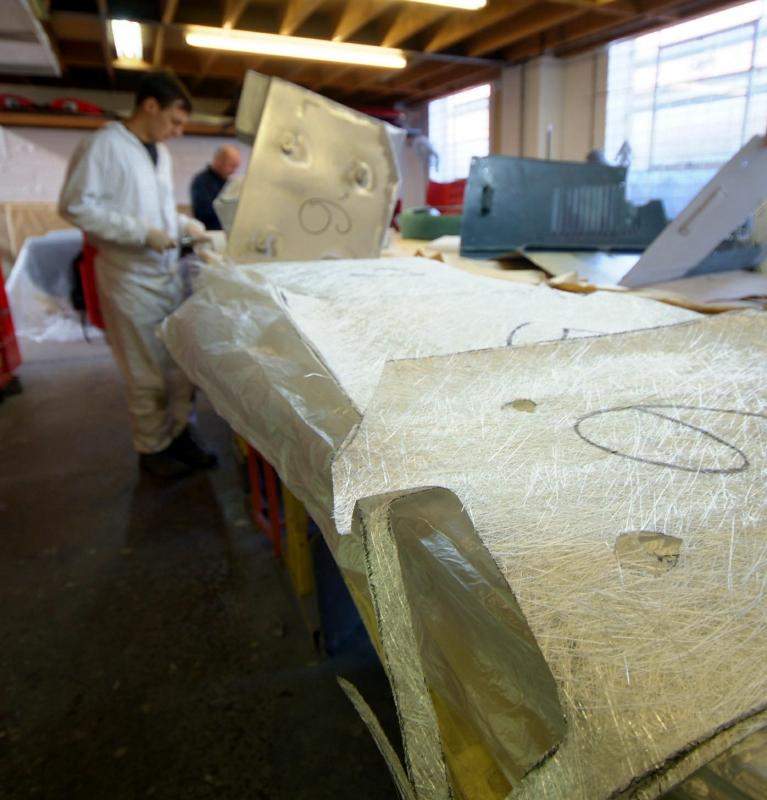
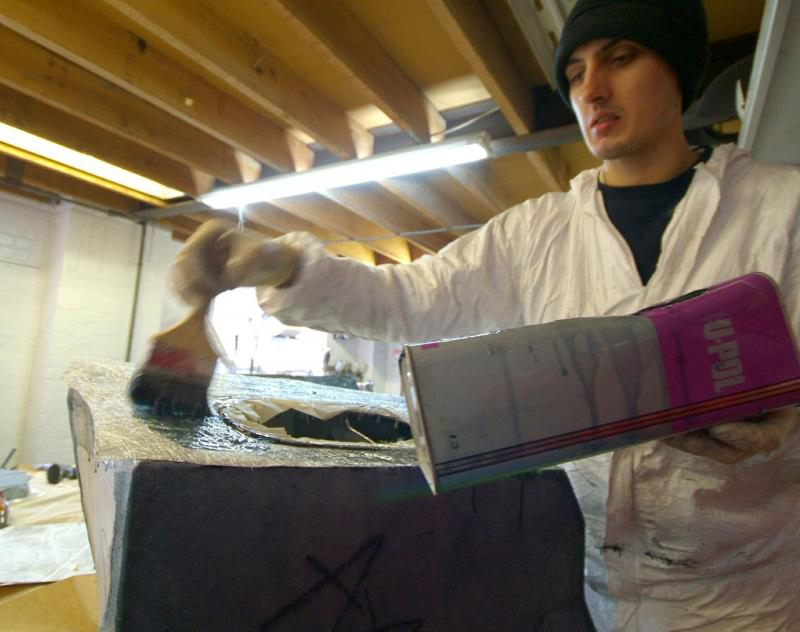
hilst I struggle with my server and turbo decisions, more progress on the fuel tanks. Here you see them being coated with fibreglass and then we start the Kevlar lay up as in the last photo.The finished articles will be works of art.
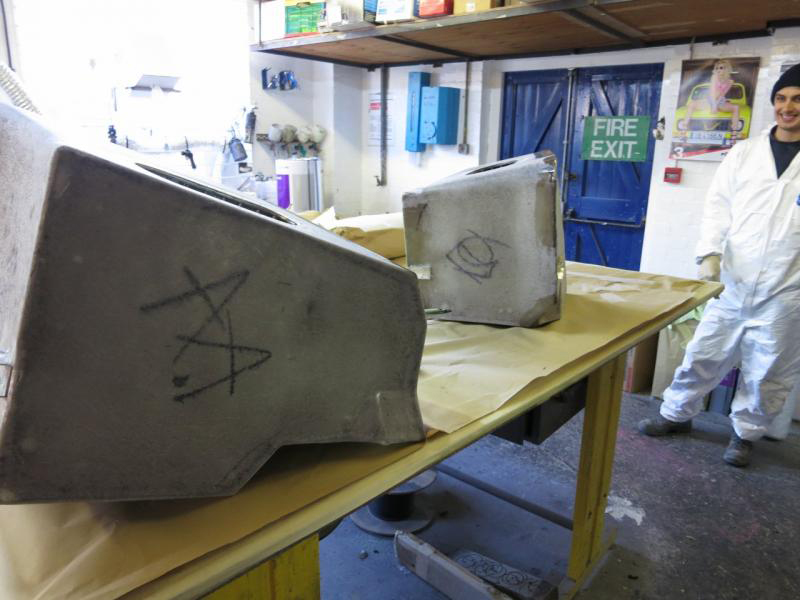
Well here is the trail from what they were to what they are. Perfect. In fact so good I would like perspex wheel arches or a clear panel in the wing!Strong, light, durable and to me, a work of art. What’s not to like? It also gives a good idea to you of the standard I am trying to attain with the rest of the project but a very long way to go…..So these now go into storage for a few months. Quite a few……as you will learn shortly
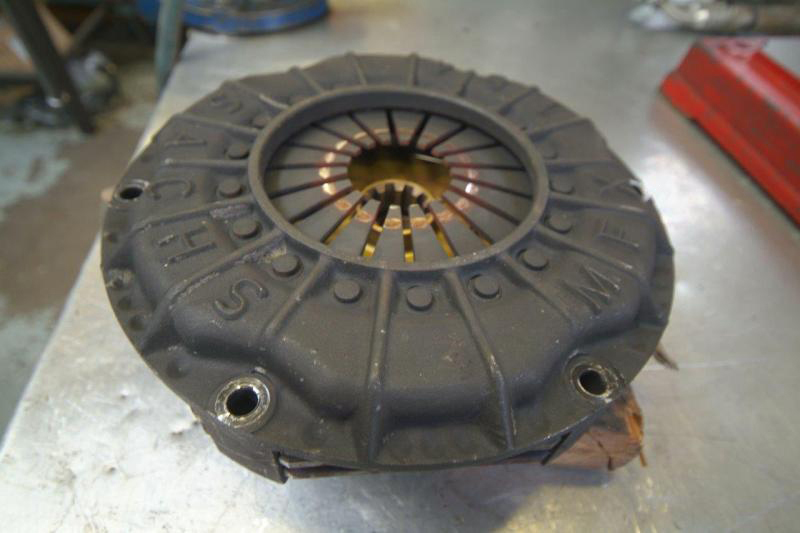
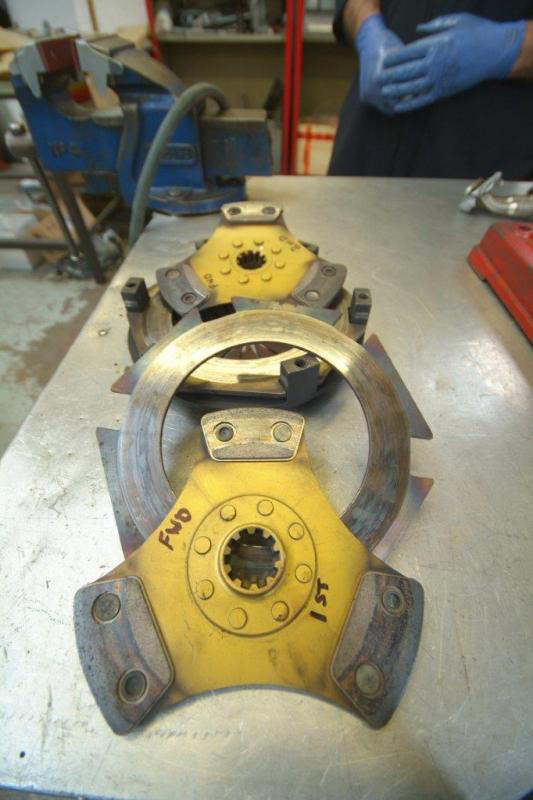
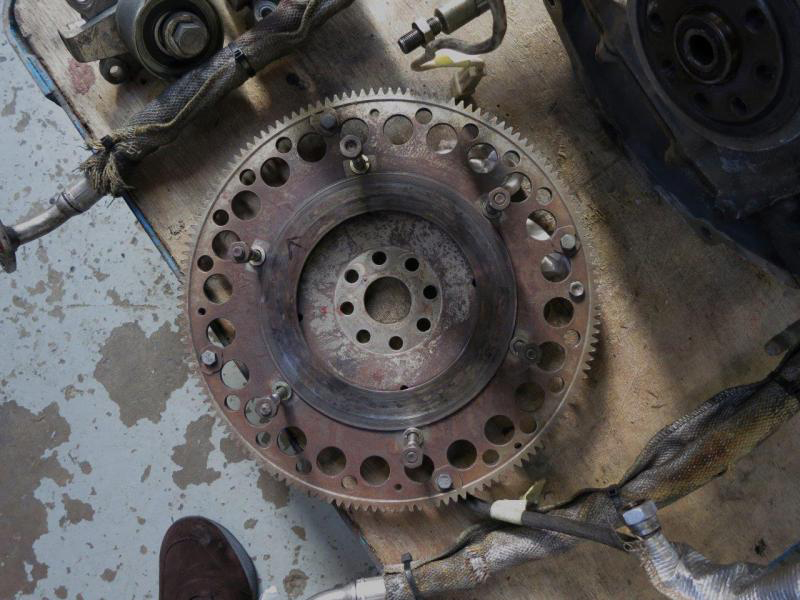
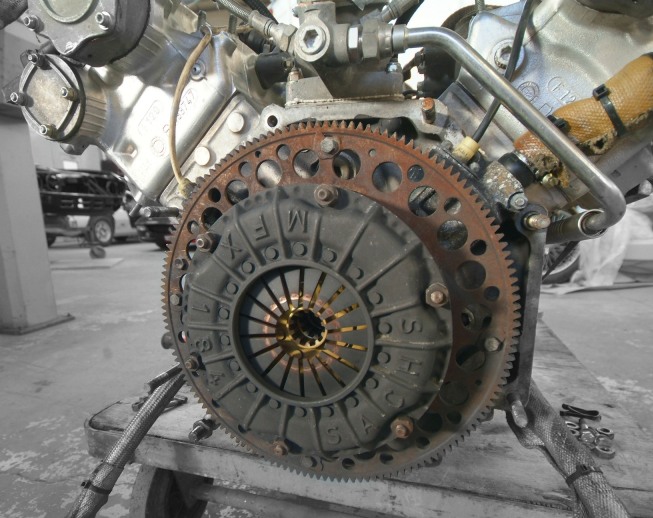
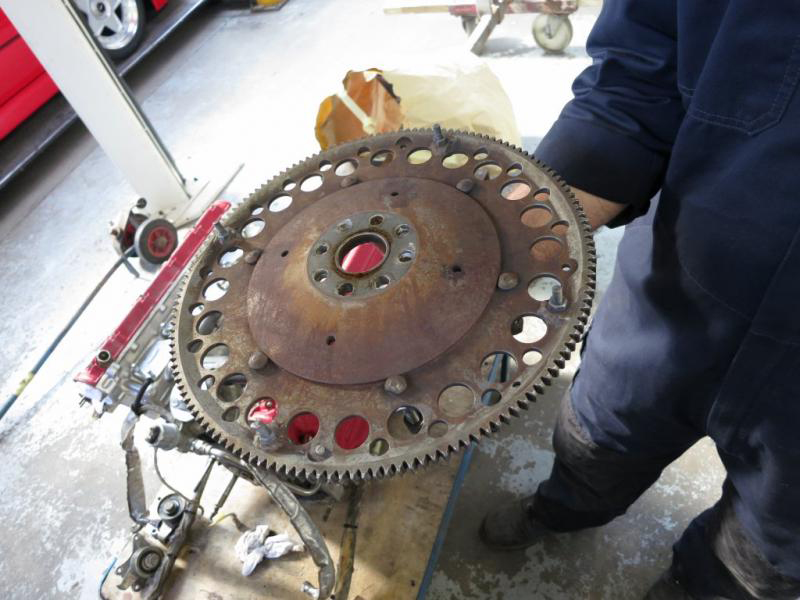
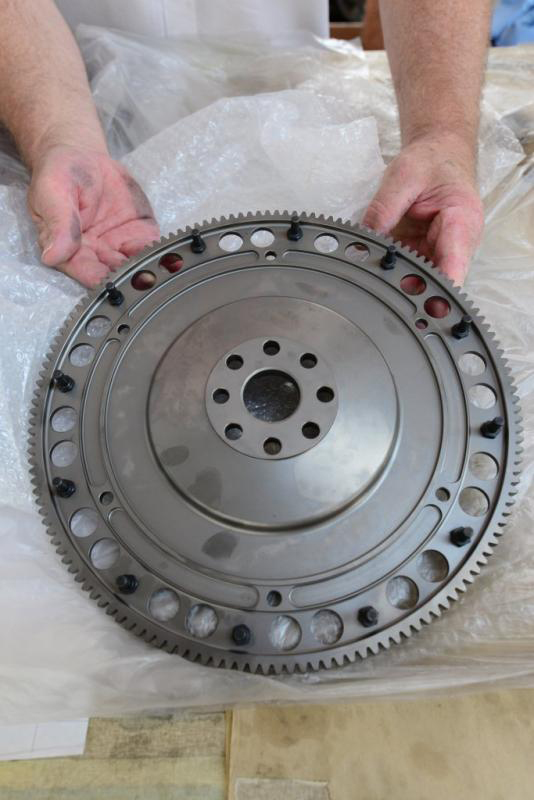
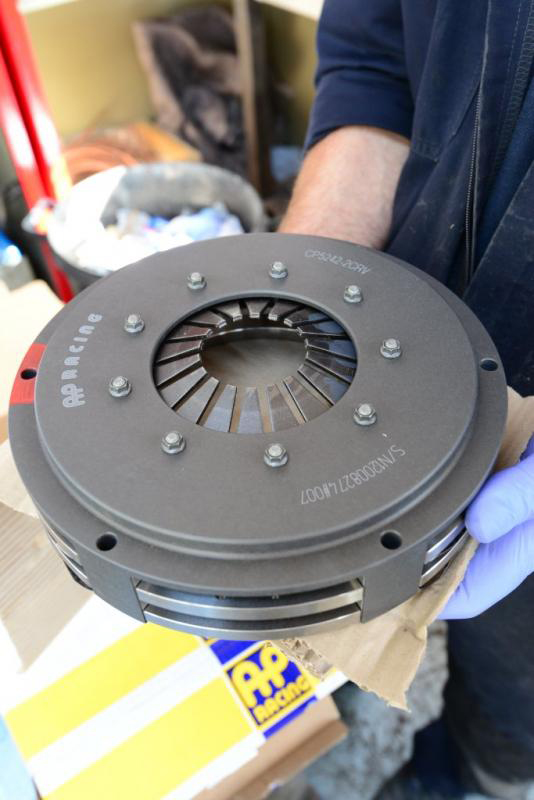
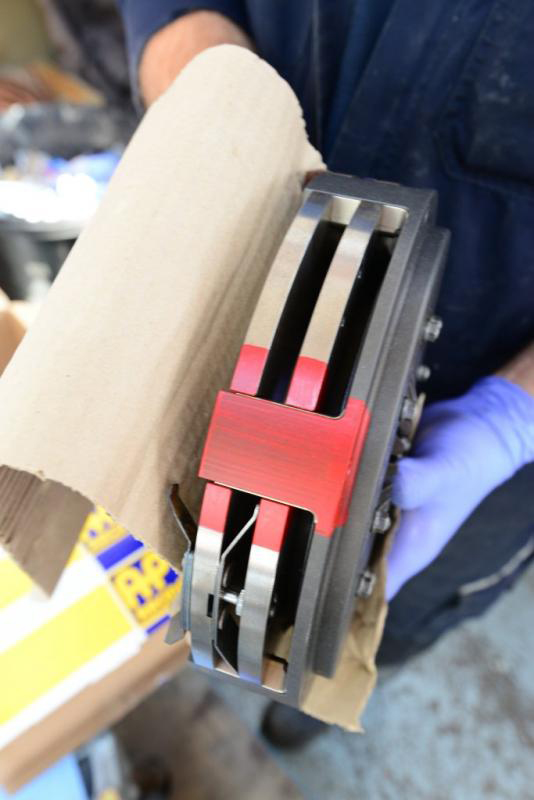
The Flywheel and clutch.The clutch is no issue and we will replace with an AP race unit. The Flywheel is. Very different from a stock flywheel and yet still road driveable and they have taken literally kilos out of it. Unfortunately the teeth that engage with the starter motor are finished and cannot be remachined and there are other issues so we will need to replace and right now it looks like we might have to make our own and then rebalance with the crank.Anyone have any ideas out there?Chassis now back from being stripped and perpetration is starting and details in the next post.
Looks like we have agreed with a specialist flywheel manufacturer to have a duplicate made, exactly the same but to a higher standard which will take a while. This will probably be mated to a three puck clutch. Meanwhile we are also having reverse gear manufactured and for those interested here is the problem, not on the gears but on the flange. Thery look like scratches but under magnification they are actually cracks. Not cheap as upon inspection by Crosthwaite and Gardiner, it is apparently very complex to manufacture and they should know.
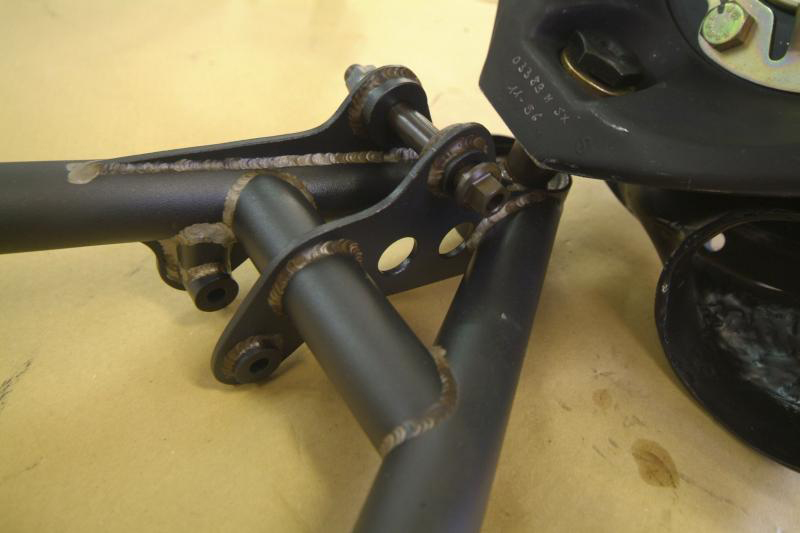
An update on the chassis. Now back from having been ‘blasted’ and years of crud stripped away. This will then be primed and expoxyed prior to dry mounting the suspension, then we will finally have a chassis ready to spray the special silver.I am hoping for part of the Michelotto late Birthday surprise to arrive next week which will then enable us to dry mount the suspension and make any changes prior to the chassis paint. That will be really exciting to open as much of it had to be newly fabricated and bought sight unseen! We already know that for some reason the upper wishbone mounts are turned through 90 degrees so there will be work to be done.Maybe three weeks away from real progress?
Just a few more general shots of how the car was which may be of interest. This was some weeks ago and so now well in the past.The entire heavy front section has now gone and will be replaced with the lightweight alloy LM structure as posted previously.
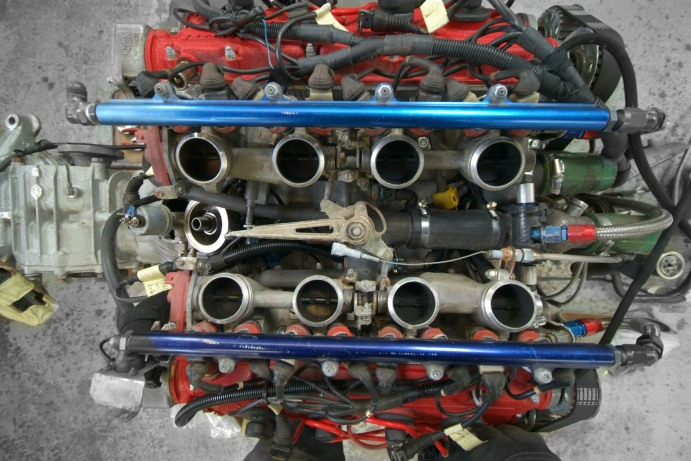
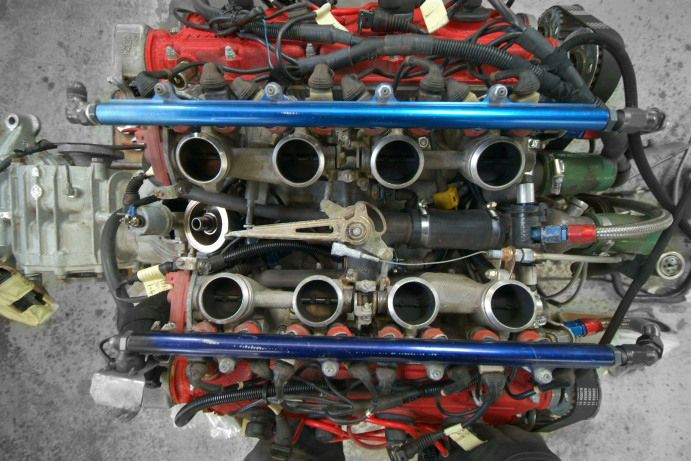
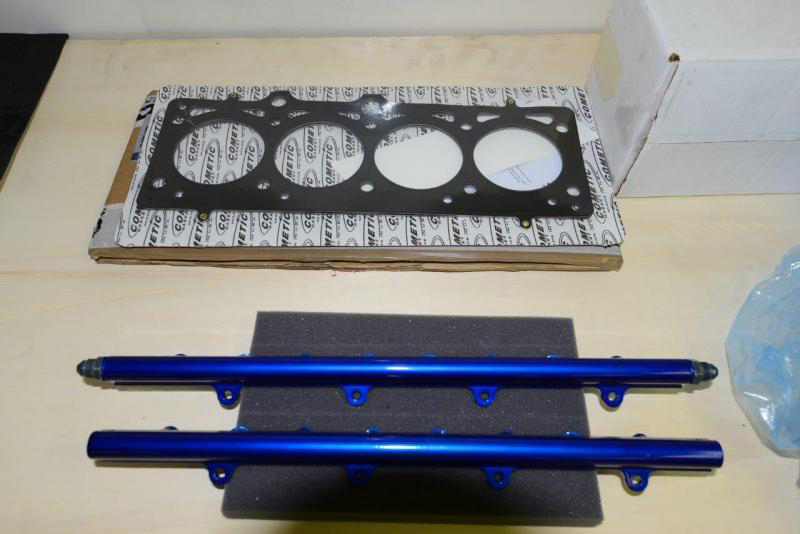
Back to the present.A few shots of the engine in strip down. Blue injector rails and injectors all going off to a specialist to be matched.This is the problem lightweight flywheel and clutch. New flywheel is now being made by Ark Racing a specialist Flywheel manufacturer and they are working with AP who are assembling a clutch for us.The silver lining in the new flywheel is that it will have 60-2 timing pins for accurate setup with the Motec gear, whereas the existing had just 4 rather bent ones, so that would have had to have been addressed anyway.
Chassis now being sprayed with primer and then two coats of epoxy before a top coat of the Michelotto silver. If only Michelotto would either answer the phone or get me my parts things would be looking encouraging!
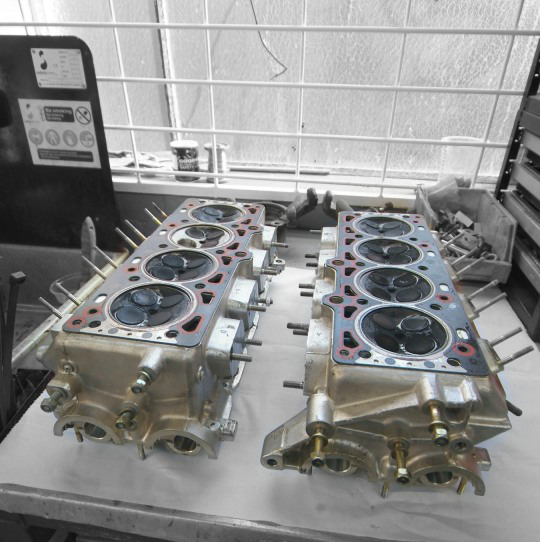
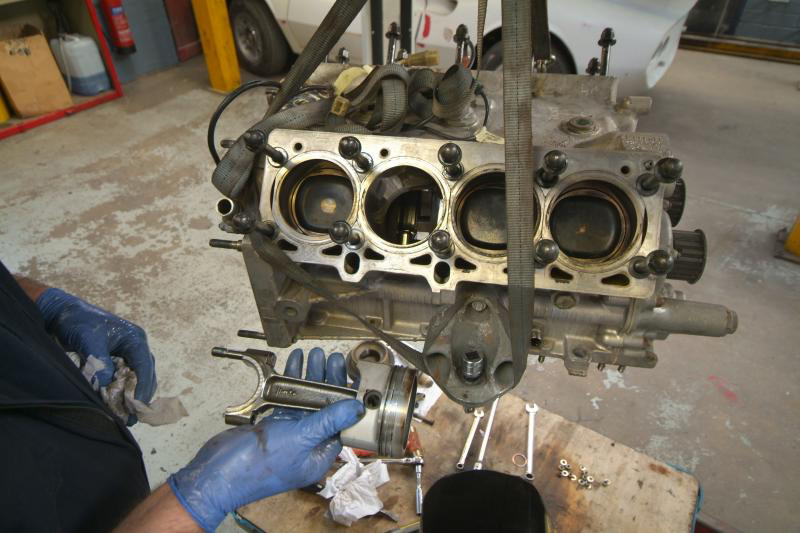
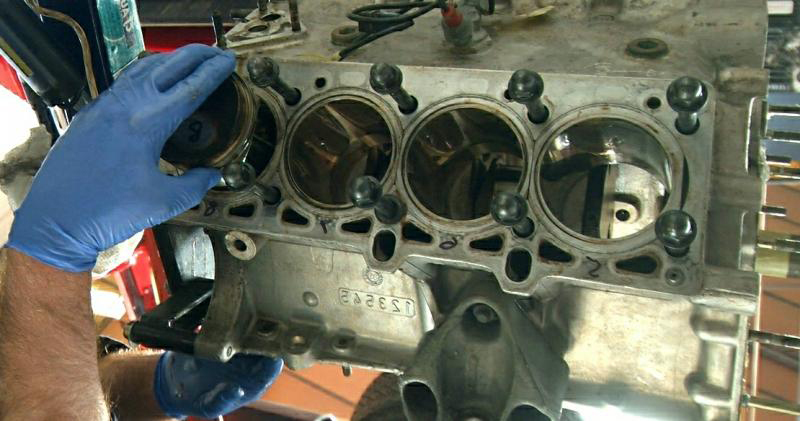
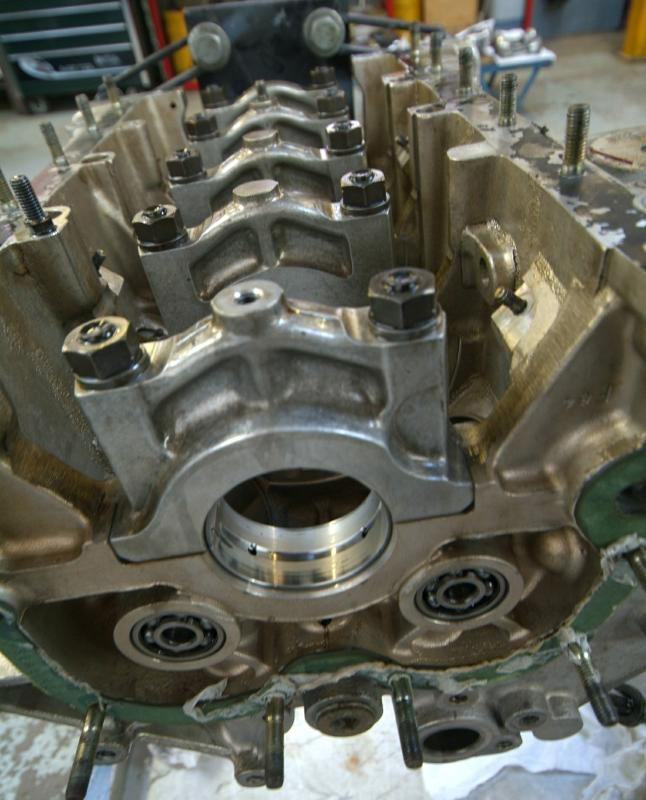
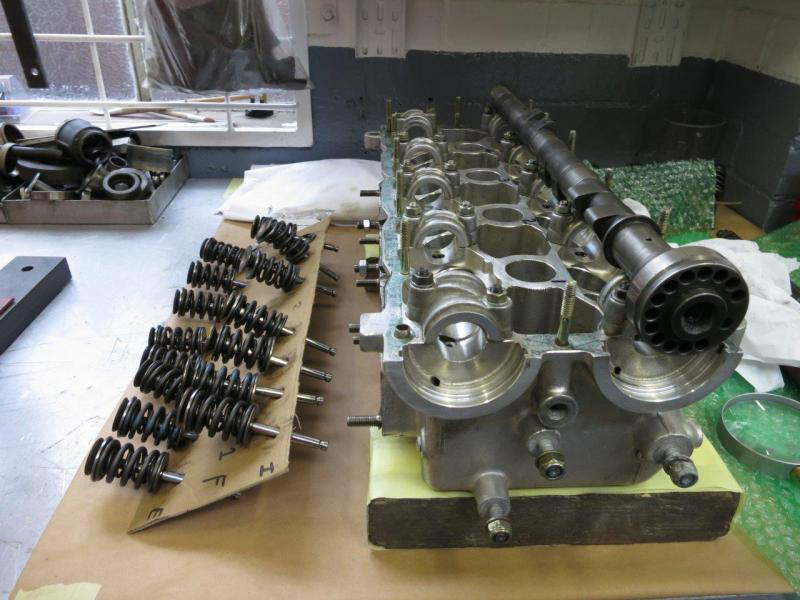
Really just for those who are interested to see what the inside of an F40 engine looks like. Hopefully not a sight I will see again.Valves all OK and heads are only a few thousand miles old but seats will still be perfectly matched. One bore slightly scored so that will also be polished out at Crosthwaites. Biggest delay will be the flywheel which is now in manufacture by Ark racing but will take four weeks and we cannot get on with the dynamic balancing until then so will finish engine strip-down and then focus on the chassis which should work well as we expect parts from Michelotto this week. Expect being the operative word.Whilst it is an expensive pain to find all these issues, the plus point is we know we will end up with an absolutely perfect engine and drivetrain, top to bottom, fully matched and better than when it left the factory. Had we not torn it down completely we could have been facing much bigger bills in a few thousand miles.I suppose that is my penance for buying an old race car.
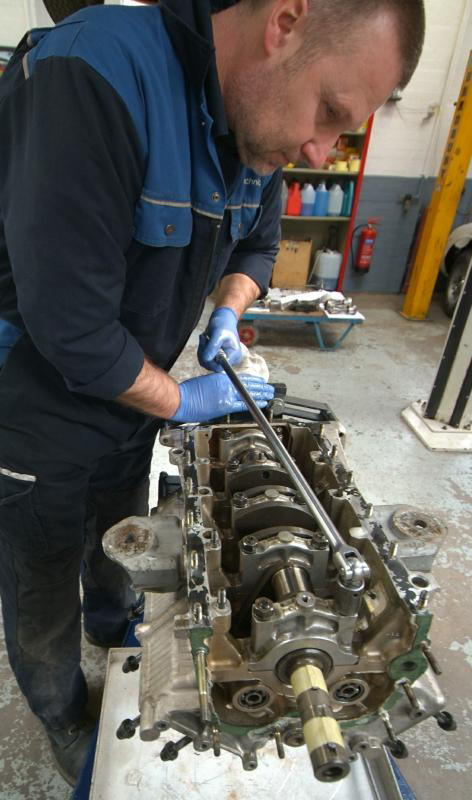
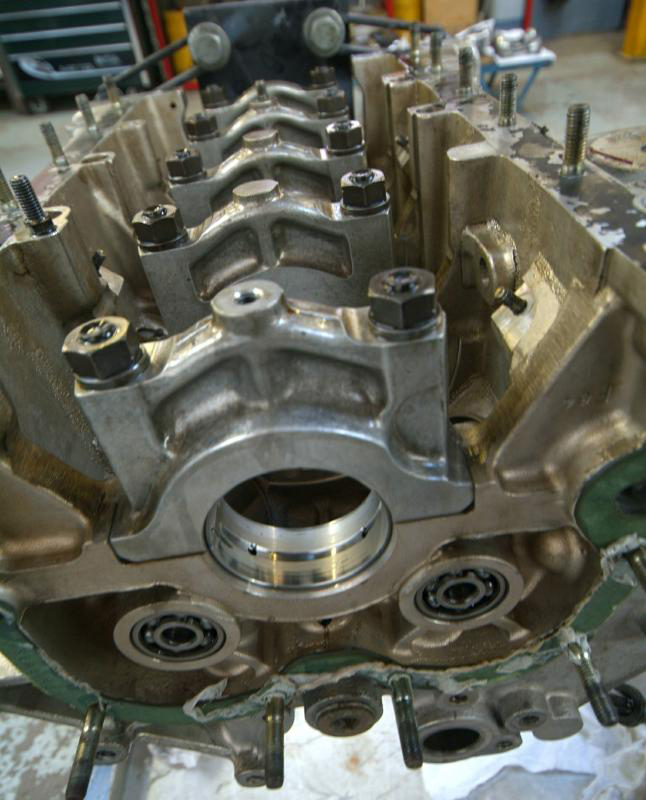
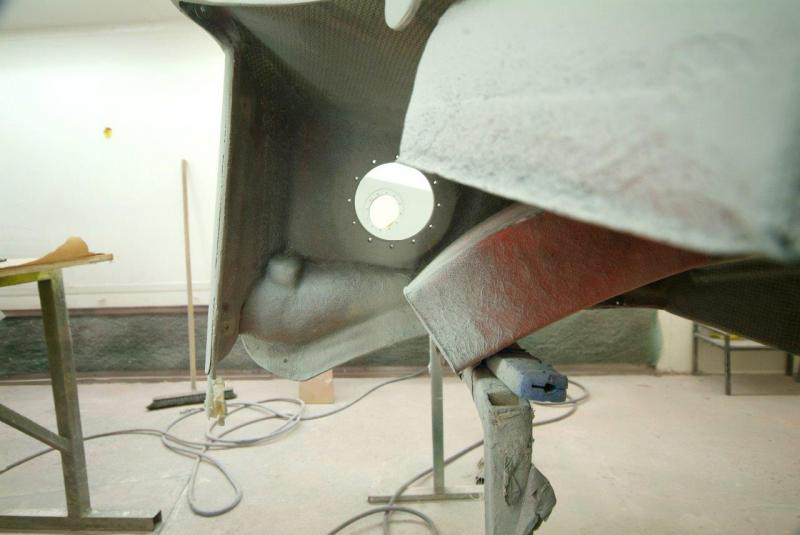
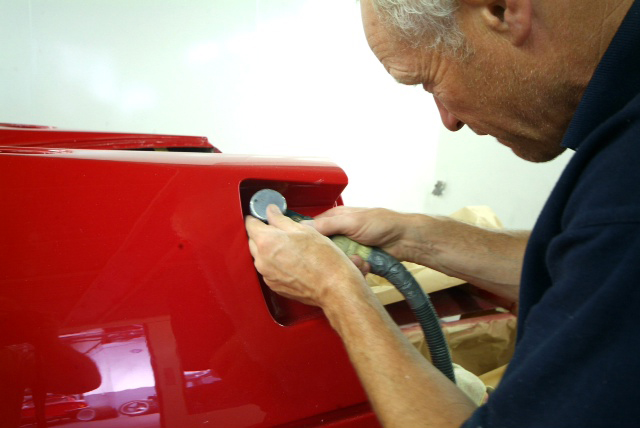
Crankshaft out and away for polishing and dynamic balancing. All new bearings will be fitted. Meanwhile work continues of the bodywork with the rear clam being adjusted to accept revised position for air jack inlet which, so as to be road legal, cannot protrude and so has to be slightly recessed.
We are currently working our way through installation of the air jack system and still awaiting delivery from Michelotto which is causing us a delay. We are fitting a top of the range (read expensive) Krontec system and tidying up the chassis. Then after we get the delivery and dry mount the suspension, finally everything comes off for final chassis silver paint.For those of you worrying about the look of the carbon, don’t, it is just masking tape residue and once the chassis is painted will all be cleaned up.
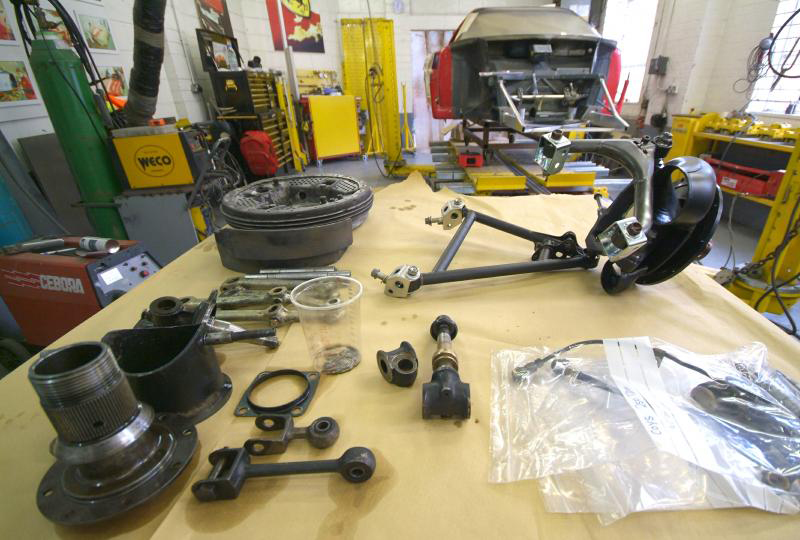
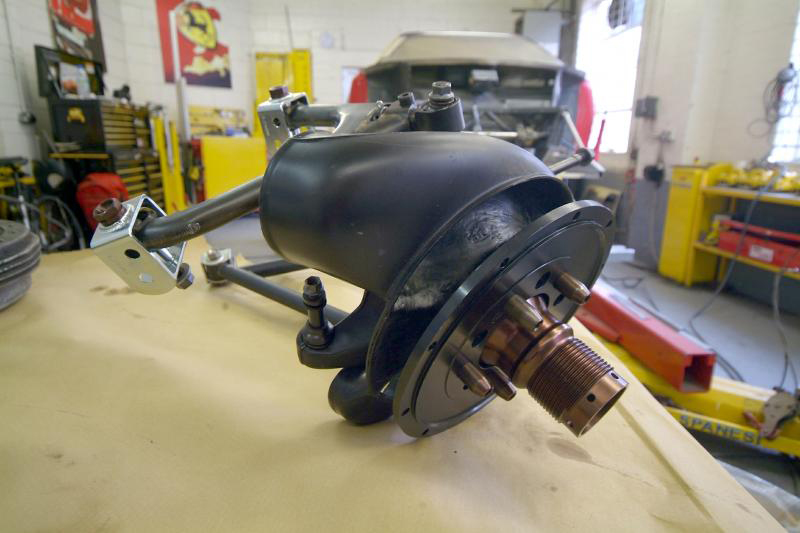
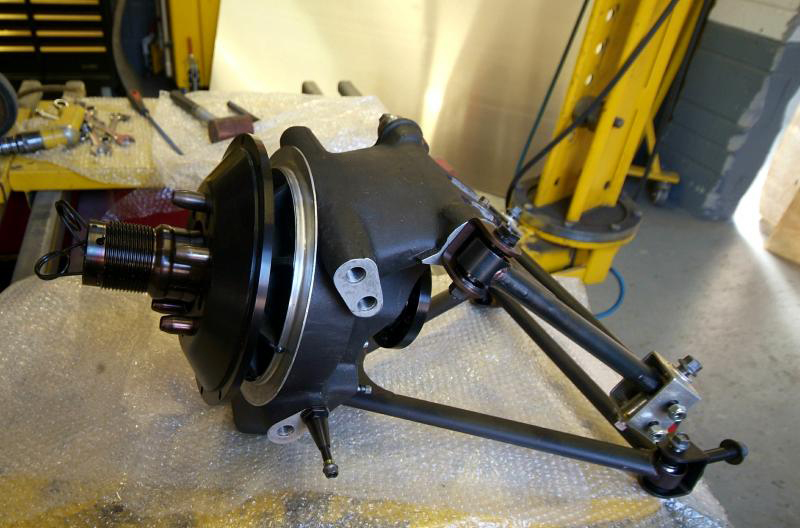
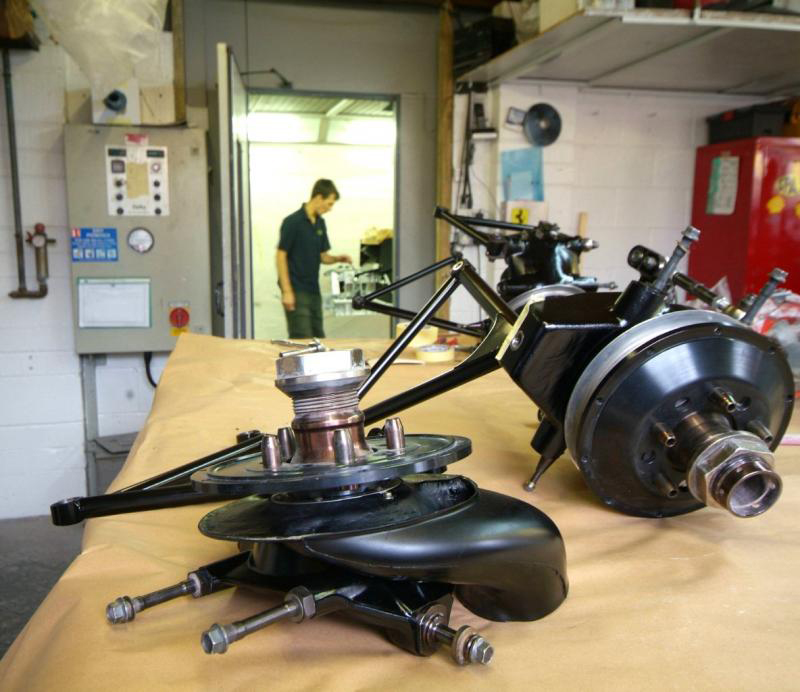
Okay, this is the last post for a few days, but this pm re finally received our first shipment from Michelotto. He has nothing on the shelf so all our suspension has been fabricated especially for us and referenced like a tailor made suit. Beautiful and more detailed images to follow, but here is the front LM unit against another classic Ferrari front hub and brake assembly-any guess what it is from and no more posts until someone gets it?
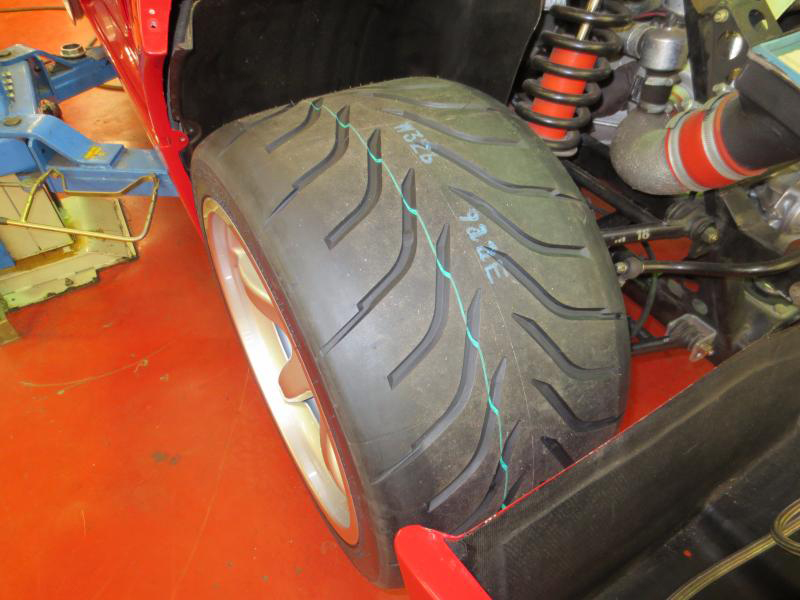
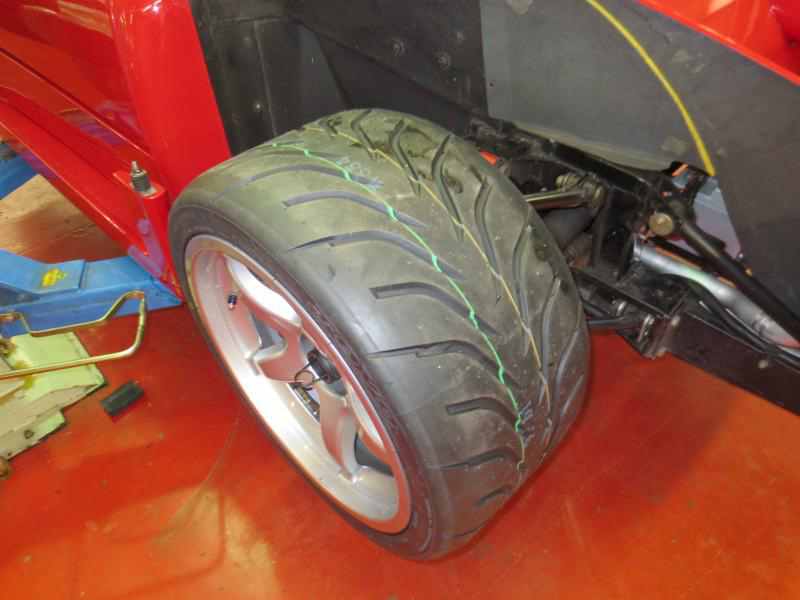
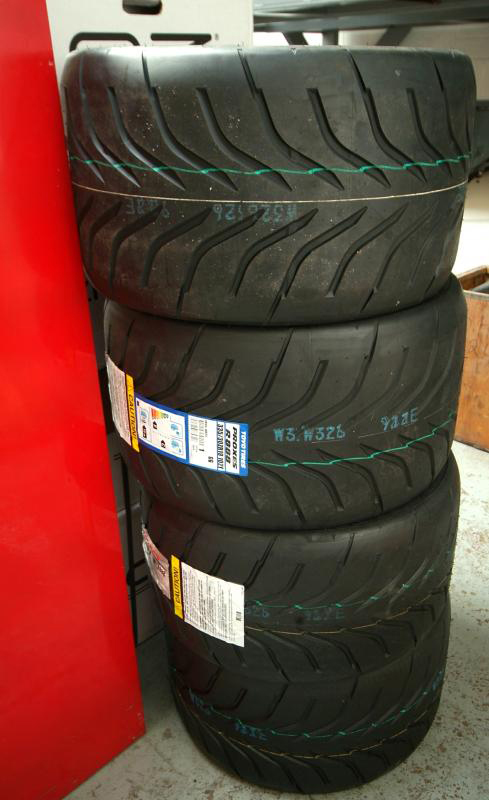
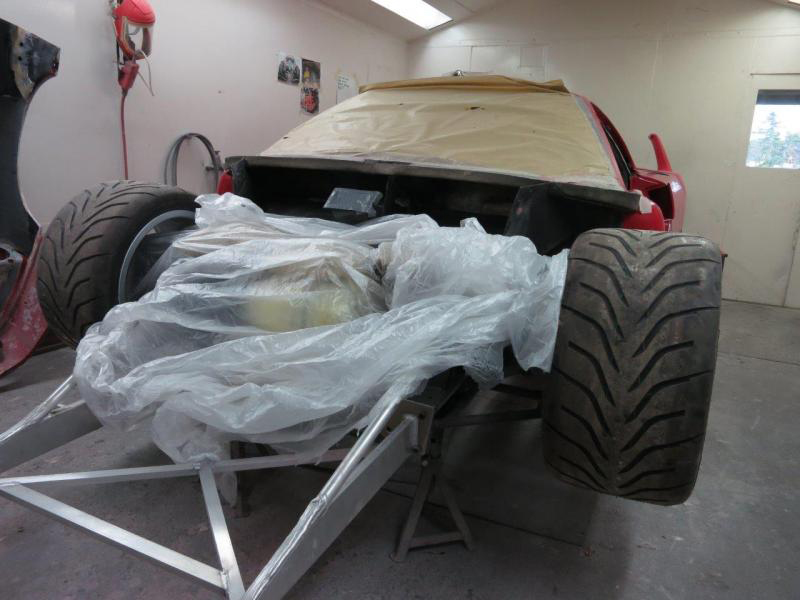
I have to say that I am actually enjoying posting this thread far more than I thought being able to share my adventure with interested and knowledgeable others, and as a fan, it occasionally seems surreal that I get to deal with Cristiano Michelotto direct. Only last night at 11pm, at dinner my phone rings and I find myself speaking to him and he is e mailing me all the details for the suspension geometry setup, albeit it would be nice if we had the parts to start with!Whilst waiting for someone to get closer on the suspension question before I post more images of our progress, I have to make a tyre, or what you call tire, decision. The only tires that really work on the car are either the new Goodrich G Force Rivals or the Toyo R888. Unfortunately the Goodrich which would be my preferred choice, are not street legal in the UK and whilst it will spend most of its time on the track, it will occasionally venture onto the street. The car would therefore be effectively uninsured.The R888 is almost as good a tire with a crazy tread pattern, as below, which does not really suit the look of the car but will make it handle great on track and on the street. One or two owners here in the UK are using these on their standard F40′s and love them.The final choice is to go back to the old Pirellis, possibly, which look right but simply no longer have the performance.Any thoughts as I am leaning to the Toyos and so as to fir the suspension etc we need a tire?
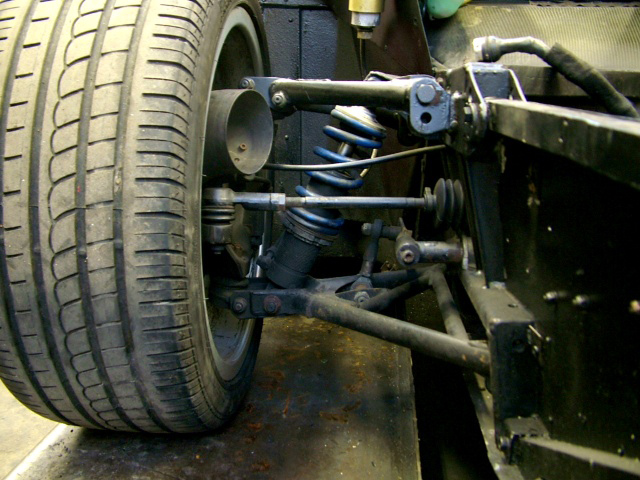
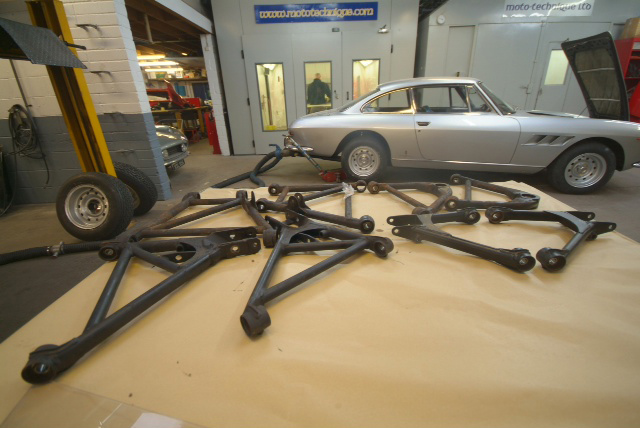
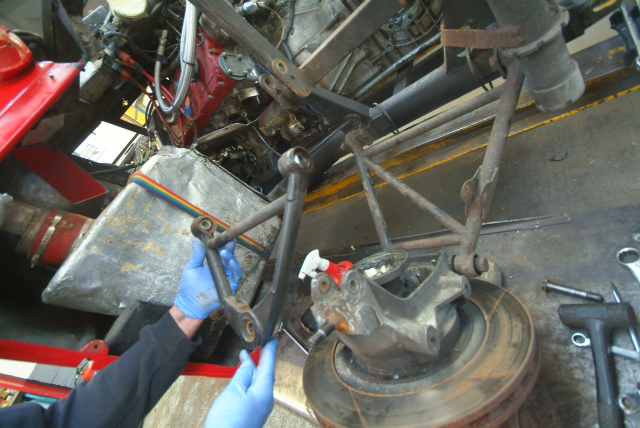
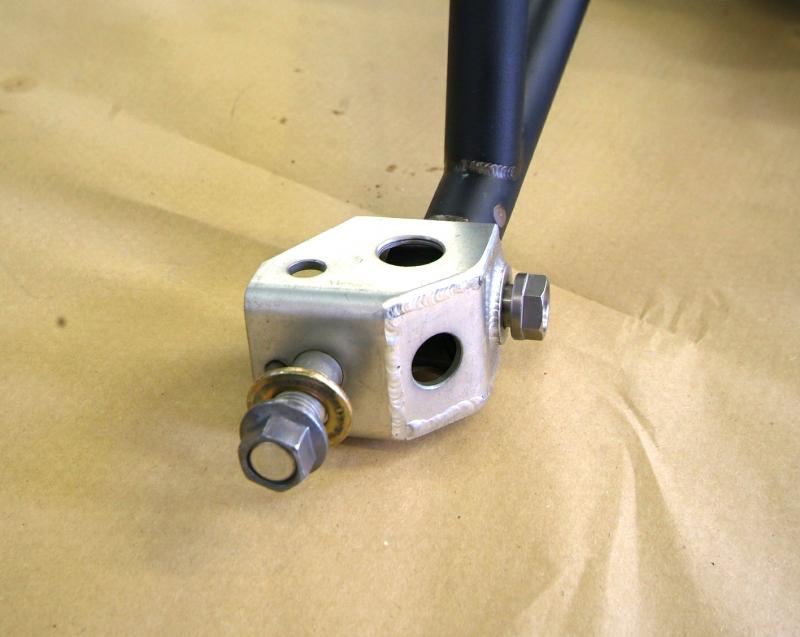
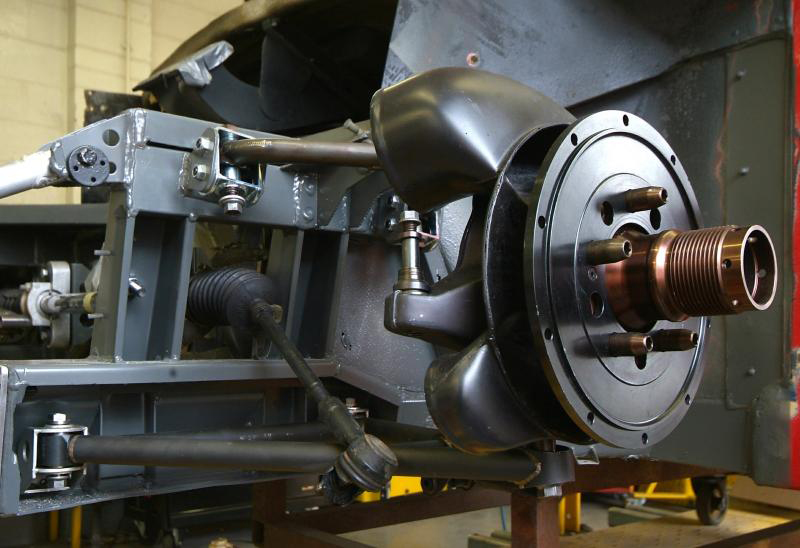
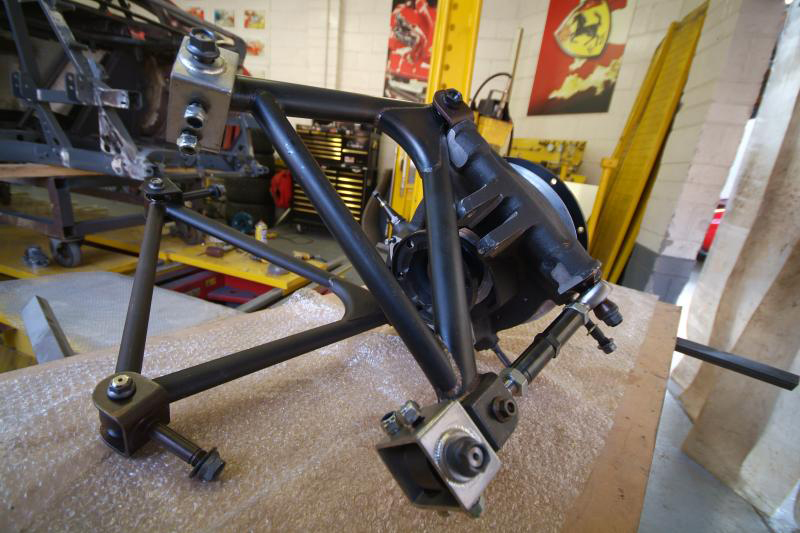
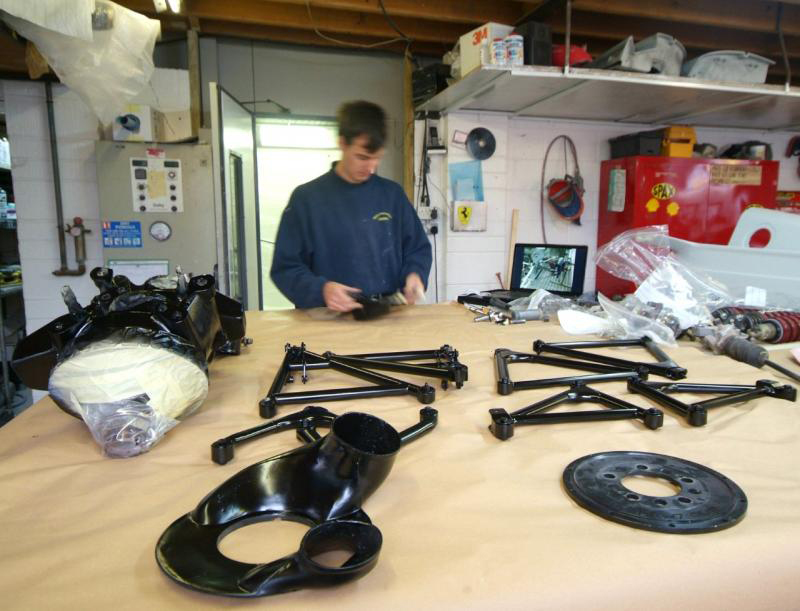
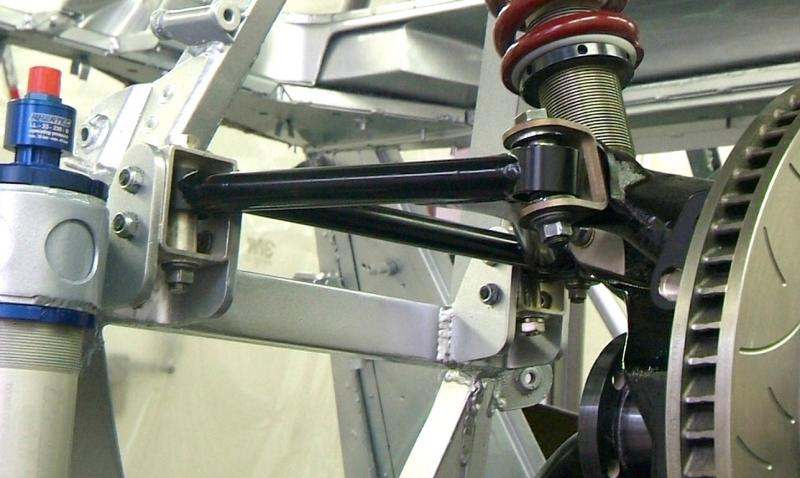
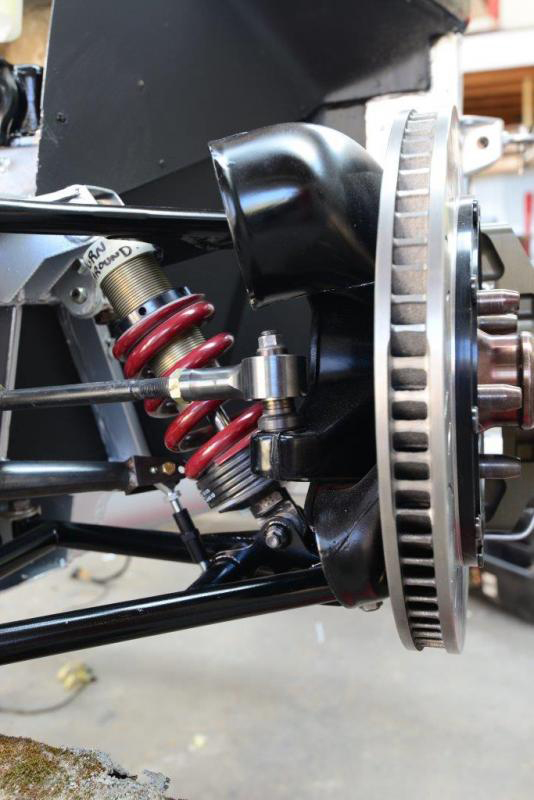
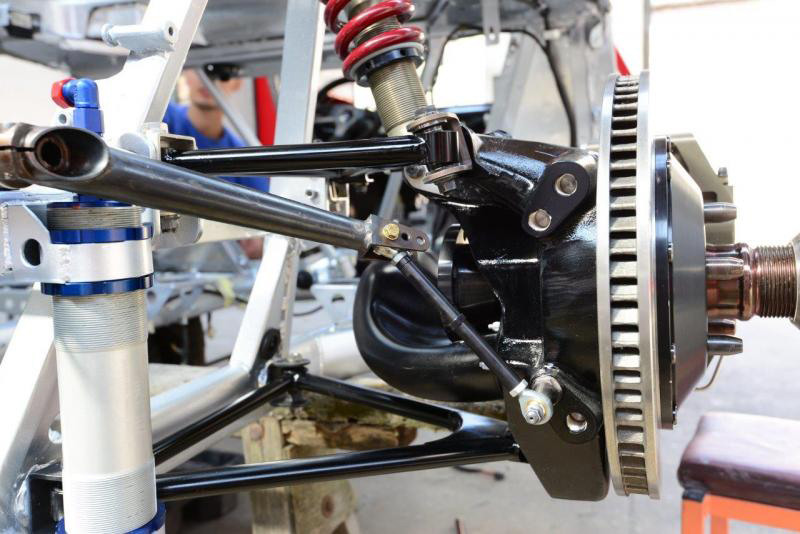
On the Tyre front, many thanks for the thoughts especially Paul and GV27 which means I might well opt for now for Goodrich and import from the States. One issue is that I really would like a 35 profile rear but it just seems impossible to find although I have one of the top tyre guys in the UK working on it for me and so hopefully will be in a position to make a decision imminently, as I need to so we can move forward on bodywork etc. I can see I may end up with a set of street tyres and possibly a set of track tyres or slicks, not that I have driven much on slicks.Back to the car, as the ‘prize’, have a look at a few details of the Michelotto front suspension. Not a simple bolt on so we will have to make some minor changes to the pick up points, but that will then enable us to move forward and hopefully in 10 days time we might have the rest of the order, ductwork, brakes, anti roll bars, rear suspension, uprights etc.Being racing parts the wishbones have not been treated so we are looking at powder coating or similar. All beautiful very high quality aircraft grade materials.Note the hand written reference on the hub. Tailor made.
So we are starting to rebuild our engine as you can see from the attached with all new bearings and now looking to find out the tolerances for pistons and liners but for some reason Ferrari don’t have this information and apparently there are no less than 3 f40 engine rebuilds in the UK stuck for lack of this information.We acquired a workshop manual hoping this would provide the answer-no. Anyone out there have any knowledge? All we have been informed is that the pistons are matched to the liners for clearance and there are various batches used which are colour coded to denote their tolerance but that does not help us.
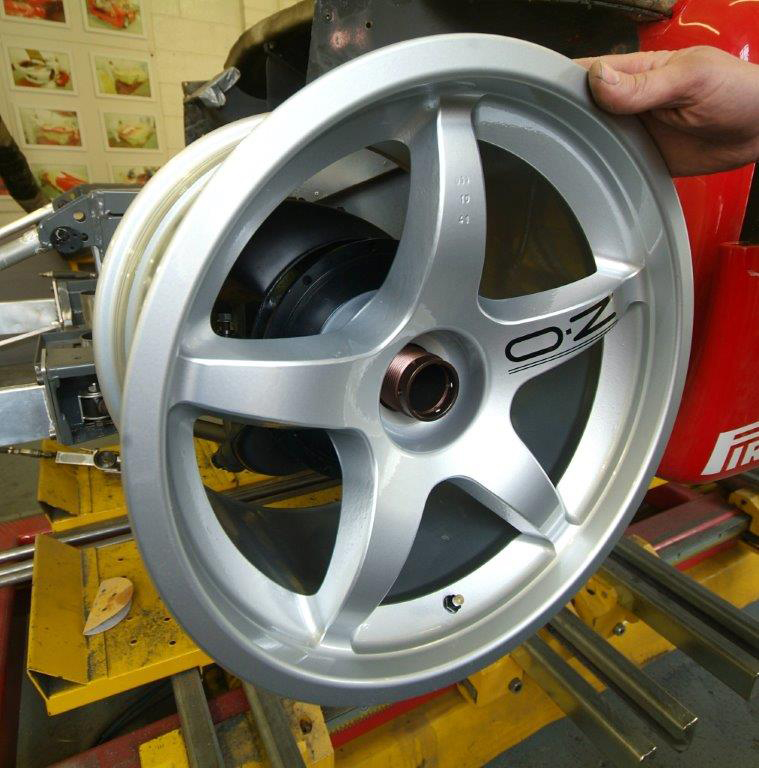
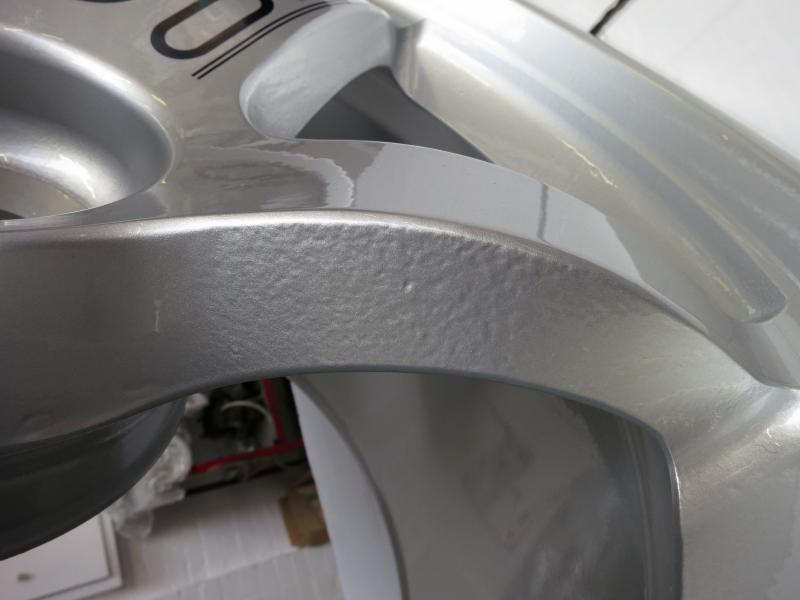
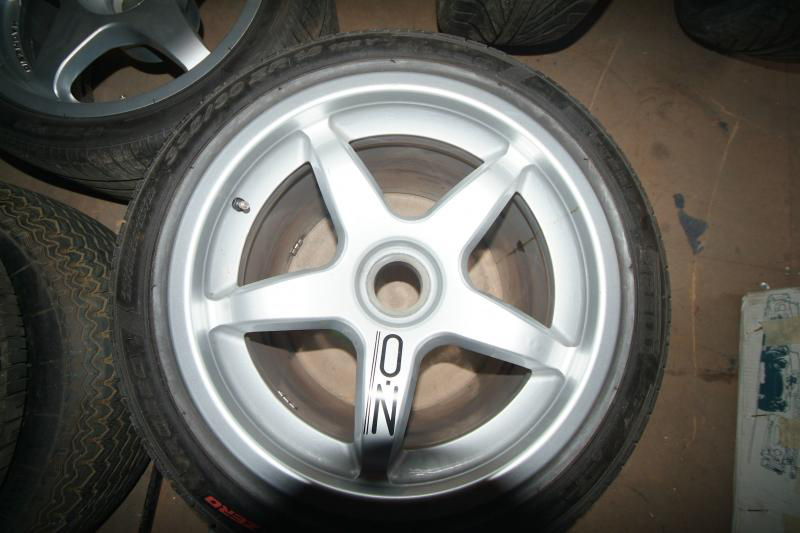
Just had a look at our brand new shiny OZ rims fresh out of the box and at first site, beautiful….until you get closer.Amazing at this price, cannot live with it, so we will have to strip them down and sort them out. Easier than fighting with Italy.
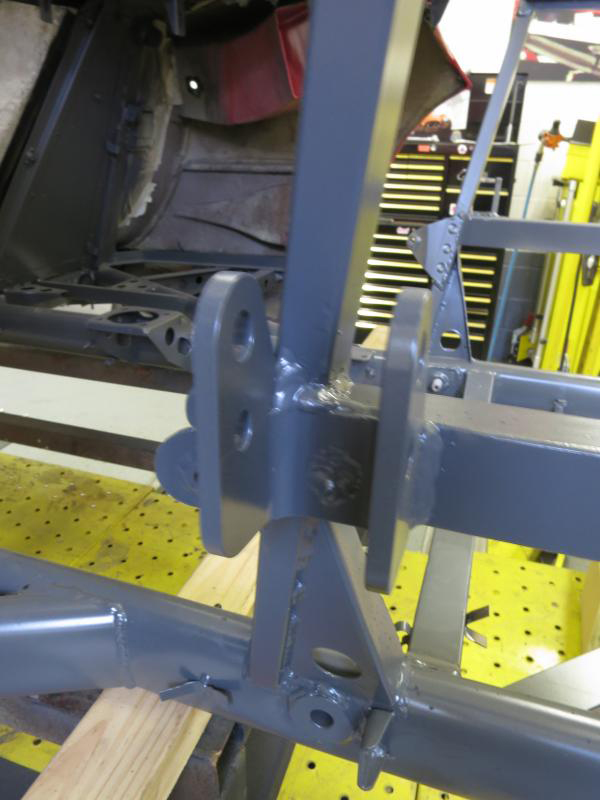
Don’t know if this is of interest to many, but it is to me, as we have stripped the car we have found many small mods that differentiate this race car from a street car. Latest is that due to the far higher loads placed on the suspension through both the wider tyres, slicks cornering and braking loads, not only were the wishbones bespoke and strengthened (for sale if anyone is interested), but even the pick up points have all been beefed up, front and back as in this blurry example.
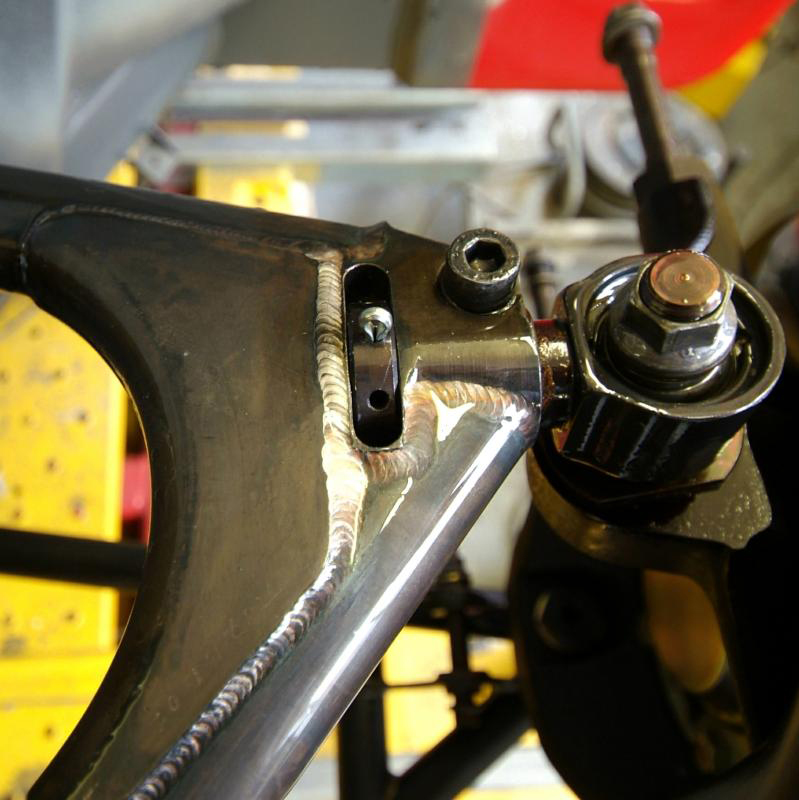
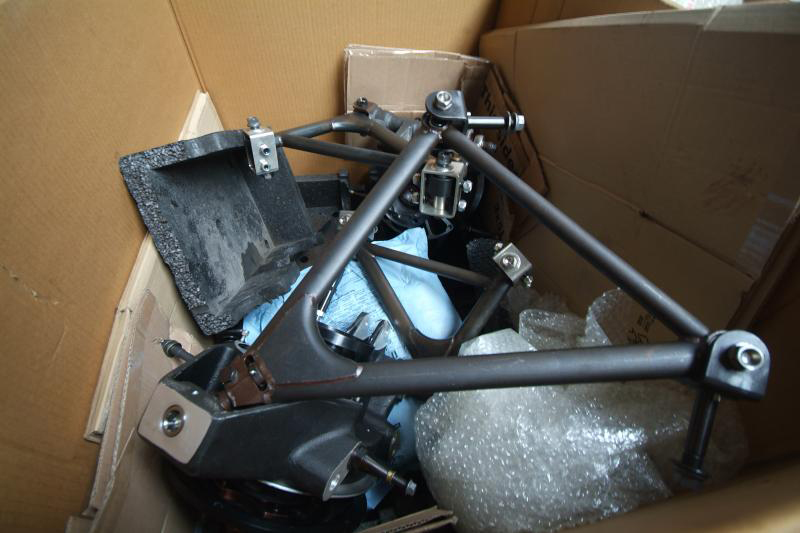
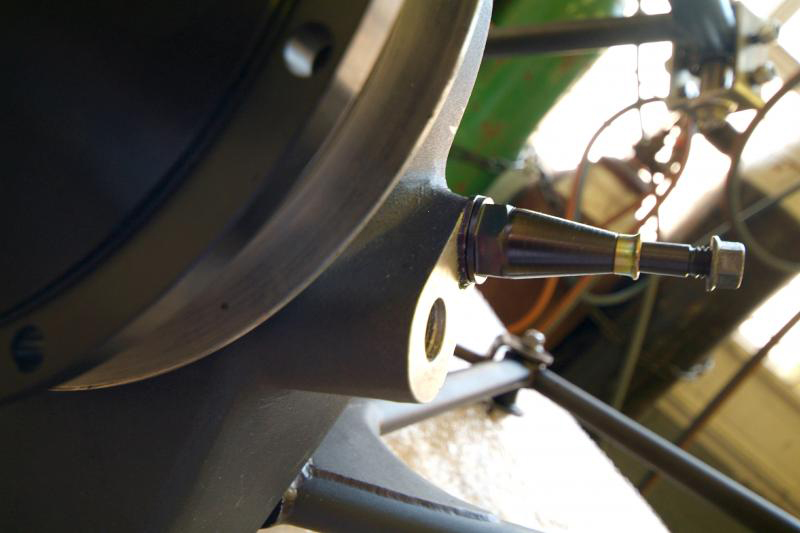
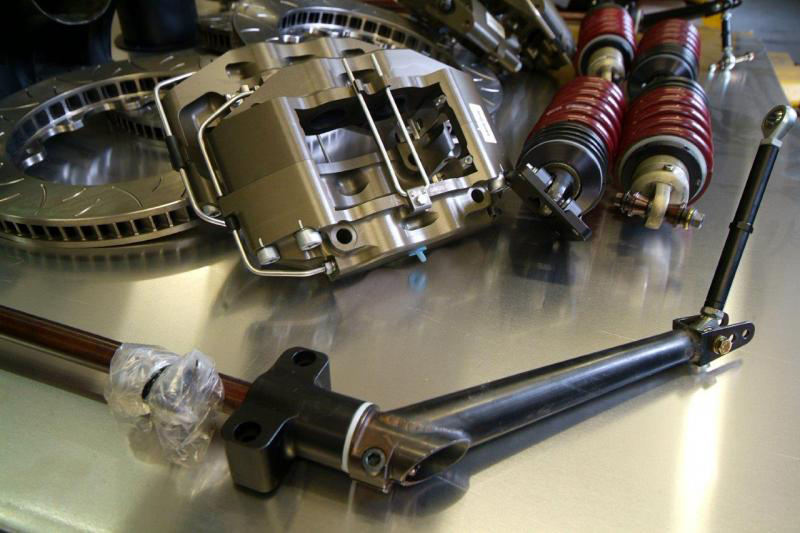
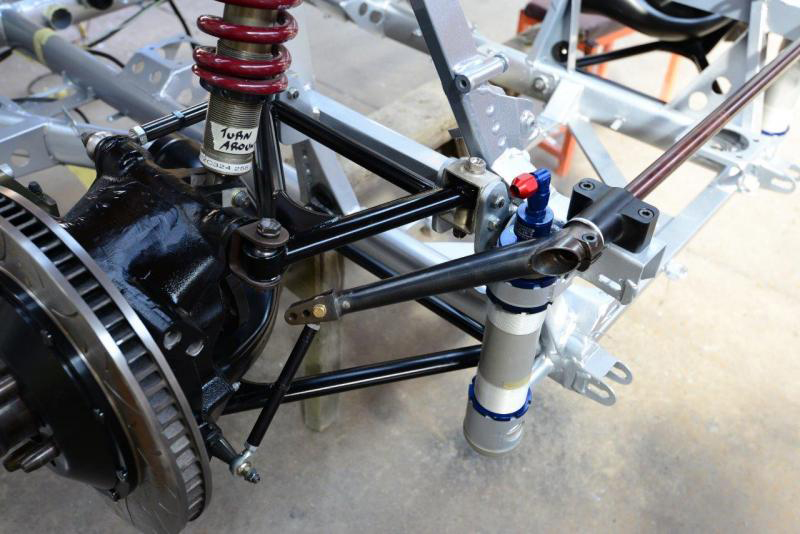
A little Michelotto suspension detail and part explanation of the cost. Note the TITANIUM extremity for camber control adjustment. Very neat. Very expensiveAnd a pile of rubber which certainly looks like it should grip…But turning the steering wheel at low speeds is going to be a workout.
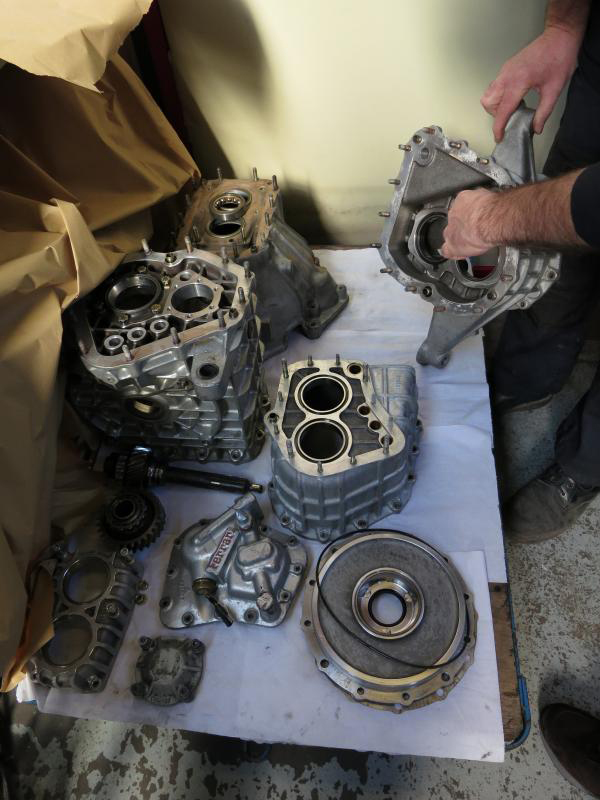
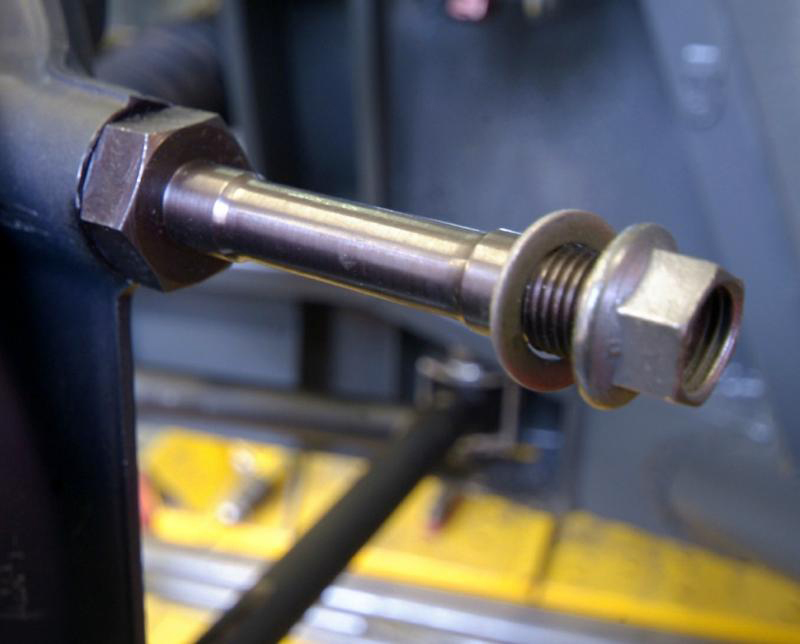
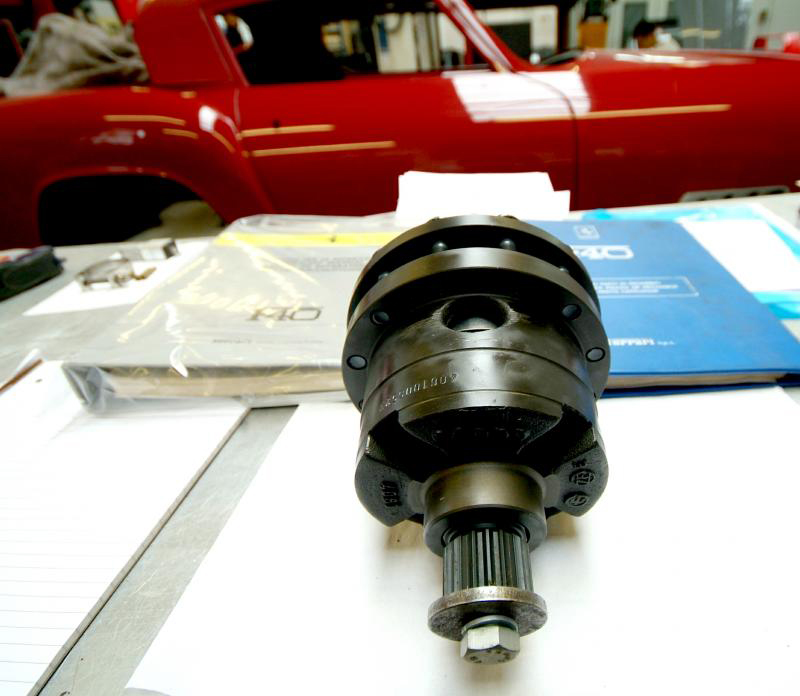
As regards the black gate for the gear lever, I think you should just anodise your existing. A trip to Michelotto would be very interesting as he currently has some interesting cars in there and seems very receptive to genuine enthusiasts. I too hope to make the trip later in the year.Back to the project, a few pics of some details. First is another detail of a beautiful wasted bolt and again shows the attention that goes into some of this race kit.Next up, we found a relative bargain. Turns out the differential was pretty shot and we decided rather than just replace the plates, as the rest was not great, to source a new one from Ferrari which has just arrived. I never want to take this car apart again and hopefully after this rebuild it will effectively be a zero miles car.Finally the gearbox rebuild has started, new bearings, new second gear and we are waiting on our ‘reverse engineered reverse’ from Crosthwaites.Meanwhile, major delivery from Michelotto ‘expected’ early next week which means we can really start to move forward.
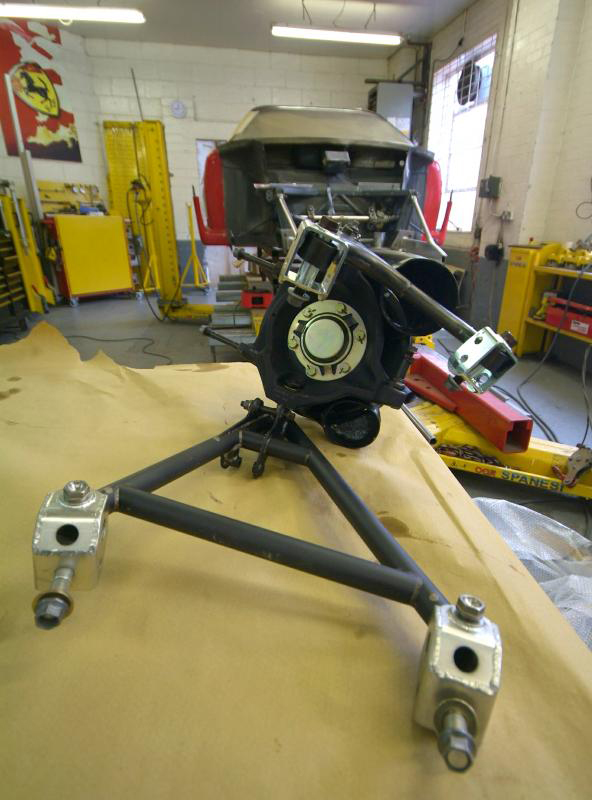
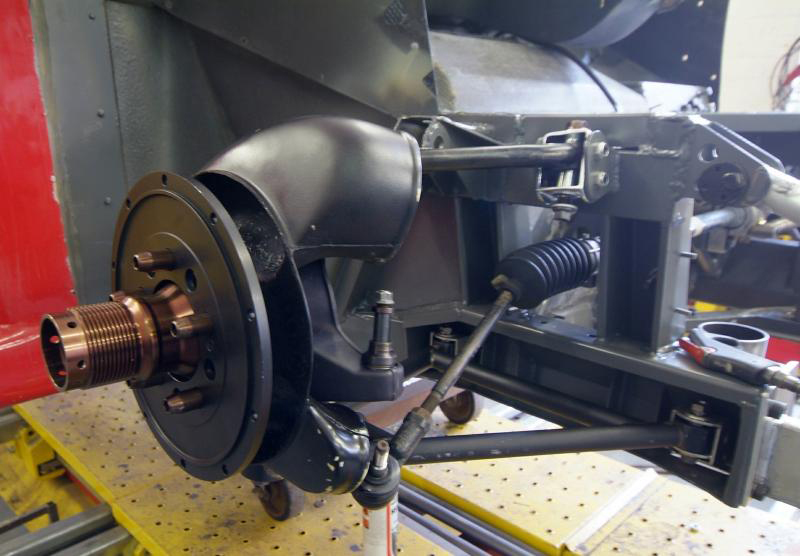
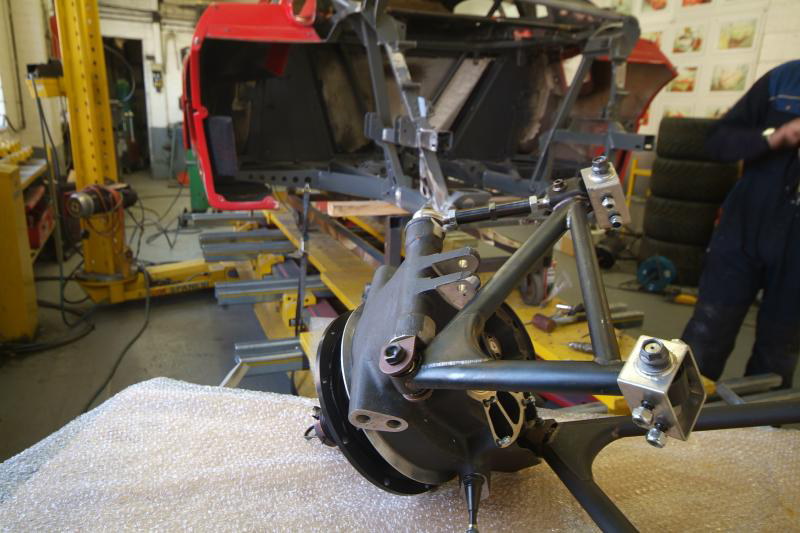
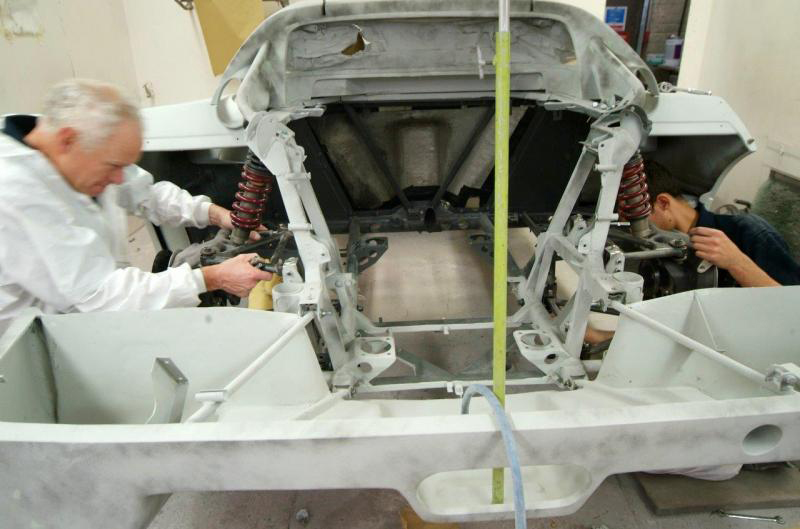
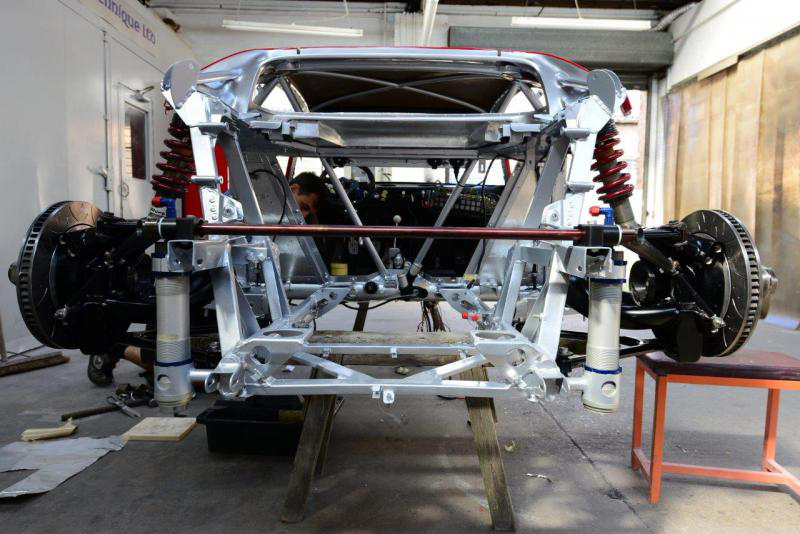
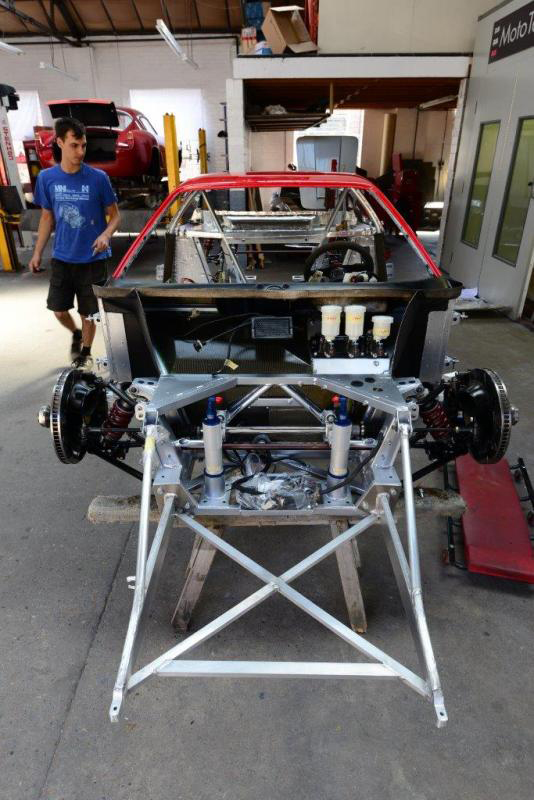
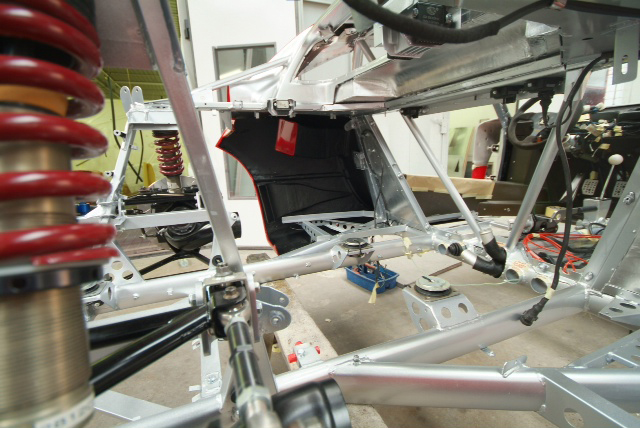
Well whilst we are somewhat stuck on resolving our engine and gearbox issues, progress on the front suspension at least. Track rod ends are hanging as bespoke rose joints are awaited from Italy.As you can see, front all now ‘soft’ mounted pending arrival of the rear suspension which needless to say was promised for last week and the week before etc etc but is still with Michelotto. Once we have that we can fit rear suspension and the uprights for the front, all brakes and anti roll bars front and rear and then take it all off again so as to finally start to finish the chassis, getting it top coated in the silver.Then we can start to move forward properly and to have a finished effectively rolling chassis would be a major landmark, probably even a half way point?
For those interested in the detail, acting on C Michelotto’s advice, we are changing the longer geared Euro spec Crownwheel and Pinion for the shorter geared USA version. This car was apparently timed at 227 MPH with the Euro version, but it is a rare track where you can avail yourself of this, hence the decision to add even more to the acceleration potential.Like the toffee coating?
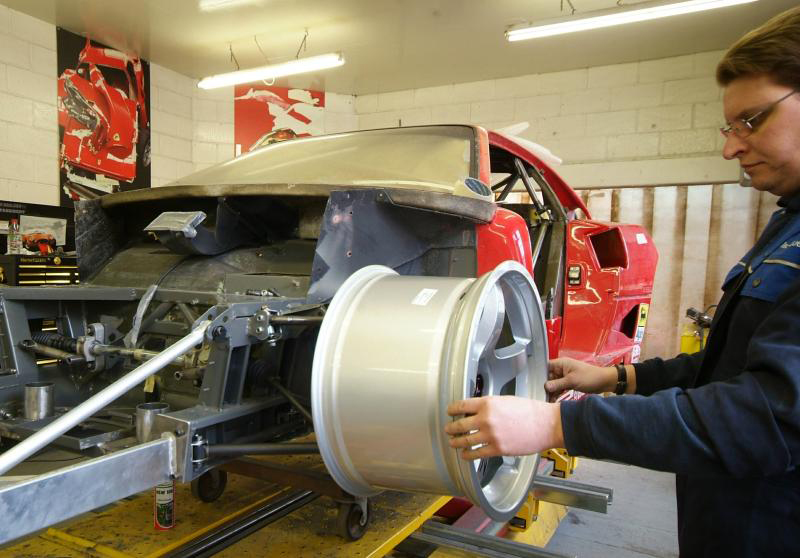
For those who are interested in the set of LM style OZ rims I promised to post a pic or two. Apologies for the quality but this gives you an idea, unmarked, and they should slot onto the standard hub.
Thanks for all the interest and support. Strange, I never thought I would enjoy posting the journey as much as I do, I thought it would be quite trying but in fact the reverse. Very satisfying to share the ups and downs of this adventure with all enthusiasts here with varying levels of knowledge resulting in many useful thoughts and opinions, but all bonded by a common love of the Marque. Brilliant.Meanwhile, CM made a delivery! Yes, 8 weeks late but look what turned up, two sets of rear wishbones assemblies. I will post more once we have had the chance to unpack properly. Apparently the anti roll bars etc are due to leave Italy today and the brakes etc tomorrow. We shall see, but all being well, we might have all these vital components within a week or so and then we can really crack on, at least with the chassis etc.
No sooner said than done…………Some delicious detailing
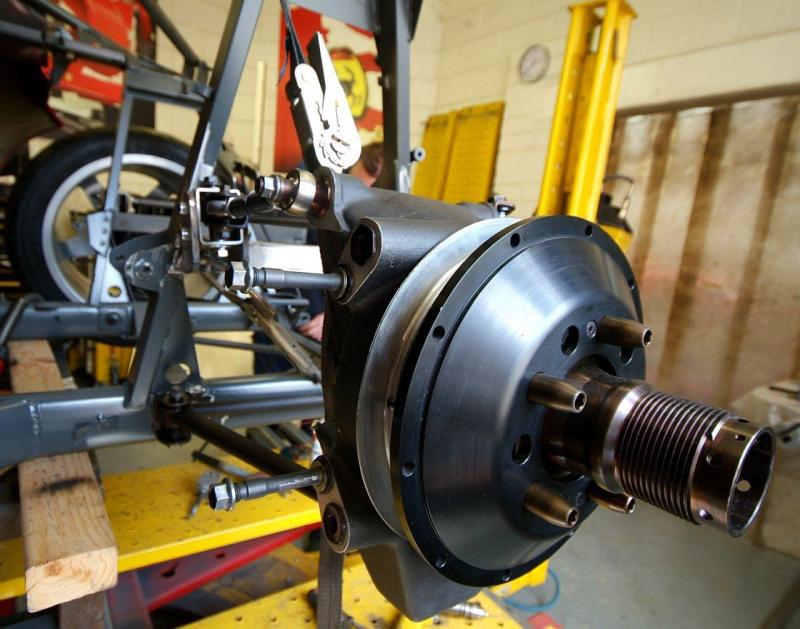
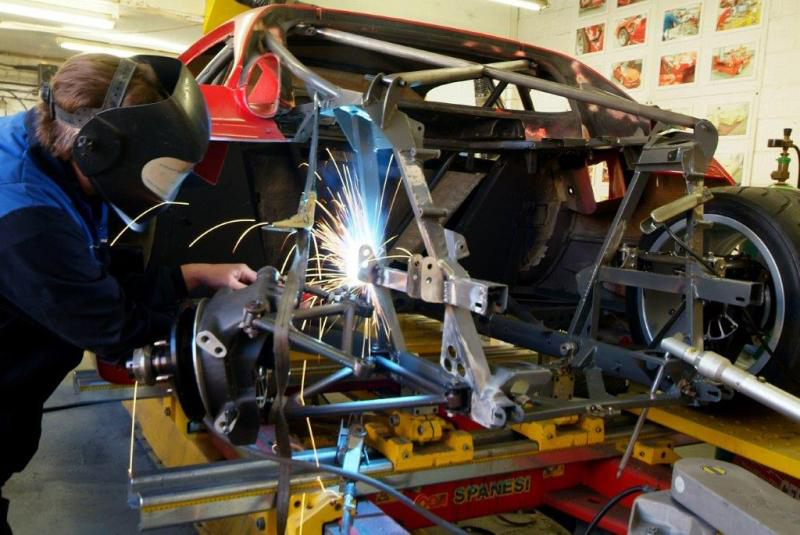
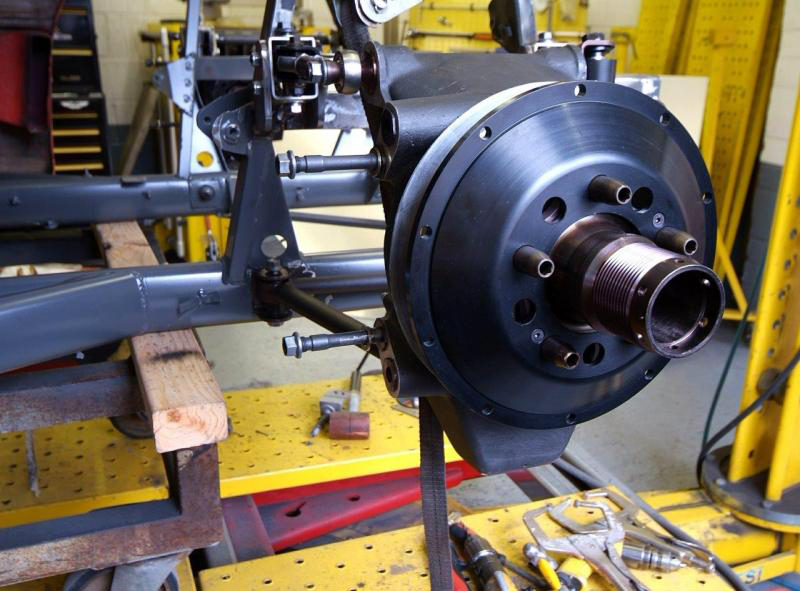
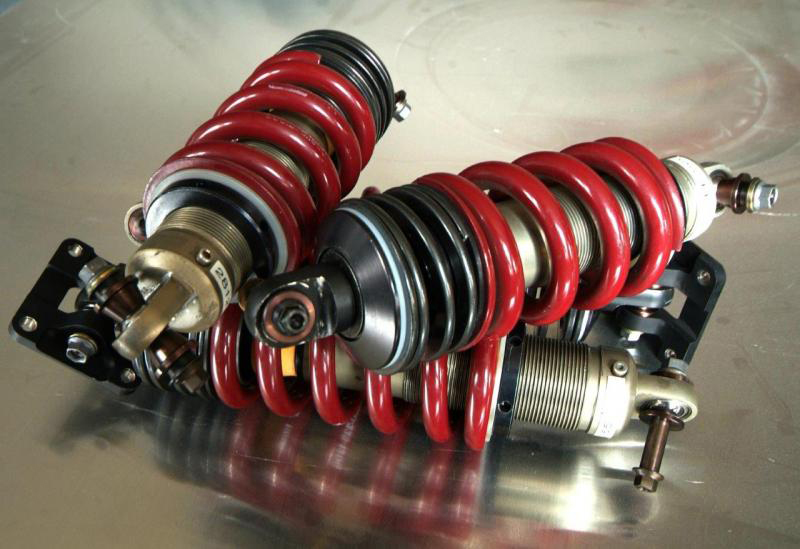
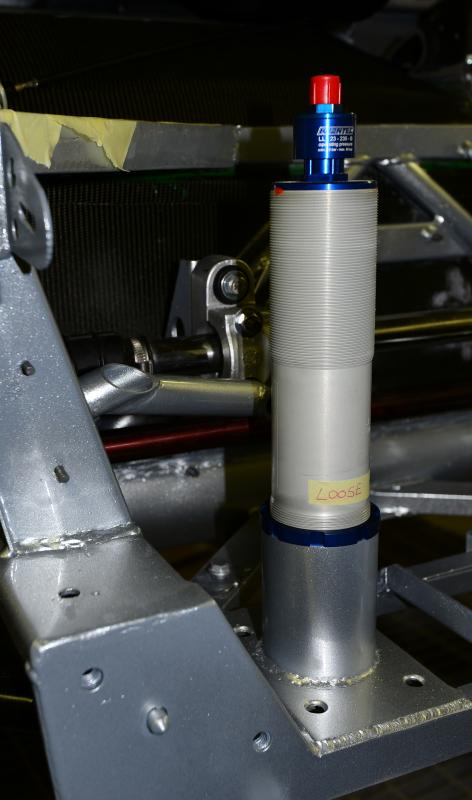
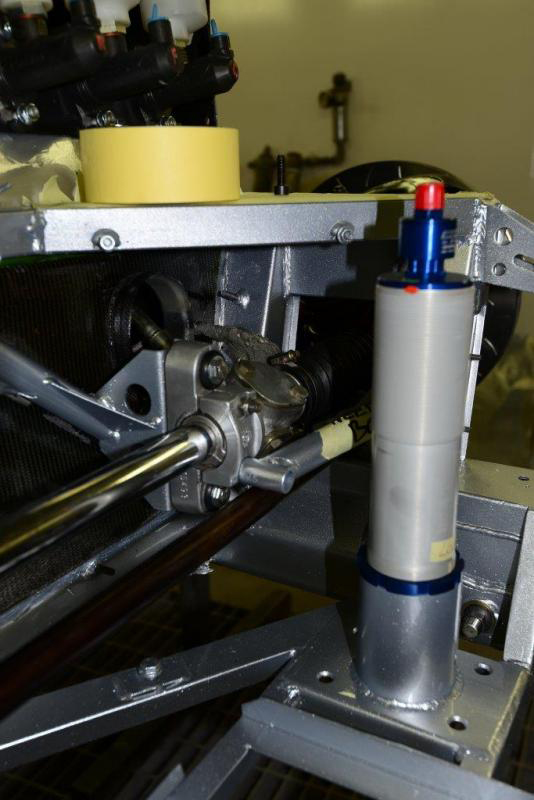
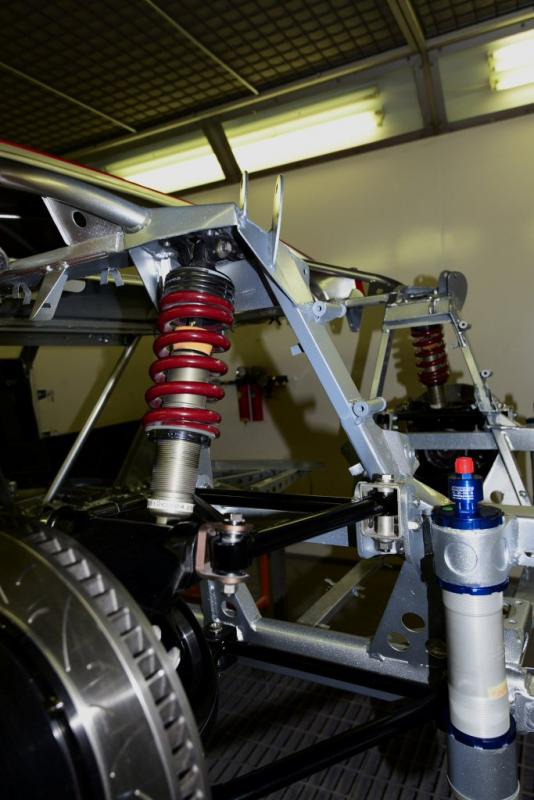
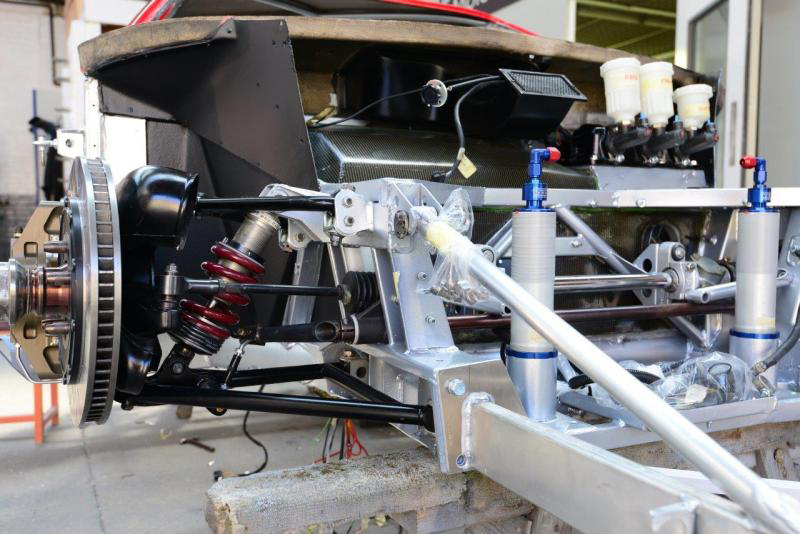
So now we have the front and rear suspension just about mounted. Few alterations needed and the works of art will shortly be in place. Interestingly I note that the front uprights are made of Avional, apparently a super strength lightweight Swiss alloy (had to look that one up) and the rears are Magnesium, again, all with Titanium adjustment. Expensive, but you begin to understand why.Now we have all the set up info from Michelotto we are fine checking with computerised Spanesi Touch system to ensure everything is absolutely spot on.Adjustable LM brakes, adjustable anti roll bars, Carbon Fibre ducting, Magnesium pedal box, master cylinder and light weight Konis etc are hopefully incoming tomorrow!! Hopefully.Everything will be offered up to the chassis, adjusted and fixed before disassembly for final chassis paint.Got to love those rear tyres!I am hoping that by the end of next week, we might finally be in the paint shop…….maybe
Just a small update. Nothing from Michelotto-disappointing but not unexpected. More chasing but then the day is still young.Meanwhile we have been finishing off the LM front assembly so all we now need is a delivery to finish mounting and checking everything before the paint shop beckons.
Gear box rebuild now well underway. New bearings, new 2nd gear and shorter ratio crown wheel and pinion all being installed. Then it is off to Crosthwaites for fitting of reverse and final set up and result a zero miles gearbox.Another partial delivery from Michelotto to include LM brakes, magnesium pedal box, carbon fibre cooling ductwork, track rod ends etc etc and I will post pics of these once unpacked, but frustratingly we are still short of the lightweight Koni shocks and springs which we need to be able to set the ride height and deal with the bodywork before final chassis and body paint and final assembly, so blame Michelotto for the shortage of posts. Apparently leaving Italy today but I have heard that before!
Last post for a week or so or until Michelotto delivers the springs and shocks.Body now back on temporarily to sort ride height, clearances, panel gaps etc but to do it properly we need shocks if you are reading this Cristiano-Please! In theory sent last week but I have heard that before……..please prove me wrong!
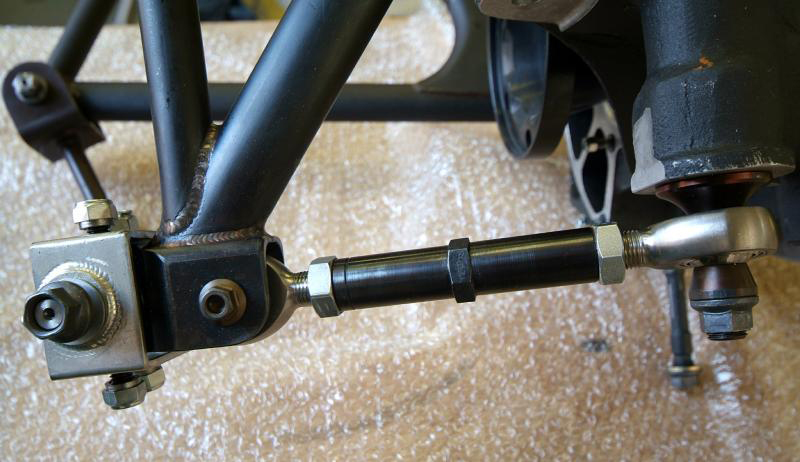
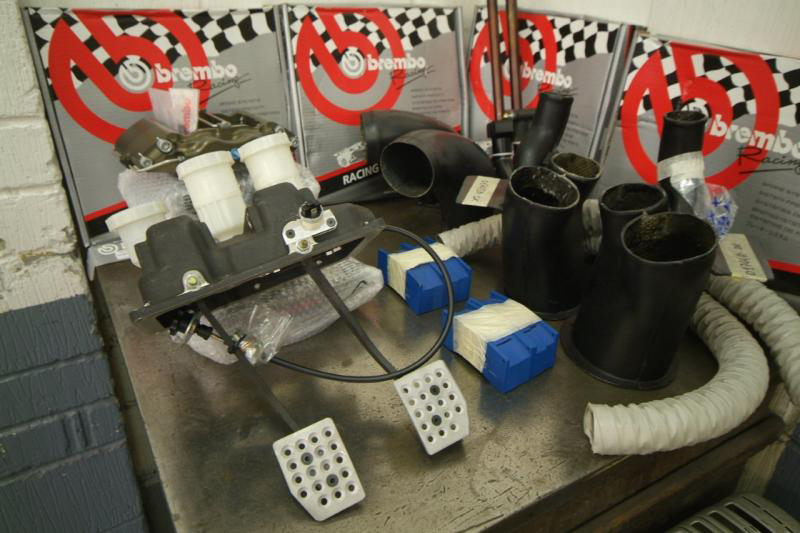
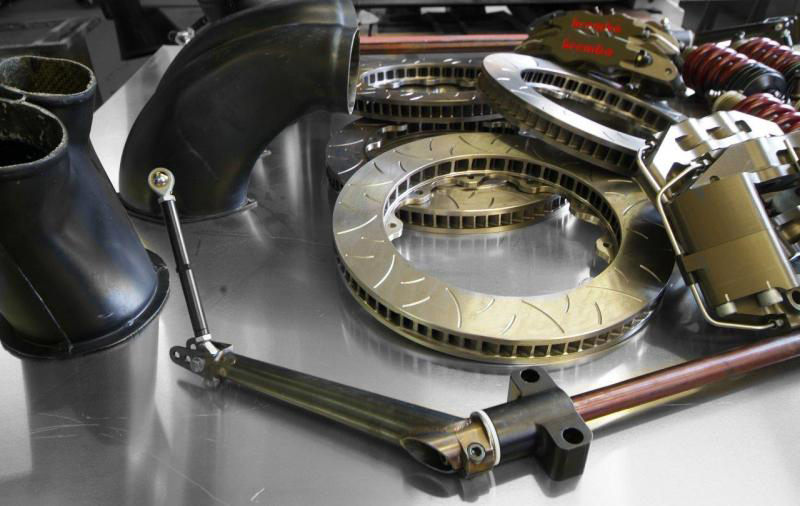
Well here we are with a few more parts from Michelotto. LM brakes and discs, LM magnesium pedal box with front/rear bias controller, LM anti roll bars, track rod ends (now fitted as per pic), carbon cooling ducts etc etc, but not the lightweight shocks and springs which we are still waiting for.Please Cristiano, we need them.
Better pic of track rod ends installed and completed front assembly
TREASURE! Finally it looks like we have our missing parts which is great news.
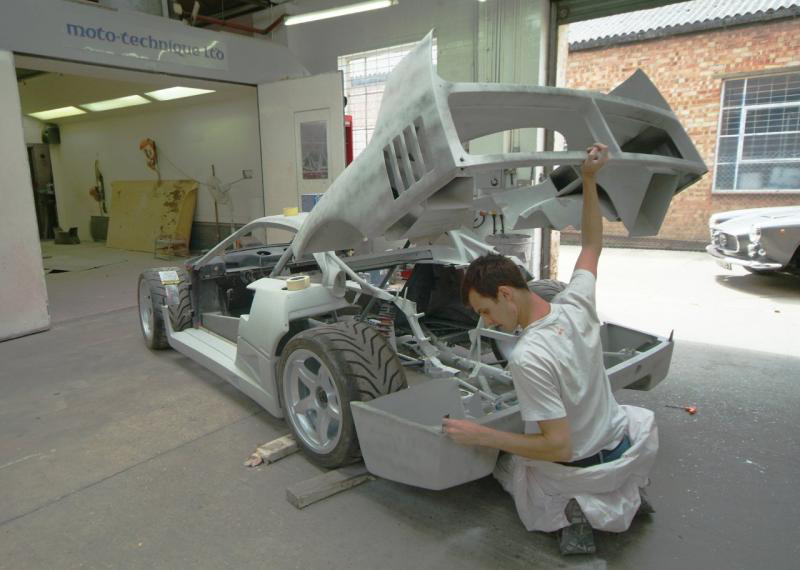
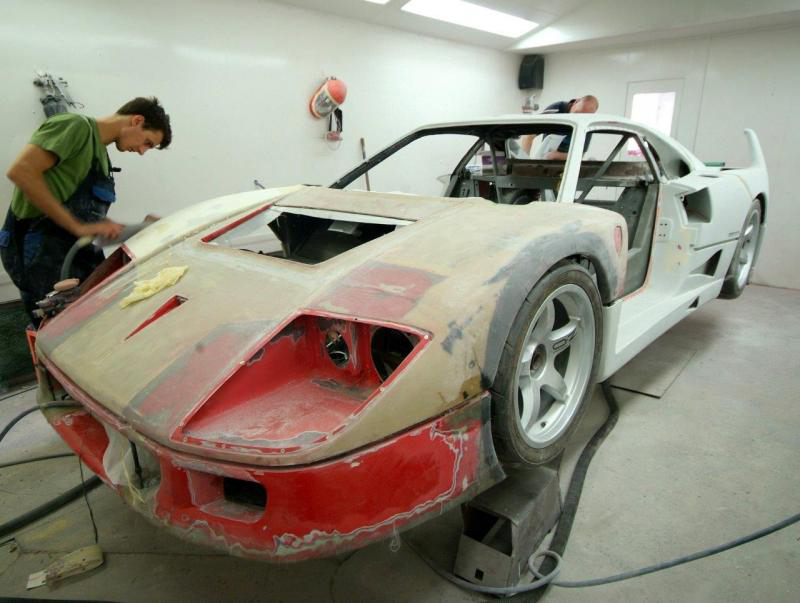
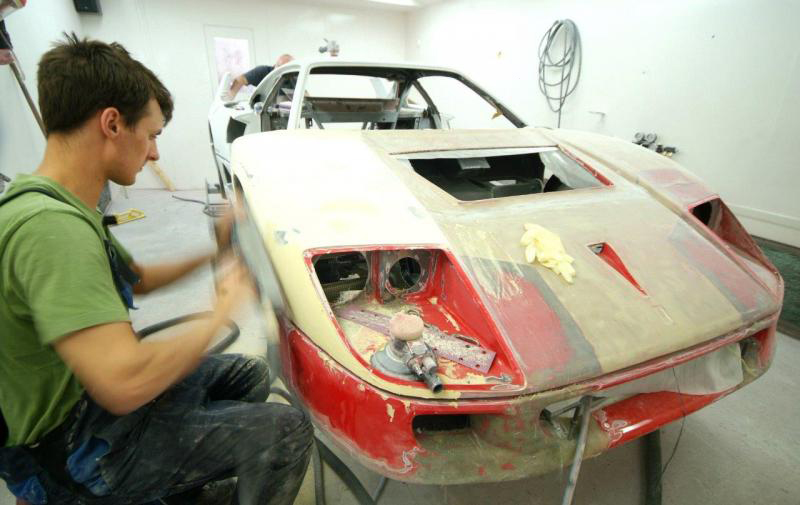
Work has started in earnest on the body. All panels have been refitted so as to start panel alignment and weight will be added to engine bay so as to represent engine in position and ensure that the panels are gapped ‘under load’.Underside of front clam was a mess so that will be prepared and brought up to standard with new ductwork etc.Gradually moving closer to paint, chassis and body, indeed at least we are now in the body shop! Cannot wait and will update further after visiting the shop tomorrow.
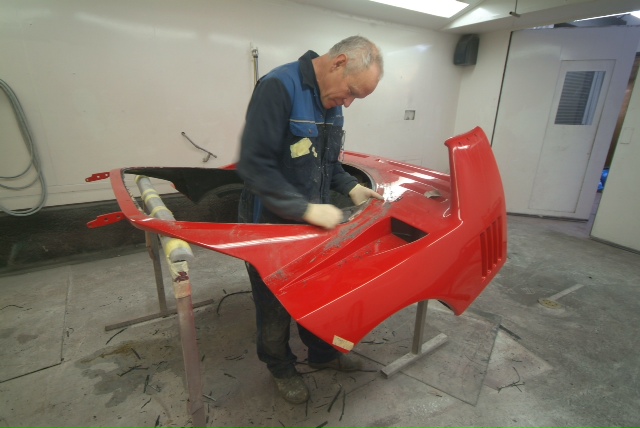
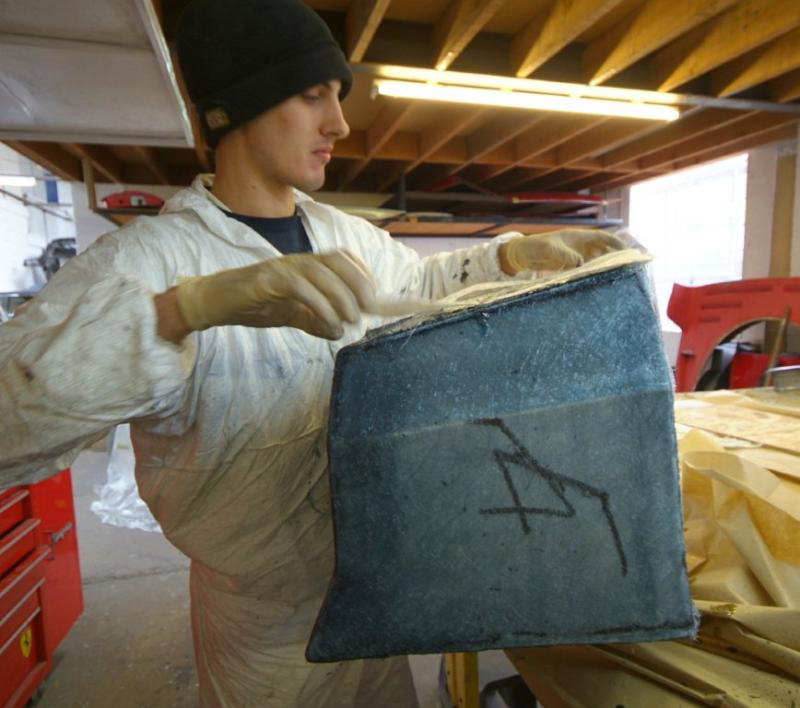
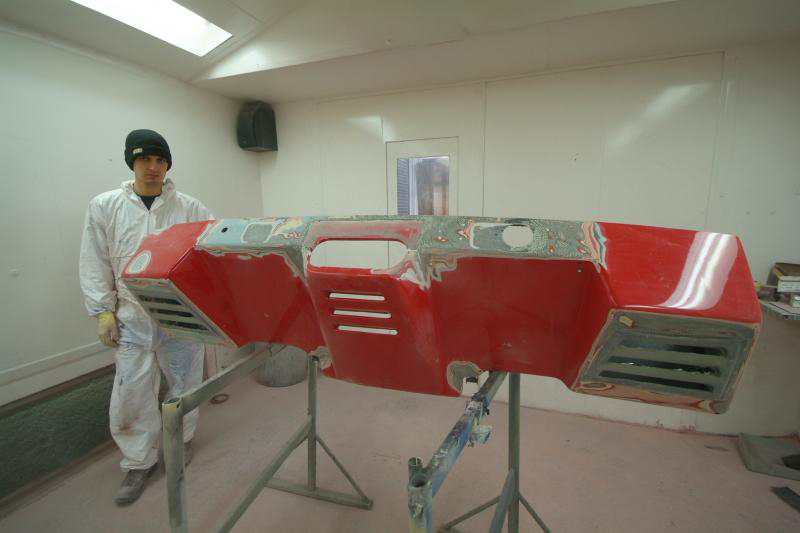
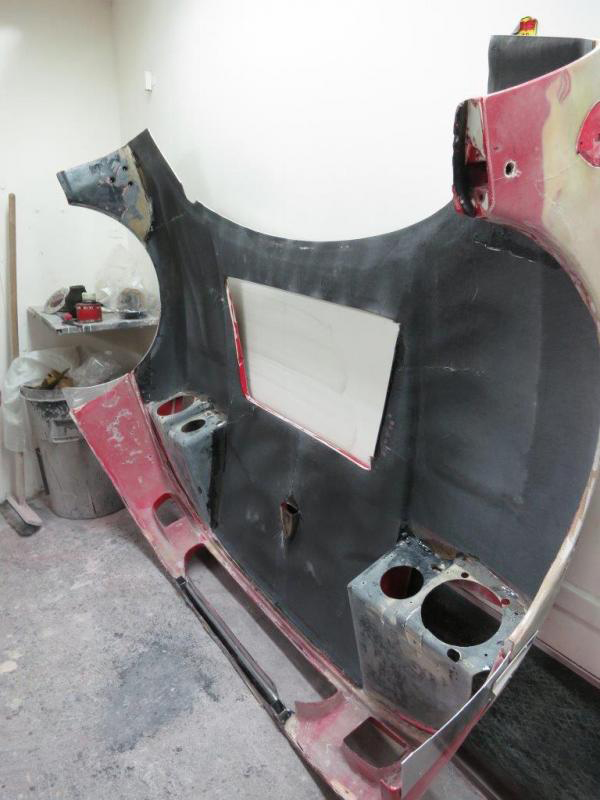
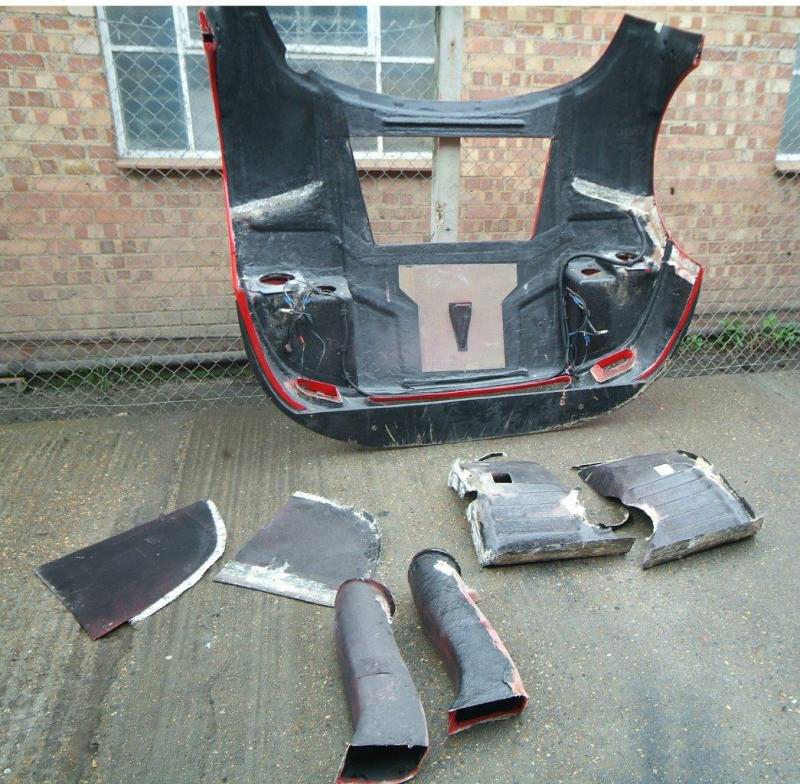
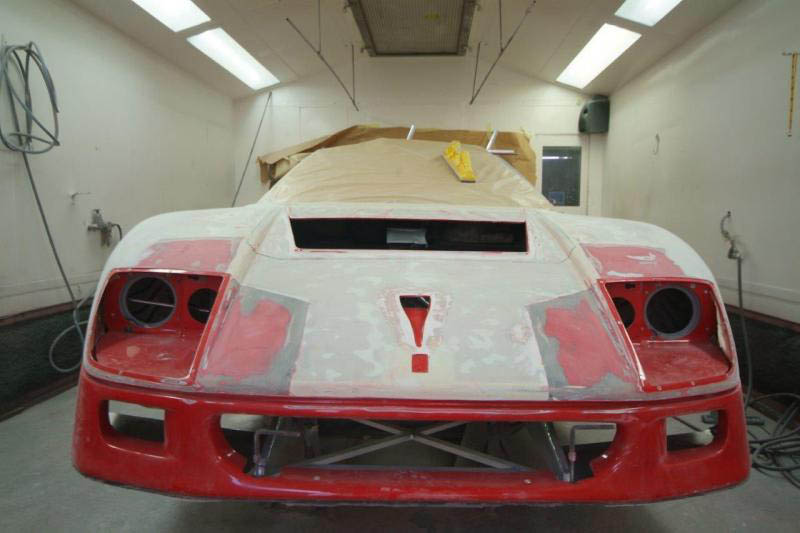
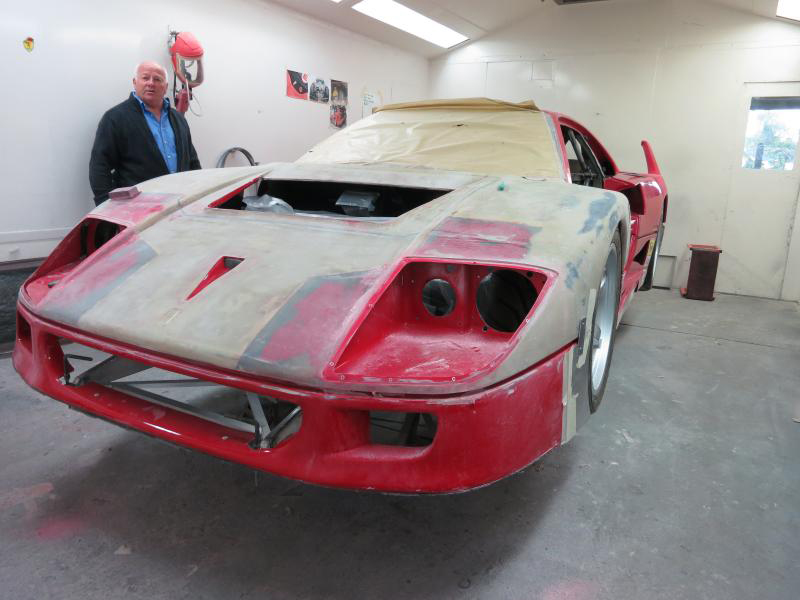
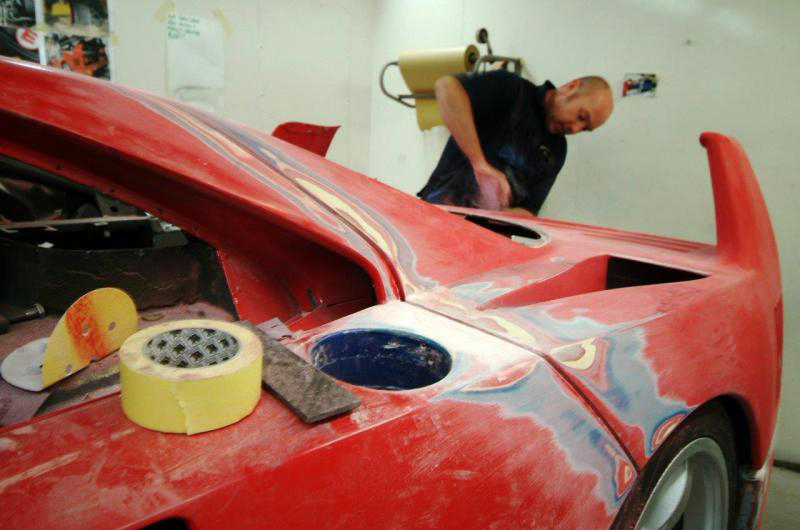
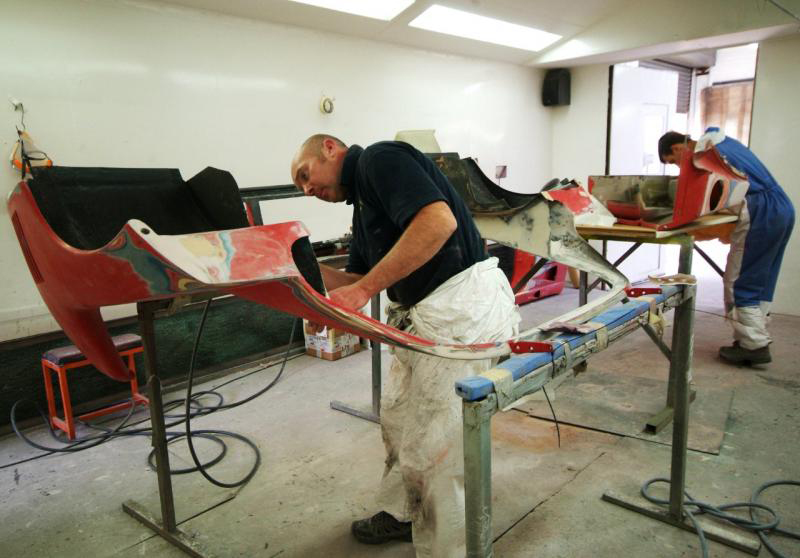
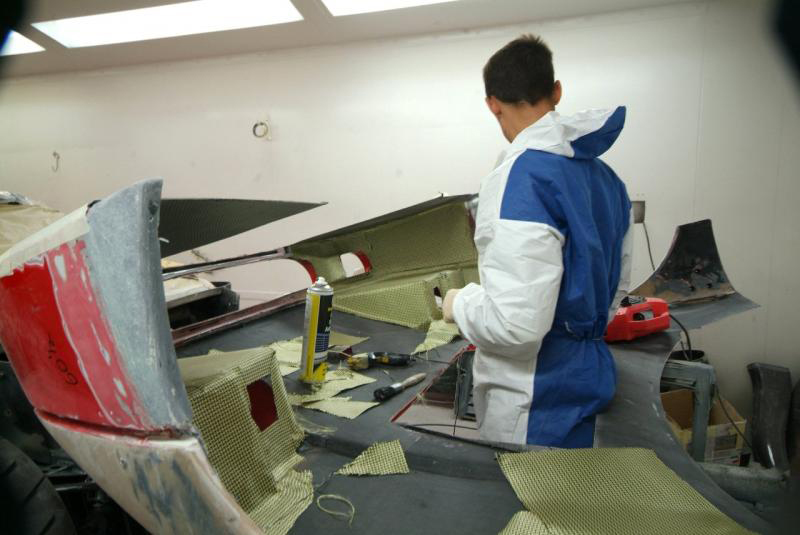
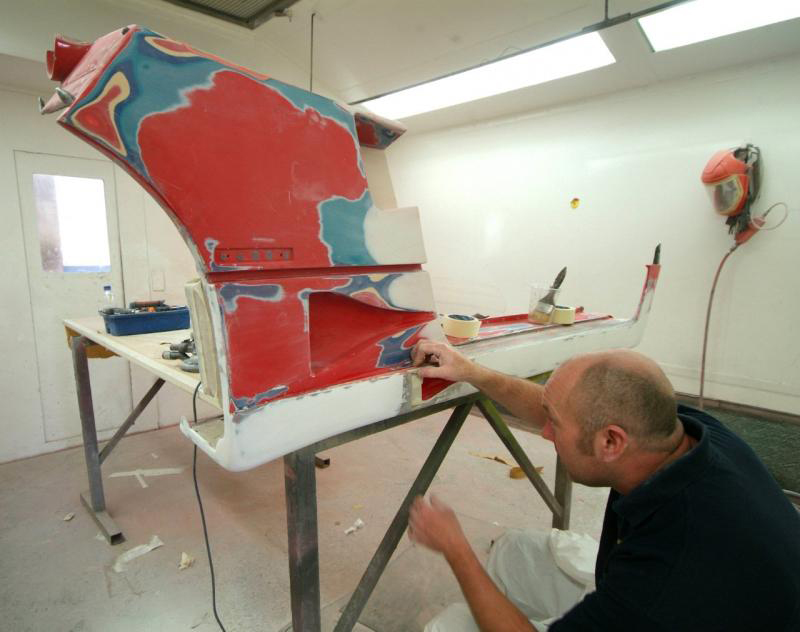
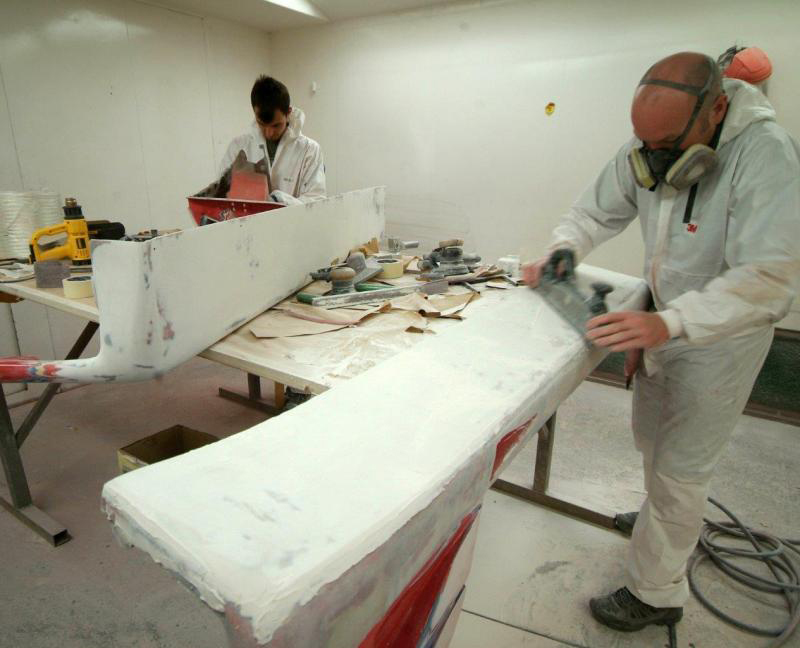
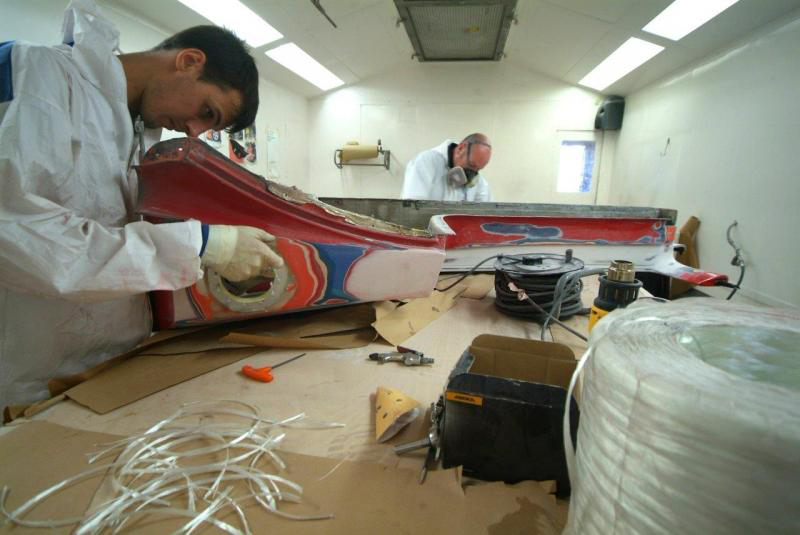
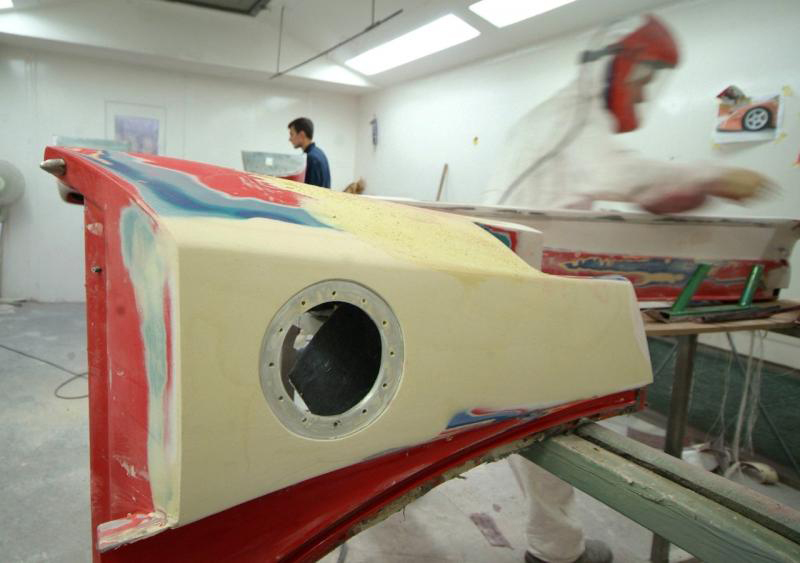
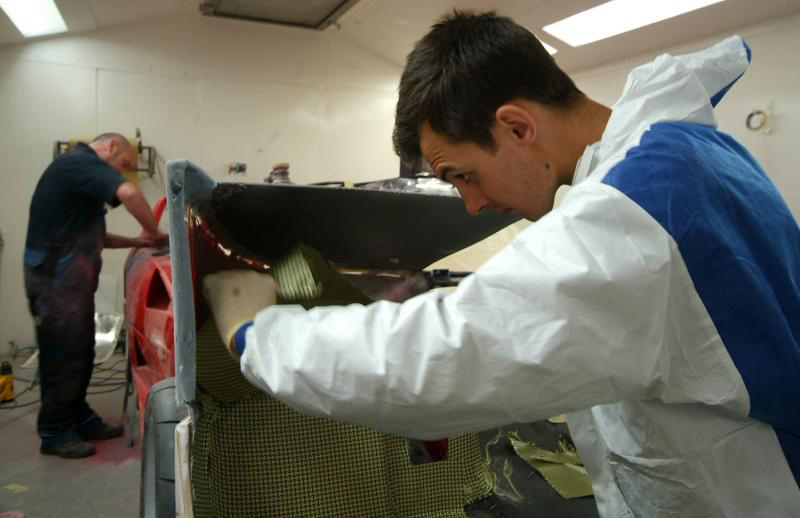
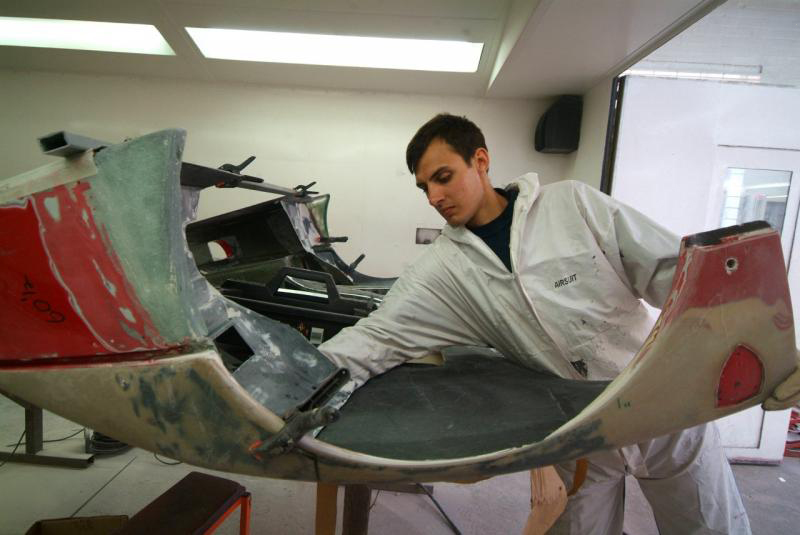
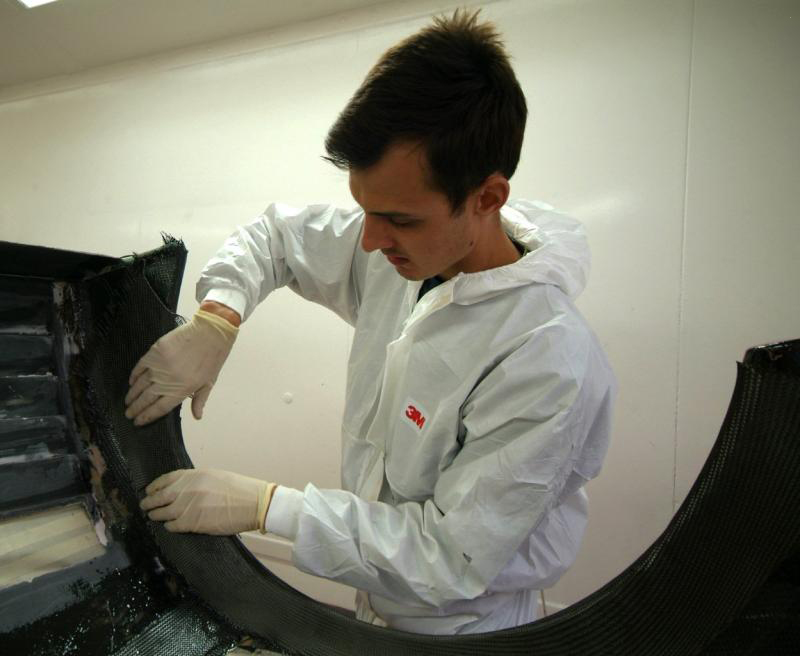
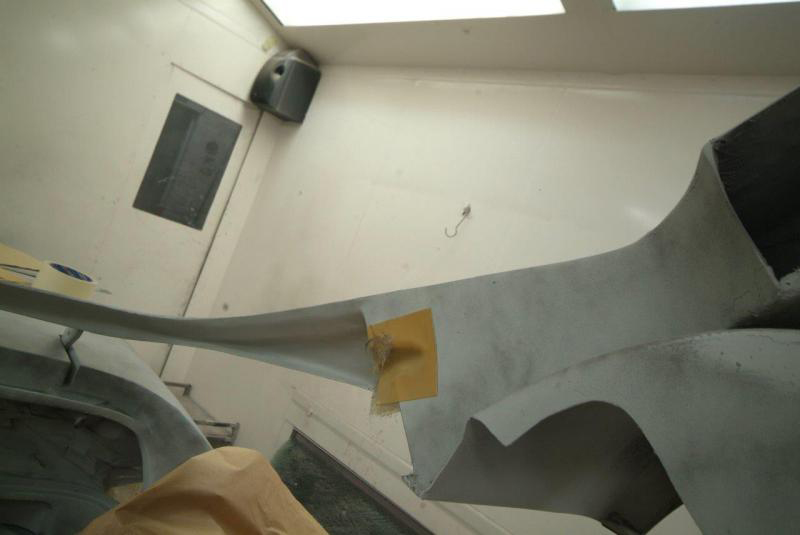
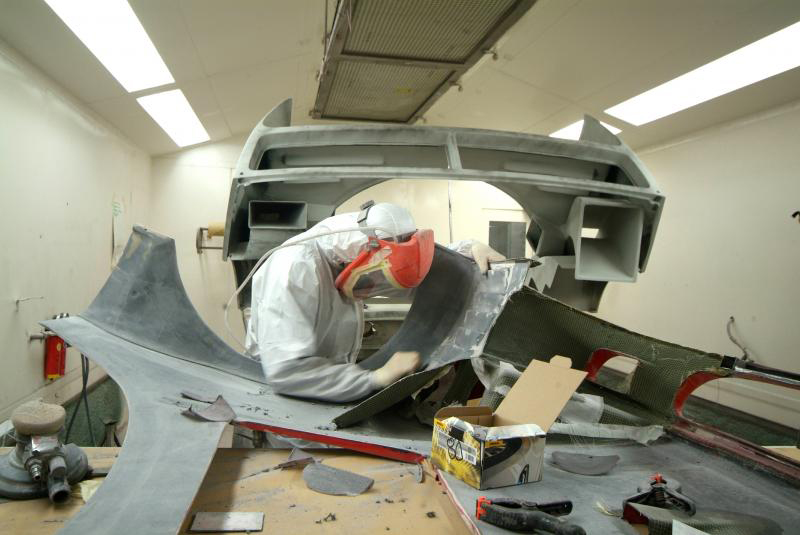
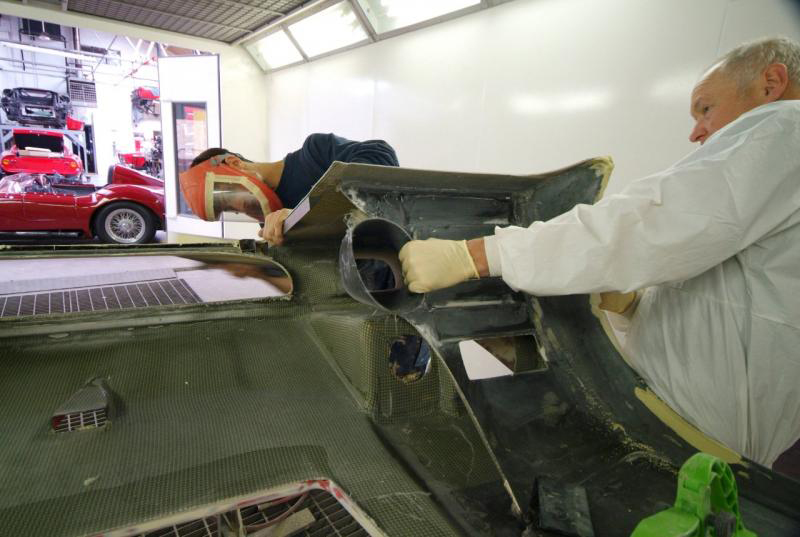
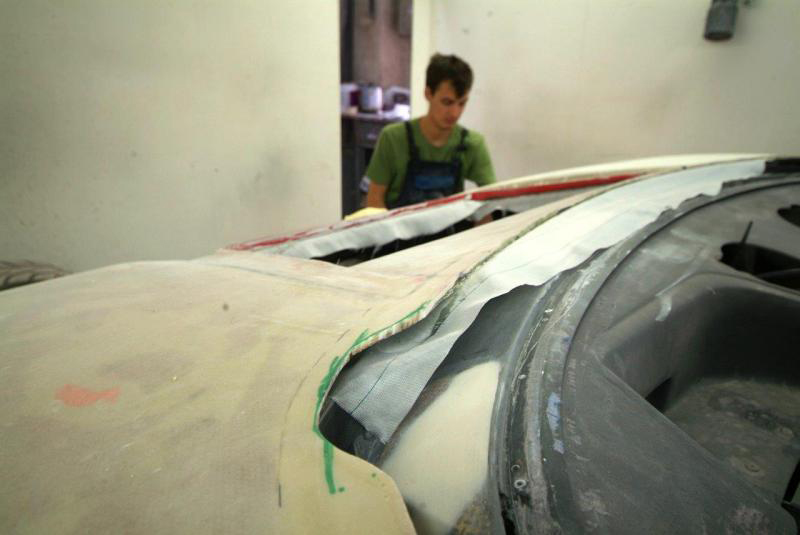
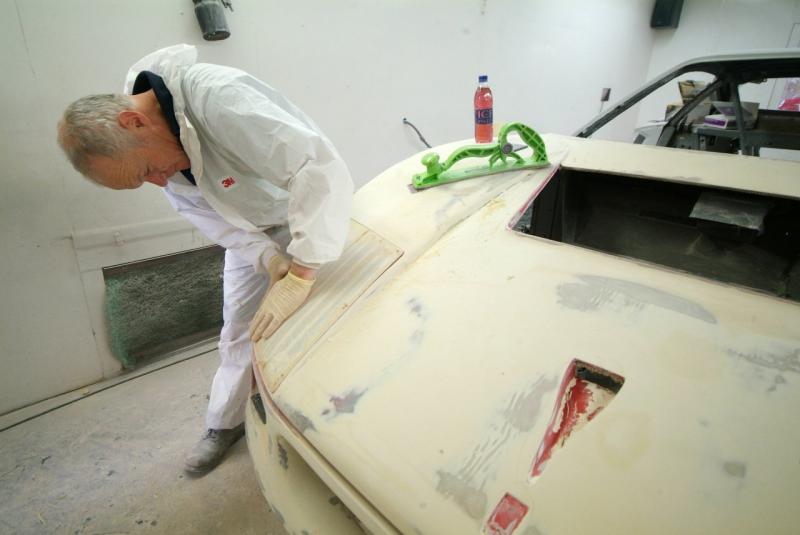
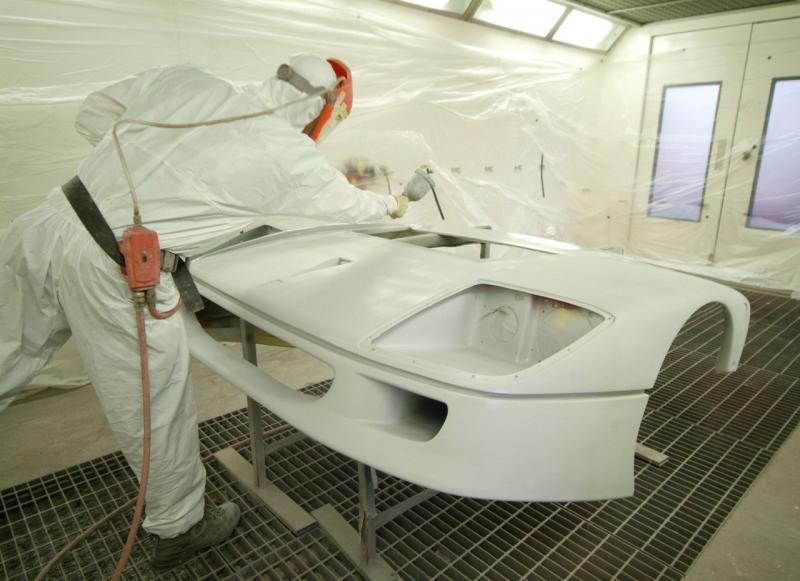
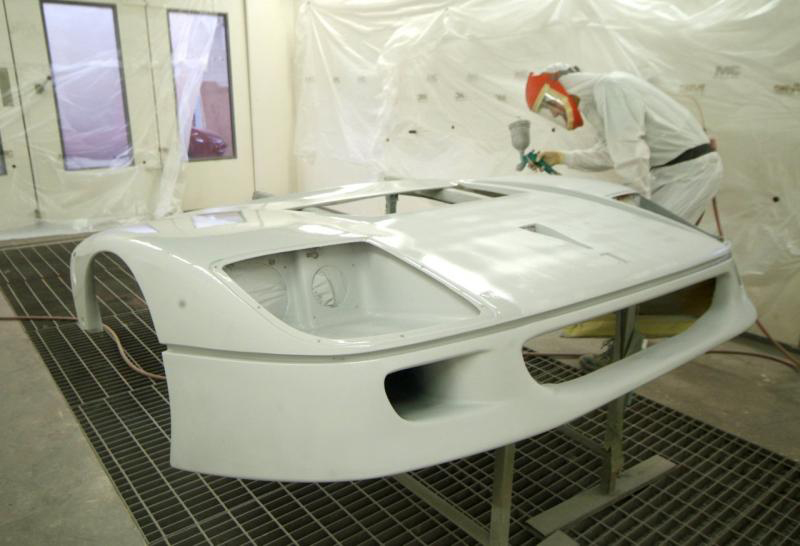
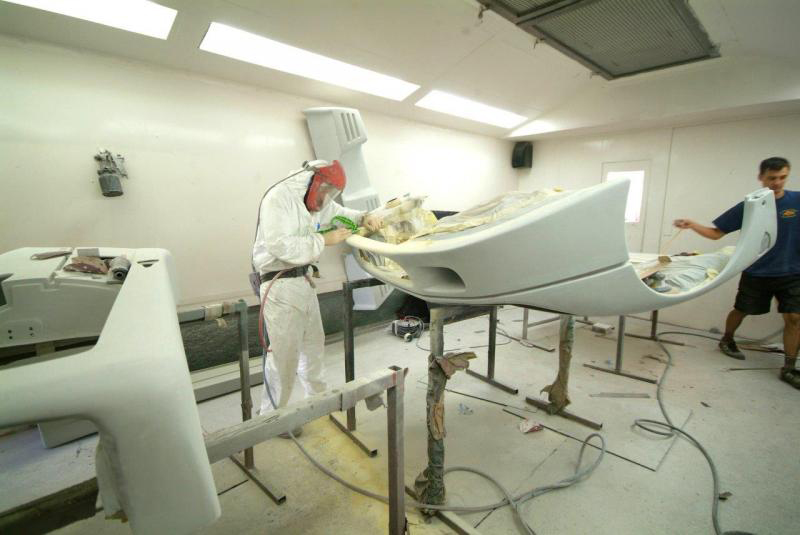
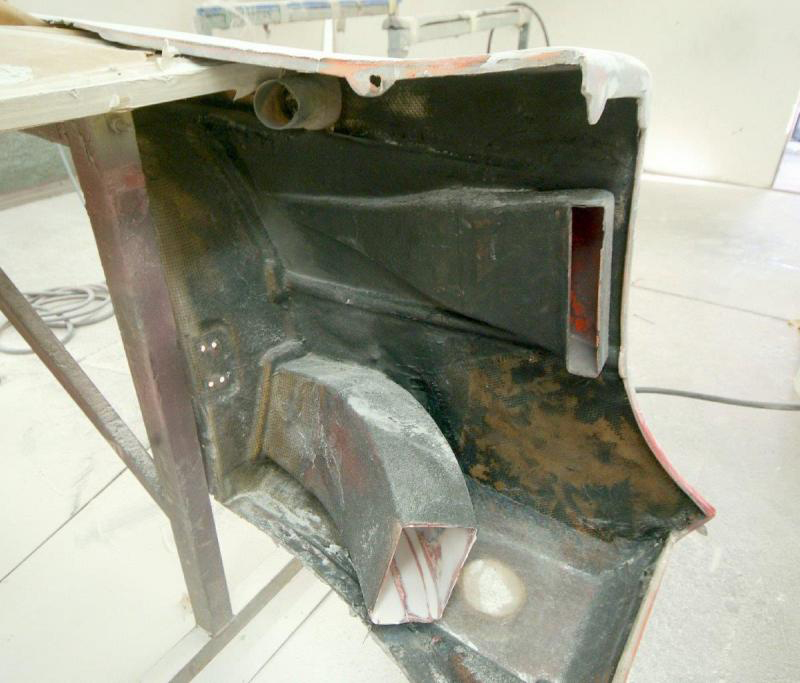
Some further shots of the front clam.Here you can see our original clam before and midway through the restoration process. We have taken literally pounds of filler out of it, so much that you can easily tell the difference just by lifting it. It will be finished off with new arches and ductwork and then a final internal layer of Carbon Kevlar so it will be both lighter and stronger (and more beautiful) than where we started.
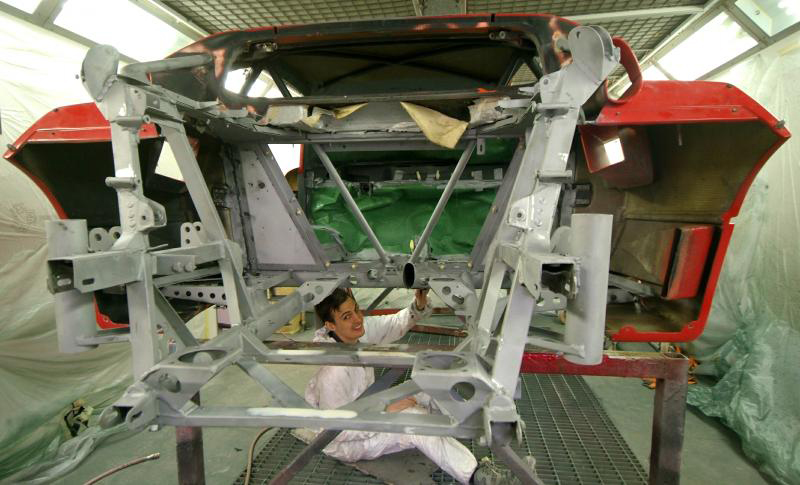
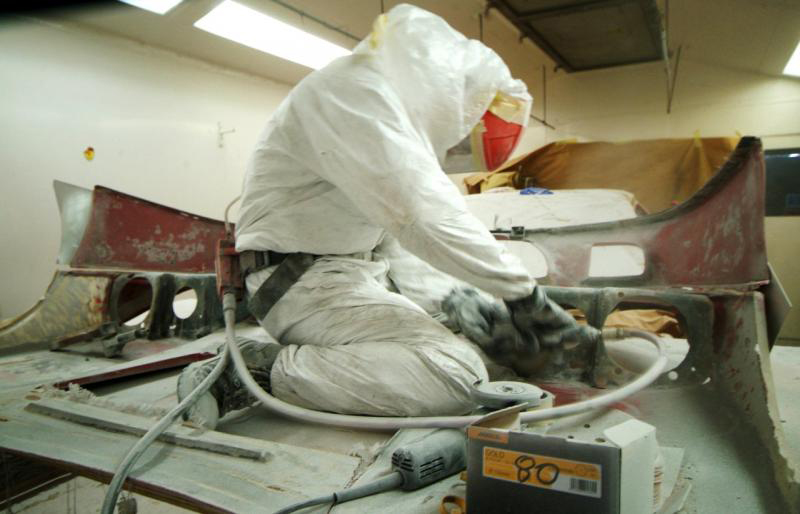
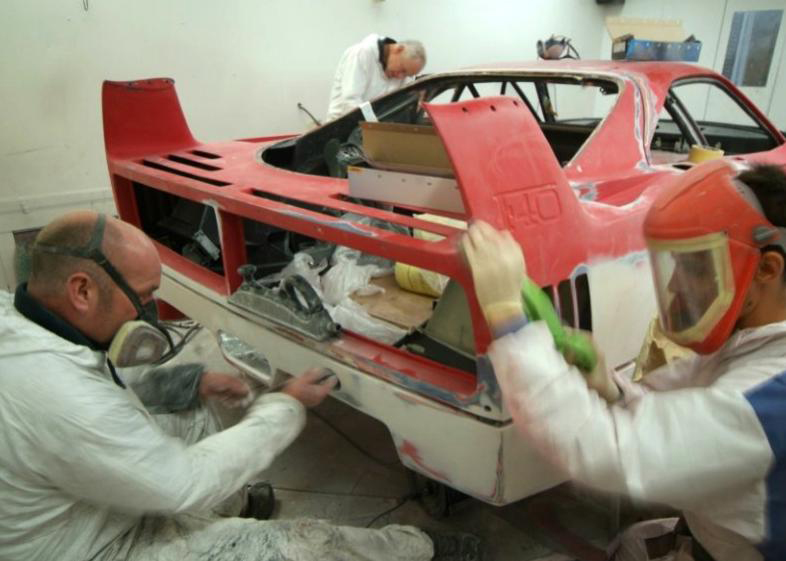
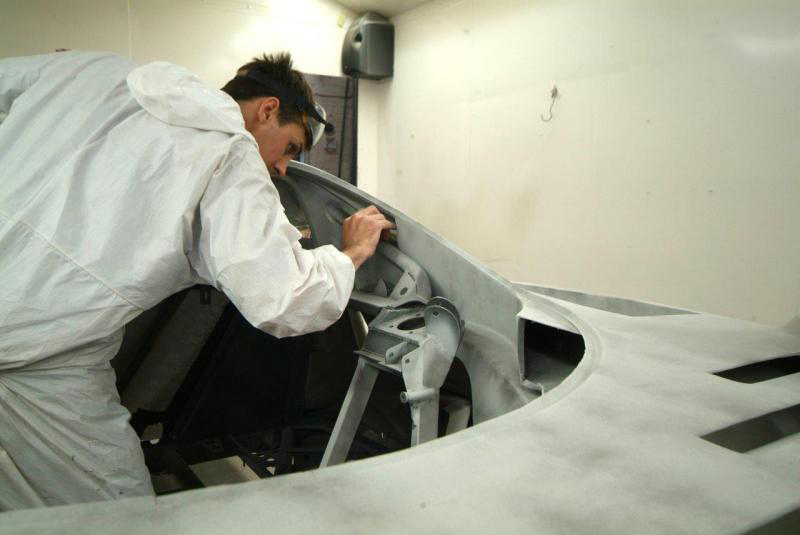
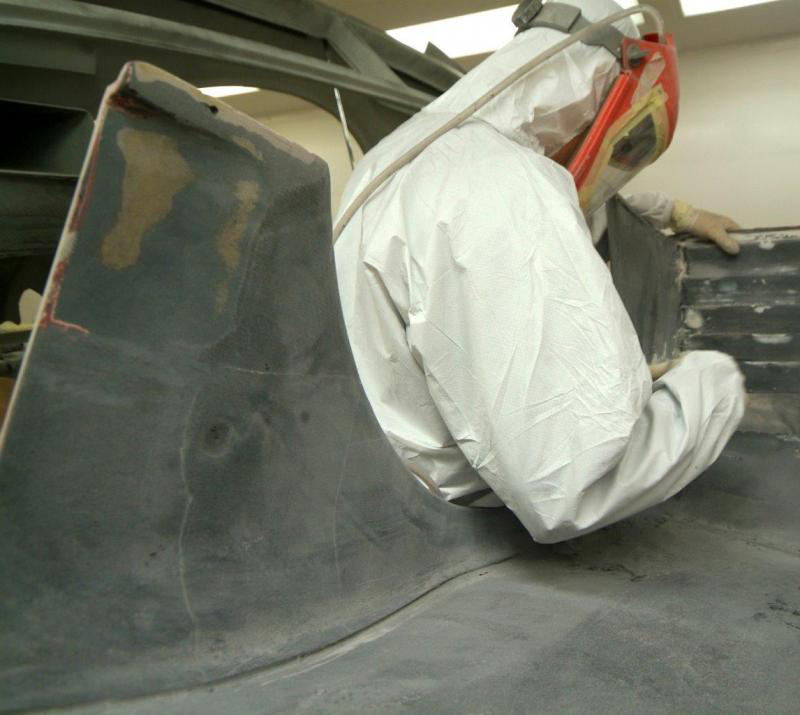
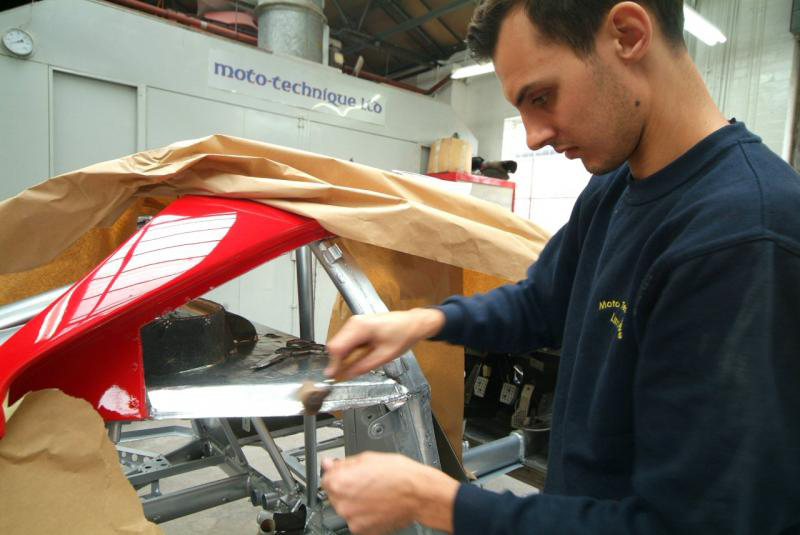
And how we got there, or rather poor James in the DIY spacesuit did……
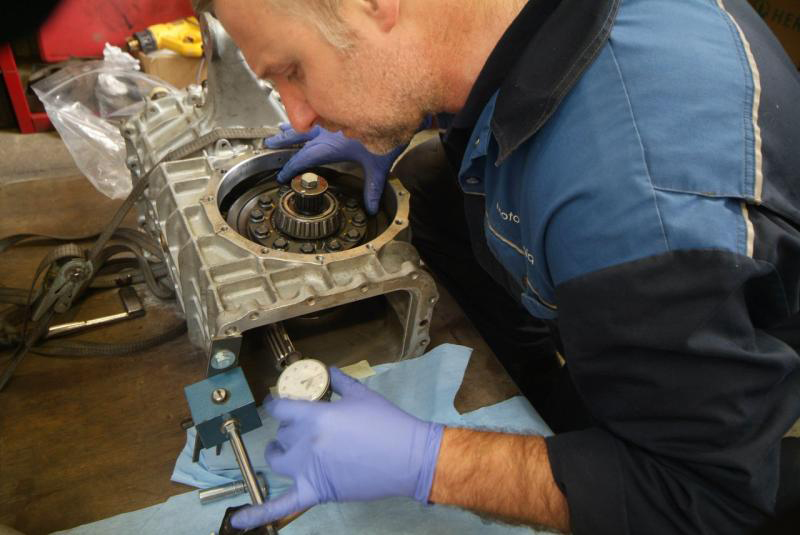
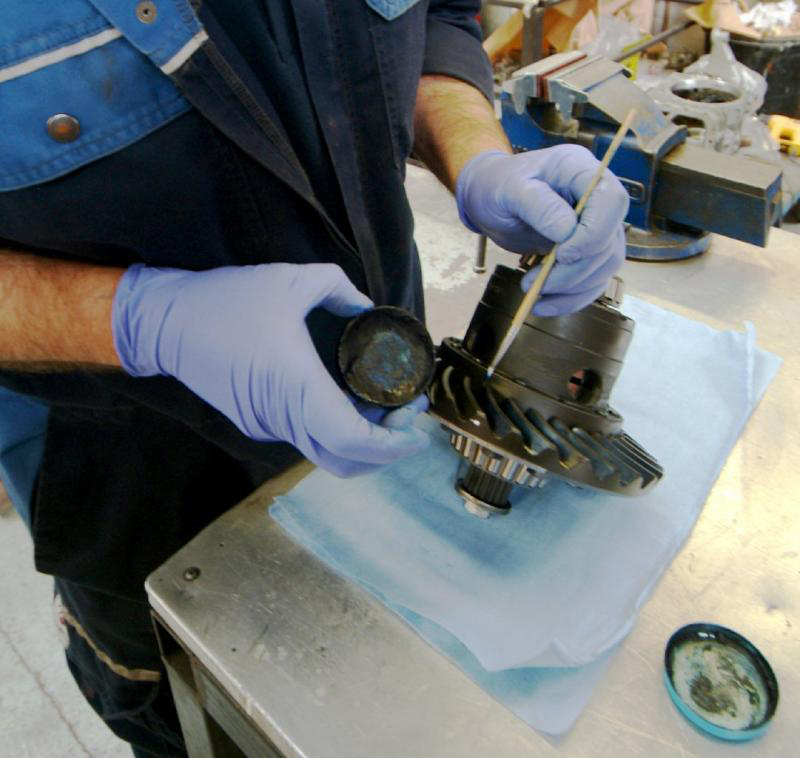
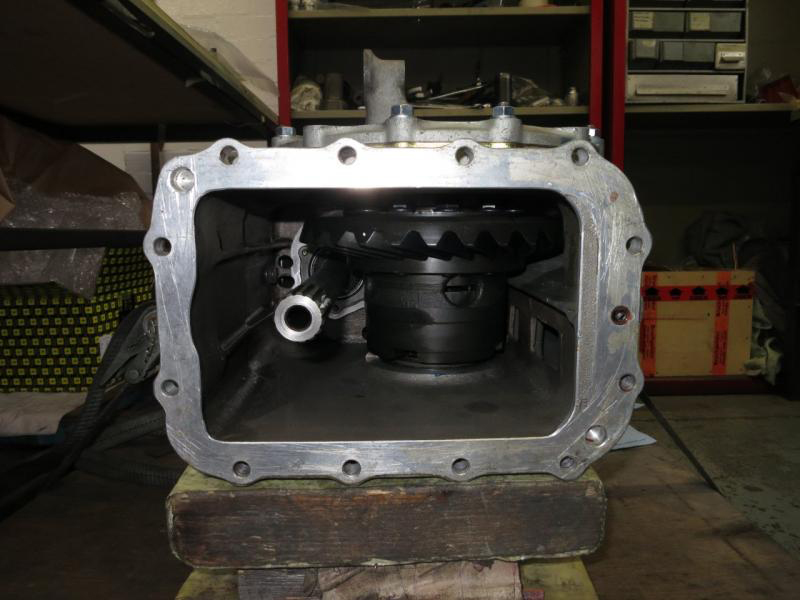
Whilst we labour for the next few weeks to get the bodywork perfect, progress is actually being made elsewhere mechanically. Engine is now in all its component parts and we have been working on the gearbox which is now ready for its new gears and awaiting the Crosthwaite and Gardiner reverse which they are apparently making to a higher quality than Factory as you would expect from such a firm. New crown wheel and pinion with shorter gearing installed as well as new differential and bearings and once we have reverse, the gearbox will be finished up.In these images you can see the backlash being set up with a dial gauge and also the crown wheel and pinion being painted with engineer’s blue to check mesh engagement. Last shots, all finished up and ready for the gears.Once finally assembled all casings will be resprayed.
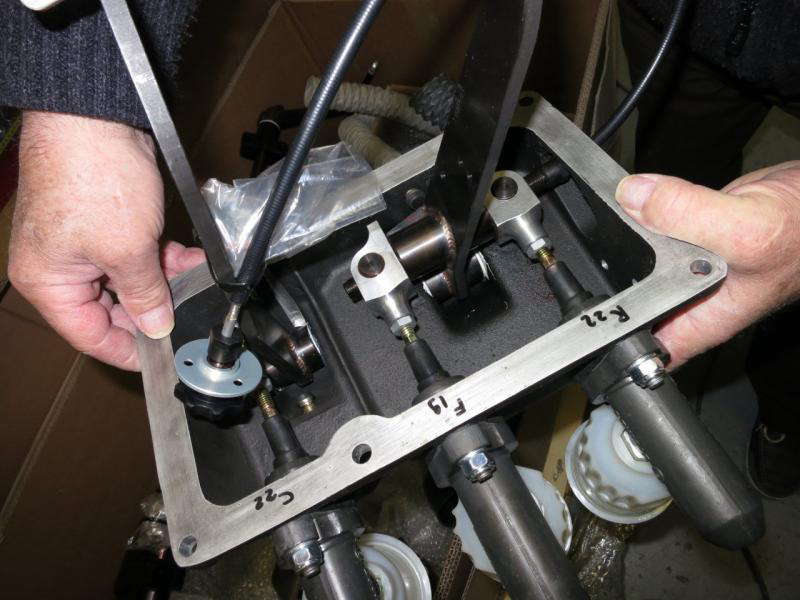
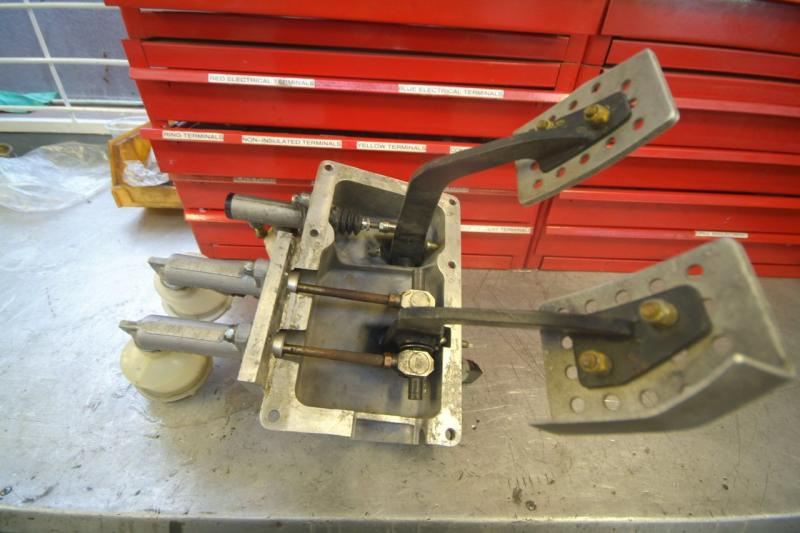
For those of you interested in the detail of what must be one of the world’s most expensive pedal boxes. Next to it is the original so you can get an idea of the difference. And the quality.This was, like everything else, not a stock item, but being a magnesium casting was not viable to be made in a series of one. We were however very fortunate to be able to piggyback on an order from the Sultan Of Brunei who purely coincidentally had to replace two of his on his LM’s which have rotted away in the humidity of their non air conditioned storage and needed replacement. Good timing as otherwise I am not sure what we would have done.The cable attached to the clutch pedal is the front/rear brake bias adjuster which ends up on the dashboard.
Temporary engine in place so that all the panels can be correctly gapped ‘under load’.Front clam now well on the way to paint…..
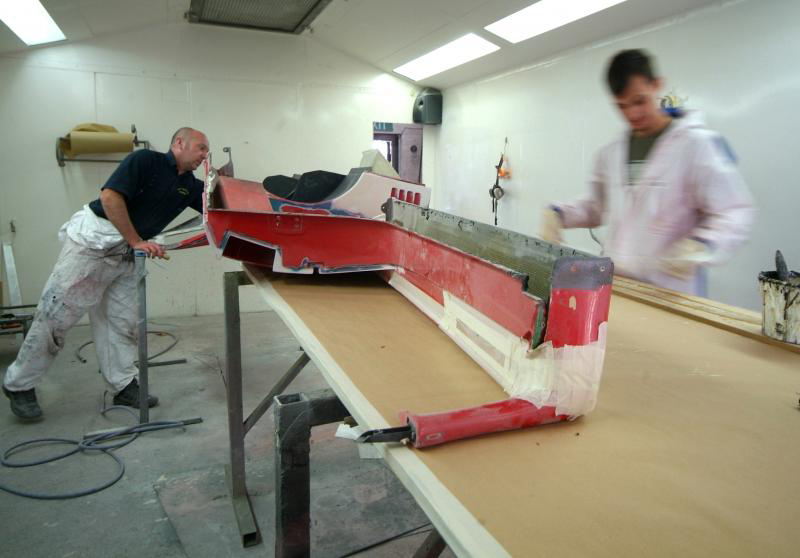
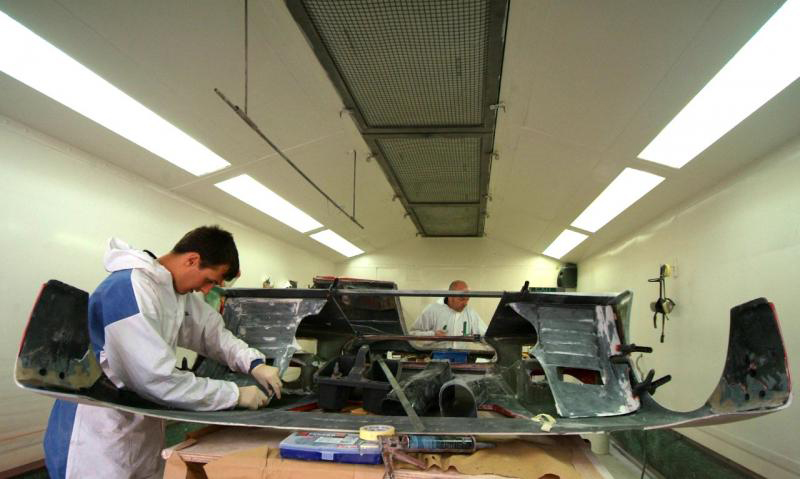
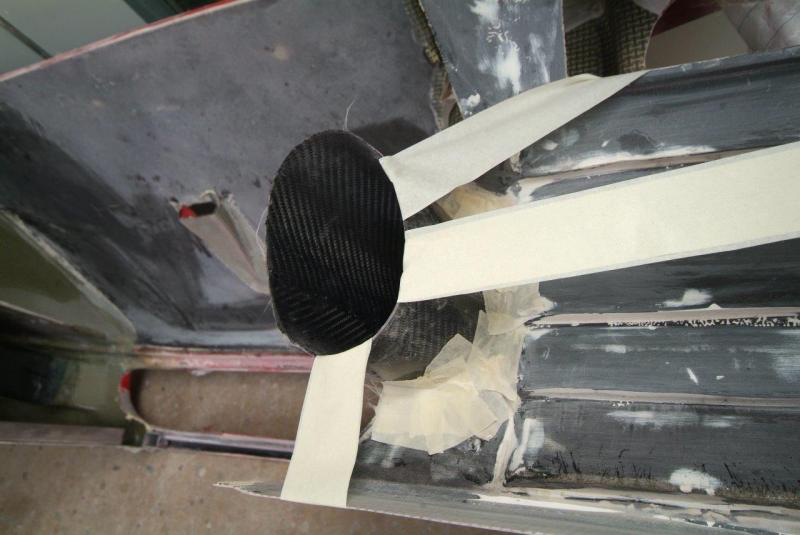
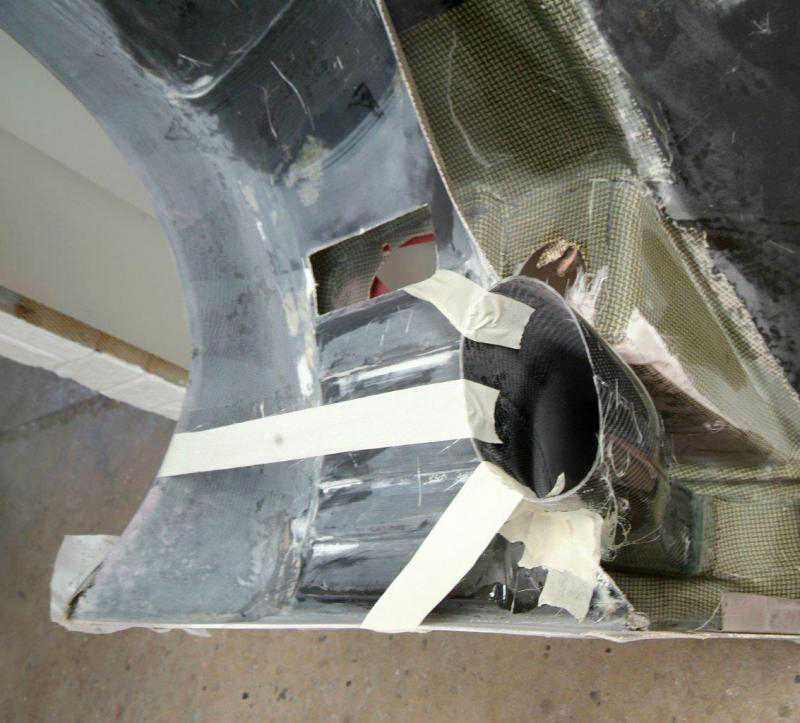
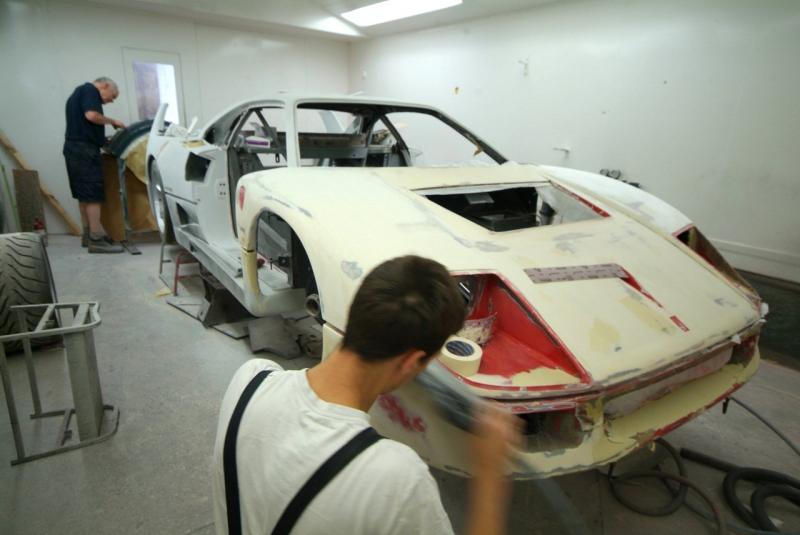
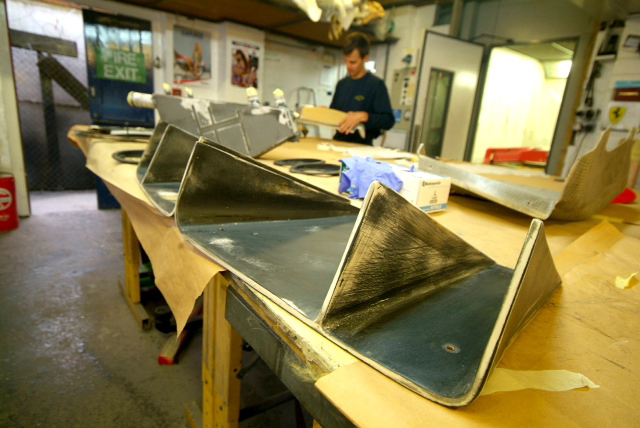
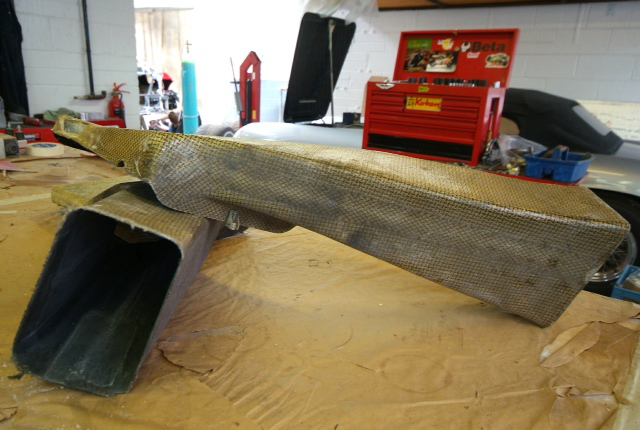
More images of prep work on the body. All old and defective panels such as cooling ductwork and wheel arches are being renewed in Kevlar as appropriate. A lot of work to return it to as new. Side pods are now off so we can get access to the final part of the chassis for paint, and yes it looks like paint next week! That is truly exciting and finally as opposed to digging a hole we can start to fill it in. A potential turning point and I find myself wishing away time.
We took the block off to Crosthwaite and Gardiner who checked them all thoroughly and said they were actually all OK, the slight scar was merley cosmetic which was a relief. They are fitting new piston rings, LM style titanium conrods and once the crank is back from repolishing and the new flywheel delivered, we can start a slow assemble. I think the chassis will probably be ready ahead of the engine but that is no bad thing. Very comforting to have Crosthwaites involved with their reputation and abilities, probably one of the World’s best : www.crosthwaiteandgardiner.com – fascinating to see what they get up to.
Cam lobes were slightly worn but enough meat on them for a grinding so they have gone out to a specialist. So right now that means crank is out for repolish and new bearings, LM Titanium conrods in manufacture, lightweight flywheel in manufacture, cylinders being rehoned as necessary, turbos/manifolds being built up and inlet trumpets will all be stripped down, cleaned and parts replated as necessary. All taking place at different specialists and one fine day the jigsaw will be reassembled.Apparently, even in its sorry state it was recently recorded on the dyno at 650BHP at the rear wheels, so looking for a little more by the time we have perfected it, a more ‘reliable’ 700 is the target but this time with the suspension and brakes to handle it.
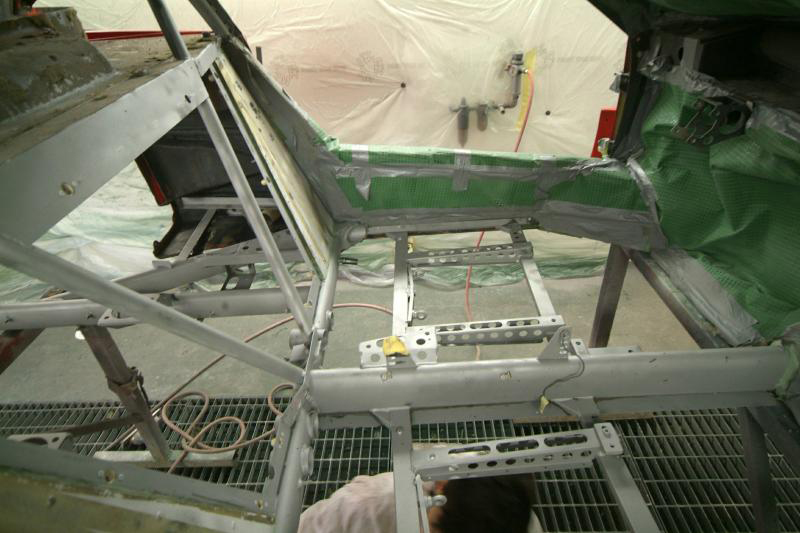
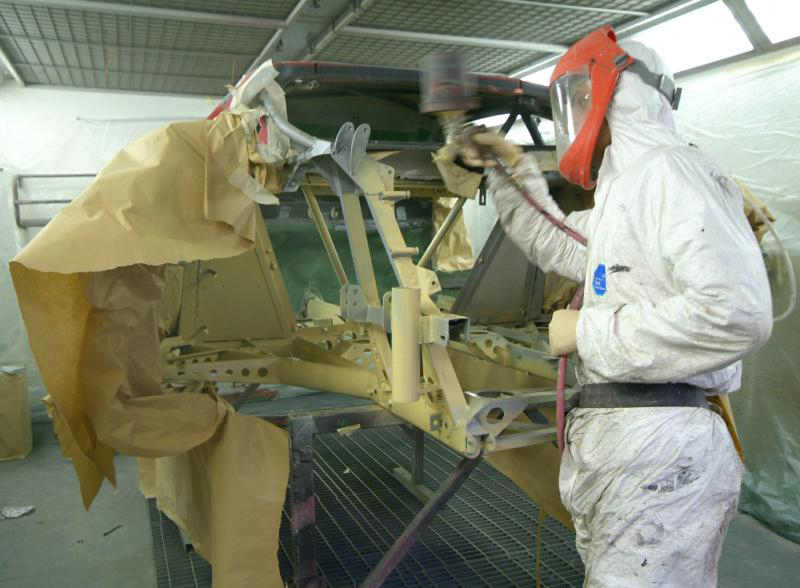
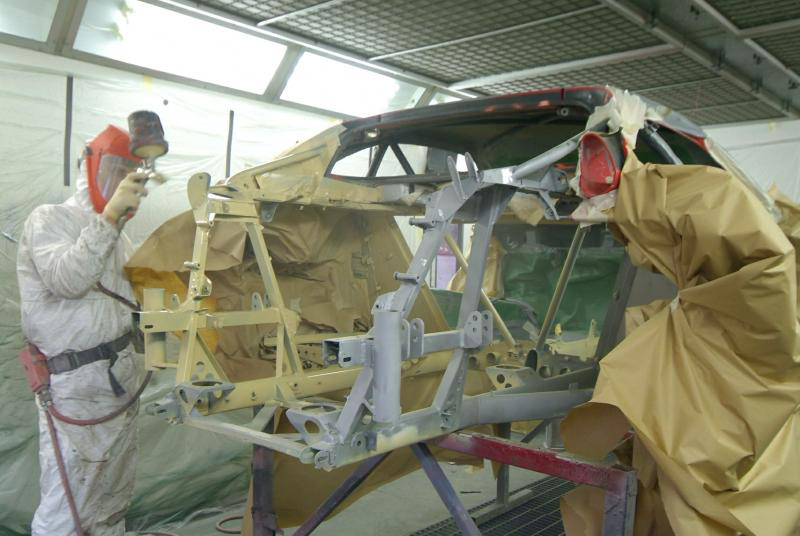
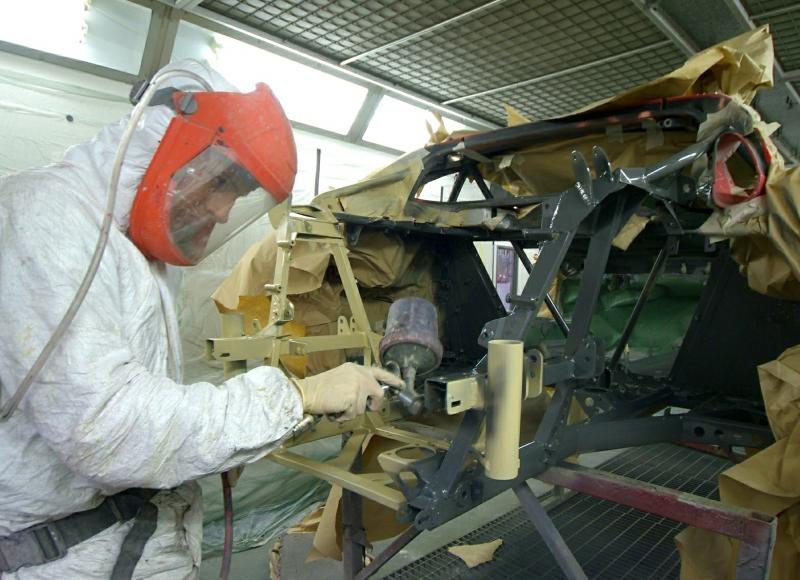
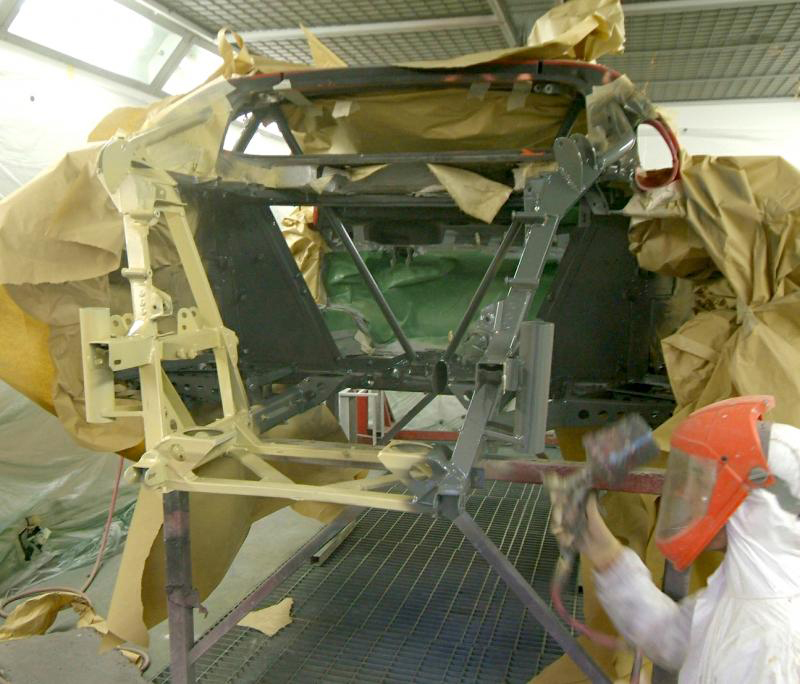
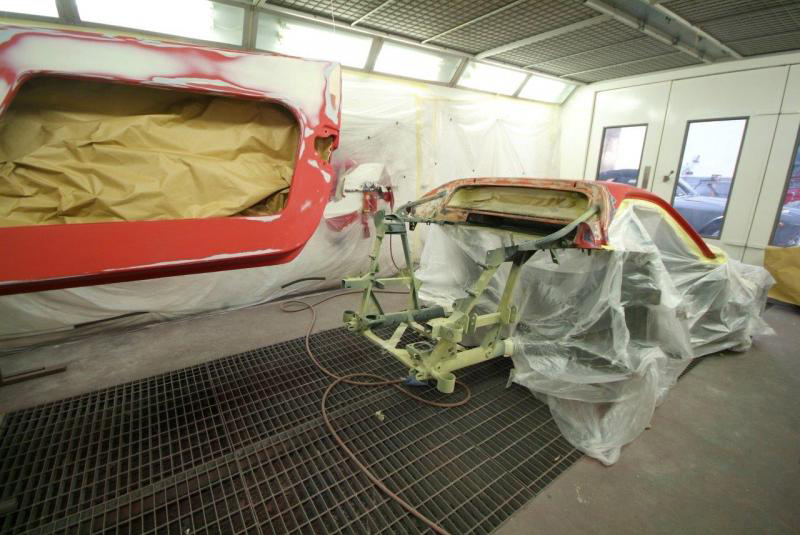
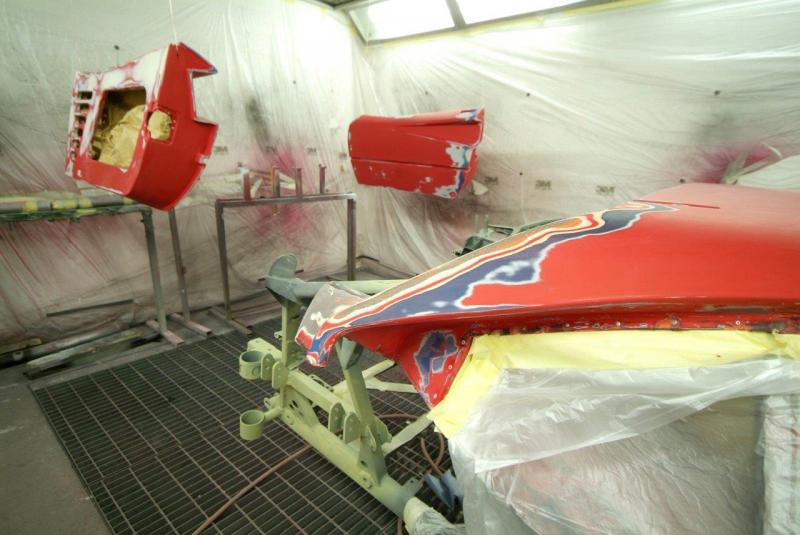
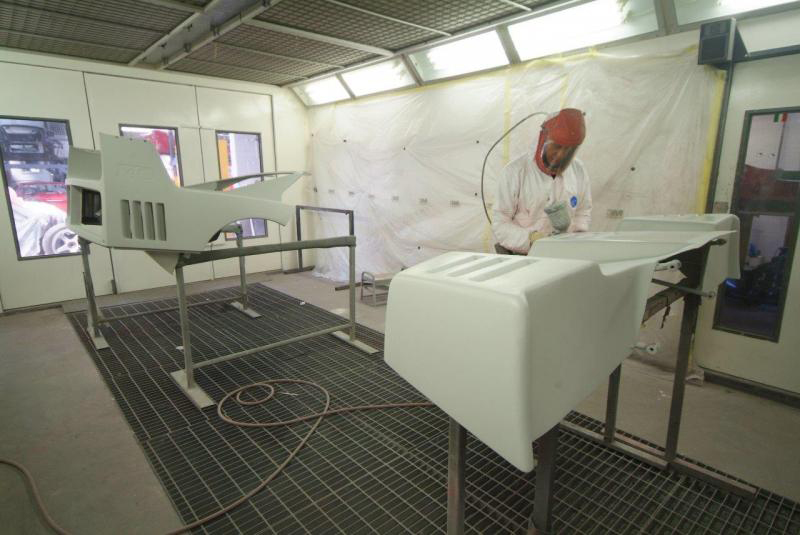
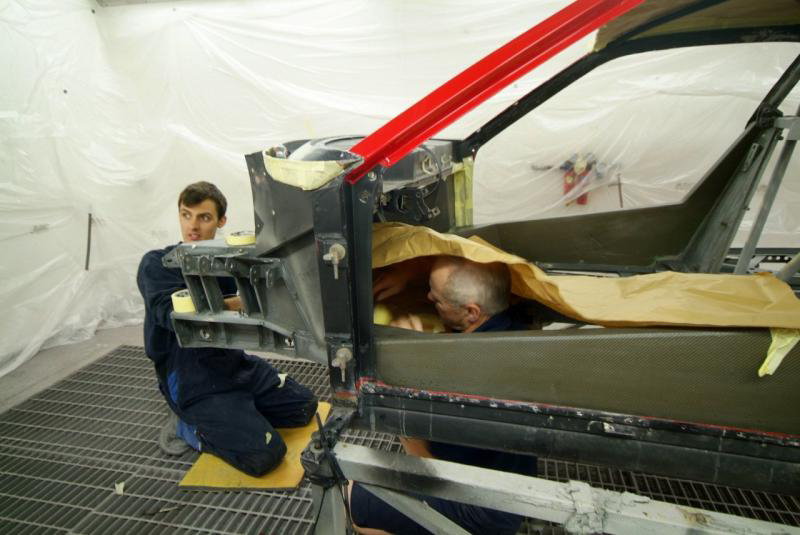
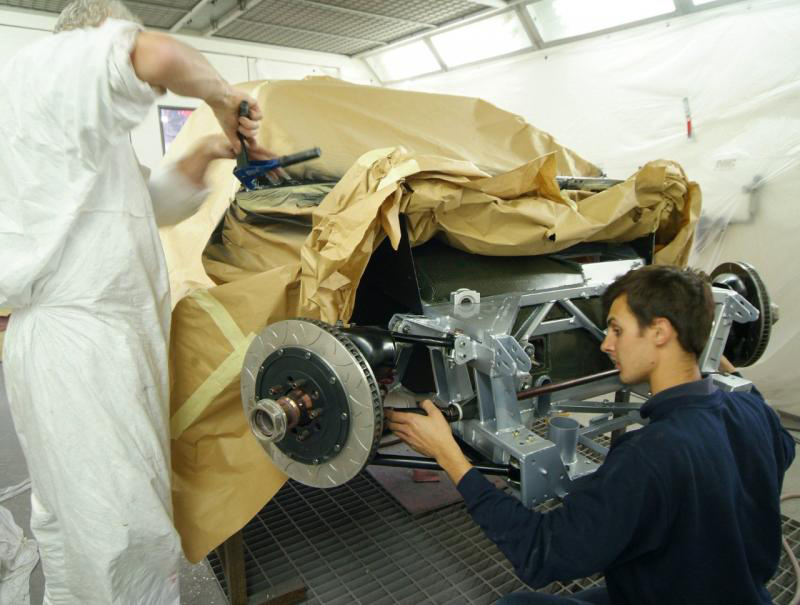
Well finally, hopefully, the last shots you will see of the old.We are now taking up all Mototechnique’s spraying facilities. Chassis stripped of all roll cage and stregthening in one paint bay for final prep and paint next week, and all body panels in other paint bay for final prep and primer this week.Then we can start to put Humpty back together again.And yes, for those really paying attention, I know about the front tyres!
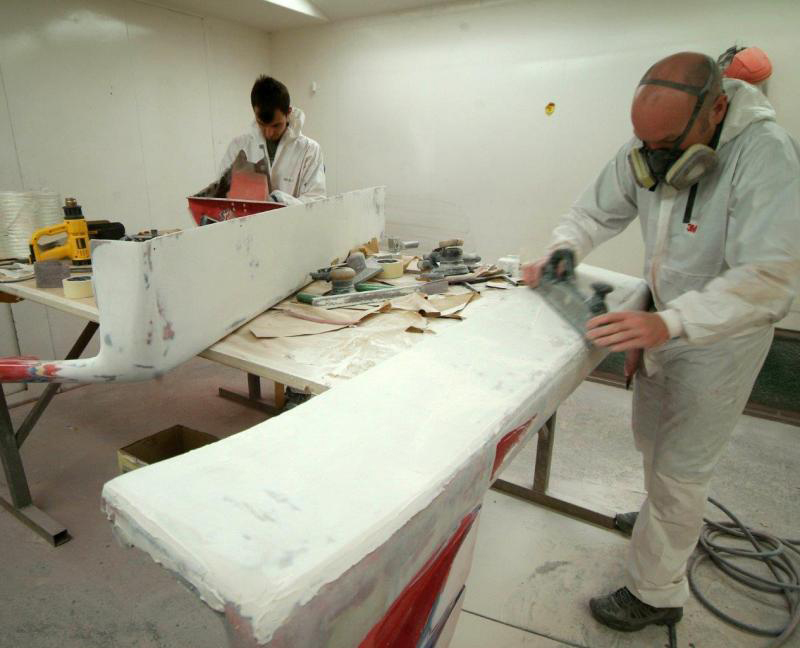
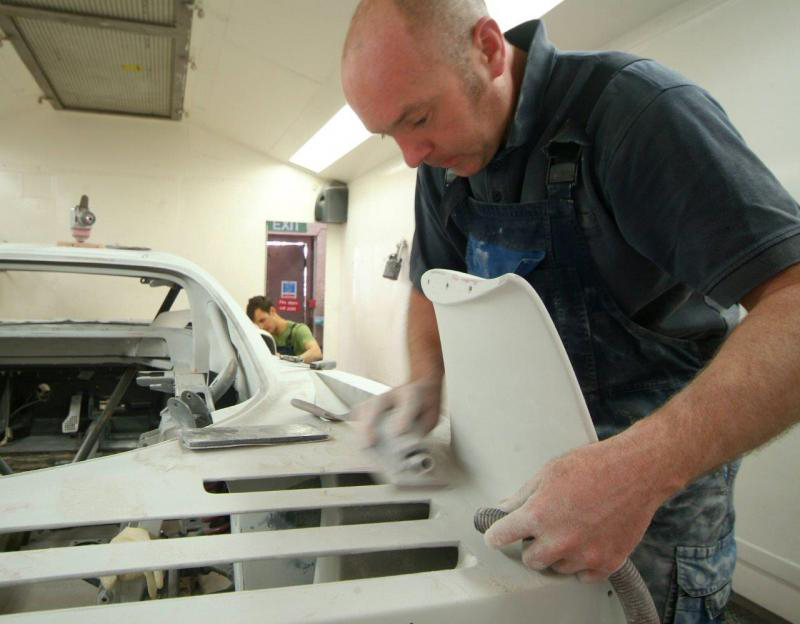
A few pics of the body panels in prep. Laying up the new Kevlar underneath the front clam so now light and strong. Plan is to get primer on the roof and chassis this week and then all being well colour next.Reason for the increase in images is trippling in manpower which, once we have the chassis and body sorted will mean things drift back to normal which from a financial viewpoint is comforting.
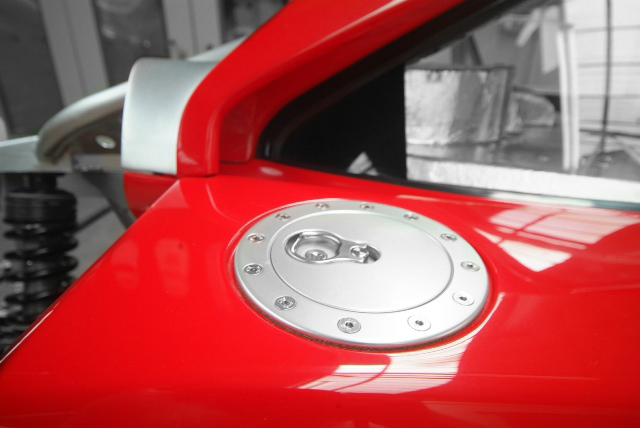
Meanwhile, we are sending the inlet manifolds off for the Zircotec finish as keeping the charged air cool is clearly a plus and anything we can do to reduce the temp of these will be a good start.Meanwhile a few more pics of progress. Here you can see the last photo (I promise) of the chassis pre final paint, the areas where we have been working on the jacking system etc being two pack expoxied before the mist coat and top coat are applied next week. Final prep for various panels and they are being primed today whilst the new fuel filler caps are blended in and the work comes to an end on the sills. All being well, everything except the front clam will at least be in primer next week, and chassis painted.
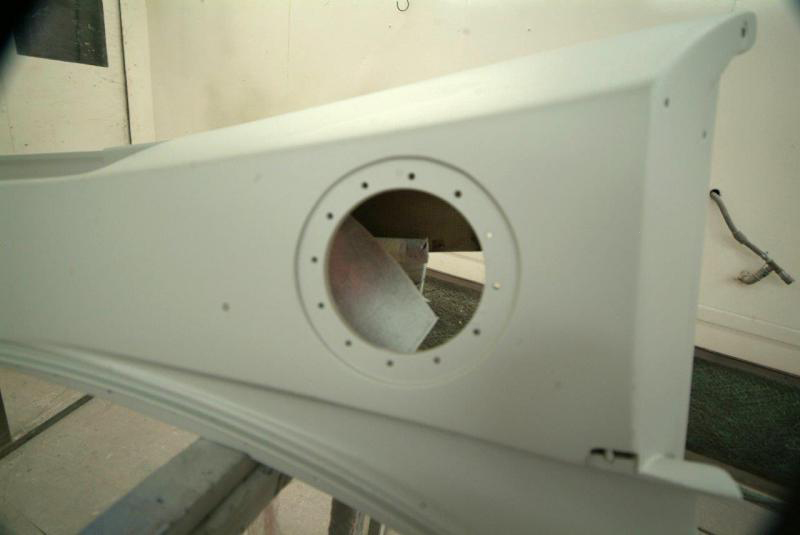
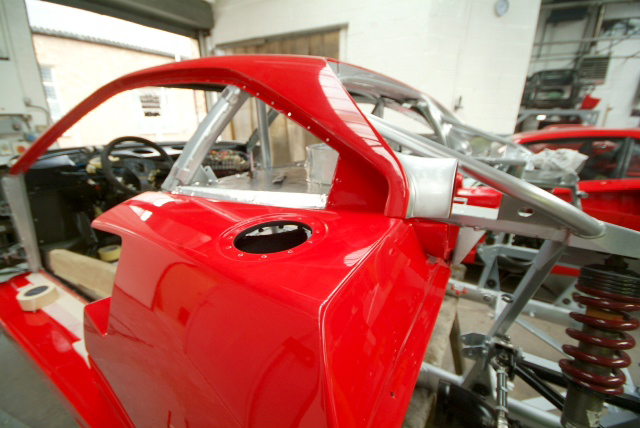
A final shot for the weekend that has just come in which I had to post as so pleasing. New filler caps now all neatly feathered in and panel just about ready for primer next week.
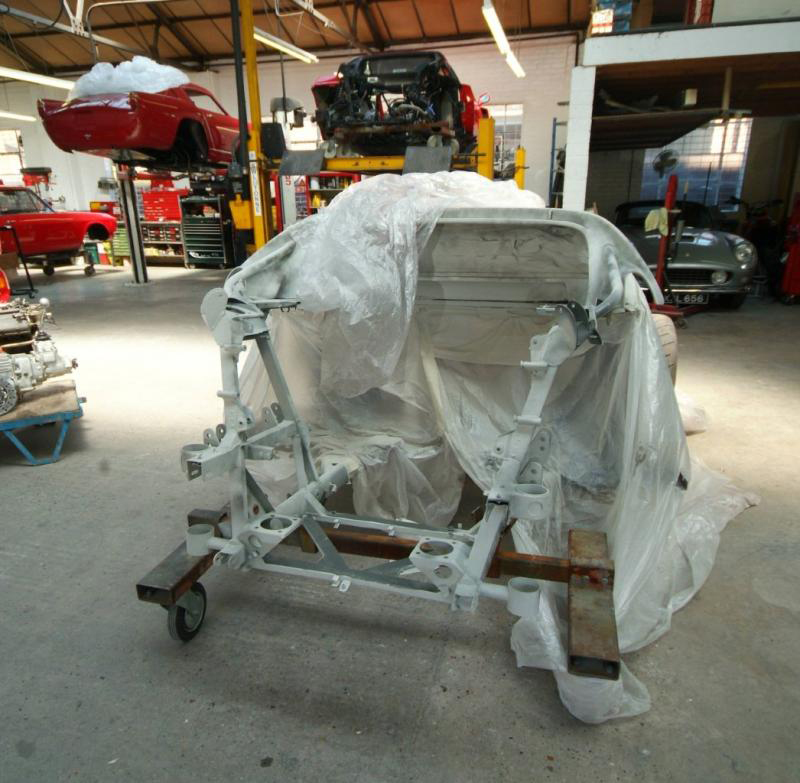
Just looking through the photos from last week and one recent one shows the chassis now with a mist coat so as to reveal any minor aesthetic imperfections in the frame which can then be dealt with. You can also now clearly see the refitted rear air jack mounts.Note in the background that she is in good company in the workshop, in one instance quite humbling.
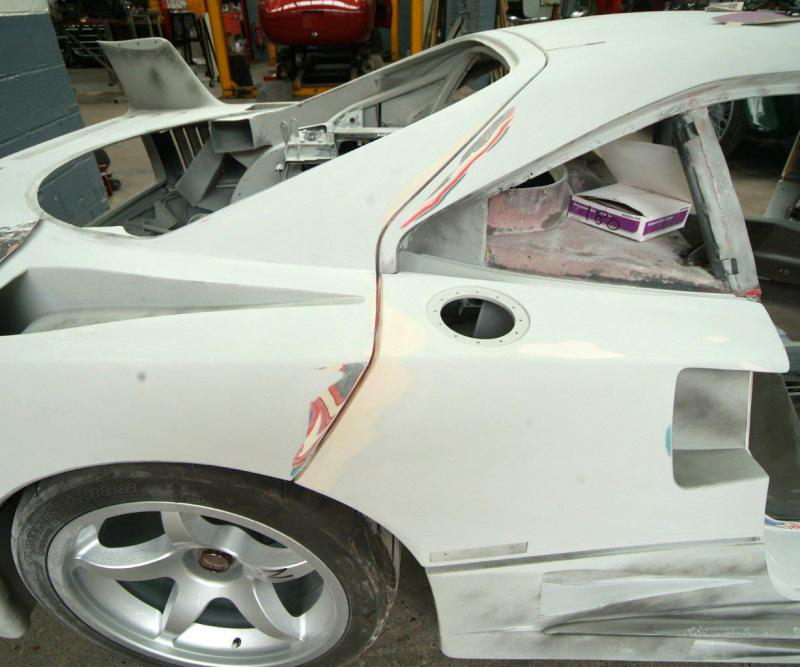
Meanwhile, for the first time in a long time excitingly the upper and lower rear clams are now finally in one colour. In case you thought they were destined for Chris Evan’s White collection, they are not but at least it is primer and I begin to feel we are coming out of this tearfully expensive hole. These sort of jobs are quite draining in more ways than one as you keep on having to write out cheques and yet the car looks worse and worse and it gets more and more depressing until you finally reach bottom and start to climb out and I think that is almost where we are. Maybe another two weeks to be confident that it is all not a waste of time, effort and money but now beginning to feel more positive.Work continues on the front clam but still a week or so away from primer as so much detailed work on wheel arches and all the Kevlar ductwork which is quite extensive on the LM. That should be a work of art when finished and be interesting post before and after shots.
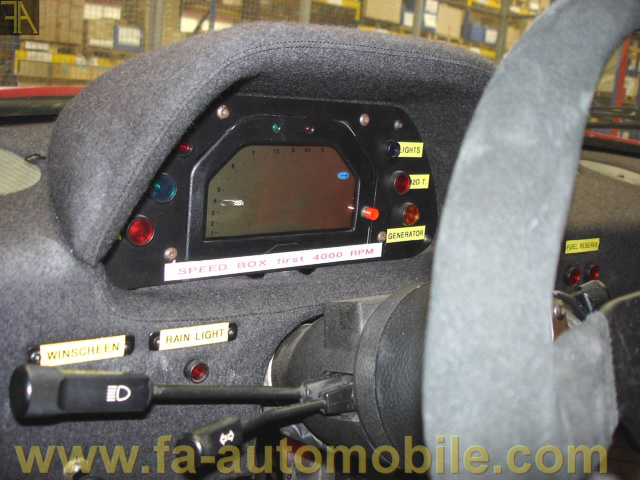
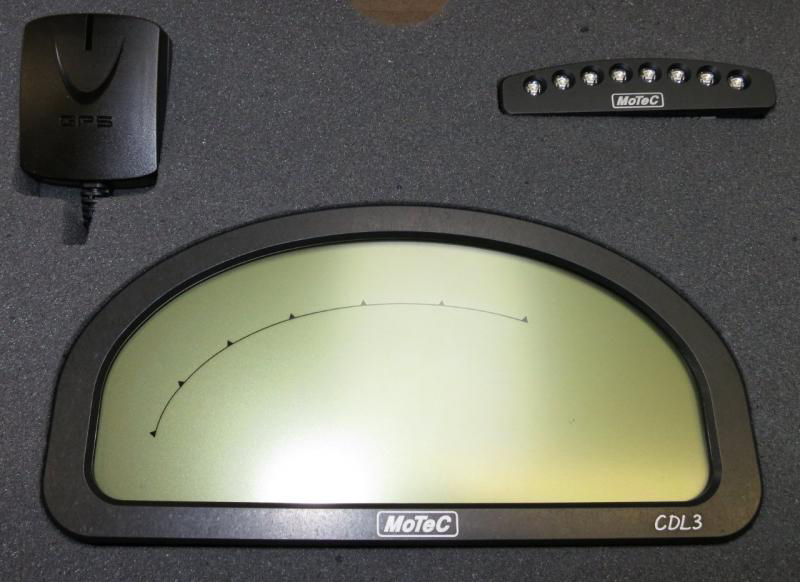
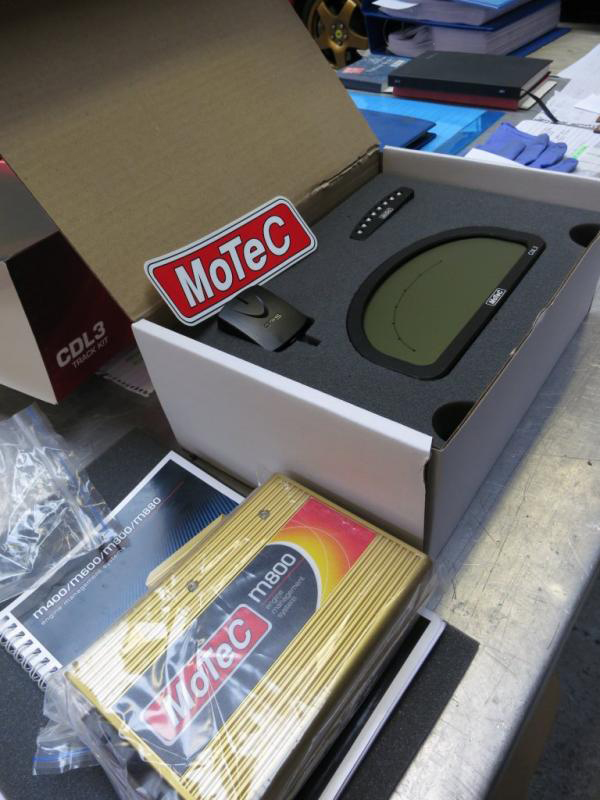
Aside from the finished fuel tanks and Michelotto parts, finally another finished item in the shape of our Motec gear arrived today as this seems the most reliable and adjustable kit out there (with great knowledgeable local support), well proven in racing F40′s and appears very similar to some Michelotto LM’s (as attached) when their old digital board gives up. Nice to have a few finished items appearing as the jigsaw pieces start to arrive from different quarters. What we really need next is a reverse gear from Crosthwaites so we can finish the gearbox.Not quite sure whether to fit the change up lights or not-pondering……
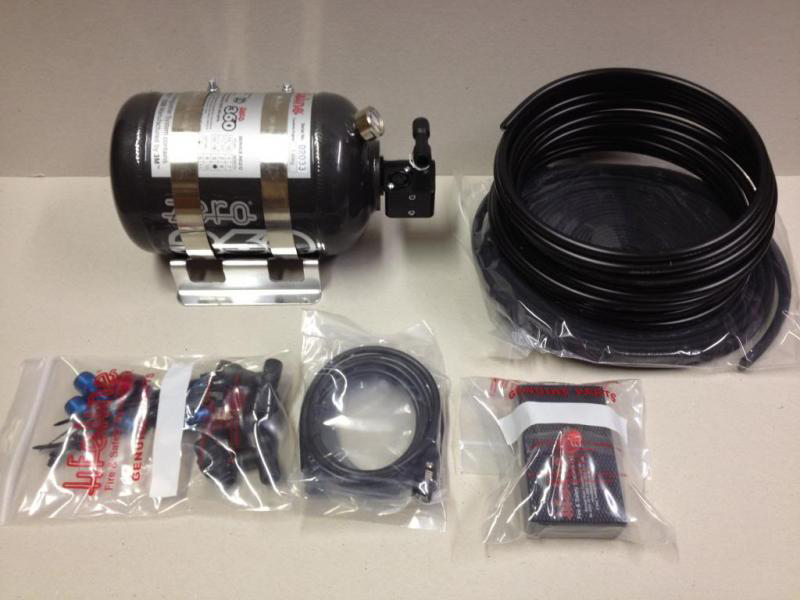
Another part of the jigsaw arrives.Latest 3KG Lifeline 360 extinguisher system just arrived. Used to only be available as 2.25KG but literally just released the larger version. Four nozzles in the engine bay, 2 in the cockpit and no mess to clear up if ever used. I hope not but these cars, as already pointed out on this thread, do occasionally have a issue.
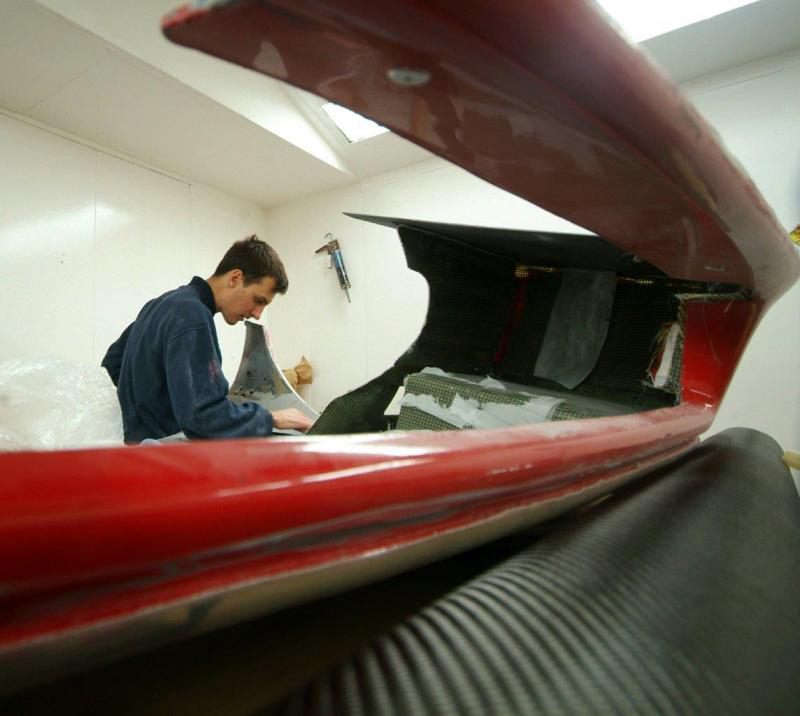
A lot of work going into what was a pretty ratty front clam. Here you can see some of the Kevlar being laid up, wheel arches being bonded in and preparation being made for the ductwork. What a change – kilos of weight removed and we are ending up with a lighter stronger unit from where we started. Another week to go on this and then all the bodywork will be behind us.
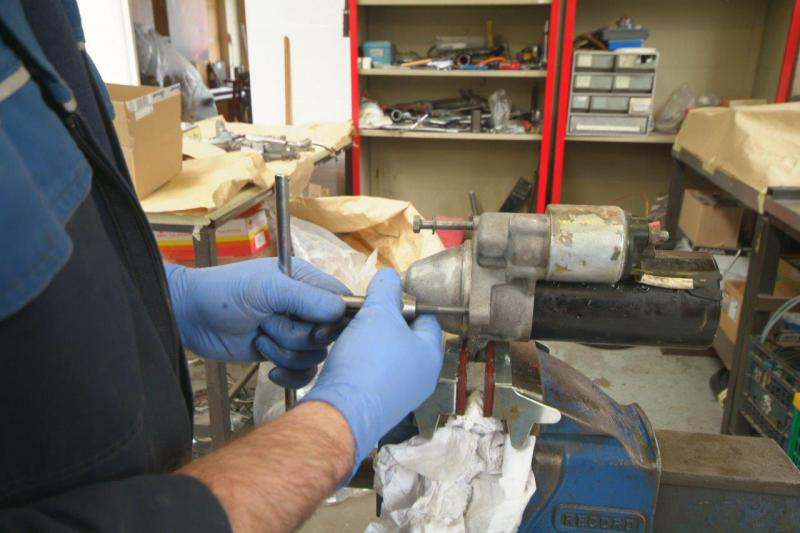
Starter motor has been sent away for matching to the new flywheel, which is currently in manufacture and due in a week or so, and will be overhauled at the same time.Final prep work underway to the underneath of the sills and these will be in primer early next week.Just another arty shot of the front clam lay up on-going. A lot of detailed and intensive work here.
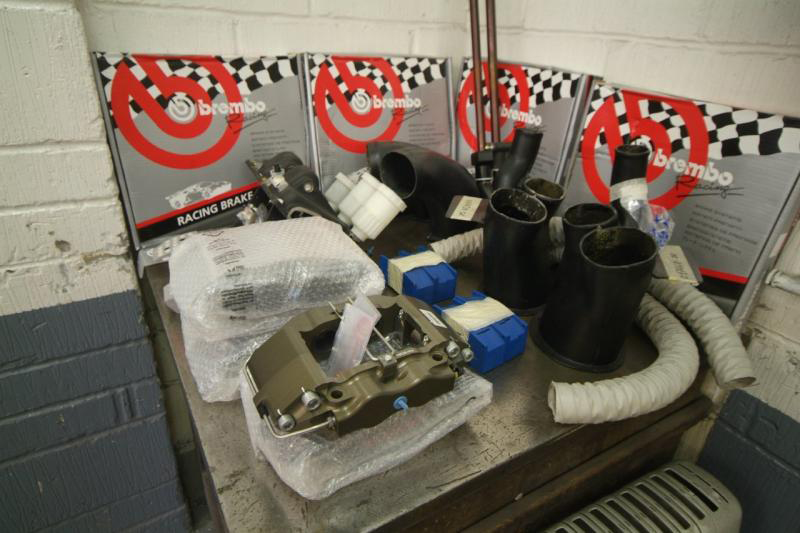
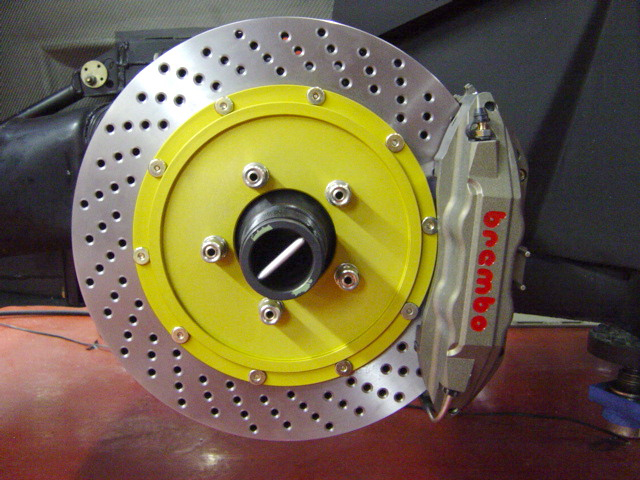
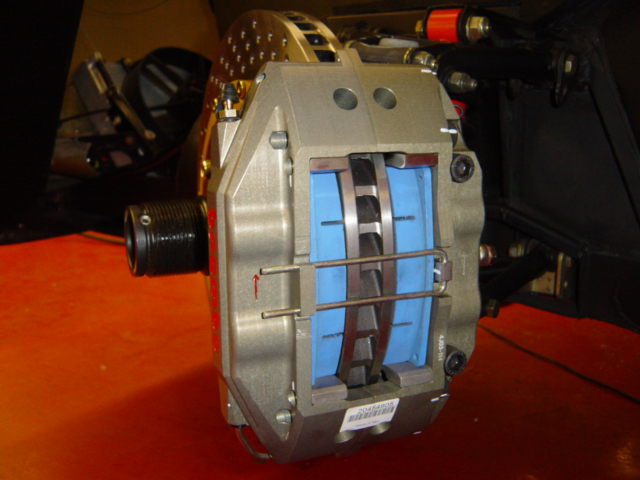
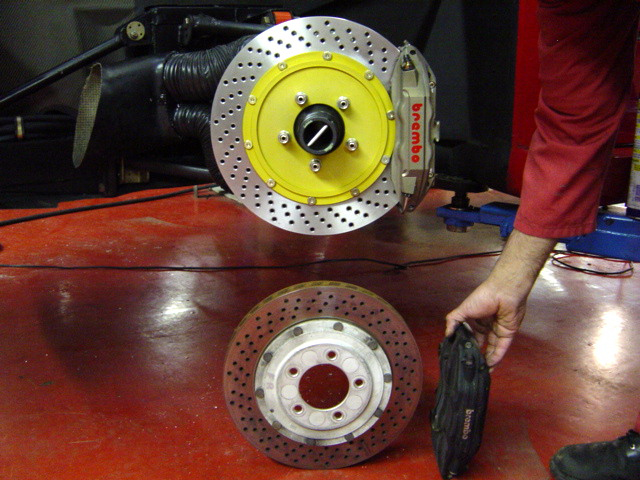
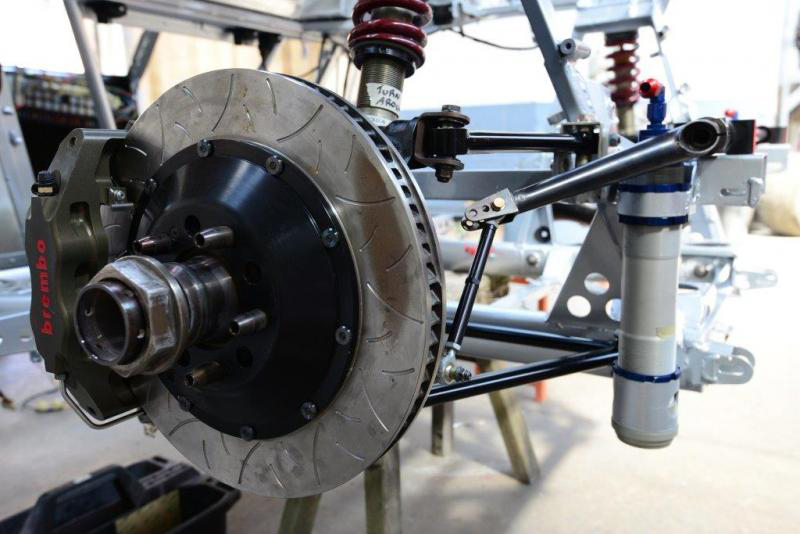
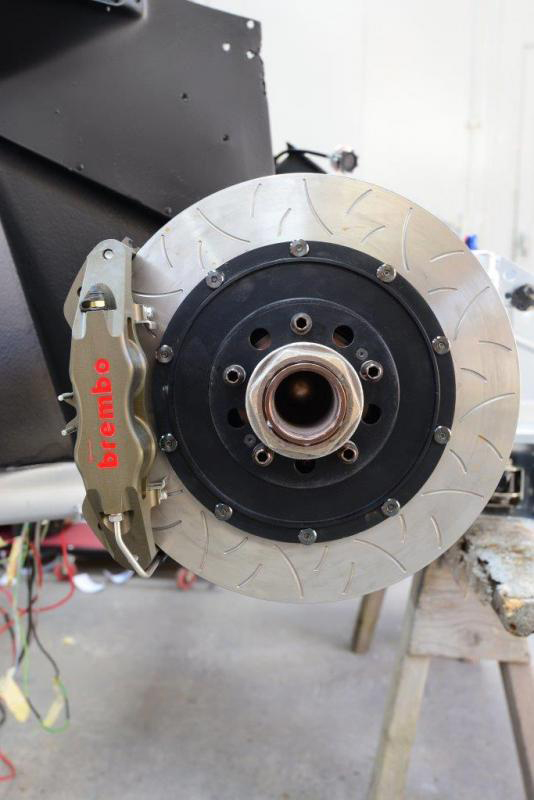
If you look back through the thread there are images of the brakes that were fitted during the cars racing era which were Group C, allegedly off a 962 Porsche. The only sensible alternative today are made by Brembo and they offer an upgrade for the standard F40 as attached (last pic shows difference) but you need the bigger rims to fit the discs. We have full LM units which are very different, different discs, calipers, pedal box, master cylinders etc. (see a few pages ago for pics)We are fortunate in that the car started its race life already one of the 27 LM/GTE conversions as to convert a standard road car to this spec would today be even more eye watering and possibly not an enhancement investment wise given the high value/cost of a road car. Aside from the obvious, there are just so many details that separate a road car from an LM, but even then you would not have that vital race history.
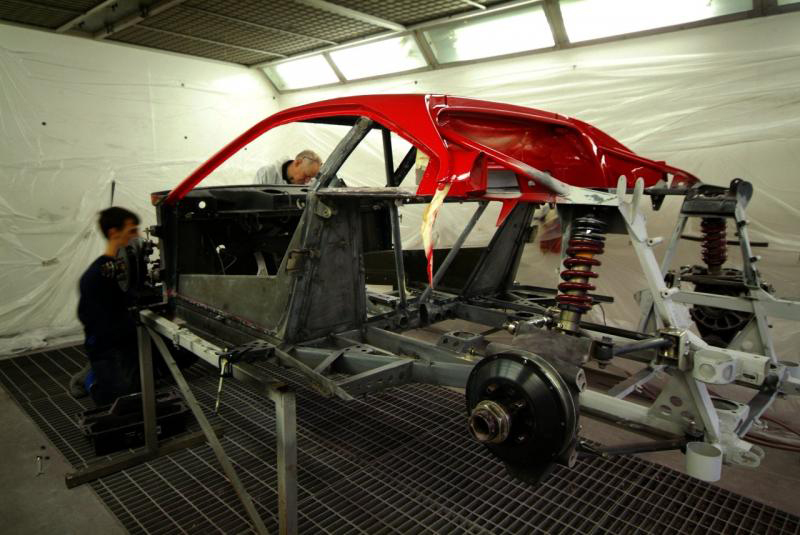
That is exactly my aim, to create a car that can be used rather than become a garage queen, and hopefully finished to a higher standard than any of the competition and good for another 25 years.Meanwhile, we have rear clams in primer and finally side pods in primer, all looking very neat and tidy with faired in fuel caps etc, just waiting for the final front body panels to join them.Next up refit the suspension (again) and the panels to the chassis, line up all the panels so as to get the gaps correct in situ, something Ferrari never did, make final adjustments and then actually paint the panels red! Meanwhile front clam, which can be treated separately and in relative isolation to the rest as it only has a junction with the chassis rather than other panels, can be done once we have finished all the ductwork. Then all the suspension has to come off again (4th time) for chassis paint.I feel I just about have my fingertips on the edge of the hole now-maybe a couple of weeks before final assembly actually starts and I can see out of it.
Well two steps forward one step back. All the main panels primed and fitted, save for the front clam, all married up and pretty much ready for paint. Or so we thought.
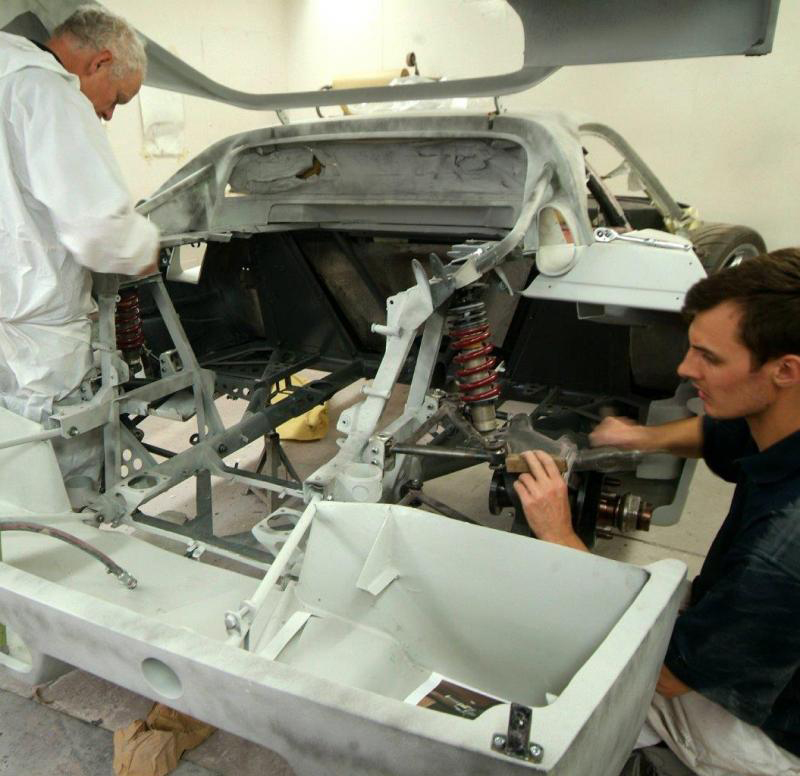
Rear suspension off again and then on for the 4th time to sort hand brake(to make it street legal)and soon to come off again.Then turns out a well known weakness of these cars is for the chassis member to rub against the inner side of the rear clam by the engine bay glass and create an annoying squeak. This has reared its head on this car as you can see being inspected in the 4th pic. So just as we thought we were going red, rear clam has to come off, wax mold made of offending chassis member, clam adjusted, and then of course as the clam will sit slightly lower,we will have to rematch the panel fit. Again.Silver lining, at least by doing it thoroughly and right, we won’t have to repaint the clamTired of 50 shades of grey………
Work has started on eradicating that annoying squeak where the frame member rubs against the rear clam. Wax mould taken, clam adjusted and then refitted with resulting re gapping of panel joints.
Work going well on the front clam and looking to have it in primer by the weekend. Despite life being too short, we are putting a humungous amount of time and effort into this panel and still have some way to go but a long way from where we started. And squeak free.
Meanwhile back in the real world, the apparently to be accepted squeak has now been dealt with and the panels re-gapped but it has delayed the plan to get the primer on. This 50 shades of grey thing seems endless.Getting closer.
Suspension on again for the fourth time! And then only needs to come off once more for painting and chassis paint. Then it goes back for real.
More work on the front clam to sort out the ductwork, then back on to check before going back into the body shop for final prep but there are still two final ducts that cannot be fitted until we have the radiator in place.
Couple of other shots from last week. More work on the front clam and appreciate the background.The quality of cars passing through Mototechnique’s workshops is truly amazing. More to follow….
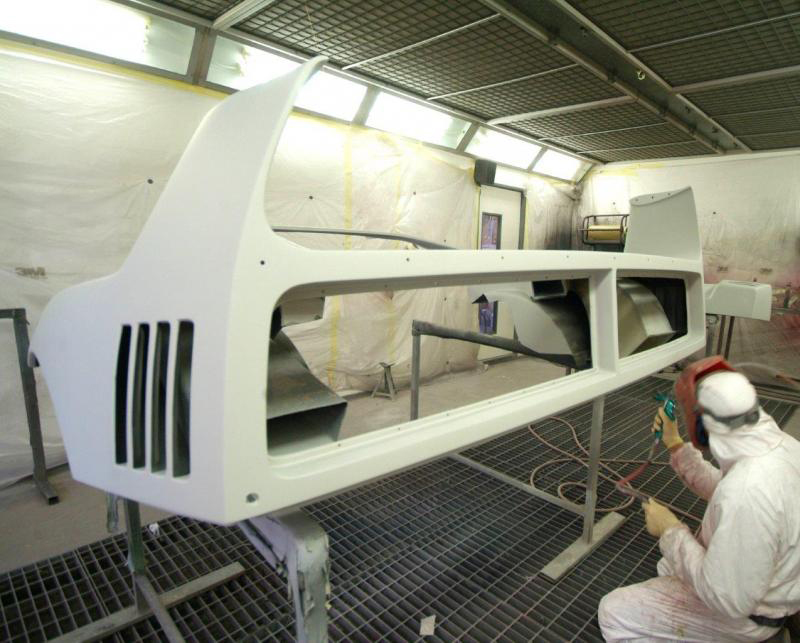
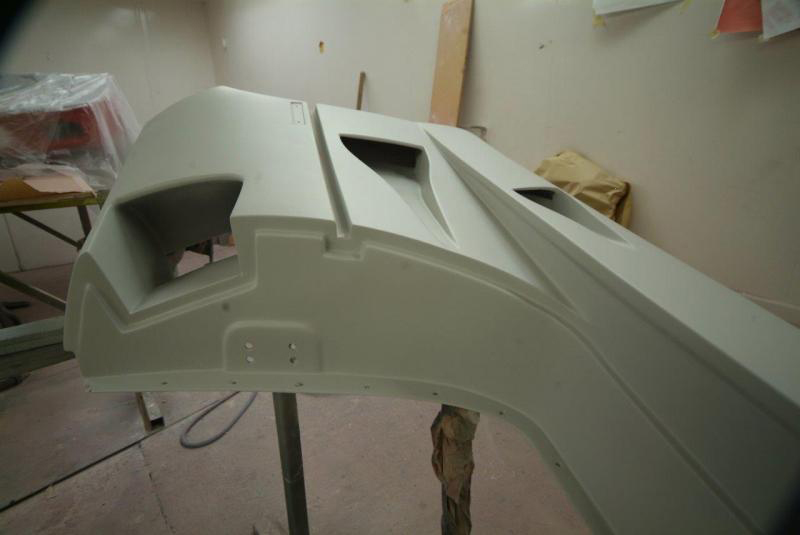
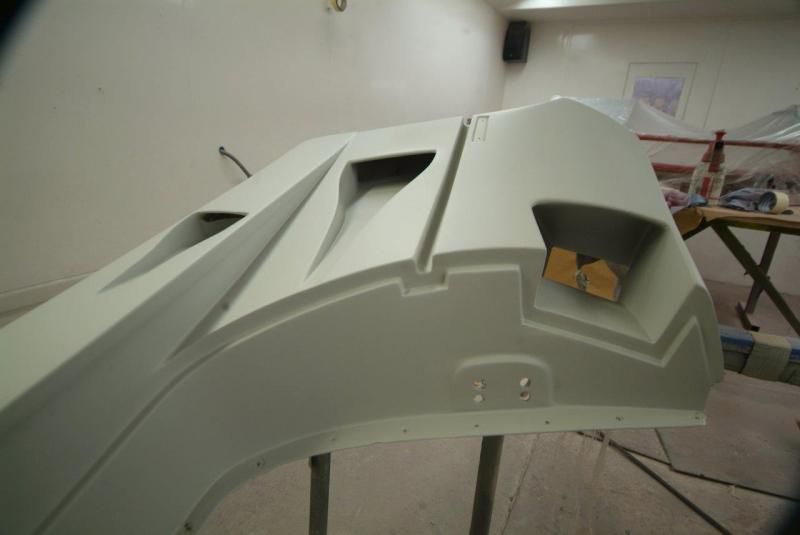
Back in the paint shop, hopefully now with definite intent of colour, and the final shots, I think, of the prepared and un-painted front clam. Wednesday it will be in primer.Work continues on final preparation and the rear panels and roof are just about ready for paint having been primed and baked. We will see colour this week!Hopefully also a week of deliveries as we assemble all the parts out being made/treated by specialists. Manifolds with Zircotec coating, new turbos again Zircotec treated, new lightweight flywheel and clutch, reground camshafts and maybe even our re-polished crank. Or at least that is the plan, but to be honest we are not being held back so none of this is on the critical path, as yet.
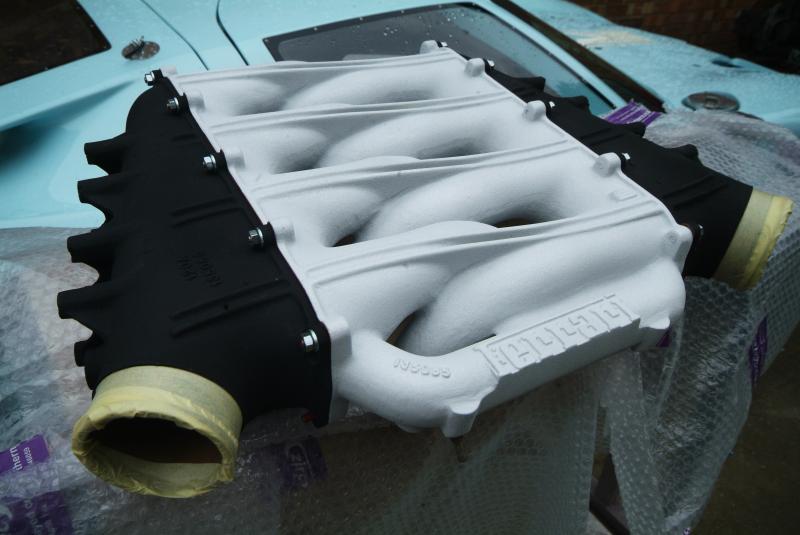
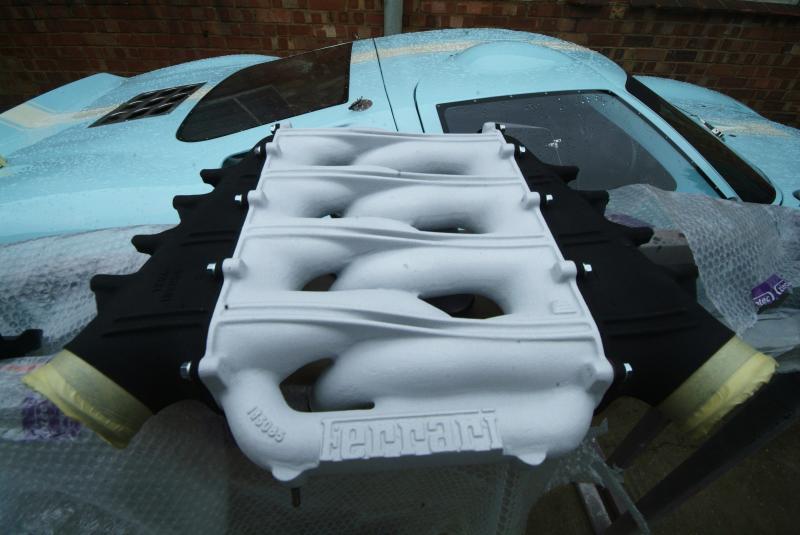
Just look what the Postman surprised us with today – our Zircotec treated inlet manifolds!For those who are unaware, Zircotec is a ‘plasma-sprayed ceramic coatings to protect components from the effects of fire, heat, wear, abrasion and corrosion’. In this instance it will help keep our charged inlet air at a lower temperature which means ‘increased engine performance, eg. a 30 degree C drop in intake air temperature can deliver a 6% increase in power, or can increase engine efficiency leading to less fuel usage’.Used extensively in F1, Nascar, GT racing, Classic cars etc, this hot engine bay seems to be the place to use it and we will also be applying their process to both our exhaust manifolds and hot side of the Turbos.Another work of art to be set alongside the Carbon tanks, Michelotto suspension etc.Yet again, note the background car, yet another classic into their shop for a bit of work.
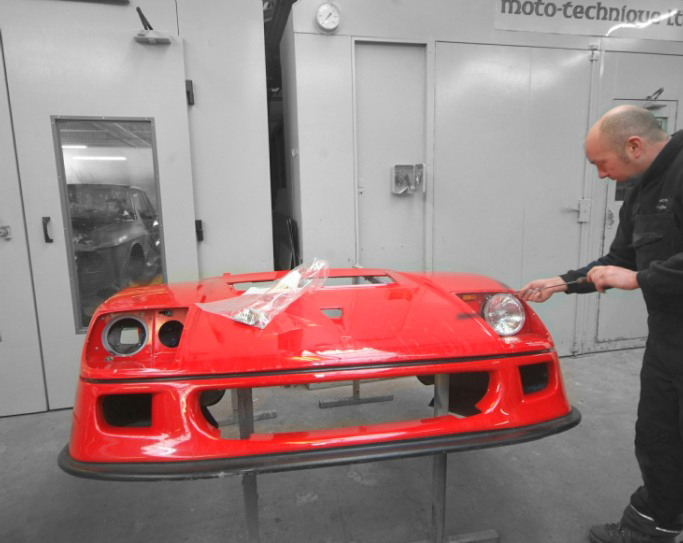
The very last shot of the front clam before we apply polyester spray filler, a sealing coat which will tie all substrates together before final finishing and full priming. Just checking the Perspex headlight covers for a perfect fit and then off to the spray booth tomorrow.Some colour by the weekend? Not on this panel, but hopefully elsewhere.
You will all be relieved to see that you never have to look at any more shots of the multi-hued front clam undergoing work (except on the underside) and it is finally close to joining the other panels in grey primer. This polyester spray filler bonds the various substrates and then into the oven before final finishing and grey primer tomorrow. Relief.Thanks Greg for you post and after all this work I too really do hope it pays off in years of enjoyment-this is a long haul and if you read back through the thread there was a stage I thought it would be over in 4 months. Ridiculous knowing myself and my goals.
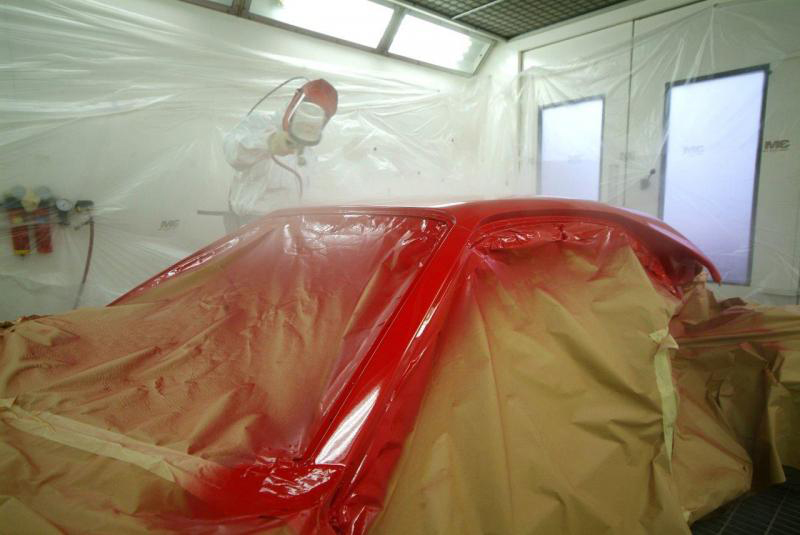
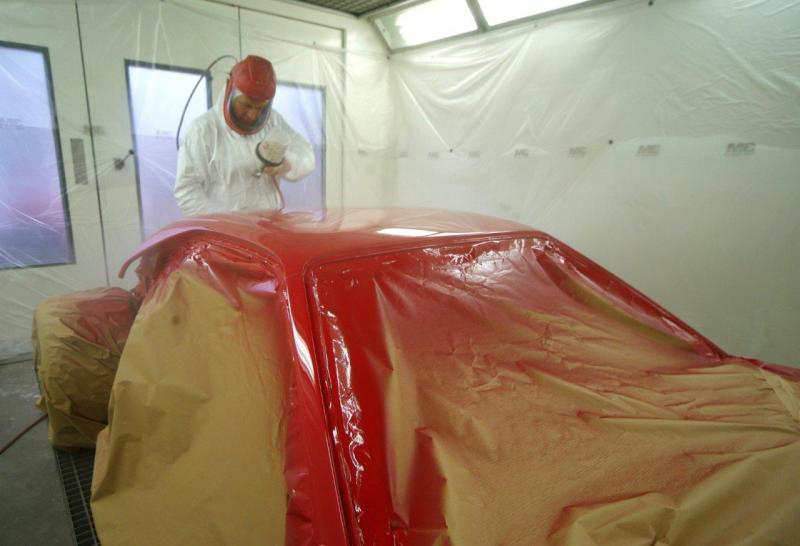
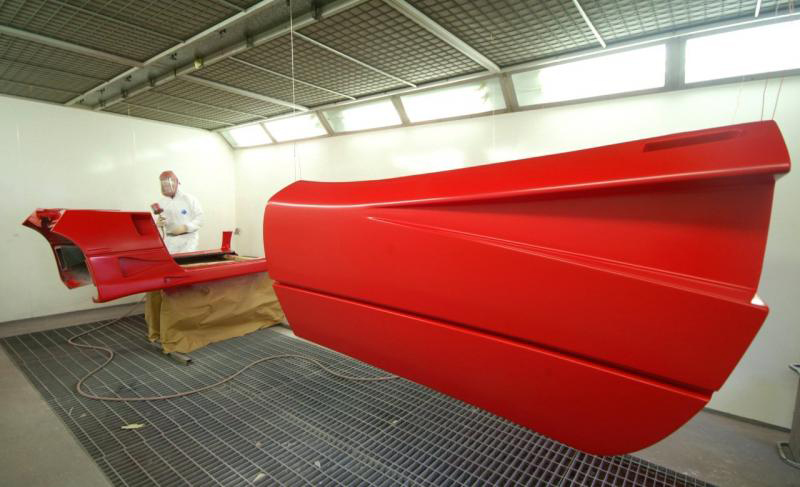
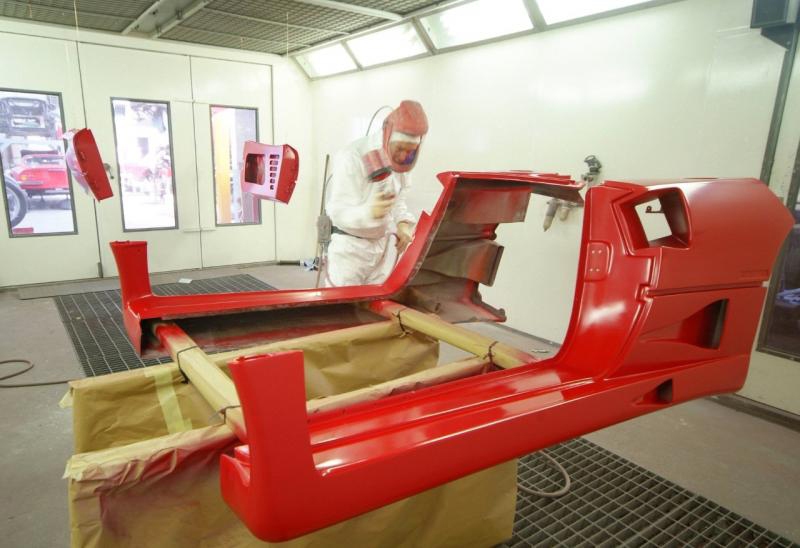
Finally a glimpse of colour over the lip of the moneypit!F40′s apparently were painted in slightly different shades of Rosso Corsa during their production cycle ranging from a darker red to one with a slightly more orange tint. We have gone for the slightly darker shade and apparently I now have to choose whether we go for an old fashioned ” Coach builders” full flat and polish finish which removes all ” Flow ” (Orange peel is a chunky effect whereas ” Flow is a smoother gun finish) or we lightly sand to leave a more natural finish – Any thoughts?Next up, before the week end, is for the chassis to go silver and that means real progress.
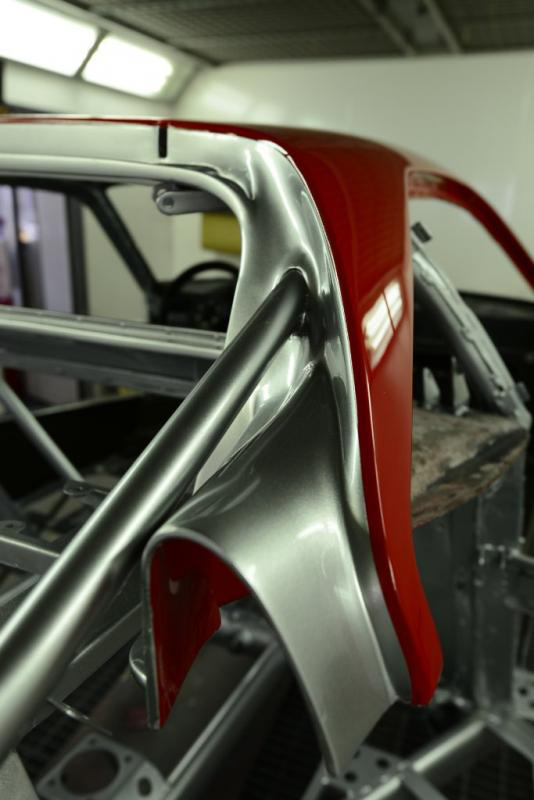
Revealed. Visited the shop today and the red is perfect 300/12 Rosso Corsa, deep and beautiful, the one with the least orange albeit does not show well in the pics.Masking off now the roof and pillars are in colour, finishing to be done later. Next up we strip the suspension and front assembly, yet again but for the last time, and start wrapping up my present in preparation for chassis paint. This is a moment I have been waiting 6 long months for.This is the last time the car will look a mess. Silver by Monday and then a big week next week…..
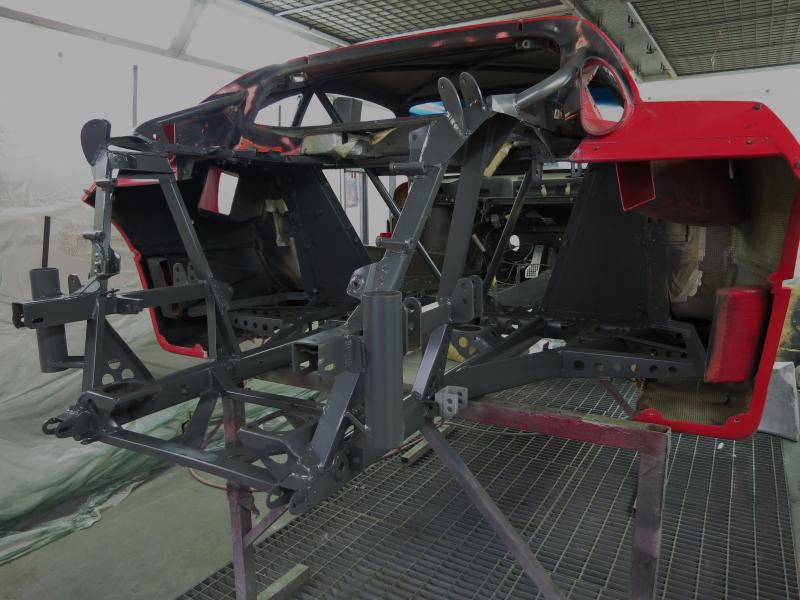
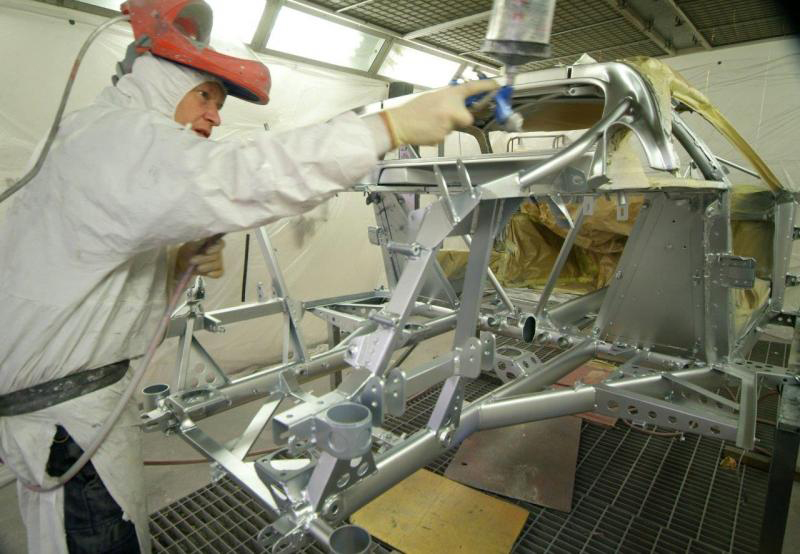
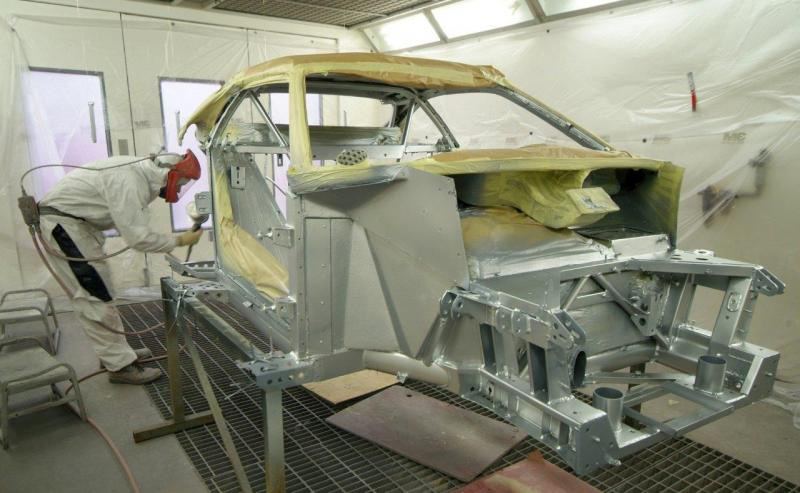
The first ‘hit’ of 5 days of major progress. Up until now either we have been stripping everything, preparing the chassis, bodywork, having replacement items manufactured off site but finally now we can try to bring all the elements together and start to fit them for hopefully the last time.Frame is now finally in silver, not just any silver but a paint whose code took endless, and I do mean endless, calls to Michelotto to reveal, and it is indeed a rather wondrous colour with a lustre that will be seen later this week. When seen against the Rosso Corsa, it is quite stunning. Typically Italian to pay such attention to the aesthetics.Meanwhile all the suspension has been stripped down to their individual component parts, and is in the process of being primed and painted as, being race parts, they were not really suitable for road use in their naked, unprotected condition. Tomorrow, we start to reassemble ready for installation.So the plan this week is silver today, suspension painting and reassembly tomorrow, and then all being well start to mount on the chassis Wednesday.
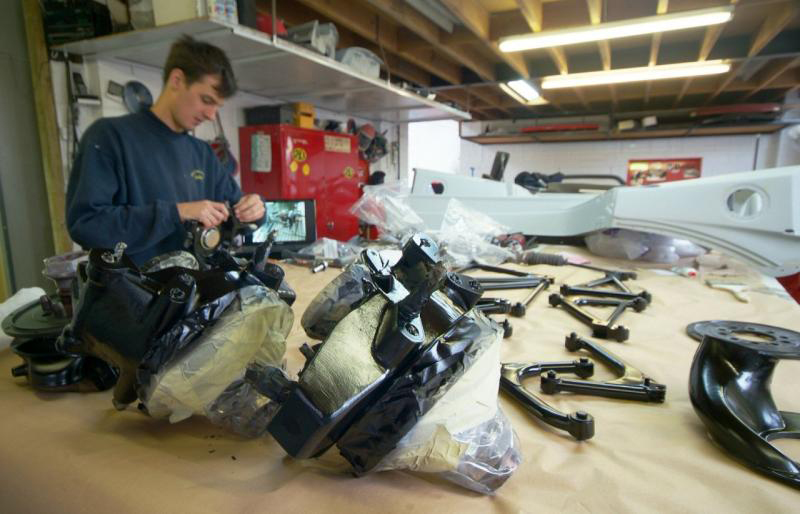
The start of reassembly of the suspension parts after two pack treatment.
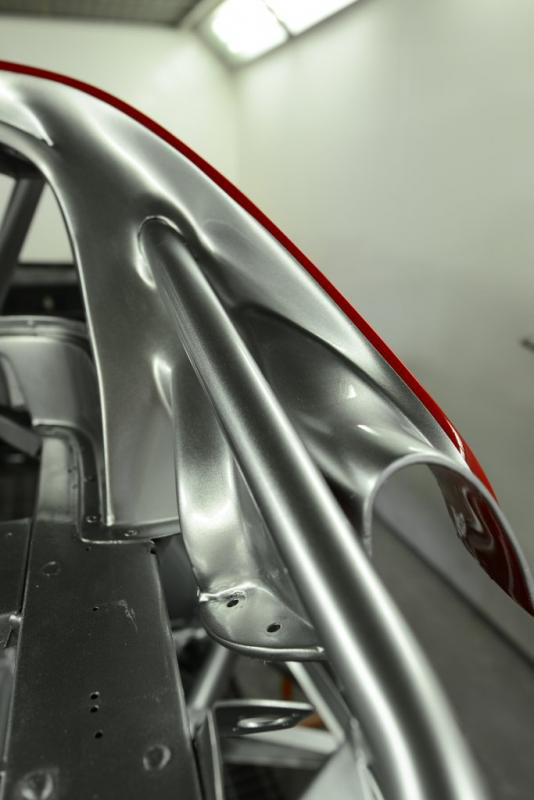
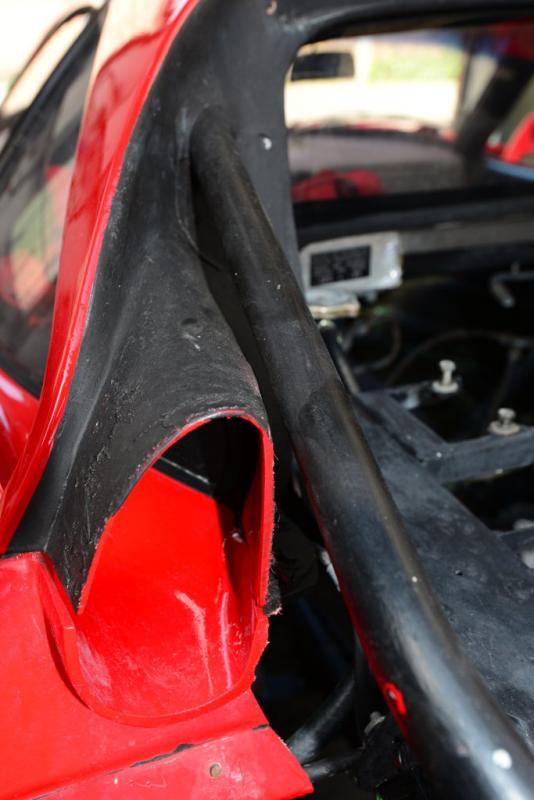
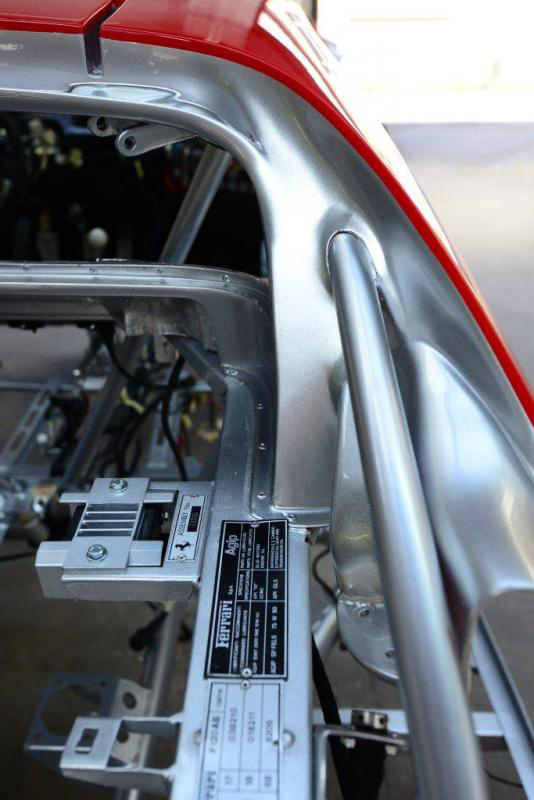
The first delicious detail for this week which better shows the luster of this silver finish..On this thread, there has been discussion about not over restoring and so for comparison I attach a standard F40 detail. I don’t remember them being this bad, but this area never had much attention paid to it and was certainly rough, whereas personally I love the direction of our work and would never wish to recreate some of the factory effort. When you look at the restorations carried out today on Daytonas, 275′s, and especially the earlier cars, they never ever left the factory in that sort of condition.
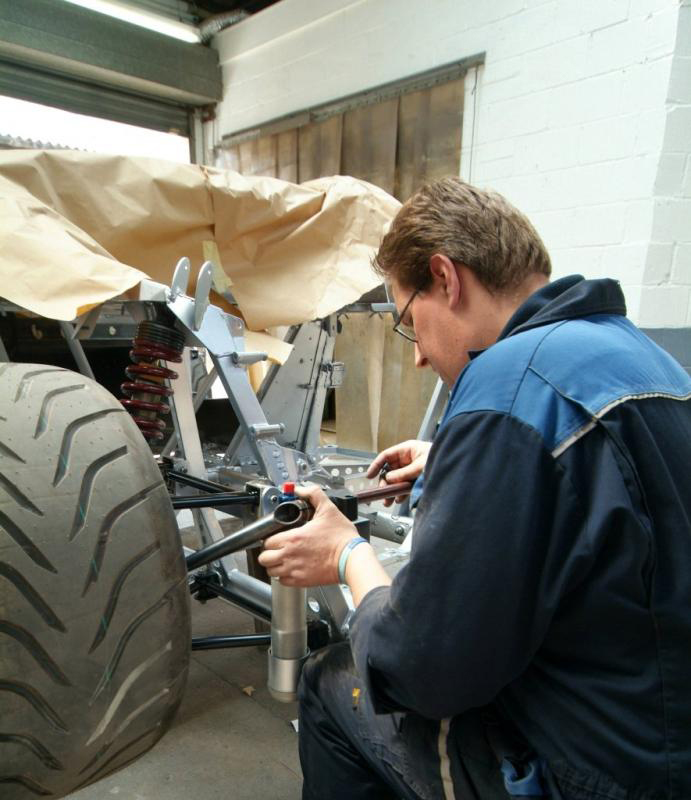
Meanwhile a few additional pics from today. All the suspension units have now been 2 pack epoxy painted so as to avoid corrosion (told by CM not to powder coat or apply any heat to them) and reassembled and should start to be mounted tomorrow. Exciting times as we start to pull things together and fit them ‘for real’.
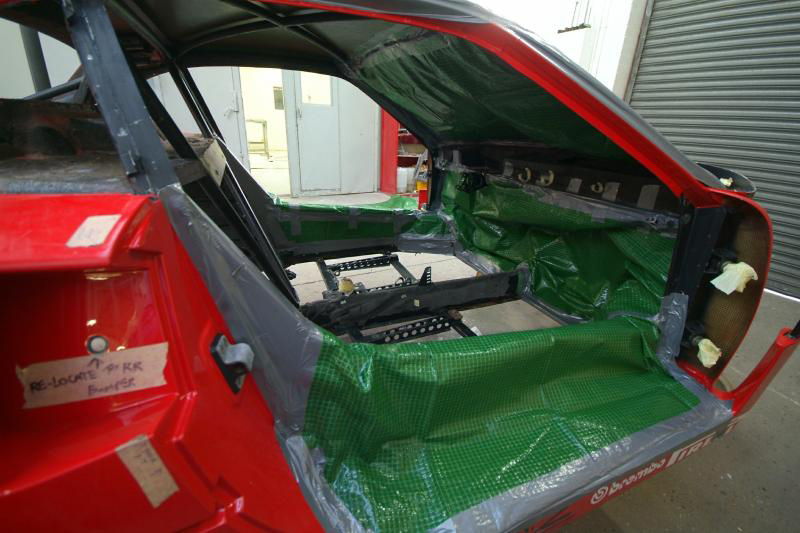
Handbrake in so as to pass MOT (UK rules to enable the car to be road registered). Magnesium pedal box in temporarily but will come out for protective paint as we don’t want this grossly expensive item going the way of The Sultan of Brunei’s.This is a week of major visible progress as all being well we should have the suspension on for good and then next week will be slower as we start to work on the wiring and plumbing which, I am afraid is less exciting to see and report. Meanwhile it looks like we are going to need a new cabin floor-never ending.
A teaser of what is to come-finally all this industrial art starts to find its functional home.
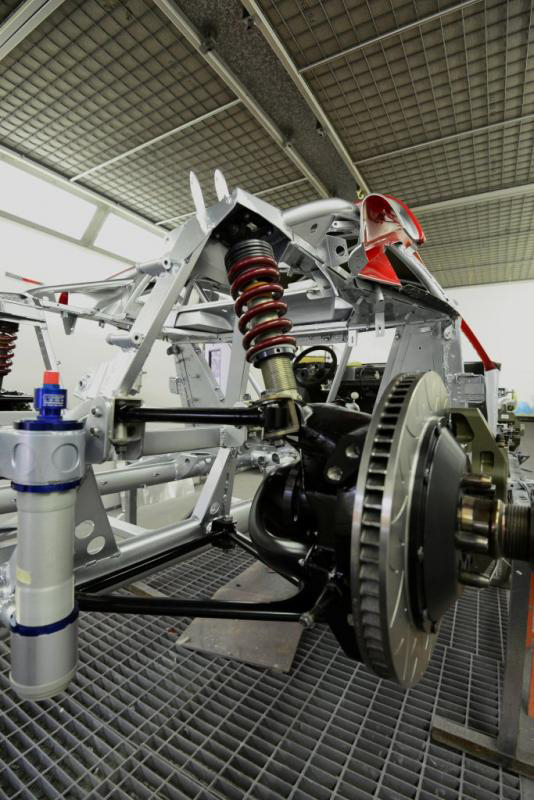
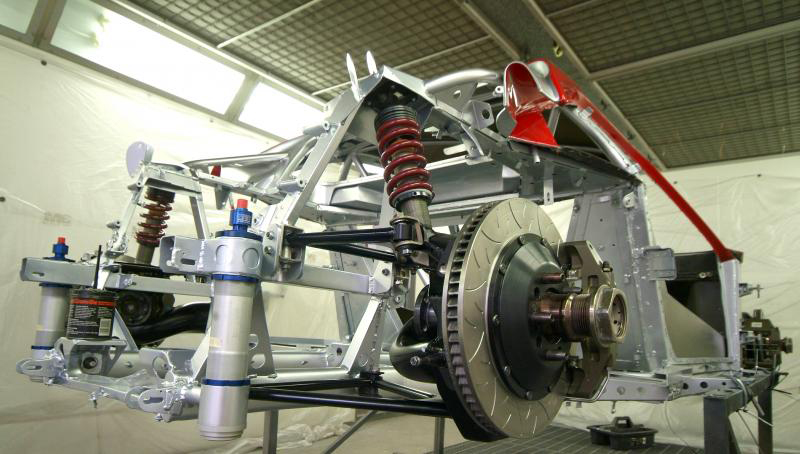
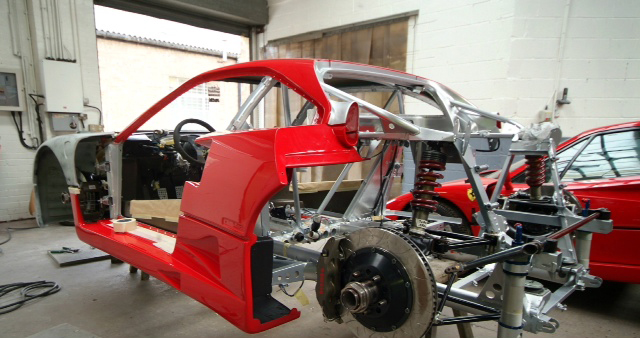
The first genuine glimmer of hope as the front suspension and anti roll bar go on, hopefully for the last time. Later today, hopefully the rear.Interesting to see how far we have come versus where we were and it at least begins to explain the past 6 months. And the cost.
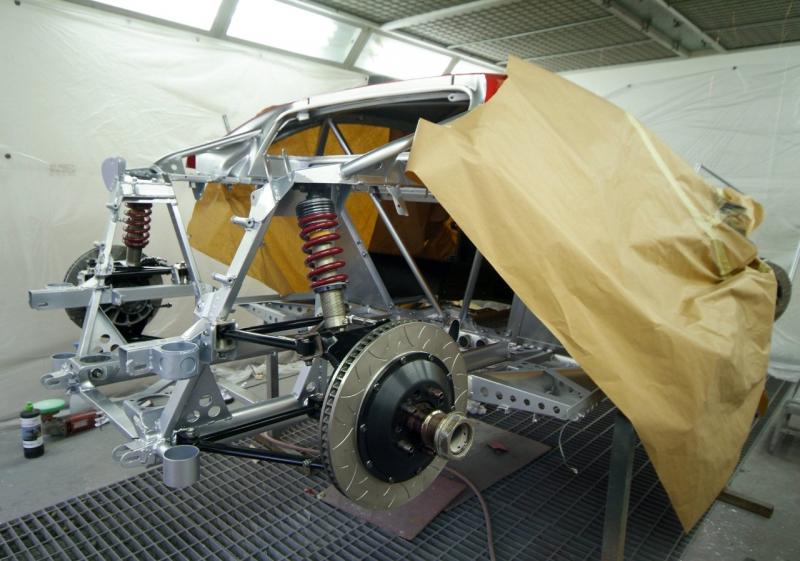
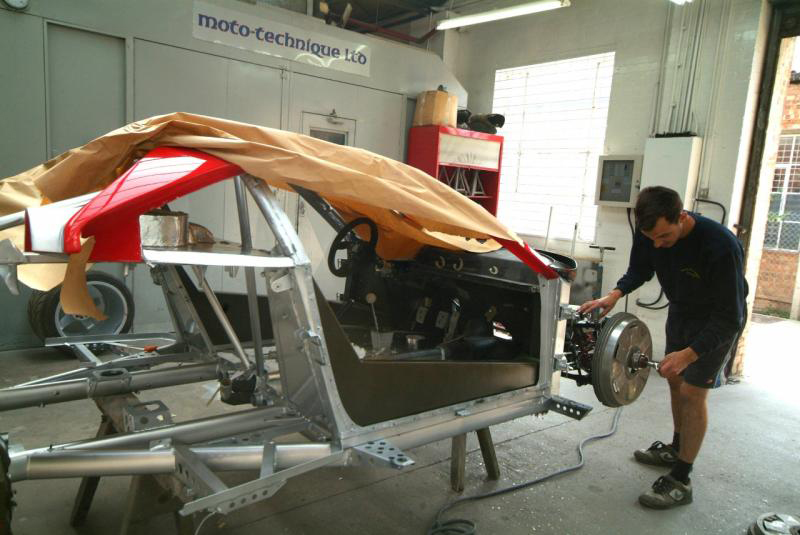
Well the rears are on but I think the discs are back to front-fronts are good. Finally just beginning to look like a car and again see where we came from. What a change and just beginning to look a little tasty?
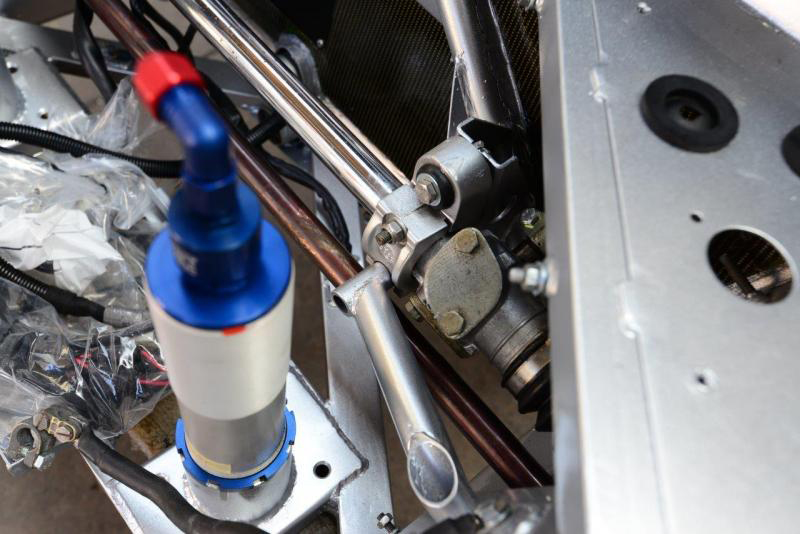
Front jacks now on, rear to follow later today. Note the little additional support from the bottom of the steering rack to the frame and also we now have the Michelotto front anti roll bar mounted just beneath.
And now the rears. In answer to an earlier question from NurScud, the jack mounting position may have moved very slightly-not much room back there as the anti roll bar has to also fit.Monday will give us brakes.
And here it is being fitted but then will come back off again. Almost the last of the Michelotto parts.Next week, brakes.
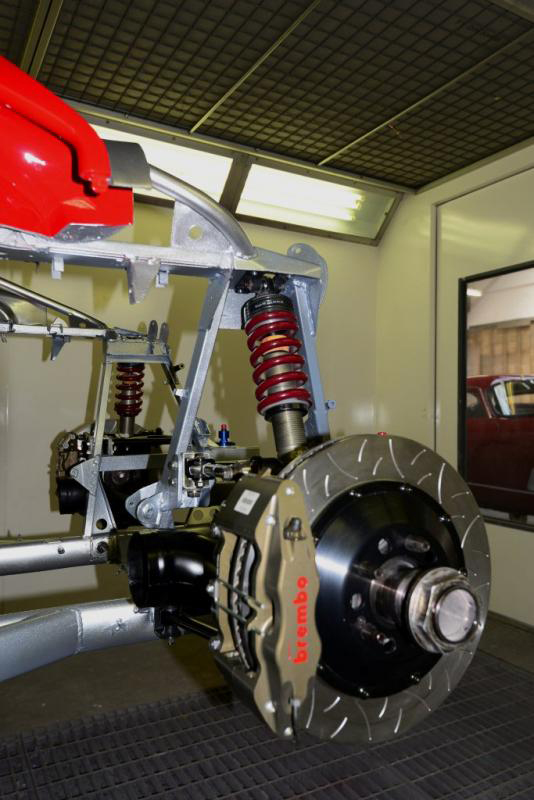
Rear brakes now on and with the French Horn shaped inlet, just adds to the artistry. Fronts up next.
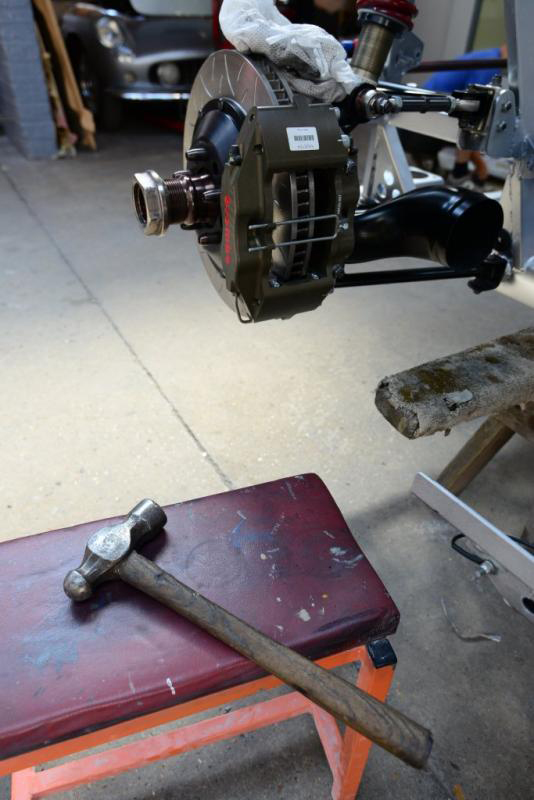
And now the fronts, yes, discs yet to be reversed….and yes Kevlar on front scuttle yet to be sorted.
Time for that brake swap….
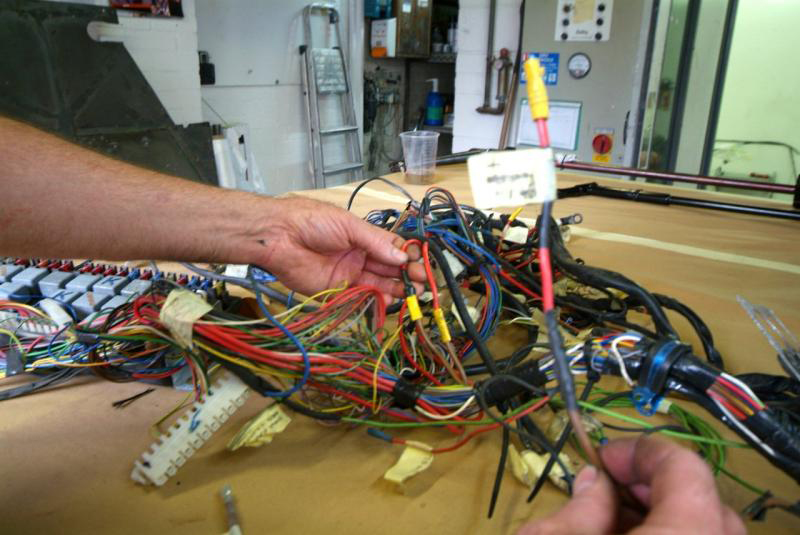
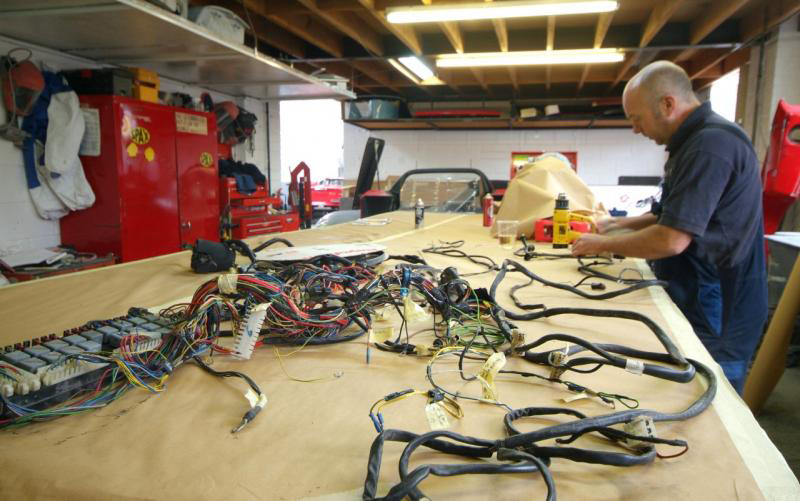
OK, game over and well spotted Mike, took over 200 views before the bell went off! They are actually the drums off a Tour De France that is in there for a rebuild and the boys were just messing around-shows how braking has progressed.Meanwhile a bit of work on the wiring loom, boring, not very photographic but very essential, all dodgy connectors replaced and questionable wiring sorted, all rebound and now ready for installation.
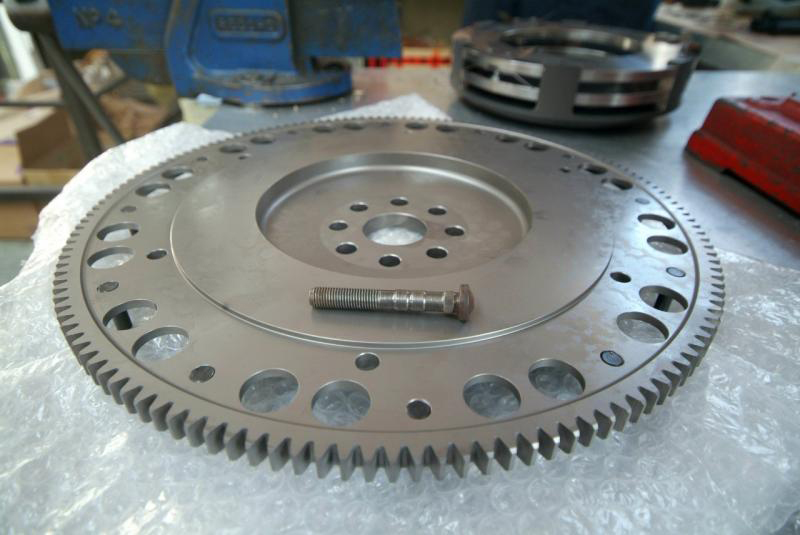
Well, after a few months and much discussions on timing pins, Postie (UPS) finally delivered our new lightweight flywheel from Nick Beere Racing. Almost identical to the old one but of a higher quality and strength and with more accurate timing pins to be able to take advantage of the Motec engine management system and give us far more accuracy and control than what we had before where the timing pins were actually rattling in their locations (You can just see them held in place by bolts on the first shot). The new version is also the same weight as the outgoing version.Behind, just visible, is our new clutch, and together make up just about the very first few pieces of our restored drivetrain.
My cup runneth over – another arrival today, bad snap of the newly anodised fuel rails and our new high performance gaskets. A reminder of where we are coming from…..
A few more bits to deal with. Old lightweight Lexan rear screen needs replacing, oil tank will get the full overhaul.
Off to the shop tomorrow and see if I can bring back anything else of similar quality, although I find that view of the rear with the shapes, curves and colours, very appealing.Attached a couple of shots showing a bit of detail work on those had to get bits, even though they will be covered up in due course.
Here is a better shot of the flywheel which the pics cannot do justice, absolutely delicious and also now the AP clutch in detail-a handsome couple, albeit that these shots make them look the same size; rest assured they are not and were provided as a single unit.
Another suspension shot with more to follow.
Spot the difference this time?
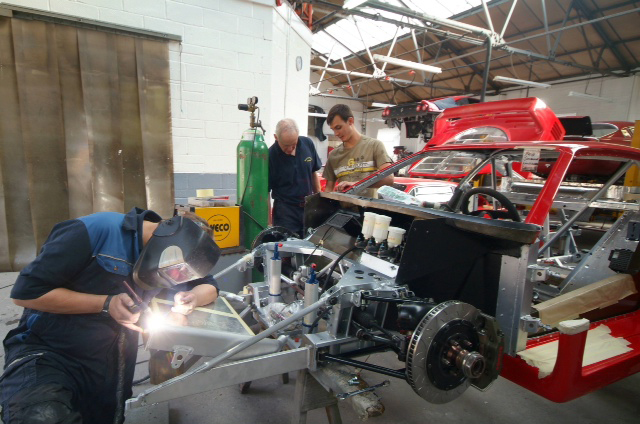
I told you these guys were highly trained, skilled craftsmen….
With the rear anti roll bar now mounted you can get some idea of just how tight things get back there with the pick up points and jacks. Interesting geometry going on with the links.
Time for a break from the rear suspension and into the paint shop. Panels undergoing their final prep and then first coats of colour before the clear coat. Side panels are on the critical path so they will be finished up first as we hope to get them fitted as a next milestone. Front clam still in final prep and will be the last panel to get colour, still needing to have further ductwork fitted which can only be done once our radiator is in position as, yet again, clearances are tight.
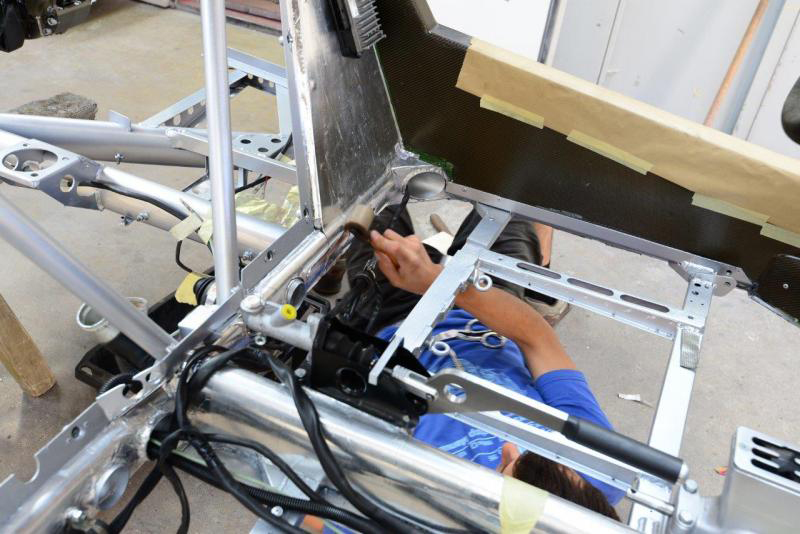
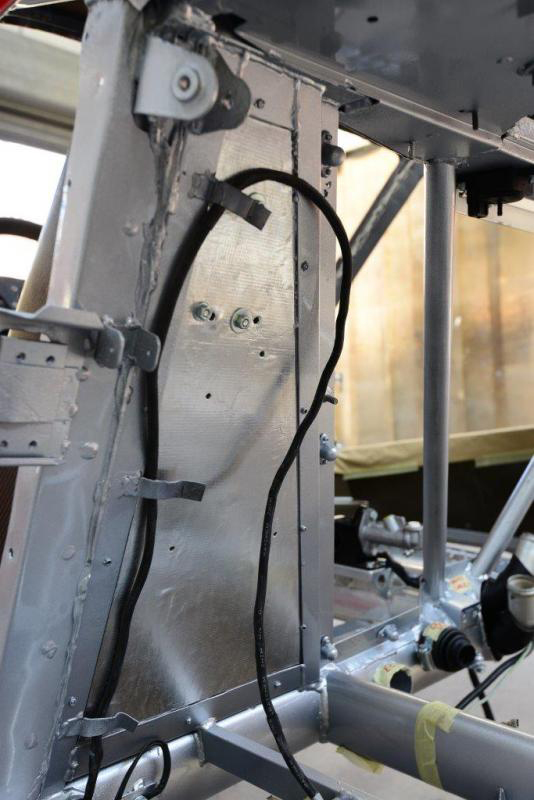
An interesting addition we are making. We are lining the firewall with a very lightweight Zircotec product, Zircoflex 3, a thin highly effective insulation foil to try and keep the cabin temperature more bearable as well as insulate the tunnel through the cockpit which carries the radiator pipes. Hopefully in this way we can minimise heat absorption into the cabin, given we have no A/C it could be a useful bonus. Invisible but effective.
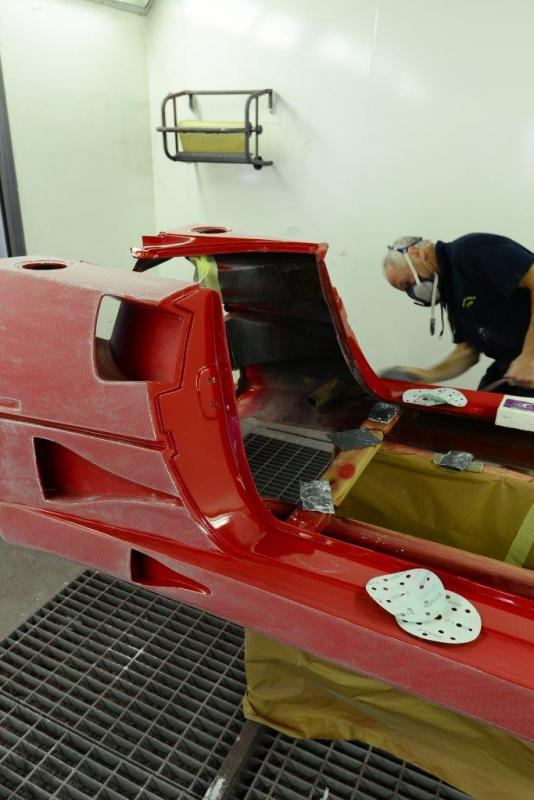
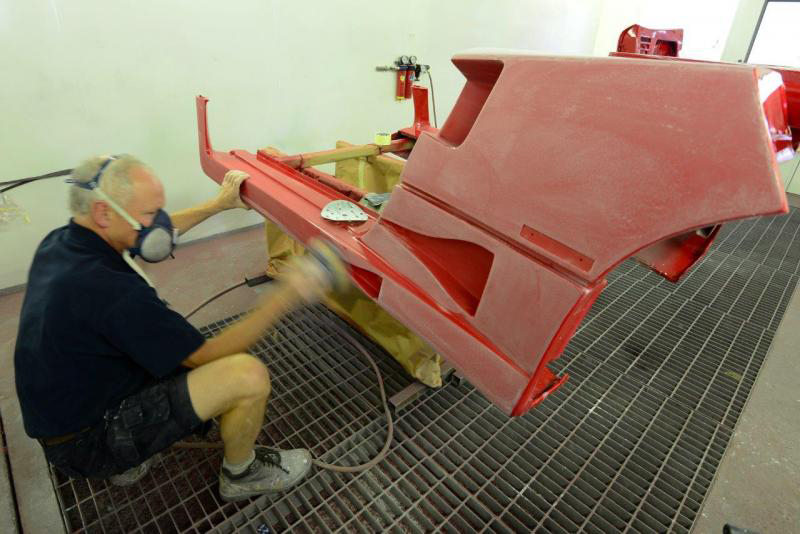
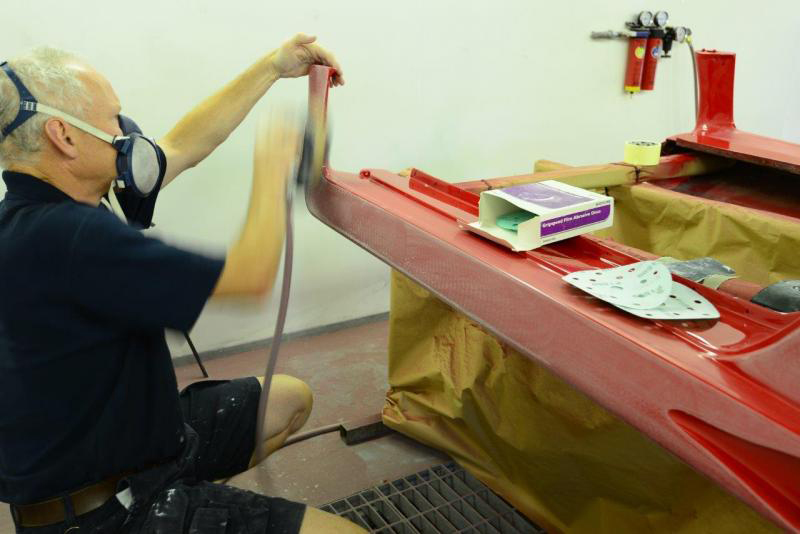
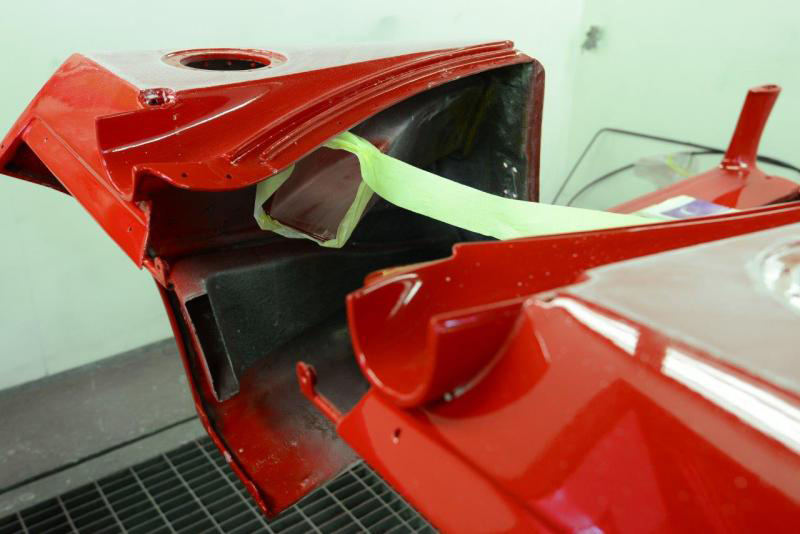
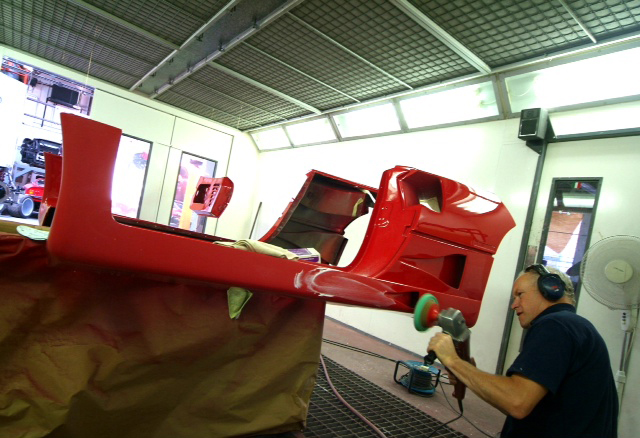
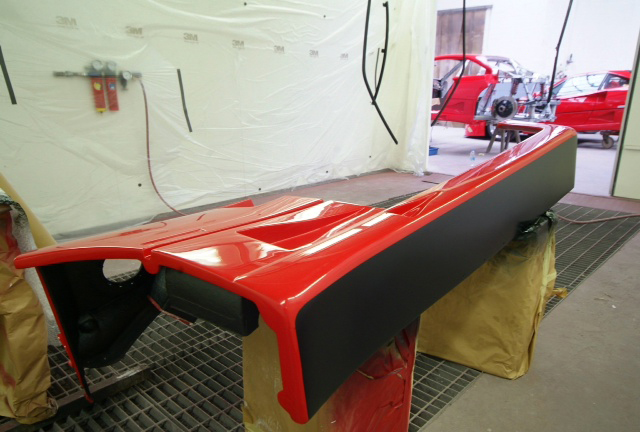
And so it continues. Back in the body shop we have now applied the clear coat and the sanding starts working our way down through varying degrees of coarseness to something you could almost polish you face with, yet is still mildly abrasive.You can see the start of the finish in the reflection in the last image where they are working in the vents, areas that never interested the factory. Some might say non original, I say I want it as good as it can be and how the factory would like to be turning out all their cars if they were not so focused on the bottom line-I can assure you if I was to respray my Spider, I would not want to duplicate the factory finish! Traditional Ferrari orange peel has no place here.
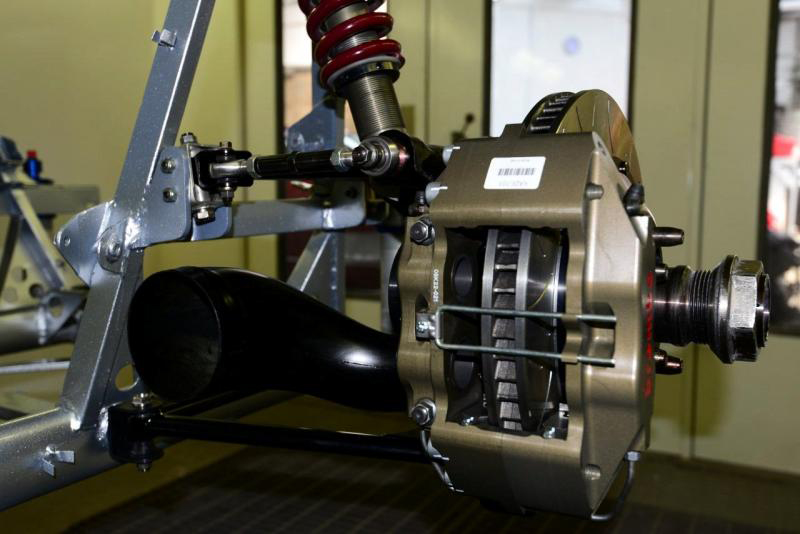
The last of the suspension detail for now unless someone has not had enough of it. Love the small cross brace from the steering rack back to the chassis, I assume to help deal with increased strain from the ridiculous front wheels. Also another reminder of where we came from with the front brakes. It was found that drilled brakes wore badly and spider cracking started between the holes resulting in potential failure. Early LM’s had drilled discs and later they were replaced with what we have.Trying my hardest to get CM, when I manage to reach him which on average takes weeks now rather than days, to supply us with new wheel nuts but he does not appear to understand they are different from a standard car despite making them! Anyone out there have any genuine spare LM wheel nuts?
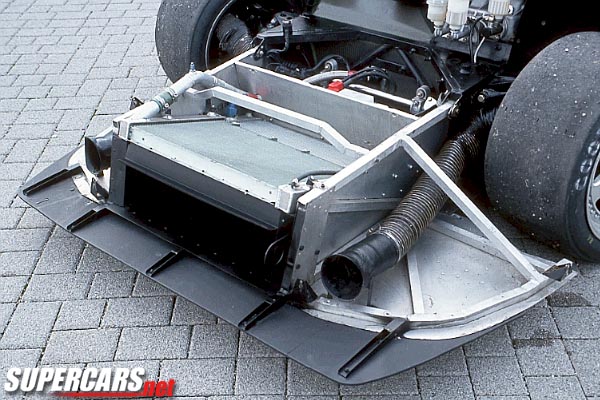
Work has also been progressing on the new radiator as, like everything else on the car, the old one had had it. New high performance core fitted but invisible due to temporary alloy protection panels. I think we may have to also fit electric fans again so as to make the car acceptable for very limited road use and also all that hanging around the pit lane etc.Collector box to channel the air also fabricated and fitted, and aside from the major exception of the motor, this must be one of the last large parts to be readied. Next week will be a truly transformational one with body panels actually being fitted as it starts to come together and by the end of it we will definitely have something that looks like a car.
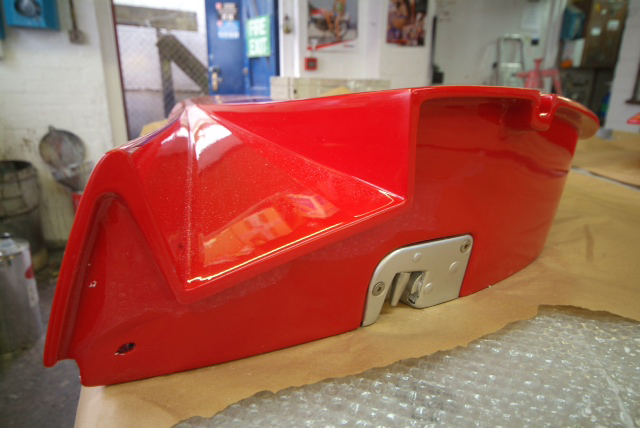
Back to the paint shop and Cills and doors now finished and ready for installation! This week will see major move forward as we finally return some of the panels to their rightful home. Note the rebuilt and refinished door catches.As mentioned before, the paint on the F40′s changed during the production run and we have gone with 300/12 which we find to be the darkest Rosso Corsa with least orange whereas I note in another thread here on Fchat someone said the total opposite. Having seen the two together, we have the right result whatever it may be called! Starting to get really exciting now, we just need some engine parts back from Crosthwaites as within the not too distant future, we are going to need to start thinking engine.
Another reminder of where we came from with the old cill with possible evidence of what looks like a small fire.Now how about this, one cill finally installed, inside cleaned up and painted! Look closer and you will also find new engine mounts and a bit of plumbing. Real progress as everything starts to come together, or in the case of the radiator, apart again as it needs to go off for pressure testing.When undertaking a project such as this, it is amazing how draining the first months are, not just financially but emotionally as you keep on getting bills, big ones, and yet all you seem to have for it is collection of clapped out parts in varying shades of repair or restoration spread across the countryside and it does not even look like a car anymore; yet the bills, not small ones, keep coming and you keep posting cheques and seeing – not much. and you wonder if you can afford to carry on like this, the job having exploded in reach.Then, as more and more unexpected work is revealed, you begin to wonder if you will ever get your fingers on the lip of the pit, and finally after seven months it is only really in the past two weeks or so that I now feel confident that I am over the edge and the whole unexpected saga makes sense and is beginning to shape up to how I had envisaged it. It also helps when you are supported, in my case, by Kevin and his amazing team for whom no obstacle appears insurmountable. If you are contemplating a project like this, chose your shop very very carefully, they need to offer a lot more than a smart reception, something Mototechnique certainly do not have! They invest in their team
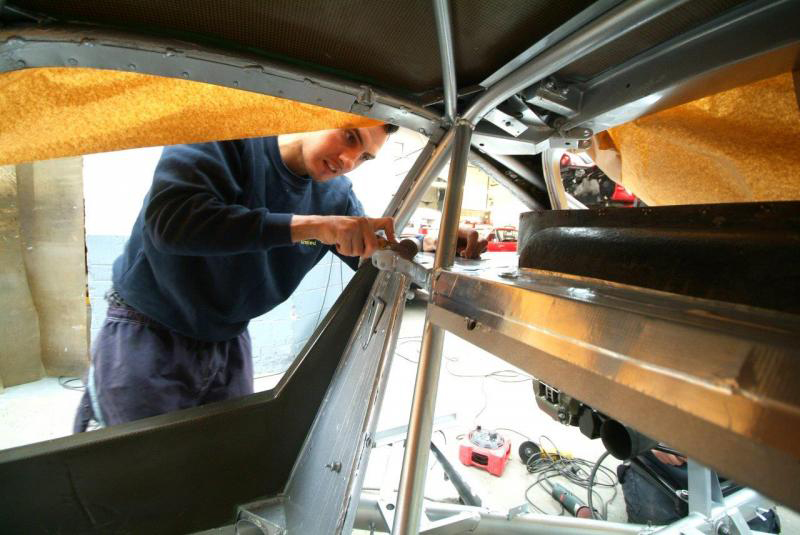
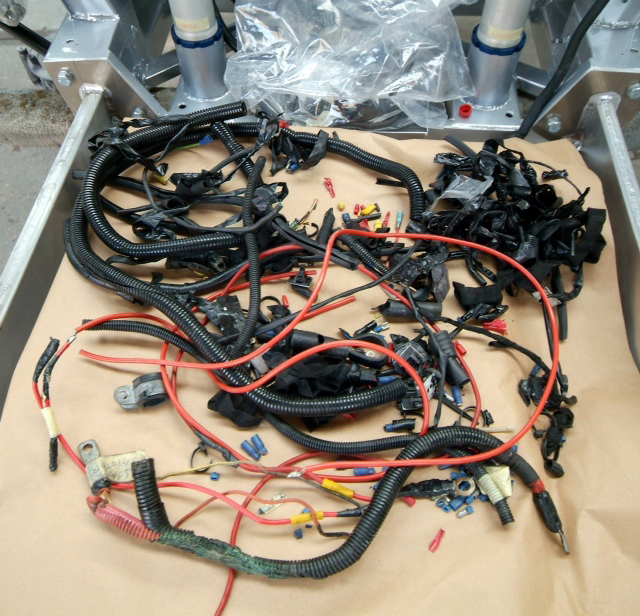
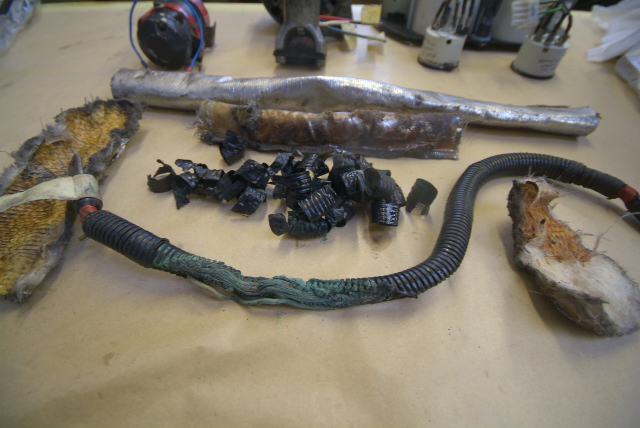
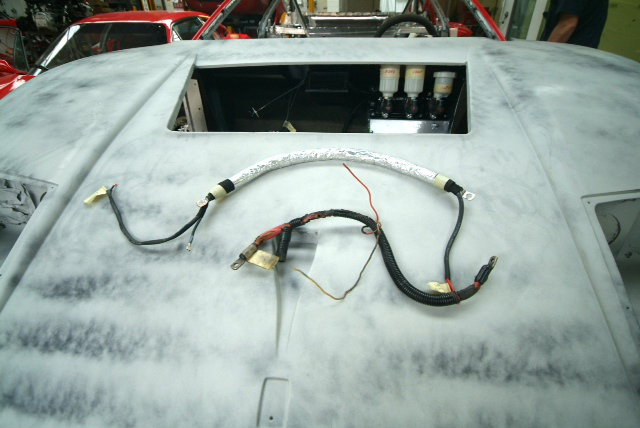
Work on the wiring now well underway. Love being reminded of how far we have come by these shots of the cabin a few months ago and just what a mess she was. Hopefully you can see what is pre and what is post!On the brown paper you can see what we stripped out of the car, a mass of loose connectors and most importantly a totally frayed through main battery line; untouched, a major fire was in this cars future. Some of the wires also had evidence of heat damage so as posted earlier, all dodgy connectors and frayed wiring out, new in, all rewrapped and now being installed. Hopefully it is clear what is pre and what is post!Towards the bottom you can see the old battery cable, amazingly totally worn through and copper wire exposed, against our new version, properly insulated, sitting on the front clam whose speckled appearance is a witness coat so the guys can make sure they have dealt with every nook. Much more work on this entire front clam, plumbing, ductwork integration needed, a complex area on an LM
Fuel filler caps now fitted. All the windows are Perspex with the exception of the windscreen but were all in a sorry state. The rear screen is being renewed in Lexan as that was beyond redemption but all the side panels have now been buffed up, the frames repainted and now actually fitted. Nice to have elements being fitted for real, not just for trial.
A few general shots to show where we are finishing up the week. All Windows and window frames in and next week we hope to dry fit our fuel tanks and are scheduled to receive all our engine parts back from Crosthwaites. Too late to start saving for that one, newly honed cylinders, new exhaust valves, polished crank, reverse gear, titanium rods, pistons with new rings and together with our new flywheel all parts as necessary dynamically balanced. That will be yet another monster milestone. And bill.Front air conveyor being dry fitted as yet to be restored and painted but this front end is just very busy underneath.
Forgot to mention, just dry fitted our new cabin floor here which we will leave out until later to avoid messing it up. Last one had more holes than floor.
More detailed resto work on ducting, diffuser, rear grill, tanks etc. This is the problem, when you start down this path the last part you fit has to be as good as the first. Wish it would stop.
Original: Build Threads

